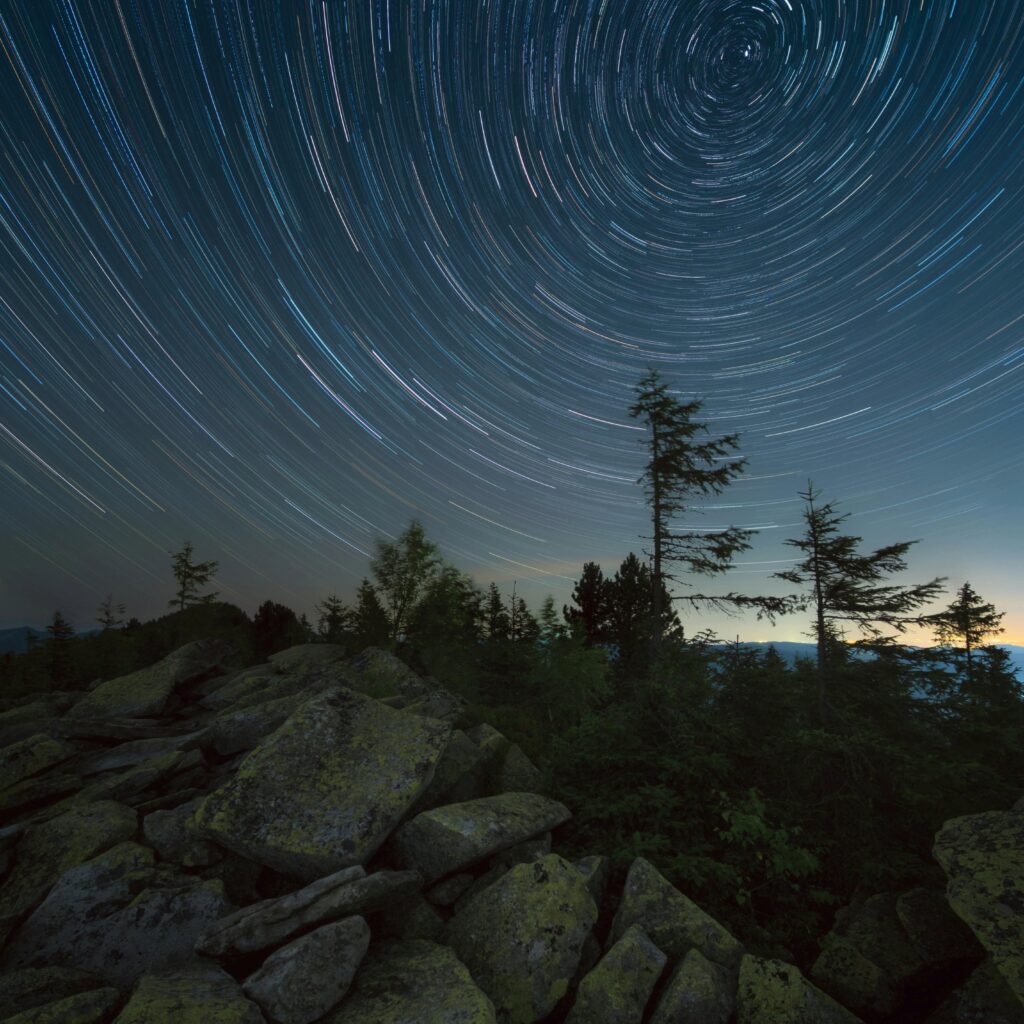
Ever wanted to capture the magic of a dimly lit city street or the beauty of a starry night sky? Low light photography can be challenging, but with a few straightforward techniques, you’ll soon be capturing incredible photos even when the sun goes down.
1. Boost Your Camera’s Senses with ISO
ISO is like your camera’s “night vision,” controlling how sensitive it is to light. In low light, increasing ISO allows more light in, but be cautious—too high, and your photos might look grainy. Think of it as turning up the volume too high and getting static.
Most cameras perform well between ISO 800 and 1600, with higher-end models allowing even more flexibility. Start low, gradually increase, and find that balance between brightness and clarity.
2. Open Wide: Using Aperture to Capture Light
Aperture is like the pupil of your camera. In low light, a wide aperture (lower f-stop number, like f/2.8) allows more light in, much like opening a window wider lets in more air. Be mindful that a wide aperture creates a shallow depth of field, making only part of your photo appear sharp. This works beautifully for portraits with softly blurred backgrounds but might not suit landscapes.
3. Slow and Steady with Shutter Speed
Shutter speed controls how long your camera’s “eye” stays open. A slower shutter speed (e.g., 1/30 of a second) lets in more light, perfect for darker settings. However, any movement can cause blur. For example, photographing a fast-moving object like a race car would require a fast shutter speed to freeze the action, but in low light, using a tripod will keep your camera steady and allow you to capture sharp images at slower speeds.
4. Take Control with Manual Focus
In low light, autofocus can struggle, much like finding something in a messy room. Switching to manual focus gives you complete control. Many cameras offer a zoom-in feature to help you achieve sharp focus, which is especially helpful in tricky lighting. A bit of practice with manual focus goes a long way in challenging conditions.
5. Bracket Your Shots for Perfect Exposure
If you’re unsure which settings will provide the best exposure, try bracketing! Bracketing involves taking multiple shots at different brightness levels, increasing your chances of capturing a perfectly exposed photo. Some cameras even have an auto-bracketing feature that quickly takes a series of shots with different exposures. You can select the best shot or merge them later in post-processing.
6. Tripod Power: Your Low Light Essential
A tripod is indispensable for low light photography, keeping your camera steady to avoid blur when using slow shutter speeds. This is crucial for capturing night skies, star trails, or any shot where even slight movement can affect the result. Investing in a sturdy tripod can make all the difference in your low light work.
7. Unlock Your Camera’s Secret Weapon: Low Light Modes
Many cameras come with low light modes that automatically adjust ISO, shutter speed, and other settings to handle dim conditions. Check your camera’s manual to see if this feature is available, as it can be a great shortcut when you’re unsure of the best settings for your scene.
8. Polish Your Photos with Post-Processing
Even with perfect settings, low light photos often benefit from some post-processing. Software like Adobe Lightroom or Photoshop allows you to adjust brightness, contrast, and reduce noise. A few touch-ups can help bring out details and make your images stand out.
Practice Makes Perfect
The best way to master low light photography is to get out there and experiment. Play with different settings to see what works best in various conditions. Each successful shot will boost your confidence and open up new creative possibilities. Grab your camera, and start capturing the night!