Aperture is the adjustable opening inside a lens that controls how much light reaches the sensor. Along with shutter speed and ISO, it is one of the three settings in the exposure triangle. Aperture has a second job beyond exposure: it sets how much of the scene appears in sharp focus, from a single isolated point to everything front to back.
How Aperture Works
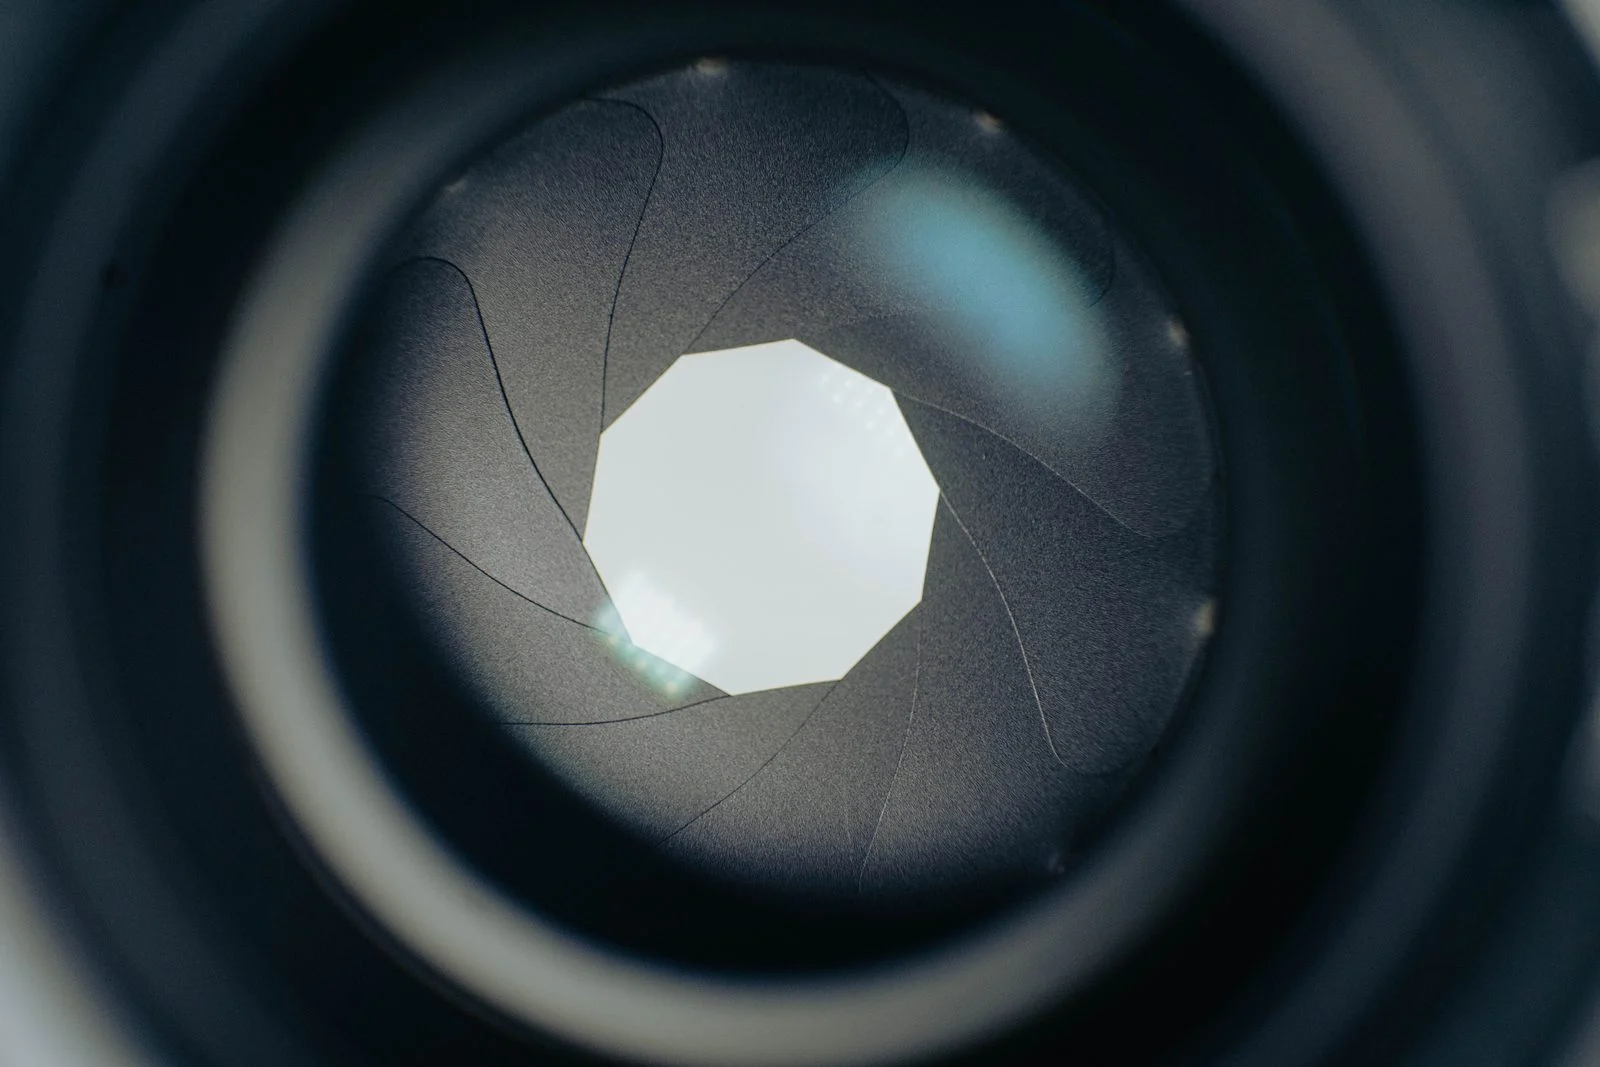
Inside most lenses sits a diaphragm, a ring of overlapping blades that opens and closes to form a roughly circular hole. Light passes through that hole on its way to the sensor. Open the diaphragm wide and more light gets through in a given stretch of time. Close it down and less light gets through, the same way narrowing a tap slows the flow of water.
Aperture size is written as an f-number: f/1.8, f/4, f/11 and so on. The f-number is the lens’s focal length divided by the diameter of its entrance pupil, the effective opening as seen from the front of the lens:
f-number = focal length ÷ aperture diameter
A 100mm lens with a 25mm-wide opening is shooting at f/4, because 100 divided by 25 is 4. A 100mm lens with a 50mm-wide opening is shooting at f/2. This is why a bigger f-number always means a smaller physical hole: for a fixed focal length, dividing by a larger diameter gives a smaller result, and dividing by a smaller diameter gives a larger result. It takes deliberate practice to stop reading f-numbers backward, and many people do at first.
The sensor behind the lens also plays a role in how a given aperture behaves. At the same focal length, same f-number and same shooting distance, a larger sensor sees a wider field of view and a deeper depth of field than a smaller sensor. If you instead move the larger-sensor camera closer to match the framing of the smaller sensor, the depth of field becomes shallower instead. Sensor size and aperture interact; they are not the same lever. The full mechanics live on the depth of field page.
Wondering how sensor size changes what an aperture does? Full Frame vs Crop Sensor covers crop factor and the depth of field differences between the two formats.
Aperture works the same way whether the light lands on film or a digital sensor; only the medium receiving the light has changed. Older lenses controlled aperture with a physical ring on the lens barrel, marked with the f-stops directly. Most modern lenses instead read aperture from a command dial on the camera body and display the current f-number electronically, though some manufacturers still offer a manual aperture ring as an option for photographers who prefer it.
The F-Stop Scale
Aperture is measured in stops, the same unit used for shutter speed and ISO. One stop always means a doubling or halving of light, regardless of which of the three settings produces it. The standard full-stop f-number sequence is:
f/1.4, f/2, f/2.8, f/4, f/5.6, f/8, f/11, f/16, f/22
Moving from f/4 to f/5.6 cuts the light reaching the sensor in half. Moving from f/5.6 back to f/4 doubles it. Because the amount of light passing through an opening depends on its area, not its diameter, each full stop’s f-number is the previous one multiplied by roughly 1.4 (the square root of 2), not simply added to. That is why the sequence accelerates instead of climbing in even steps.
Still tripping over the f-numbers? Understanding F-Stops explains what an f-stop is, walks through the scale, and shows how each stop affects your photos.
Most cameras also let you dial in finer 1/3-stop increments between the full stops, which is why you see values like f/3.5, f/6.3 or f/9 on a camera display. Between f/2.8 and f/4, the third-stop steps are f/2.8, f/3.2, f/3.5, f/4. Between f/8 and f/11, they are f/8, f/9, f/10, f/11.
Very small apertures like f/32, f/45 or beyond exist mainly on large-format, macro and specialty lenses; a typical mirrorless or DSLR kit lens stops down to somewhere between f/16 and f/22. There is little reason to go further even when a lens allows it: diffraction (below) softens the image, and the shutter speeds required to correctly expose at that point are often impractically slow for handheld work.
What Aperture Does Creatively
Aperture’s second effect is depth of field: how much of the scene, from close to the lens to far away, appears acceptably sharp. A wide aperture, a small f-number like f/1.8, produces a shallow depth of field. Your subject is sharp and everything in front of or behind it dissolves into soft blur, an effect called bokeh. A narrow aperture, a large f-number like f/11, produces a deep depth of field, where a foreground rock and a distant mountain ridge can both read as sharp in the same frame.
Want everything sharp from the foreground to the horizon? Hyperfocal Distance explains what it is, how to calculate it, and how to use it for the most depth of field.
This makes aperture a compositional decision, not only an exposure control. Wide apertures isolate a subject and erase a distracting background, which is why portrait, macro and wildlife photographers reach for them constantly. Narrow apertures hold an entire scene together from front to back, which is why landscape and architectural photographers favor them. Neither choice is more correct than the other; they describe different pictures.
One side effect worth knowing before you assume smaller is always sharper: diffraction. As you close the aperture past a lens’s sharpest range (typically somewhere around f/8 to f/11 on a full-frame camera, and a stop or two earlier on smaller sensors), the image actually begins to soften again, because light bends more as it squeezes through a smaller opening. Diffraction grows as the aperture gets smaller, not larger. Many landscape photographers settle around f/8 to f/11 for exactly this reason: narrow enough for depth, not so narrow that diffraction erases the gain.
Want to find where your own lens is sharpest? How to Test a Lens for Sharpness and Defects shows how to shoot a series and compare the centre and corners at every aperture.
Maximum Aperture and “Fast” Lenses
Every lens has a widest aperture it can physically open to, its maximum aperture, printed on the barrel: 50mm f/1.8, 24-70mm f/2.8. A lens with a small maximum f-number is called “fast” because its wide opening lets you use a faster shutter speed in the same light. Fast lenses cost more to design and build, largely because the glass elements have to be bigger and more precisely shaped to keep the image sharp at such a wide opening, and they are usually heavier for the same reason.
Zoom lenses often have a variable maximum aperture, such as f/3.5-5.6, meaning the widest available f-number changes as you zoom from the wide end to the telephoto end. A constant-aperture zoom, such as f/2.8 throughout its range, costs more but keeps the same light-gathering ability at every focal length.
Weighing a fast prime against a zoom? Prime Lens vs Zoom Lens covers the aperture advantage of primes, the versatility of zooms, and how sharpness compares.
The shape of the diaphragm also affects the look of out-of-focus highlights. A diaphragm built from more blades, or with curved rather than straight blades, produces rounder, softer bokeh; fewer straight blades produce more angular shapes, visible as polygons in bright out-of-focus points like string lights. Neither is objectively better; it is a lens characteristic worth knowing about when you are choosing gear for a look, covered in more depth on the bokeh page.
Using Aperture Priority Mode
Aperture Priority, marked A or Av on a camera’s mode dial, is the fastest way to practice thinking in terms of depth of field instead of raw exposure numbers. You choose the aperture, the camera measures the scene and chooses a matching shutter speed for you, and your ISO can stay on Auto within a range you set. This lets you dial in exactly how much of a scene should be sharp and move on, without doing the exposure math for every frame.
Aperture Priority is a genuine working mode for most photography, not just a beginner’s crutch. Many working photographers stay in it for the majority of a shoot and switch to full manual only when the light is unusually tricky or perfectly consistent, such as in a studio.
Ready to set it up on your camera? Aperture Priority Mode explains how the mode works, when to use it, and how exposure compensation and Auto ISO fit in.
See It Side by Side
A wider aperture (smaller f-number) throws the background out of focus and isolates the subject. A narrower aperture keeps more of the scene sharp front to back.
Aperture in Practice: Comparing Real Photos
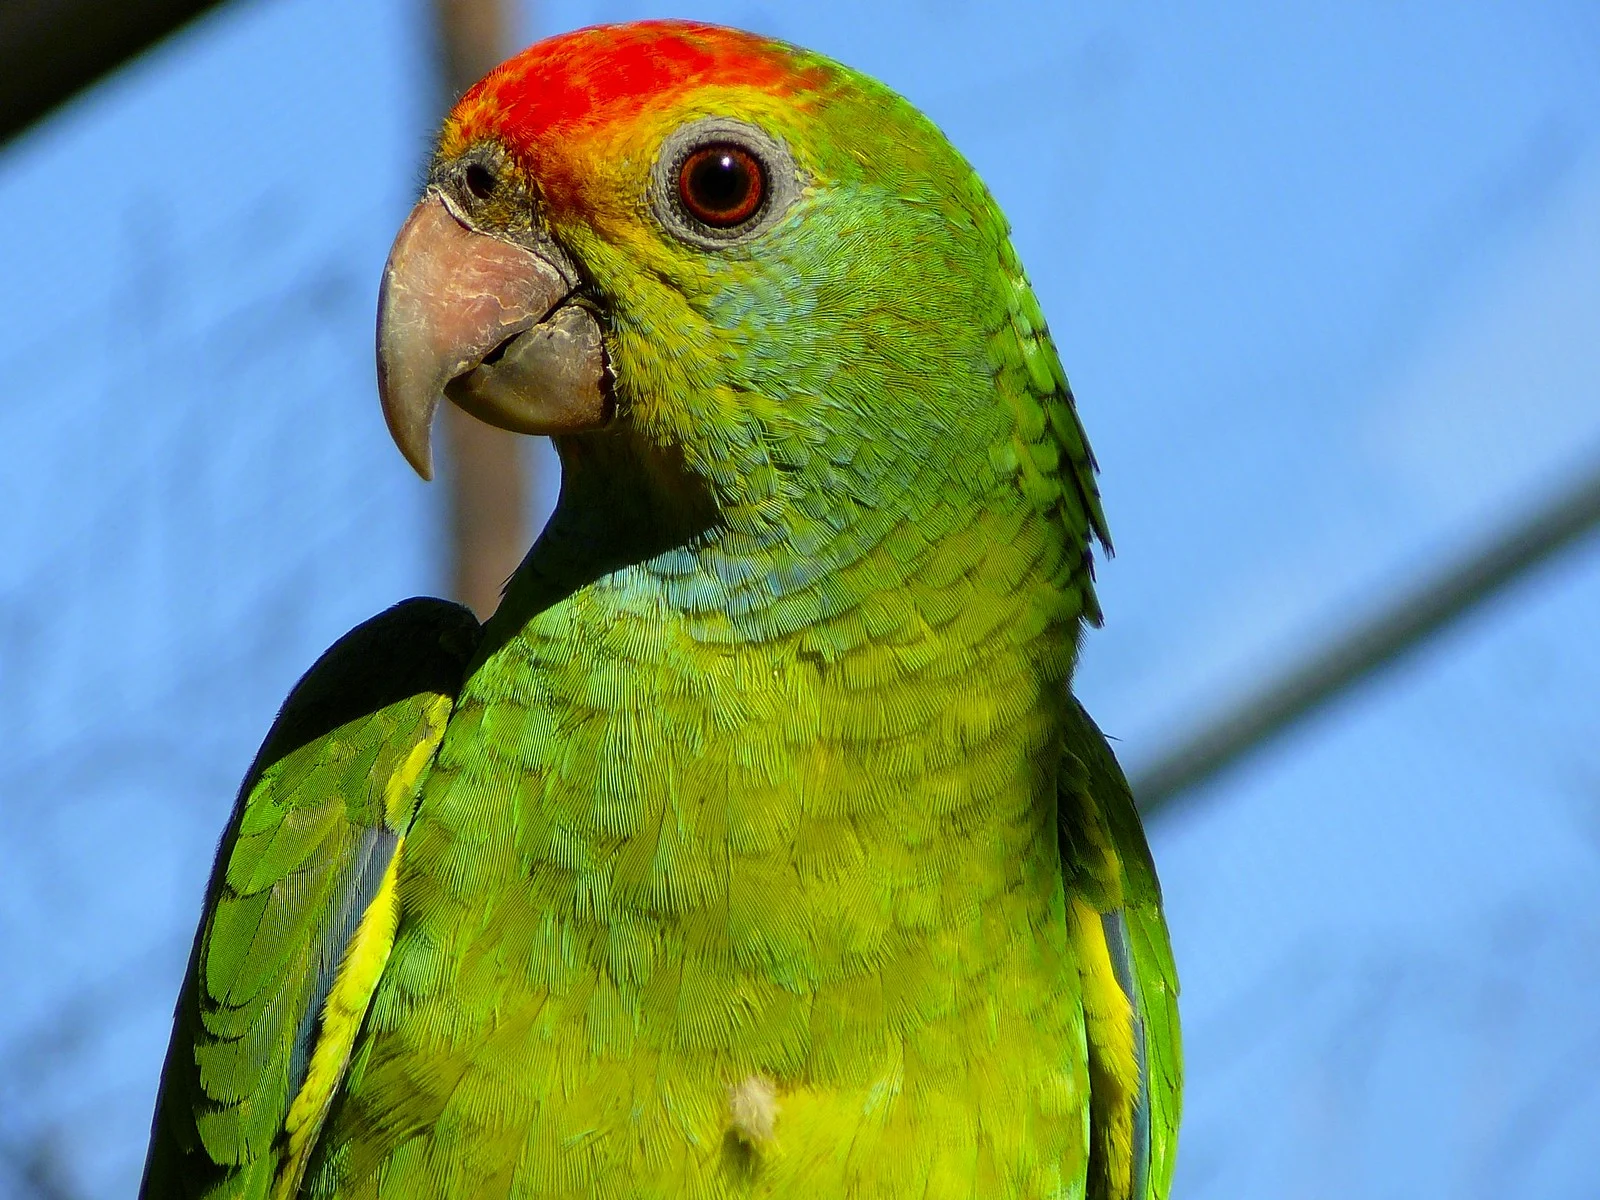
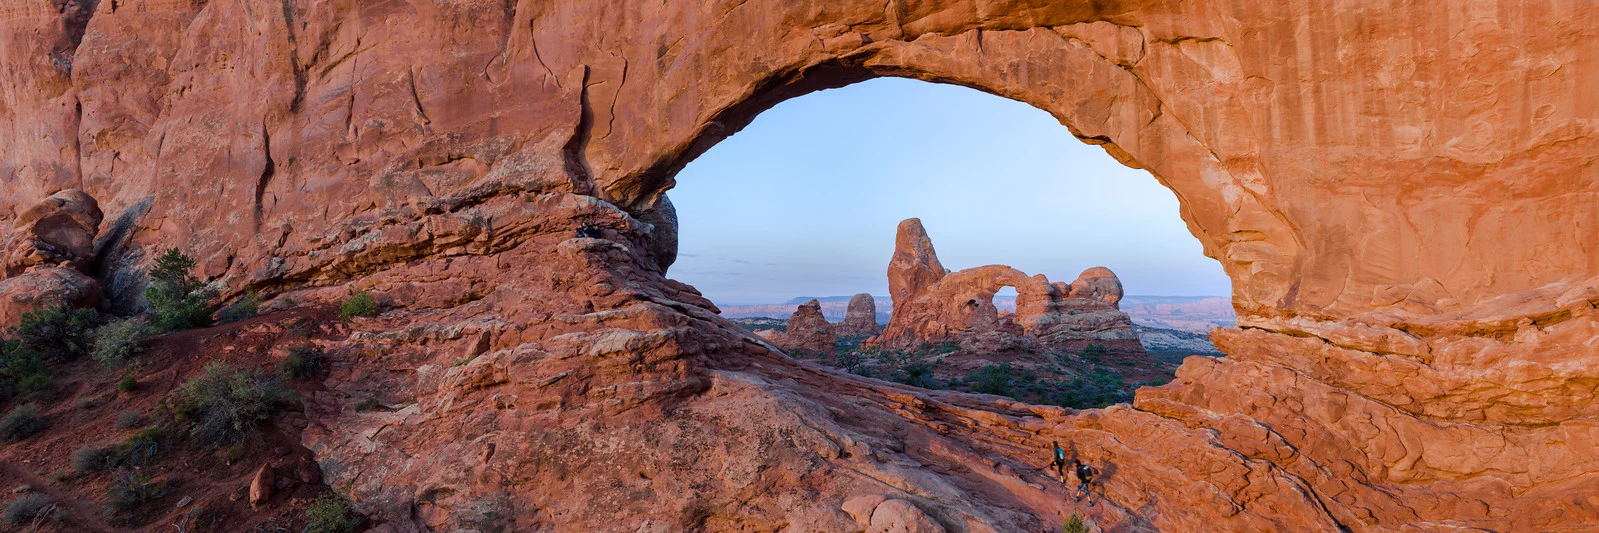
These three photographs use very different apertures. Watch what happens to everything that is not the main subject as the f-number climbs.

Try It Yourself: Camera Simulator
Open the aperture wide to throw the background out of focus, then close it down and watch the scene sharpen from front to back. The challenge below asks you to hit a target depth of field, the same decision you make on a real camera.
Want the other challenges? The full camera simulator has all 21, across eight scenes.
Common Aperture Mistakes
- Shooting wide open by default. f/1.4 looks dramatic, but on a close subject the in-focus zone can be a few millimeters thick, an eye can be sharp while the tip of the nose already is not. Stop down a little for any subject with real depth.
- Assuming the smallest aperture is the sharpest. Past a lens’s sweet spot, diffraction softens the image again. f/22 is rarely the sharpest setting a lens can produce.
- Forgetting aperture’s exposure role. Opening up for a blurred background also lets in more light, so shutter speed or ISO usually has to come down to compensate. See the exposure triangle.
- Chasing a specific f-number instead of the effect you want. The number is a means, not the goal. Decide how much of the scene should be sharp, then pick the aperture that delivers it.
- Not accounting for thin margins at long focal lengths. A telephoto lens at a wide aperture has an extremely shallow depth of field even at moderate distances; focus precision matters more as reach increases.
- Reading f-numbers as if they were linear. The jump from f/2.8 to f/4 lets in half the light, but the jump from f/16 to f/22 also only halves it, even though the gap looks smaller on the page. Think in stops, not in the raw numbers.
Try This
Find a single subject with something clearly in front of it and something clearly behind it, a plant on a windowsill against a cluttered room works well. Photograph the same frame three times: once at your lens’s widest aperture, once around f/5.6, and once around f/16, adjusting shutter speed or ISO each time to hold the exposure steady. Compare how much of the scene reads as sharp at each setting, and look closely at the f/16 frame for the faint softness of diffraction.
Test Your Knowledge
- Photography Exposure Quiz
- Aperture & Depth of Field Quiz
- Fundamentals Lesson 3 Quiz: Camera Settings