Aspect ratio is the relationship between the width and height of a photograph, written as two numbers such as 3:2 or 4:5. It decides the shape of your frame, and that shape changes how a picture feels: wide frames suggest space and movement, square frames feel still and balanced, and tall frames stress height and depth. Choosing a ratio is a composition decision, best made while you shoot rather than left to chance at the printer.
How aspect ratios are written and where they come from
An aspect ratio is simply width divided by height, reduced to small whole numbers. A frame 6,000 pixels wide and 4,000 tall is 3:2. The same frame turned on its side is 2:3. Sometimes ratios are written as a single number against 1, so 3:2 becomes 1.5:1 and 16:9 becomes roughly 1.78:1. Both forms mean the same thing.
Most photographic ratios come from the physical formats cameras and film were built around:
- 3:2 is the shape of a 35mm film frame, which measures 36 by 24 millimetres. Most interchangeable-lens digital cameras, both full frame and APS-C, kept that shape.
- 4:3 is the shape of Four Thirds sensors, most phone cameras and many compact cameras. It is slightly squarer than 3:2.
- 1:1 is the square frame of 6×6 medium format film, used for decades in twin-lens and other roll-film cameras.
- 4:5 comes from large format sheet film measuring 4 by 5 inches, and it matches common print sizes such as 8×10 and 16×20 inches.
- 16:9 is the standard for high definition video and most televisions and computer screens.
A note on a common mix-up: the shape of your sensor has nothing to do with its size. A full frame sensor and an APS-C sensor are both 3:2, even though one is much larger. Size affects crop factor and field of view. Aspect ratio only describes shape.
What each ratio does to a composition
Every frame shape has a character. The table below summarises how each common ratio tends to behave, and what it suits. These are tendencies, not rules.
| Ratio | How it feels | Often suits |
|---|---|---|
| 1:1 | Still, balanced, centred | Symmetry, portraits, graphic shapes, minimal scenes |
| 4:5 | Compact, intimate, close to the subject | Portraits, still life, prints on the wall |
| 4:3 | Slightly roomier than 4:5, easy to fill | Everyday scenes, travel, landscapes with a strong foreground |
| 3:2 | A natural rectangle with a sense of space | General photography, street, landscape, sport |
| 16:9 | Cinematic, horizontal, moving | Wide landscapes, cityscapes, scenes with lateral action |
| 2:1 | Clearly wide, calm and sweeping | Horizons, coastlines, groups of subjects spread across a scene |
| 3:1 and wider | Panoramic, the eye has to travel | Skylines, mountain ranges, long views |
Square: stillness and balance
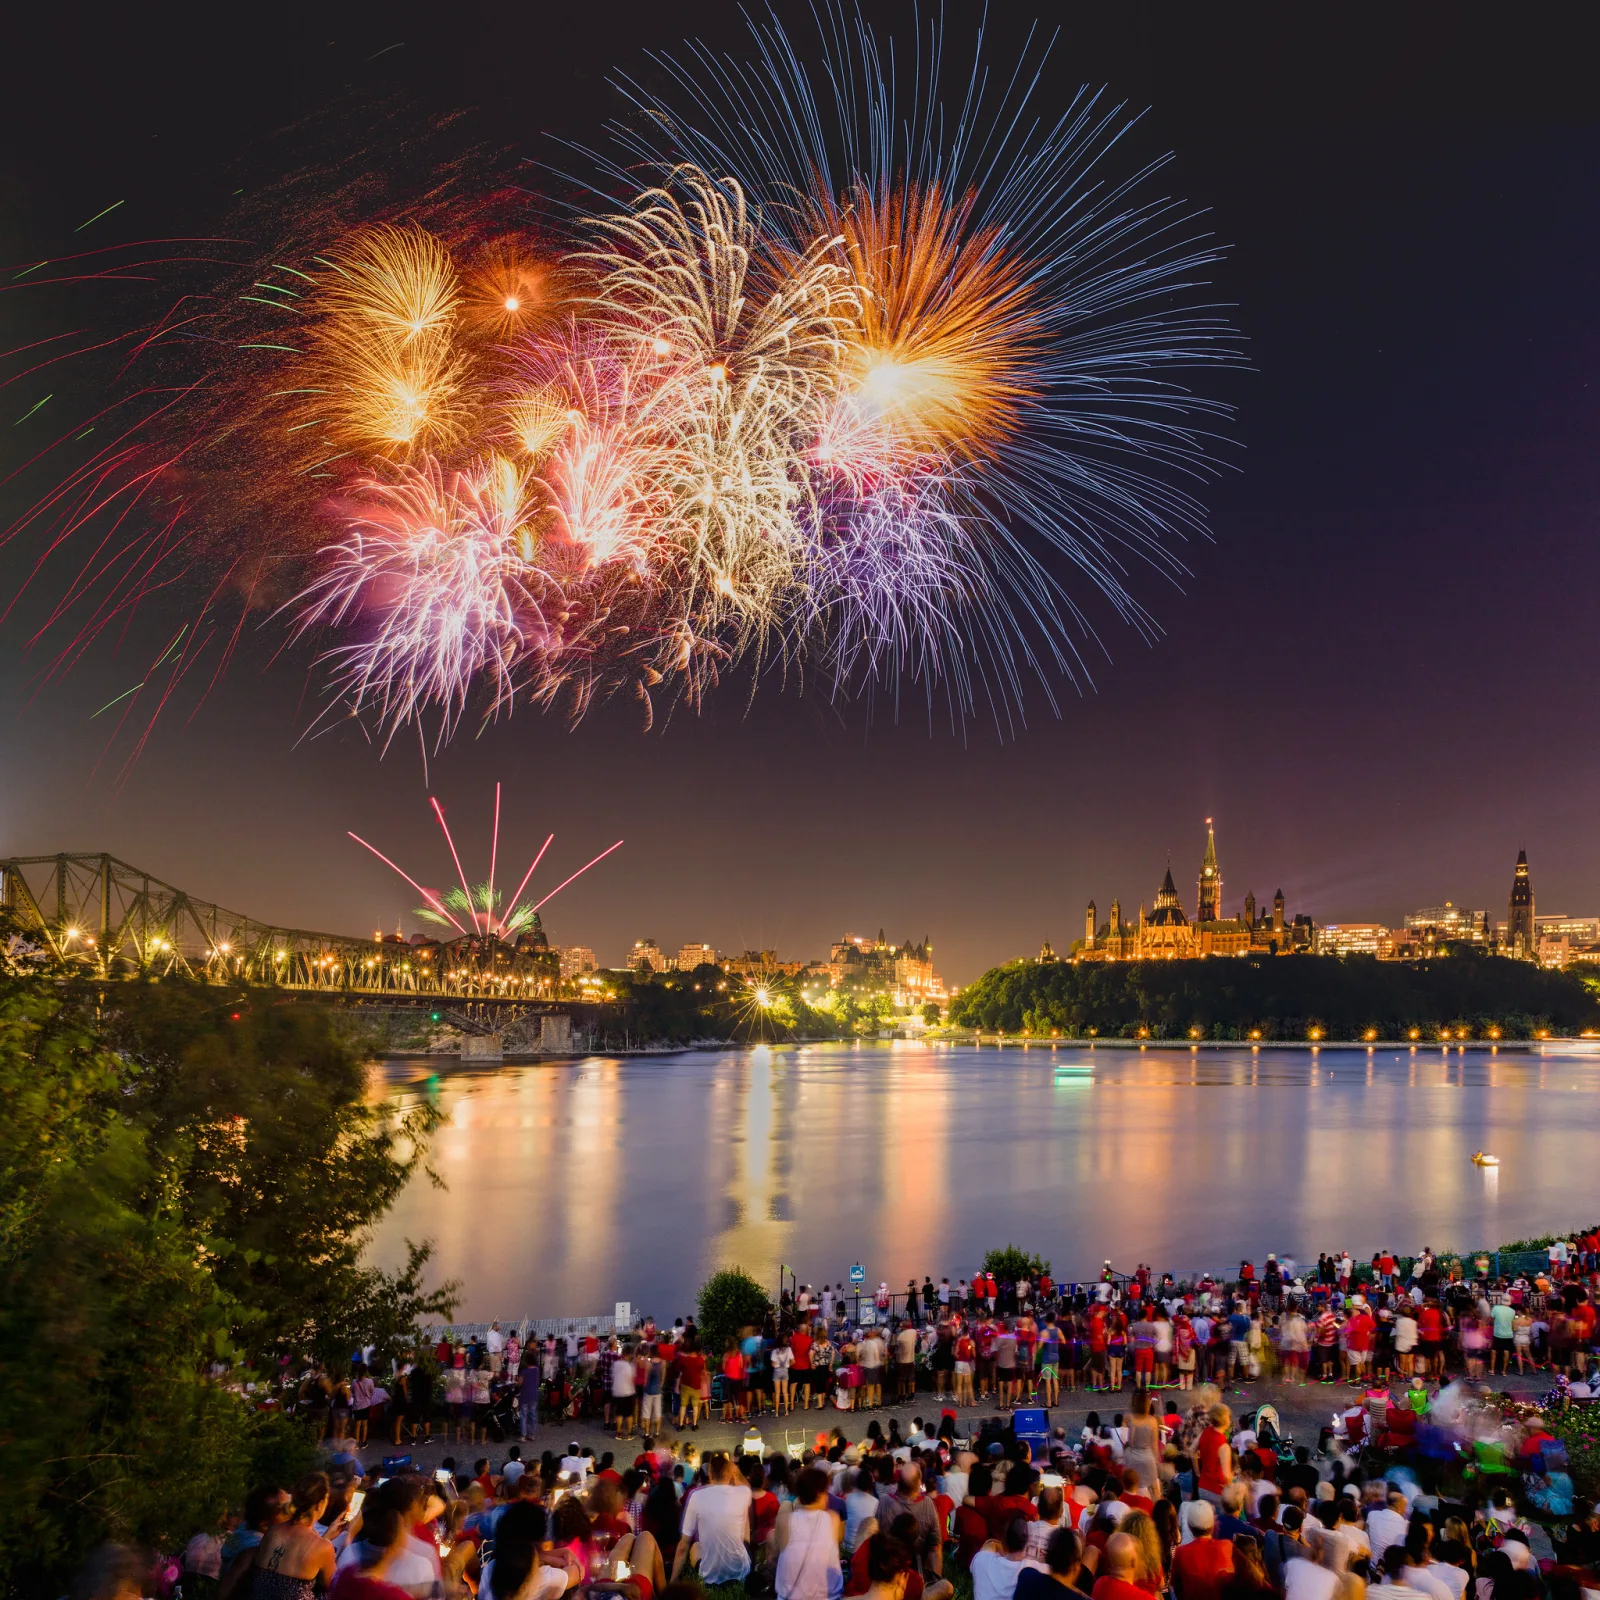
A square has no dominant direction, so the eye tends to circle around it rather than sweep across it. That makes the square good for calm, centred compositions and for strong symmetry, which can look static in a rectangle but feels settled in a square. Placing a subject in the dead centre, which is often weak in a 3:2 frame, can work well here. The square is harder with subjects that are strongly horizontal or vertical, because it cuts off their length.
4:5 and 4:3: compact frames that fill easily
These squarer rectangles hold a subject tightly. There is less empty space at the ends of the frame, so portraits and still life feel close and complete. In landscapes, a 4:3 or 4:5 frame used vertically gives room for a strong foreground and a sky without the long, thin feel of a vertical 3:2.
3:2: the flexible default
3:2 is long enough to suggest space and direction but not so long that it becomes hard to fill. It works well with the rule of thirds and gives a moving subject room to move into. Used vertically, 3:2 becomes quite tall and suits standing figures, trees and buildings.
16:9, 2:1 and panoramic: space and movement
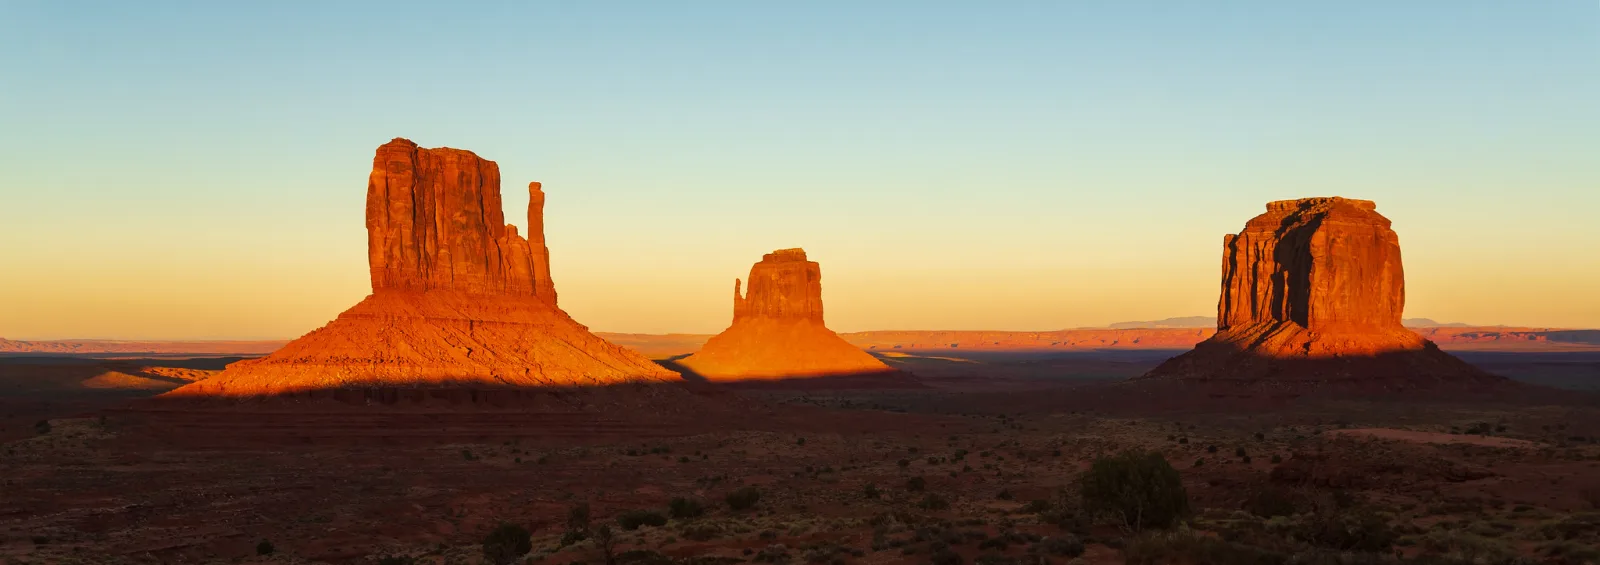
The wider the frame, the more it emphasises horizontal lines and lateral movement. Wide frames make a landscape feel expansive and a street feel cinematic. The risk is empty space: a 16:9 or 2:1 frame needs interest spread across its width, or the ends of the picture feel like padding. At 3:1 and beyond, the viewer can no longer take in the whole frame at once. The eye travels, which suits long views like mountain ranges and city skylines, where there is something to discover along the way. The guide to panorama photography covers stitching several frames into a very wide image.
Orientation: turning the frame on its side
Orientation is part of aspect ratio. A 3:2 frame held horizontally and the same frame held vertically are two different compositional tools.
- Horizontal frames echo the horizon and feel stable. They suit wide scenes, groups and anything that moves across the frame.
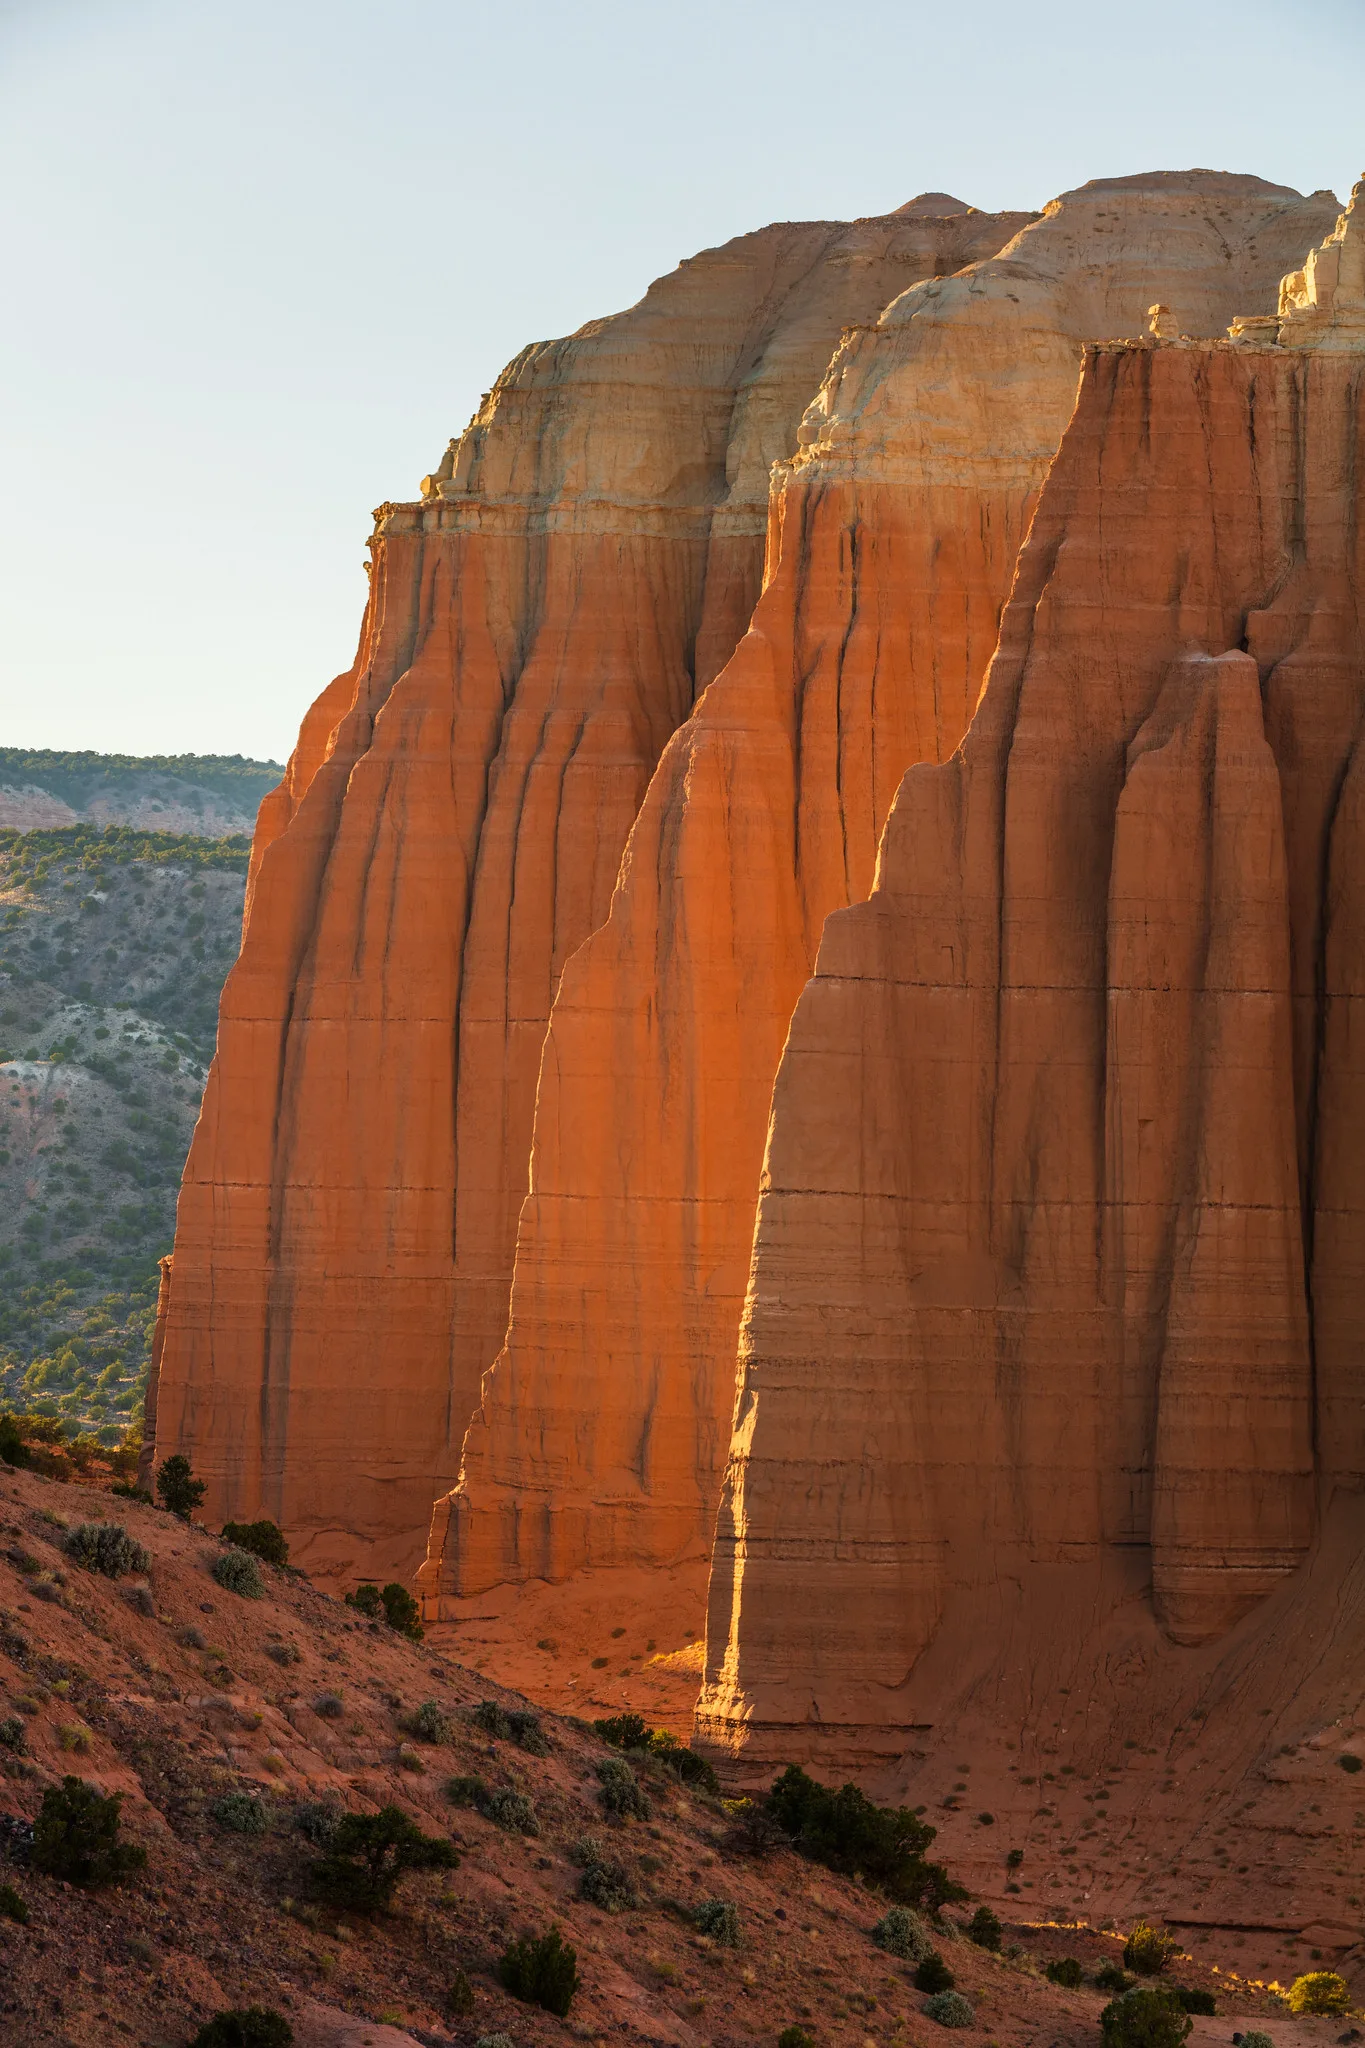
- Vertical frames stress height and depth. They suit tall subjects, and they turn a road, river or path into a line that climbs up through the picture, pulling the eye from the foreground to the distance.
A useful habit is to shoot every strong scene both ways. Vertical frames are underused by most beginners because cameras are designed to be held horizontally, yet many scenes, especially those with leading lines running away from you, are stronger vertically.
Framing in camera versus cropping later
You can arrive at an aspect ratio two ways: by setting it in camera and composing to it, or by shooting the sensor’s native ratio and cropping afterwards. Both are valid, and each has a cost.
Setting the ratio in camera
Most cameras let you choose an aspect ratio such as 1:1, 4:3 or 16:9, and they show the new frame edges in the viewfinder or on the screen. The benefit is that you compose to the real final shape, so you place subjects, edges and empty space deliberately. On many cameras the raw file still contains the whole sensor area and only records your chosen crop as a setting, so you can change your mind later. JPEG files, by contrast, are saved at the chosen ratio and the rest is discarded. Check how your camera handles this before relying on it.
Cropping afterwards
Cropping gives you freedom to decide later, and it is the right tool when you do not know the final use. The cost is resolution: any ratio different from the sensor’s native shape discards part of the frame. The page on cropping covers the technique in more detail. The table below shows what happens to a 24 megapixel 3:2 image of 6,000 by 4,000 pixels.
| Cropped to | Pixel dimensions | Resolution kept |
|---|---|---|
| 3:2 (native) | 6,000 x 4,000 | 24 MP (100%) |
| 16:9 | 6,000 x 3,375 | 20.25 MP (about 84%) |
| 4:3 | 5,333 x 4,000 | 21.3 MP (about 89%) |
| 4:5 | 3,200 x 4,000 | 12.8 MP (about 53%) |
| 1:1 | 4,000 x 4,000 | 16 MP (about 67%) |
Note the 4:5 row: to get a horizontal 4:5 from a horizontal 3:2 frame you lose almost half the image. Shooting vertically for a vertical 4:5 is far more efficient. A vertical 3:2 frame of 4,000 by 6,000 pixels cropped to 4:5 becomes 4,000 by 5,000, keeping 20 megapixels.
The practical rule: if you know the final shape, compose for it in camera, or at least leave room around the subject so a crop does not cut into anything important. If you do not know, compose a little loosely and crop later.
Print sizes and the ratios hidden inside them
Many standard print sizes do not share the 3:2 shape of most camera files, which is why prints so often come back with a head or a horizon trimmed. Before ordering a print, check its ratio against your file.
| Print size (inches) | Ratio | Fit with a 3:2 file |
|---|---|---|
| 4 x 6 | 3:2 | Exact fit, no crop |
| 5 x 7 | 7:5 (1.4:1) | Loses about 7% of the long side |
| 8 x 10 | 5:4 (1.25:1) | Loses about 17% of the long side |
| 8 x 12 | 3:2 | Exact fit |
| 11 x 14 | about 1.27:1 | Loses about 15% of the long side |
| 12 x 18 | 3:2 | Exact fit |
| 16 x 20 | 5:4 | Loses about 17% of the long side |
| 20 x 30 | 3:2 | Exact fit |
| A-series paper (A4, A3) | about 1.41:1 | Loses about 6% of the long side |
Take 8×10 as a worked example. A 3:2 file printed 8 inches tall would naturally be 12 inches wide. To fit a 10 inch width, 2 of those 12 inches, about one sixth, must be cut from the ends. If your subject sits near the edge of the frame, that crop removes it. There are three ways to handle this: crop the file yourself so you choose what is lost, order a print size that matches 3:2, or print the full 3:2 image on the larger paper with a white border, which is common for fine art prints. The print size calculator and the guide to preparing photos for print help with the details.
A-series paper follows a ratio of the square root of 2 to 1, about 1.41:1. It was chosen because cutting a sheet in half produces two sheets of the same shape, which is why A4 folded in half has the same proportions as A5.
Choosing a ratio for a specific photograph
When you are unsure which shape to use, work through these questions in order:
- What is the main direction of the subject? A wide range of hills runs horizontally. A single tree, a waterfall or a standing person runs vertically. A face or a flower has no strong direction and suits squarer frames.
- How much empty space does the idea need? Negative space used to show isolation or scale needs room, often a wider frame. A tight, detailed subject is weakened by extra space.
- Where will the picture live? A print for an 8×10 frame, a screen at 16:9 or a book with square pages all push toward a particular shape. Compose for the destination if you know it.
- What does the edge cut off? Every ratio includes some things and excludes others. Try the frame at several shapes and ask which version leaves out distractions while keeping what matters.
Some photographers work in one ratio for an entire project, which gives a series a consistent look. A set of square portraits, or a set of wide 2:1 landscapes, reads as a body of work rather than a collection of separate pictures.
Common mistakes
- Never thinking about ratio at all. Every picture ends up in the sensor’s native shape even when the subject wants something else. Fix: for each scene, ask whether the subject is wide, tall or compact before you frame it.
- Ordering prints without checking the ratio. Heads, feet and horizons get trimmed. Fix: crop to the print ratio yourself, or choose a print size that matches your file.
- Cropping a horizontal frame into a vertical. You lose half or more of the resolution. Fix: turn the camera when the subject is vertical.
- Filling a wide frame with nothing. A 16:9 or 2:1 crop with empty ends feels padded. Fix: go wide only when there is interest across the whole width.
- Framing too tightly for the final use. A frame composed edge to edge in 3:2 has no room to become 4:5 later. Fix: leave a margin around the subject when you know the picture may be printed at a squarer size.
- Confusing aspect ratio with crop factor. One is shape, the other is size. Fix: remember that sensors of very different sizes can share the same 3:2 ratio.
Try this
Pick one subject near home, such as a tree, a doorway or a street corner, and spend twenty minutes photographing it in four shapes. If your camera can set the ratio, switch between 1:1, 4:5 or 4:3, 3:2 and 16:9, recomposing each time rather than just changing the setting. Then turn the camera vertical and repeat the squarer and taller shapes.
Line the results up side by side. Notice which frames needed you to move your feet, which forced you to leave something out, and which one feels right for the subject. Most people find that one or two shapes are clearly stronger, and that the native 3:2 is not always the winner.
Frequently asked questions
What aspect ratio is 35mm film?
3:2. A 35mm frame measures 36 by 24 millimetres, and most interchangeable-lens digital cameras kept that shape.
What ratio is an 8×10 print?
5:4, often written 4:5 for a vertical print. It is squarer than a 3:2 camera file, so about one sixth of the long side is cropped away unless you print with a border.
Should I shoot in 3:2 and crop later, or set the ratio in camera?
Set it in camera when you know the final shape, because composing to the real frame gives better results. Shoot the native ratio and crop later when you are not sure how the picture will be used.
Is 4:3 better than 3:2?
Neither is better. 4:3 is slightly squarer and easier to fill, which suits portraits and compact subjects. 3:2 is slightly longer, which suits wide scenes and subjects with direction.
Does the golden ratio make a good aspect ratio?
The golden ratio is about 1.62:1, which sits between 3:2 and 16:9. Some photographers like it, but there is no evidence it is inherently more pleasing than other shapes. The page on the golden ratio in photography explains the idea.
Related guides
- Cropping: how to crop without weakening a picture.
- Composition: the wider set of decisions a frame shape belongs to.
- Panorama photography: making very wide frames by stitching several images.
- Print size calculator: working out how large a file can be printed.
- Preparing photos for print: sizing, sharpening and cropping for paper.
- Negative space: using empty areas, which frame shape strongly affects.
- Crop factor: the sensor size concept often confused with aspect ratio.
- Fill the frame: when tight framing strengthens a subject.