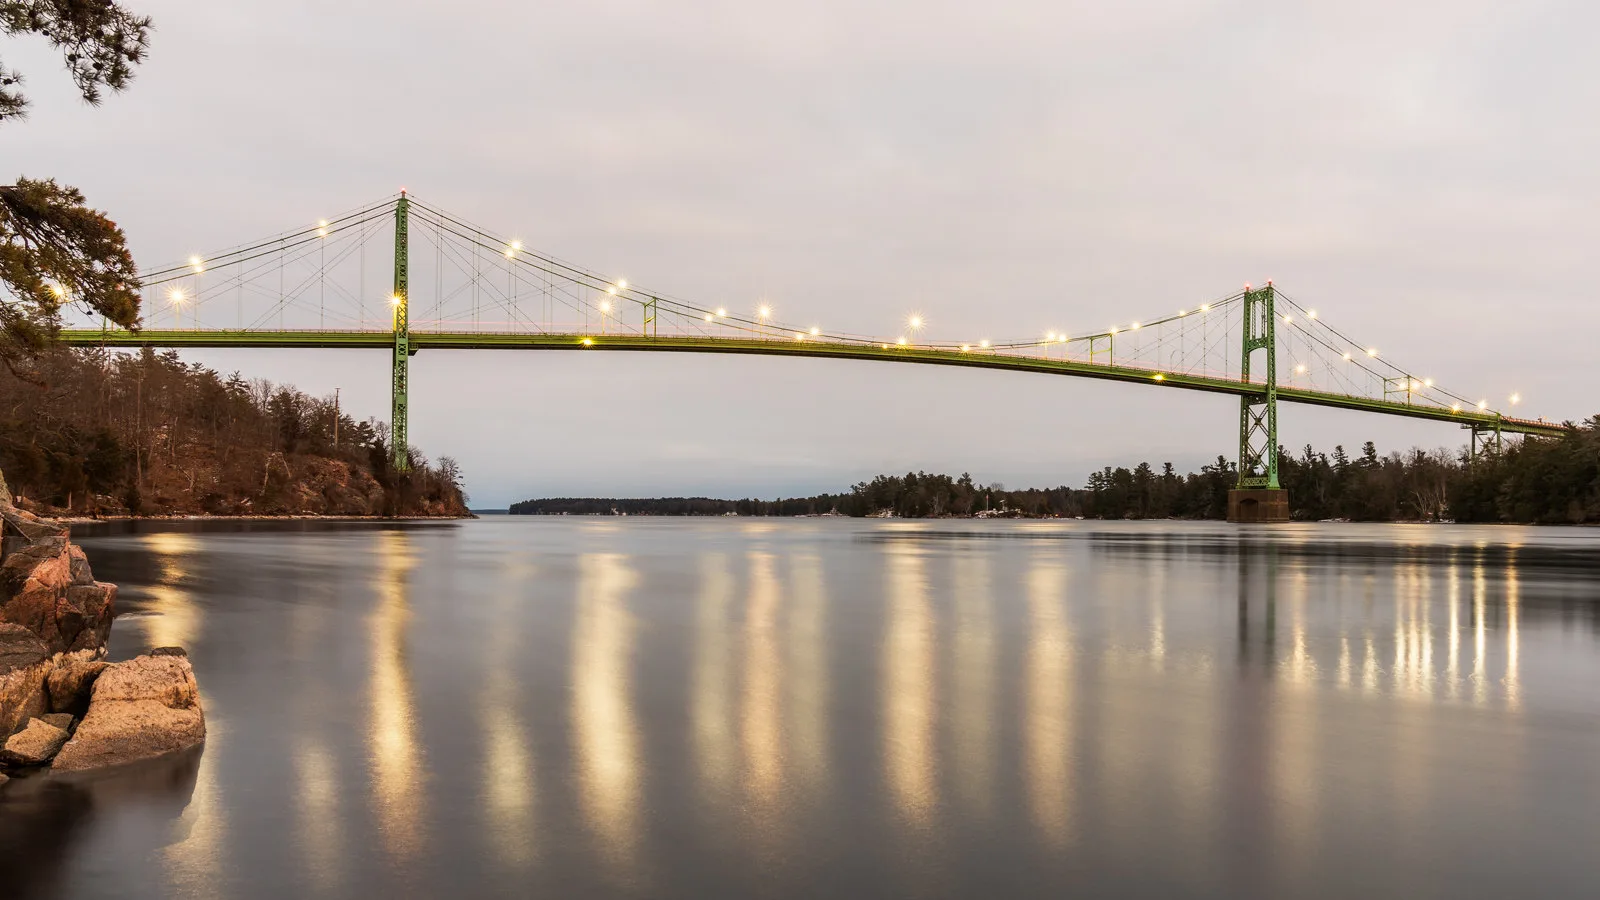
Most photographs are one exposure, made in a fraction of a second at settings the camera chose. The techniques on this page are what you reach for when that is not enough: when the scene is too bright or too contrasty for one frame, when you need more depth of field than any aperture gives, more width than your lens sees, motion frozen faster than the shutter can, or light where there is none. Each one solves a specific problem, and knowing the problem is how you know which one to use.
They fall into four families: controlling time, combining several frames into one, placing focus exactly where you want it, and shaping light instead of accepting it. Each section below is a short, working summary with settings to start from, and a door to the page that covers that technique in full. None of them needs exotic gear. Most need a tripod, a camera you can set by hand, and a clear idea of what is wrong with the picture you would otherwise get.
- Snow comes out gray, a dark stage comes out washed out: Technique: Manual exposure and the histogram. What it needs: Any camera with manual mode. Start from: Histogram close to the right edge without touching it.
- Water and clouds look busy, but daylight is too bright for a slow shutter: Technique: Long exposure with an ND filter. What it needs: Tripod, ND filter. Start from: 10-stop ND, 30 seconds or longer.
- A night scene needs light or shapes that are not there: Technique: Light painting. What it needs: Tripod, flashlight. Start from: ISO 100, f/8, 30 seconds.
- A splash or a wingbeat is too fast for the shutter: Technique: Freezing motion with flash. What it needs: Flash. Start from: Dark room, flash at 1/16 to 1/32 power.
- The sky is white or the shadows are black, whatever you do: Technique: Bracketing and exposure blending. What it needs: Tripod helps. Start from: 3 to 5 frames, 1 to 2 stops apart.
- Close up, even f/16 will not get the subject sharp front to back: Technique: Focus stacking. What it needs: Tripod. Start from: f/5.6 to f/8, focus steps that overlap.
- The lens is not wide enough, or you need more resolution: Technique: Stitched panorama. What it needs: Tripod, ideally a panoramic head. Start from: Manual exposure, 30 to 50 percent overlap.
- Two ideas belong in one picture: Technique: Multiple exposure. What it needs: Multiple exposure mode, or editing software. Start from: A silhouette plus a texture.
- The foreground rock and the far hills cannot both be sharp: Technique: Hyperfocal focusing. What it needs: Nothing extra. Start from: Focus at the hyperfocal distance for your lens and aperture.
- Moving subjects drift out of focus: Technique: Back-button focus and tracking. What it needs: Continuous autofocus. Start from: Continuous AF on a rear button.
- Buildings lean backward, or the plane of focus is in the wrong place: Technique: Tilt and shift. What it needs: Tilt-shift lens. Start from: Shift to keep verticals straight; tilt to angle focus.
- The light on a face is flat or harsh: Technique: Off-camera flash balanced with ambient light. What it needs: Flash, trigger, stand. Start from: Set the background with shutter speed, then add flash.
- You want a scene the eye cannot see: Technique: Infrared. What it needs: Converted camera or IR filter. Start from: Bright sun, custom white balance off grass.
Start from the problem in the picture
Every technique here does one of two things. Either it takes back a decision the camera would make for you, such as how bright the picture is or where focus falls, or it plans a picture across more than one frame or more than one light. That is why they rest on the same ground: you need to know your exposure triangle well enough to predict what a setting will do before you press the shutter, and then you push one variable much further than usual: a two-minute exposure, a stack of forty frames, a flash that lasts less than a thousandth of a second.
The quickest way to get better is not to try all of them. Look at the pictures you already take, find the one thing that keeps spoiling them, and learn the technique that fixes it until you do it without thinking. The table above is arranged that way, problem first.
When the meter gets it wrong: manual exposure and the histogram
The camera’s meter assumes every scene averages out to a middle tone. Snow, white sand and bright skies make it underexpose, so snow comes out gray; black cats and dark interiors make it overexpose. Shooting in manual mode and judging the result from the histogram instead of the rear screen takes the guess out of it, and every technique below that uses more than one frame depends on it, because the exposure has to stay fixed from frame to frame.
- Read the histogram, not the preview. The left edge is pure black, the right edge pure white. Data piled against either wall is detail you have lost.
- Turn on highlight warnings (the “blinkies”) so clipped areas flash on playback.
- When you shoot raw, give the picture as much light as the highlights allow. Shadows lifted from a bright exposure are cleaner than shadows lifted from a dark one, because a brighter exposure collects more light and so carries less noise. The method has its own page: expose to the right.
If you prefer a semi-automatic mode, exposure compensation does the same job: add one to two stops for snow, take one to two away for a dark stage.
Controlling time
A shutter speed is a length of time, and the picture records everything that happens during it. Stretch that time and moving things smear into shapes you cannot see with the eye; shrink it far enough and you see what happens too fast for the eye. Both ends need more than the camera’s automatic settings.
Long exposure in daylight with an ND filter
A slow shutter speed turns moving water into mist, clouds into streaks and busy streets into empty ones, because anything that moves through the frame does not stay in one place long enough to register. At night a slow shutter is easy. In daylight you need a neutral density filter (an ND filter) to cut the light.
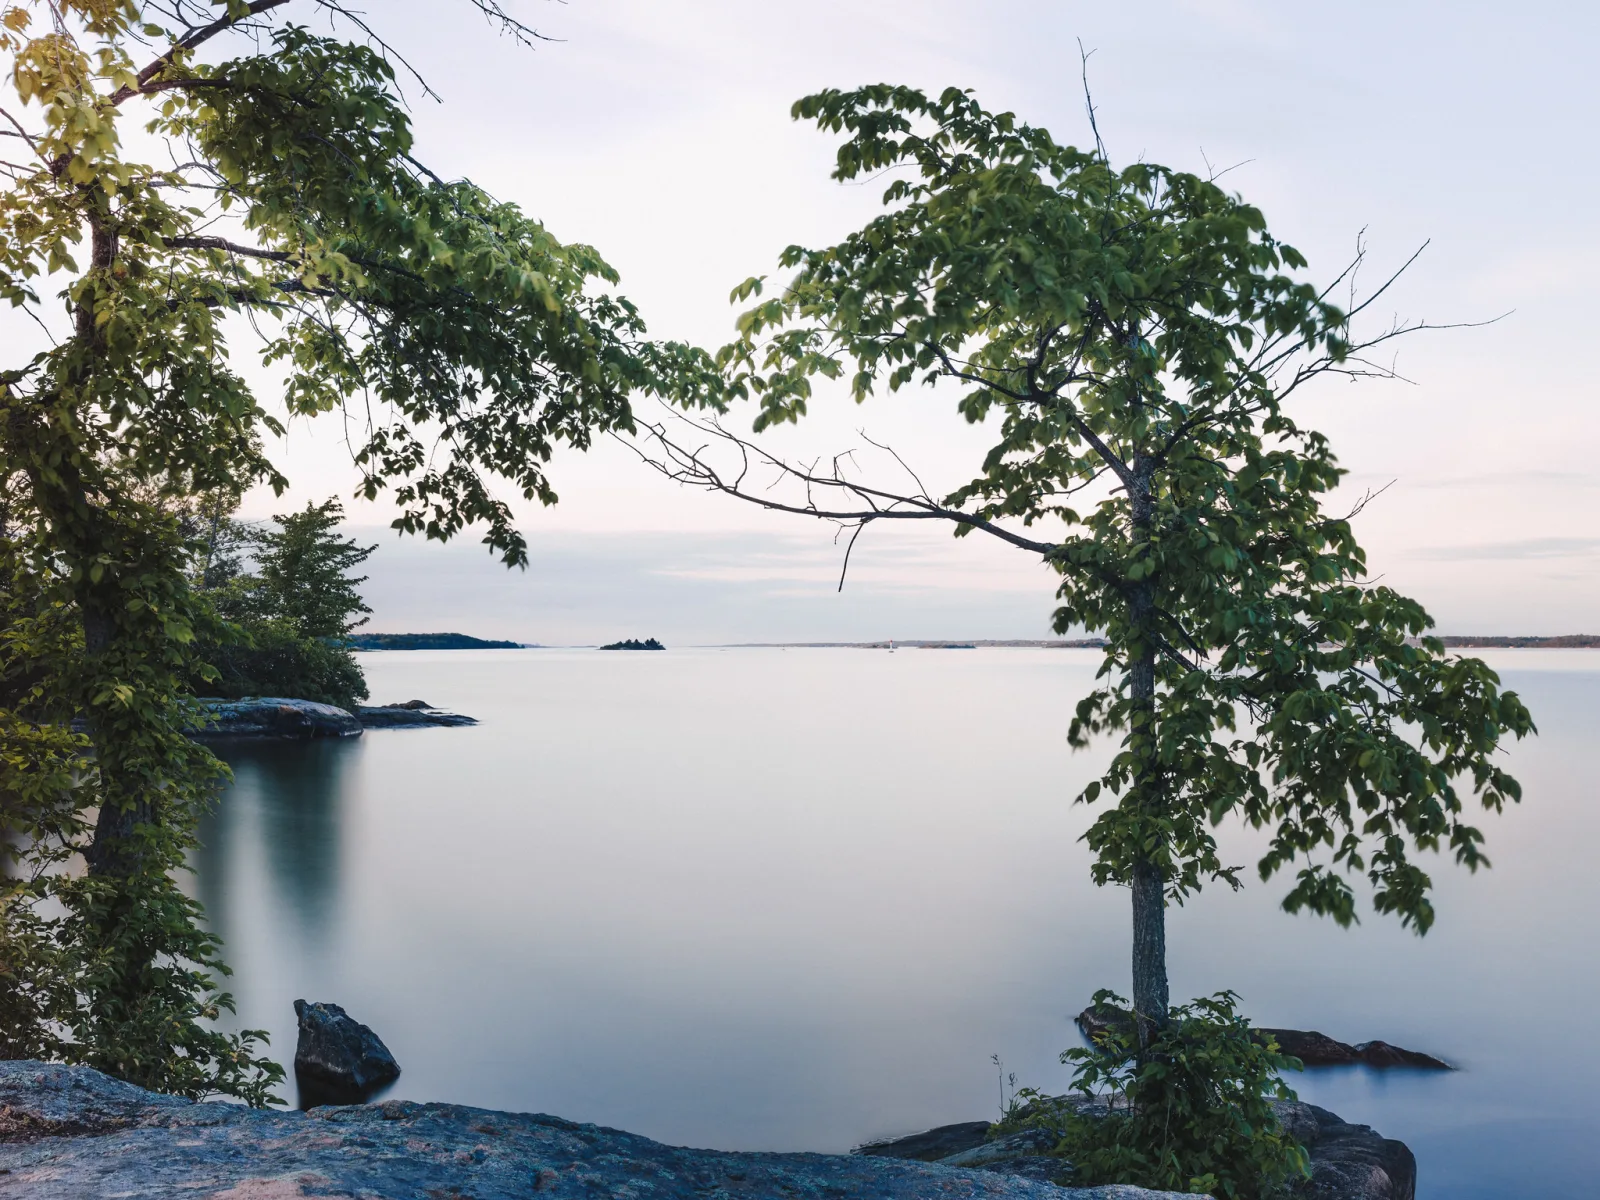
Each stop of ND doubles the exposure time. A 3-stop filter multiplies it by 8, a 6-stop filter by 64 and a 10-stop filter by 1,024. So a scene that meters at 1/30 second needs 1,024 times as long behind a 10-stop filter: 1,024 divided by 30, about 34 seconds.
- Mount the camera on a tripod, compose and focus with no filter on.
- Switch to manual focus so the camera does not hunt once the filter darkens the view.
- Meter without the filter, then multiply the shutter time by the filter factor.
- Fit the filter, cover the viewfinder eyepiece if your camera has an optical one (light leaking in can fog a long exposure), and fire with a remote or the self-timer.
- Use bulb mode for anything longer than 30 seconds.
The longest exposures many people have seen are in Hiroshi Sugimoto’s Theaters series. Hiroshi Sugimoto left the shutter open for the whole length of a film, so the screen burned to pure white and its light alone drew the empty cinema around it.
Try the arithmetic on a waterfall before you carry a filter outside: this challenge asks for an ND filter of 6 stops or more and a shutter of 2 seconds or longer, correctly exposed.
Want the full method for water, clouds and night trails, and how to choose a filter strength? Long exposure photography covers settings, gear and subjects in detail.
Light painting
Light painting uses a long exposure in the dark and a moving light. You can draw with the light, pointing it at the lens so it leaves a trail, or paint with it, sweeping the beam across a building, a tree or a car to light it selectively. The camera records only where the light went, so a person walking through the frame in dark clothes barely registers.
Start at ISO 100, f/8 and 30 seconds on a tripod, with focus set by hand beforehand using a flashlight on the subject. Change brightness by moving the light faster or slower, and closer or farther, not by changing the camera. Expect several attempts: a light painting is rarely right first time.
Freezing motion faster than the shutter can
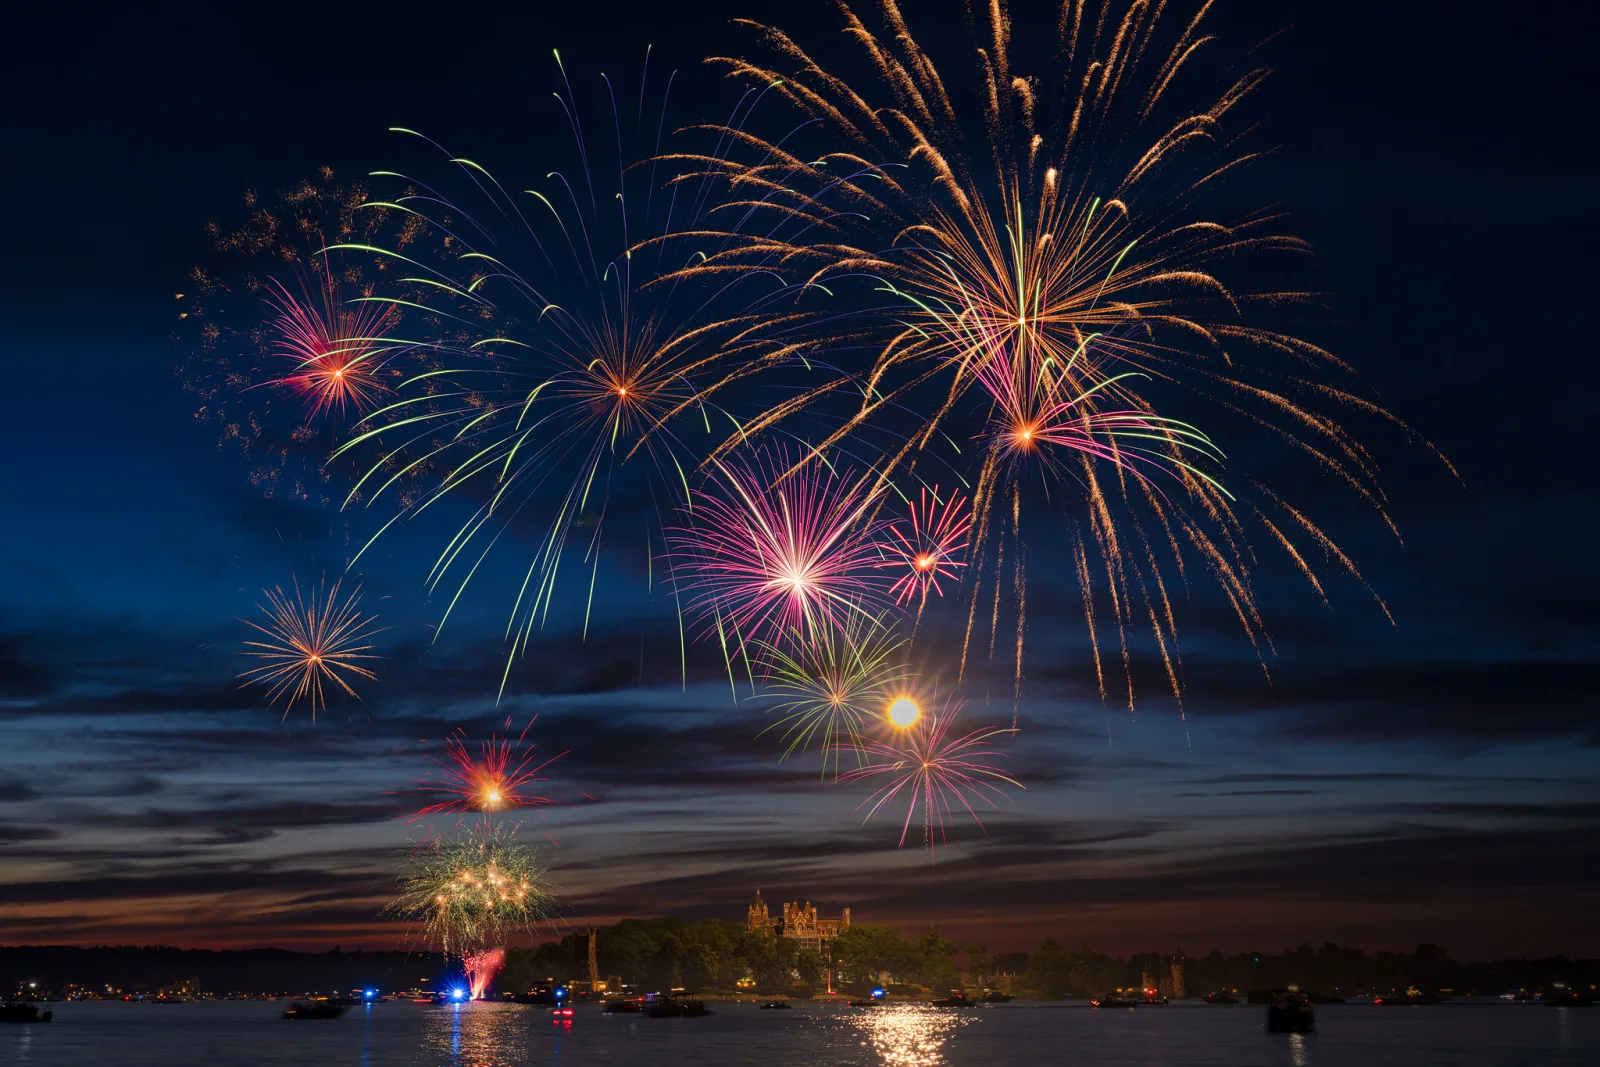
A splash, a breaking glass or a hummingbird’s wing moves too fast for most shutter speeds to freeze cleanly. Flash can, because a small flash at low power fires for a small fraction of a millisecond, often 1/10,000 second or shorter. In a dark room the flash duration, not the shutter speed, becomes the real exposure time. Harold Edgerton, the engineer who built the electronic strobe into a photographic tool, used exactly this to show a milk drop landing as a crown and a bullet passing through an apple.
- Darken the room so ambient light adds no blur.
- Set manual exposure: ISO 100 to 200, f/8 to f/11 for depth of field, shutter at sync speed or slower.
- Set the flash to manual at low power, such as 1/16 or 1/32. Lower power means a shorter flash and sharper motion.
- Prefocus by hand on the point where the action will happen, such as a pencil placed where the drop will land.
- Time the shot by hand and expect many misses, or use a sound or light trigger.
Outdoors in daylight, without flash, a shutter speed of 1/2000 second or faster freezes most sport and birds; a splash at close range usually needs the flash method.
Combining several frames into one
Bracketing, focus stacking, panoramas and multiple exposures all ask the same thing of you: make a set of frames that differ in only one way. If exposure, focus or white balance drifts between frames, the merge shows it. So before any of them, set exposure, focus and white balance by hand, and change only the one thing the technique is about.
Bracketing and exposure blending
A sunset over a dark foreground, or a room with a bright window, holds more contrast than one exposure can record; it is beyond the sensor’s dynamic range. Bracketing solves it: shoot the same frame several times at different exposures, then combine them so each part of the picture comes from the frame that exposed it best.
- Shoot three to five frames one to two stops apart. Check that the darkest frame holds the highlights and the brightest frame shows detail in the shadows.
- Change shutter speed between frames, not aperture, so depth of field stays the same.
- Use a tripod for still scenes. Handheld brackets can work if you shoot a fast burst and let the software align them.
- Merge with automatic HDR software, or blend by hand with masks for full control. Exposure blending by hand usually looks more natural.
The common failure is over-processing: glowing halos along edges, gray skies and flat, crunchy midtones. Aim for a picture that looks the way the scene felt, with shadows that are still darker than the highlights.
Not sure whether a scene needs it at all? What HDR photography is and when to use it explains when one exposure is enough.
Focus stacking
Close up, even f/16 cannot get a whole flower or insect sharp, and stopping down further softens everything through diffraction. Focus stacking takes a series of frames, each focused a little further back, and merges the sharp part of each into one picture.
- Work at the lens’s sharpest aperture, usually f/5.6 to f/8.
- Move focus in small steps so each frame’s sharp zone overlaps the last. A macro subject may need 10 to 50 frames; a landscape with a close foreground often needs 3 to 5.
- Keep exposure, white balance and aperture fixed across the series.
- Avoid wind. Anything that moves between frames leaves ghosted edges.
Many cameras have a focus bracketing mode that steps focus for you. The merge is done in editing software with a focus stacking or “auto-blend” function.
Think you have the step size and the merge worked out? The focus stacking quiz asks the questions that trip people up.
Stitched panoramas
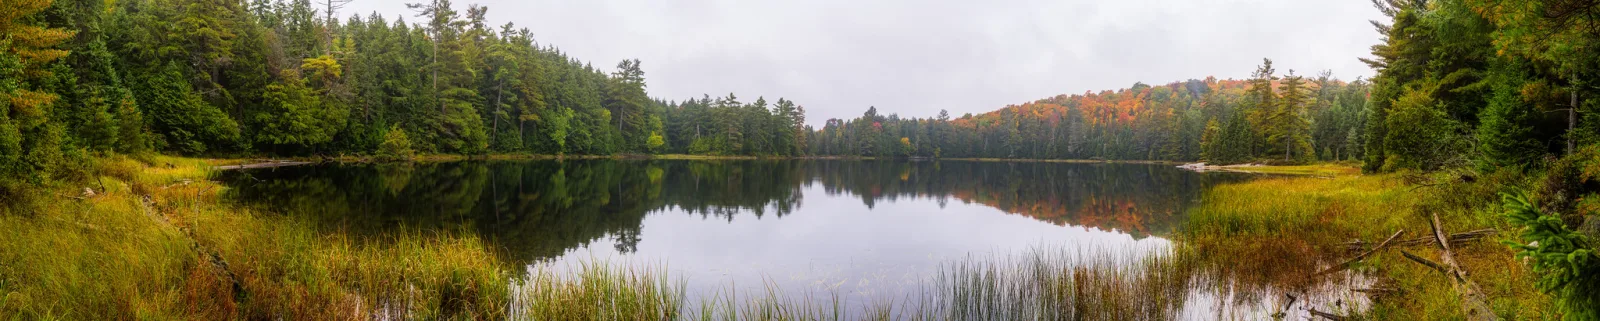
A panorama stitched from several frames gives a wider view than your lens and far more resolution than a single shot. Stitching fails when frames do not line up, so consistency is everything.
- Set exposure, focus and white balance by hand so nothing changes between frames.
- Turn the camera to portrait orientation for more height and more room to crop.
- Overlap each frame by 30 to 50 percent.
- Level the tripod base, not just the camera, so the horizon stays straight as you rotate.
- With close foreground objects, rotate the camera around the lens’s no-parallax point (often called the nodal point) on a panoramic head or a nodal rail. Otherwise near and far objects shift against each other and will not stitch. Parallax explains why.
Multiple exposure
A double exposure layers two pictures in one frame. Bright parts of each frame dominate; dark parts let the other picture show through. That is why the classic pairing is a portrait in silhouette against a bright sky, combined with a texture such as leaves, a skyline or water: the texture fills the dark shape of the head.
Many cameras have a multiple exposure mode that combines frames in camera and shows the first frame as an overlay while you compose the second. You can also blend two frames afterward with a screen or lighten blend mode, which gives more control and lets you try several pairings.
Placing focus where you choose
Hyperfocal focusing
For a landscape with interest from near your feet to the horizon, where you focus matters as much as the aperture. The hyperfocal distance is the closest focus point that still keeps infinity acceptably sharp. Focus there and everything from half that distance to the horizon falls within the depth of field.
The distance depends on focal length, aperture and sensor size. A 24mm lens at f/8 on a full-frame camera has a hyperfocal distance of about 2.4 meters, so focusing there keeps everything from about 1.2 meters to the horizon sharp. Work out your own number with a hyperfocal distance calculator rather than guessing, and check by magnifying both the foreground and the horizon on the rear screen. If the foreground is closer than half the hyperfocal distance, focus stacking is the answer.
Back-button focus and continuous tracking
By default, half-pressing the shutter both focuses and meters. Back-button focus moves autofocus to a rear button and separates the two jobs. Hold the button to track a moving subject in continuous autofocus; let go to lock focus and recompose. One setting now covers both still and moving subjects, and the camera stops refocusing every time you press the shutter.
For action, pair it with continuous autofocus, a zone or tracking area mode and a shutter speed fast enough for the subject: around 1/500 second for people walking or running, 1/1000 second or faster for sport and birds in flight. Start tracking before the moment you want, so the system has locked on when it arrives. How autofocus works explains what the camera is doing while you hold the button.
Tilt and shift
A tilt-shift lens does two jobs. Shift slides the lens parallel to the sensor, so you can include the top of a tall building without tipping the camera back, which keeps vertical lines straight. Tilt angles the plane of focus. Tilting one way can bring a whole receding field into focus at a wide aperture; tilting the other way gives a thin band of sharpness that makes real scenes look like scale models. That miniature effect works best from a high viewpoint looking down on streets, trains or crowds, and can be imitated with a graduated blur in editing.
Shaping light instead of accepting it
Flash on the camera lights the subject straight on, which flattens faces. Moving the flash off the camera, even an arm’s length to one side, gives the face shape and the light a direction. Off-camera flash is the technique that most changes portrait work, and it rests on one idea: two exposures happen at once, and different settings control each.
- Shutter speed controls the ambient light. The flash is so brief that the shutter speed barely changes how bright it looks, as long as you stay at or below the flash sync speed.
- Flash power and flash distance control the flash.
- Aperture and ISO change both.
Work in that order: set the background with shutter speed (often a stop darker than the meter suggests, for drama), then add flash power until the subject looks right. If you need a shutter speed above sync speed, for example to shoot at a wide aperture in bright sun, high-speed sync allows it at the cost of much less flash power. At events or at dusk, the same split lets you drag the shutter: the flash freezes the subject while a slow shutter lets the background glow instead of going black.
Distance is the flash control people underuse, because light from a small source falls off fast. Move the light and watch how much the subject and the background change:
Placing the light is the other half of the craft: short and broad lighting, loop and Rembrandt patterns and how far to feather the light across a face. Lighting setup diagrams draws each pattern from above.
Want to balance flash and daylight with confidence? Balancing flash and ambient light works through the settings with examples.
Seeing light the eye cannot: infrared
Infrared photography records wavelengths just beyond visible red. Leaves reflect infrared strongly and turn white or pale, while blue sky and clear water go dark. You need either a camera converted for infrared or an infrared filter over the lens. With a filter on an unconverted camera, the sensor’s own infrared-blocking filter means exposures run to seconds even in sun, so use a tripod. Set a custom white balance off green grass, and expect to swap color channels in editing for the classic false-color look.
Choosing the one to learn next
Go back to the table and find the row whose first column describes your pictures. Then practice that one technique on several outings until you no longer think about the settings. Shoot the same subject with and without it, compare the two at full size, and write down the settings that worked. A technique you can do on demand changes your pictures; ten you have tried once do not.
Several of these combine. A night landscape might be a hyperfocal focus, a long exposure and a bracket at once; a product shot might be a focus stack lit with off-camera flash. Once two of them are routine, the combinations come on their own.
Common mistakes with these techniques
- Using a technique because it is impressive, not because the picture needs it. A long exposure of a scene with nothing moving is just a slower photo.
- Leaving settings on auto in multi-frame work. Auto white balance or auto exposure changing between frames ruins stacks, panoramas and blends.
- Touching the camera during a long exposure. Use a remote or the self-timer, and turn off lens stabilization on a tripod if your lens’s manual recommends it. Camera shake shows how to spot it.
- Over-processing HDR blends. Halos and gray skies give the method away.
- Stopping down too far. Beyond about f/11 to f/16 on most cameras, diffraction softens fine detail. Stack instead.
- Judging sharpness on the rear screen without magnifying. Zoom in to 100 percent before you leave the scene.
Try this: a 10-minute bracket and blend
Find a window with daylight outside and a dim room inside. Put the camera on a tripod or a steady surface, switch to manual exposure and manual white balance, and take five frames of the same view one stop apart, from dark enough that the outside shows full detail to bright enough that the room’s darkest corner shows detail. Merge them with your editing software’s HDR function, then compare the result with the single best frame.
Judge it three ways. Is there detail both outside the window and in the darkest corner? Are there halos along the window frame? Do the shadows in the room still look darker than the view outside? If all three are right, you have used the histogram, manual exposure and bracketing together. If the merge glows, turn the strength of the HDR processing down before you try again, not the number of frames.
Questions people ask about these techniques
Which photography technique should I learn first?
The one that fixes a problem you keep seeing in your own pictures. If you have no single problem, start with manual exposure guided by the histogram, because every multi-frame technique depends on knowing exactly how bright the picture will be and keeping that fixed across frames.
Do these techniques need expensive gear?
Most need a tripod and a camera with manual control. ND filters, a flash with a trigger and a panoramic head add options, but bracketing, hyperfocal focusing, light painting and focus stacking can all be done with the camera and a tripod alone.
Can I do these on a phone?
Most phones already merge several frames on their own when you take a picture, and many have panorama and night modes that stack frames. Apps that allow manual exposure, raw files and long shutter times let you try long exposure and light painting on a phone held on a small tripod. Off-camera flash and real tilt and shift need a camera.
What is the difference between HDR and exposure blending?
Both combine bracketed frames. HDR software merges the frames and tone-maps the result automatically across the whole picture; exposure blending takes each area from the frame that exposed it best, usually by hand with masks, which tends to look more natural.
How do I know when a technique is needed?
When the picture you want and the picture one exposure gives you differ in a way no single setting fixes. If the highlights clip at any setting that holds the shadows, bracket; if no aperture gets the subject sharp, stack; if no lens is wide enough, stitch.