To use Capture One, first choose where the work lives: a session (one self-contained folder per shoot) or a catalog (one database for a whole library). Import, cull with stars and colour tags, then edit in pipeline order: base characteristics and lens corrections, white balance, exposure and the high dynamic range sliders, colour, then local changes on layers. Copy the adjustments across the shoot and export through process recipes.
This guide teaches that workflow from start to finish, with the reasons for each step. For skin work in detail, continue to how to retouch fashion portraits in Capture One; if you are arriving from Adobe’s catalog, Lightroom for beginners describes the model you are used to, and this page explains where Capture One differs. Tool tabs can be rearranged and their default layout changes between versions, so tools are named here, not positioned. Search the tool list by name if one is not where you expect.
Sessions and catalogs: two ways to hold your files
Every Capture One document is one of two types, and you pick when you create it.
A session is a folder. Inside it are a small session file and a set of subfolders. The images, the adjustments and the exports all sit inside that one folder, so the whole job can be copied to another drive, handed to a retoucher or archived as a unit. Sessions suit work that has a clear beginning and end: a commission, a trip, a single day’s shooting.
A catalog is a database. It records where each image is and holds every adjustment, rating and keyword inside the catalog file itself. Images can stay where they already are on your drives (referenced) or be copied inside the catalog (managed). Catalogs suit a long-running library you want to search across years.
| Question | Session | Catalog |
|---|---|---|
| Where are adjustments saved? | In a CaptureOne subfolder beside the images | Inside the catalog database |
| Must you import? | No. You can browse any folder on the computer | Yes. Only imported images appear |
| Moving the job to another computer | Copy the session folder | Copy the catalog and, if referenced, the image folders too |
| Searching across many shoots | Weak: each session is separate | Strong: filters and smart albums cover everything |
| Typical use | Client jobs, tethered shoots, trips | Personal archive, stock library, portfolio |
Many photographers use both: a session for each shoot while it is active, and a catalog that the finished selects are imported into later. Either way the original files are never altered. Adjustments are stored as instructions, which is the principle described in non-destructive editing.
Inside a session: Capture, Selects, Output and Trash
A new session creates four subfolders, each with a fixed role:
- Capture receives new images, whether imported from a card or shot tethered.
- Selects is for the keepers. A single command moves the selected image there.
- Output is the default destination for exported files.
- Trash is the session’s own bin. Deleting an image in a session moves the file here, not to the system trash, so it is recoverable until you empty it.
These are ordinary folders on disk. You can add more capture folders (one per look or per day), and set any of them as the current Capture or Selects folder. Folders you visit often can be pinned as session favourites. Session albums and smart albums, by contrast, are virtual: a smart album such as “five stars” gathers matching images from the session folders without moving anything.
The detail that matters most is the hidden CaptureOne subfolder that appears inside every folder of images you have viewed. It holds the previews and the settings files for those images. If you copy only the raw files out of a session, the adjustments stay behind. Copy the folder with its CaptureOne subfolder, or copy the whole session.
Importing, culling and rating
The import dialog asks four things worth setting deliberately:
- Destination. In a session, the Capture folder. In a catalog, either the current location (referenced) or a dated folder structure you define.
- Backup. A second copy written to another drive during import. Use it; it costs nothing but time.
- Naming. A format built from tokens such as job name, date and a counter. Naming conventions are discussed in how to organise photos.
- Metadata and styles. Copyright and contact fields can be filled automatically, and a style can be applied to every image as it arrives.
For tethered work there is no import: the camera writes straight into the Capture folder, and the next-capture tools control naming and whether each new frame inherits the adjustments of the last. The setup is covered in tethered shooting.
Cull before you edit. The number keys set star ratings and colour tags are assigned with their own shortcuts, and the filters tool in the library then shows, say, only three stars and above. Two viewing aids speed the job. The focus mask overlays a colour on the areas the program judges sharp, so a missed focus is obvious at thumbnail size. Compare mode pins one image as a reference while you step through its neighbours. The selection method itself is in the photo culling workflow.
The raw pipeline: base characteristics first
Good results depend on the order of work. Changes early in the list alter how later tools respond.
Base characteristics
This tool sets the starting interpretation of the raw file with two menus. The ICC profile is the colour profile for your camera model. The curve is the default contrast: a standard film-like curve, variants with more contrast or more open shadows, and a linear response option that applies no added contrast at all. Linear looks flat but shows everything the sensor recorded, which makes it a useful start for scenes with extreme contrast. Why the default differs from the camera’s own preview is explained in why raw photos look different from the camera preview.
Lens correction, crop and keystone
The lens correction tool applies a profile for the lens where one exists, removing distortion and offering separate sliders for light falloff and sharpness falloff toward the corners, plus chromatic aberration analysis. Then level the frame with the rotation tool. The keystone tool fixes leaning verticals: place its guides along two edges that should be parallel and apply. Crop after these, since each of them changes the usable edges of the frame.
White balance, exposure and high dynamic range
Set white balance with the picker on a neutral area, or with the kelvin and tint sliders. Then use the tonal tools in this order:
- Exposure to place the midtones. The same tool has contrast, brightness and saturation sliders. Brightness moves the midtones while holding the ends, which is gentler than exposure for a small lift.
- High dynamic range, a tool with four sliders: highlight, shadow, white and black. Highlight and shadow recover detail in the bright and dark regions. White and black set the extreme ends.
- Levels to fix the black and white points against the histogram.
- Curve for shaping. Besides the RGB curve there is a luma curve, which changes brightness without also raising saturation, so contrast can be added without colours becoming more intense. Curve basics are in curves and levels.
- Clarity and structure for local contrast. Clarity works on larger shapes, structure on fine texture.
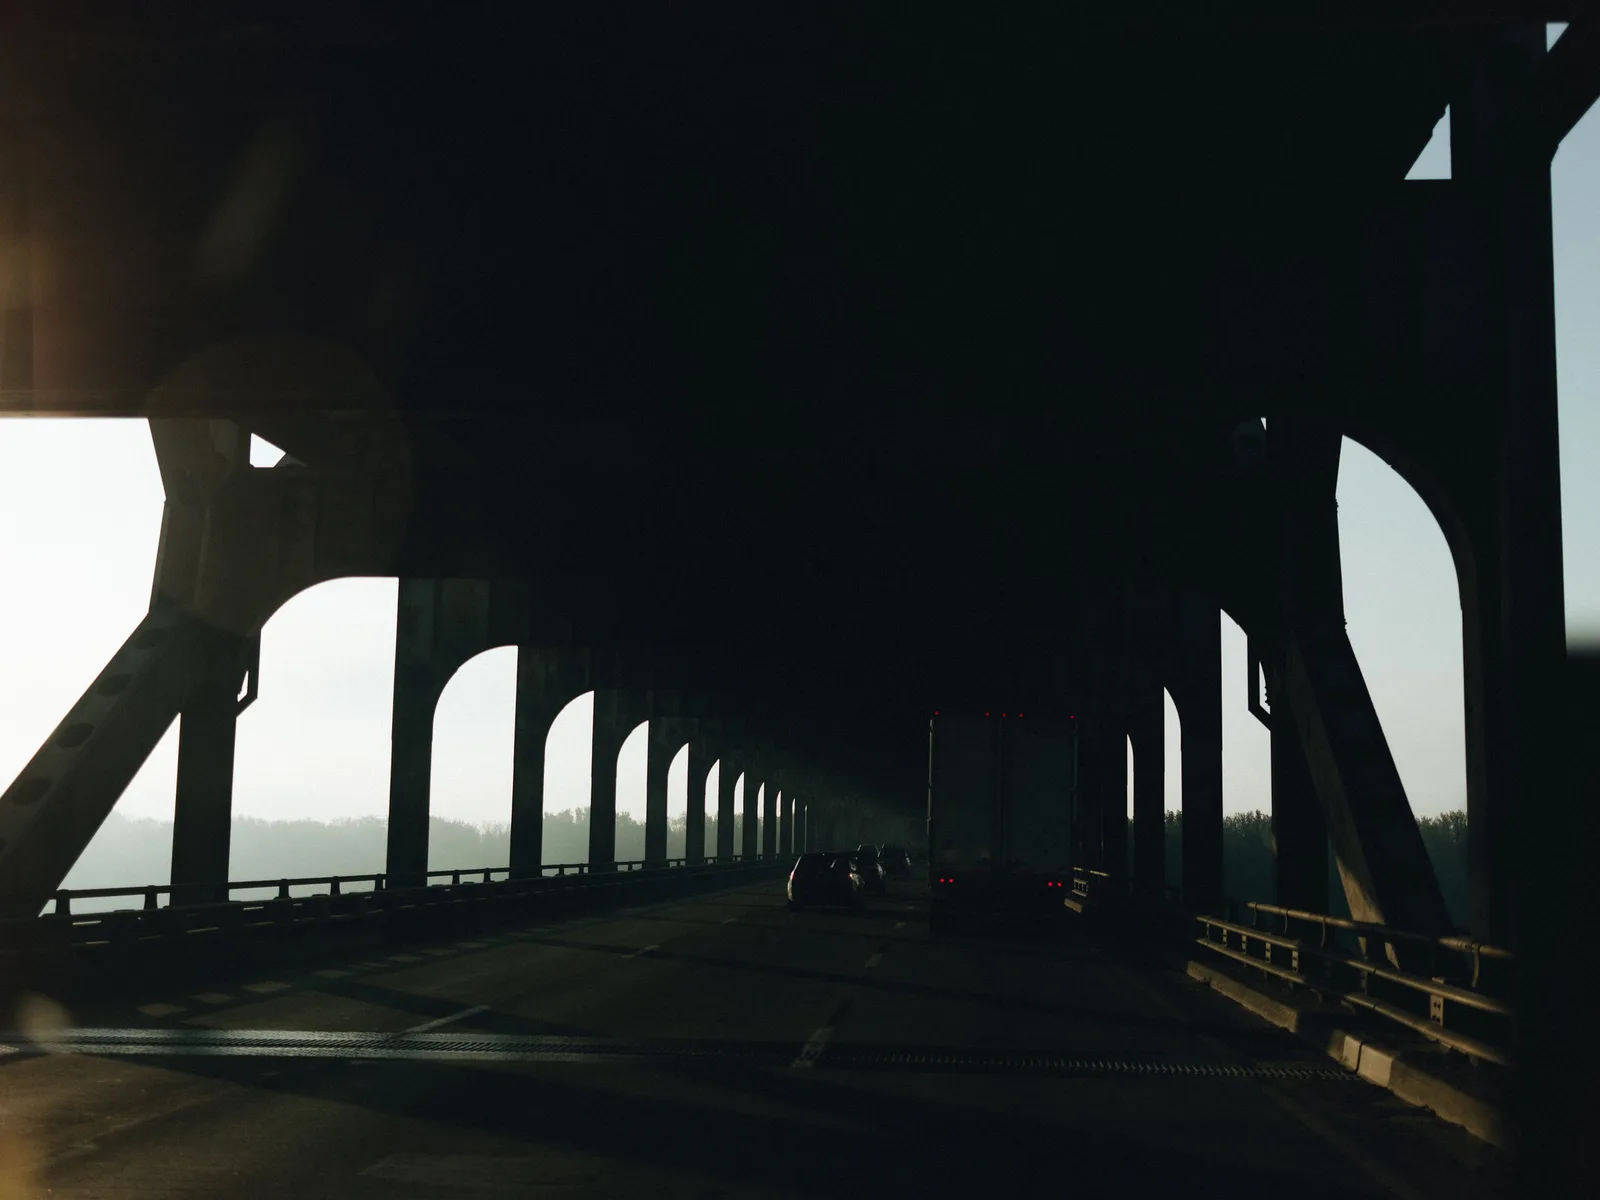
With a frame like this, decide first what the picture is. If the dark structure is the subject, leave it dark, pull the highlight slider down to hold the openings and stop. If you want the concrete readable, raise the shadow slider in steps and check at 100% after each one: the point where grain and colour speckle appear is the limit of the file. Lowering the black slider slightly afterwards restores depth. The exposure side of this trade is covered in dynamic range explained.
Colour: the colour editor and colour balance
Capture One separates colour correction from colour styling, and each has its own tool.
The colour editor changes selected colours. It has three modes:
- Basic divides the spectrum into fixed ranges. Pick a range, or click its picker on the image, and adjust hue, saturation and lightness.
- Advanced starts from a colour you pick on the image and shows it as a wedge on a colour wheel. Drag the wedge edges to widen or narrow the hue range and its saturation limits, and adjust the smoothness of the transition. A “view selected colour range” option turns everything else grey so you can see what will change.
- Skin tone adds uniformity sliders that pull a picked range toward one hue, saturation and lightness.
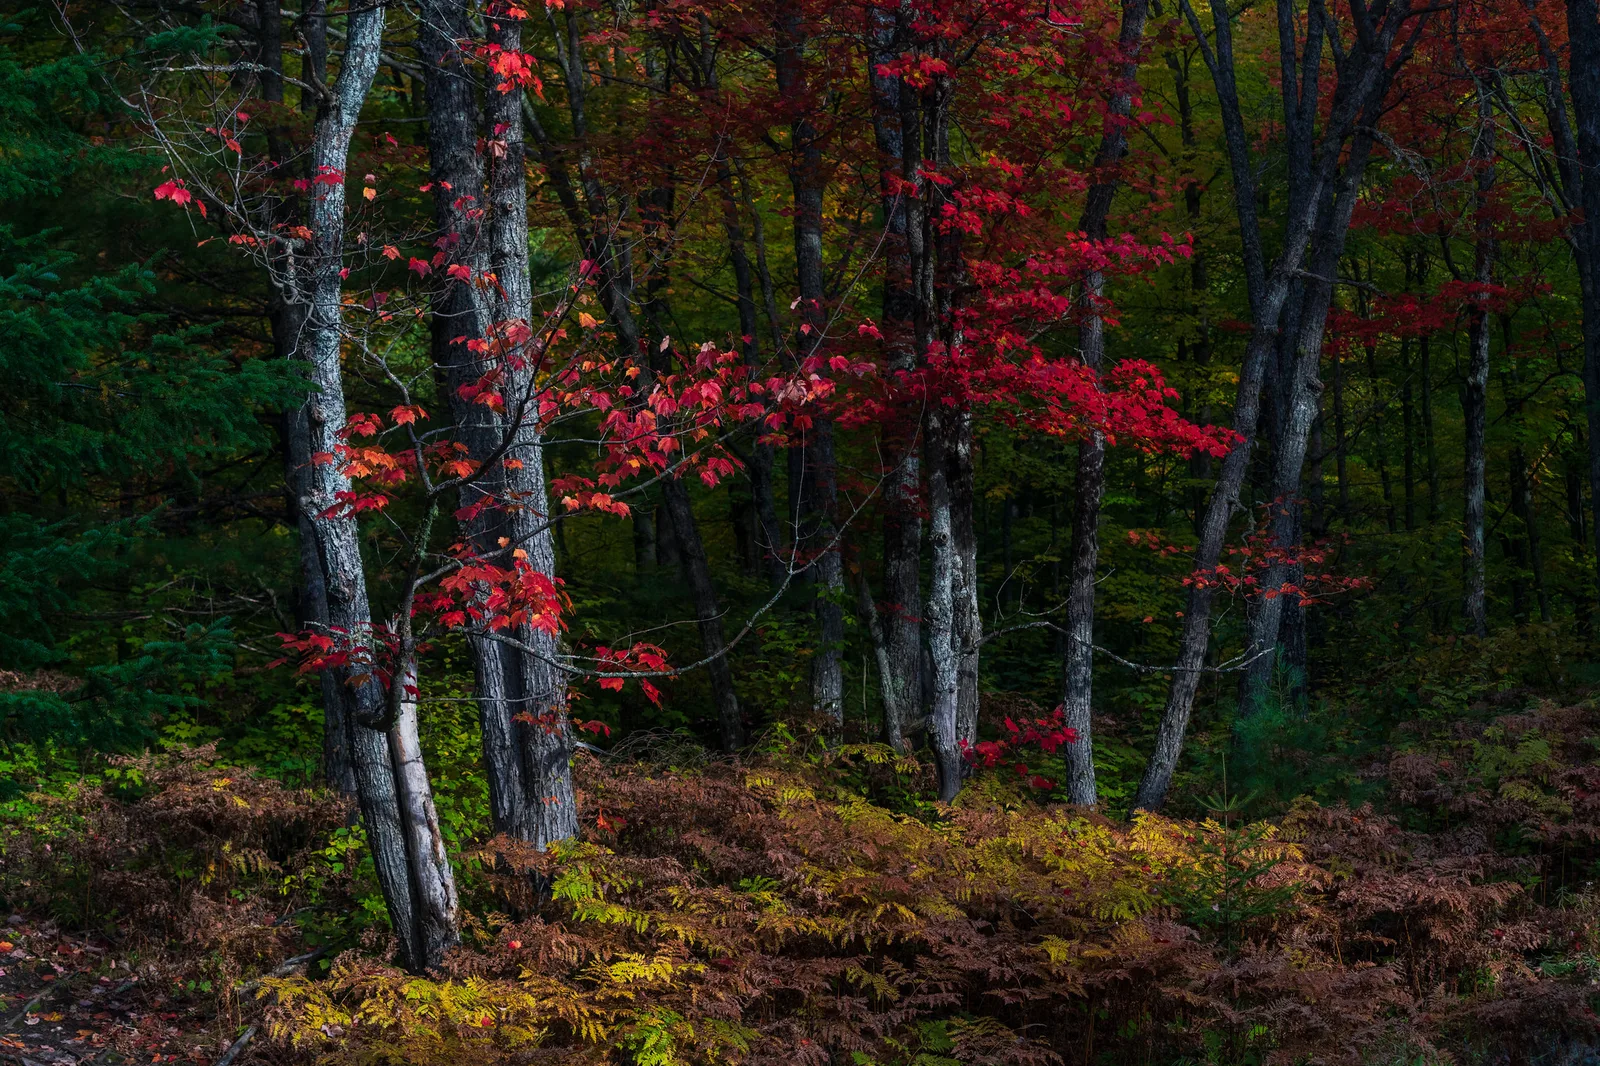
On a picture like this, pick the red of the leaves in the advanced mode, switch on the selected-range view and narrow the wedge until the brown ferns drop out of the selection. Then lower saturation a little and raise lightness slightly so the leaves show veins and edges in place of flat red. A second pick on the greens can darken them to push the leaves forward. Two narrow selections do more than one global saturation move.
The colour balance tool is for styling. It has a master wheel and separate wheels for shadows, midtones and highlights. Dragging a wheel’s point toward a colour tints that tonal band; a slider beside each wheel sets its brightness. Cool shadows with warm highlights is the classic combination. The thinking behind such choices is in colour grading.
Layers and masks for local adjustments
Local work happens on layers. Each layer has a mask and its own copy of most adjustment tools: exposure, high dynamic range, curve, clarity, colour editor, colour balance, white balance, sharpening and noise reduction all act on the selected layer only. There are three kinds of layer: adjustment layers, and heal and clone layers for removing dust and distractions.
The working routine is always the same:
- Create a new empty adjustment layer and name it for its job (“sky”, “foreground”, “building”).
- Draw the mask with the brush, the linear gradient or the radial gradient. Show the mask overlay while you draw.
- With that layer selected, move the tools. The layer name appears in each tool to remind you what you are editing.
- Lower the layer’s opacity to taste. Overdo the adjustment a little, then back the opacity down; it is faster than nudging five sliders.
Three refinements make masks precise. Luma range restricts a mask to a band of brightness, so a gradient over a sky can be told to ignore the dark building that crosses it; the idea is the one behind luminosity masks. Refine mask tightens a rough brushed edge to the nearest real edge. And a selection made in the colour editor can be turned into a masked layer, which converts “all the orange light” into an area you can then adjust with any tool.
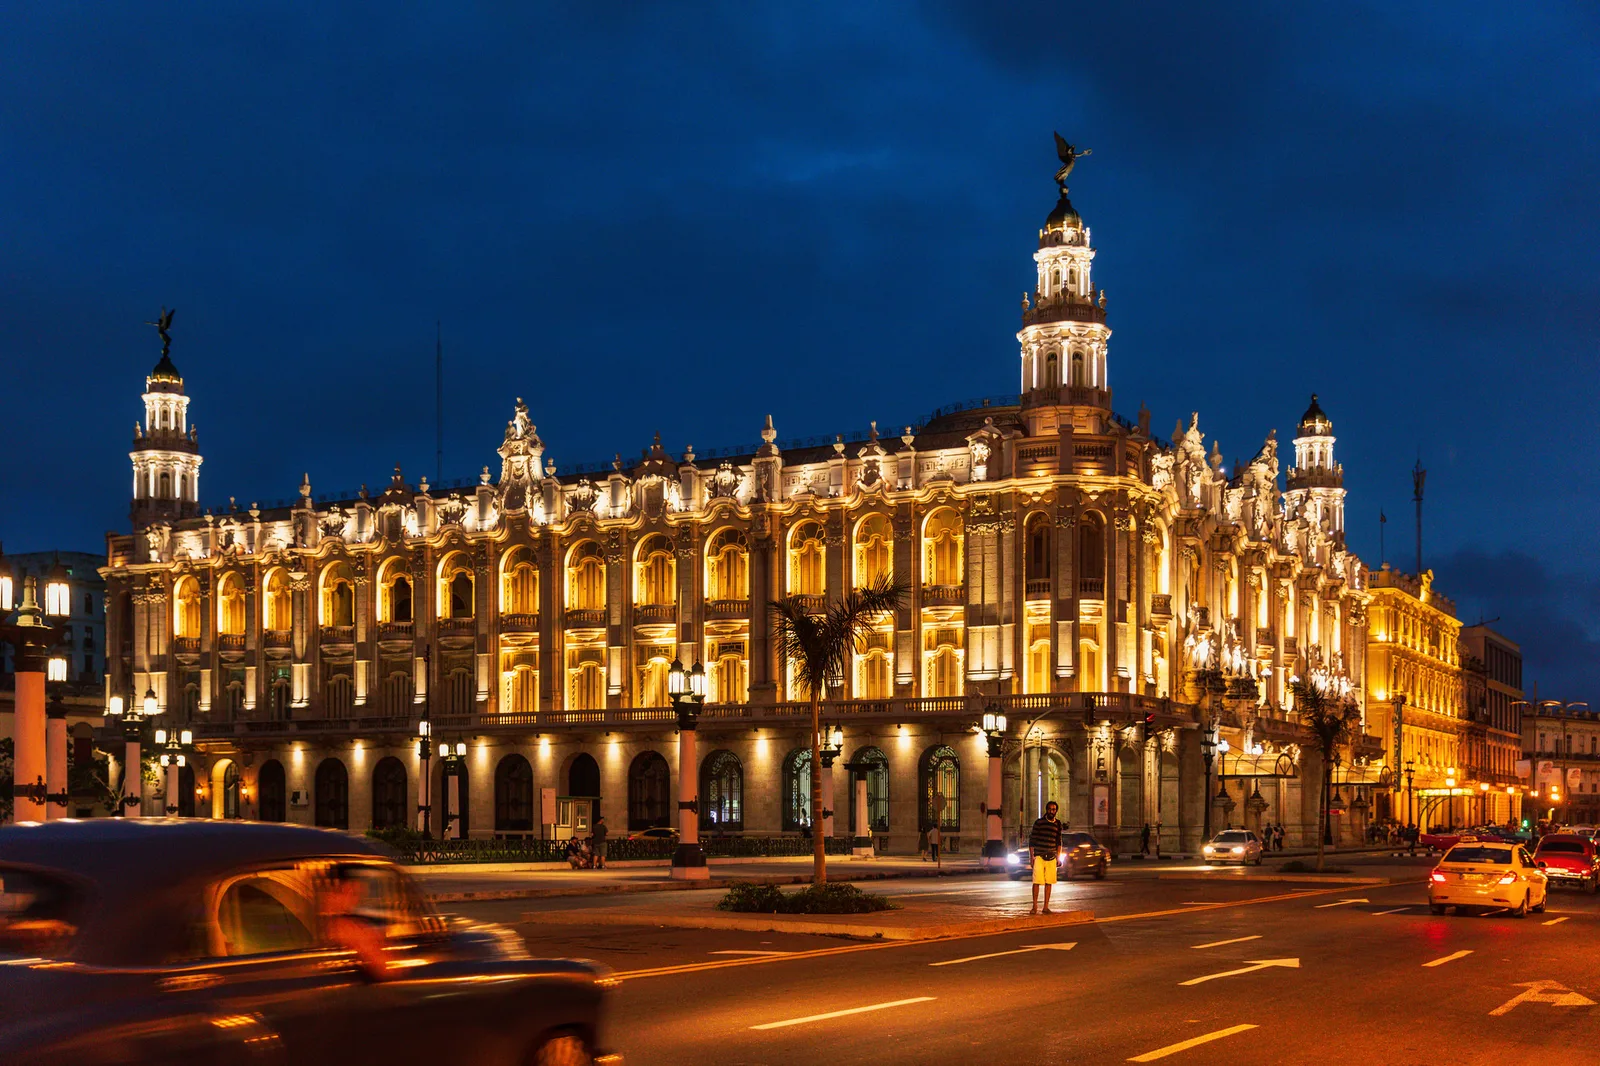
In the theatre picture above, that last method solves the mixed light. Pick the warm floodlit stone in the colour editor, create a masked layer from the selection, and cool that layer’s white balance slightly without touching the blue sky. A separate gradient layer can then deepen the sky.
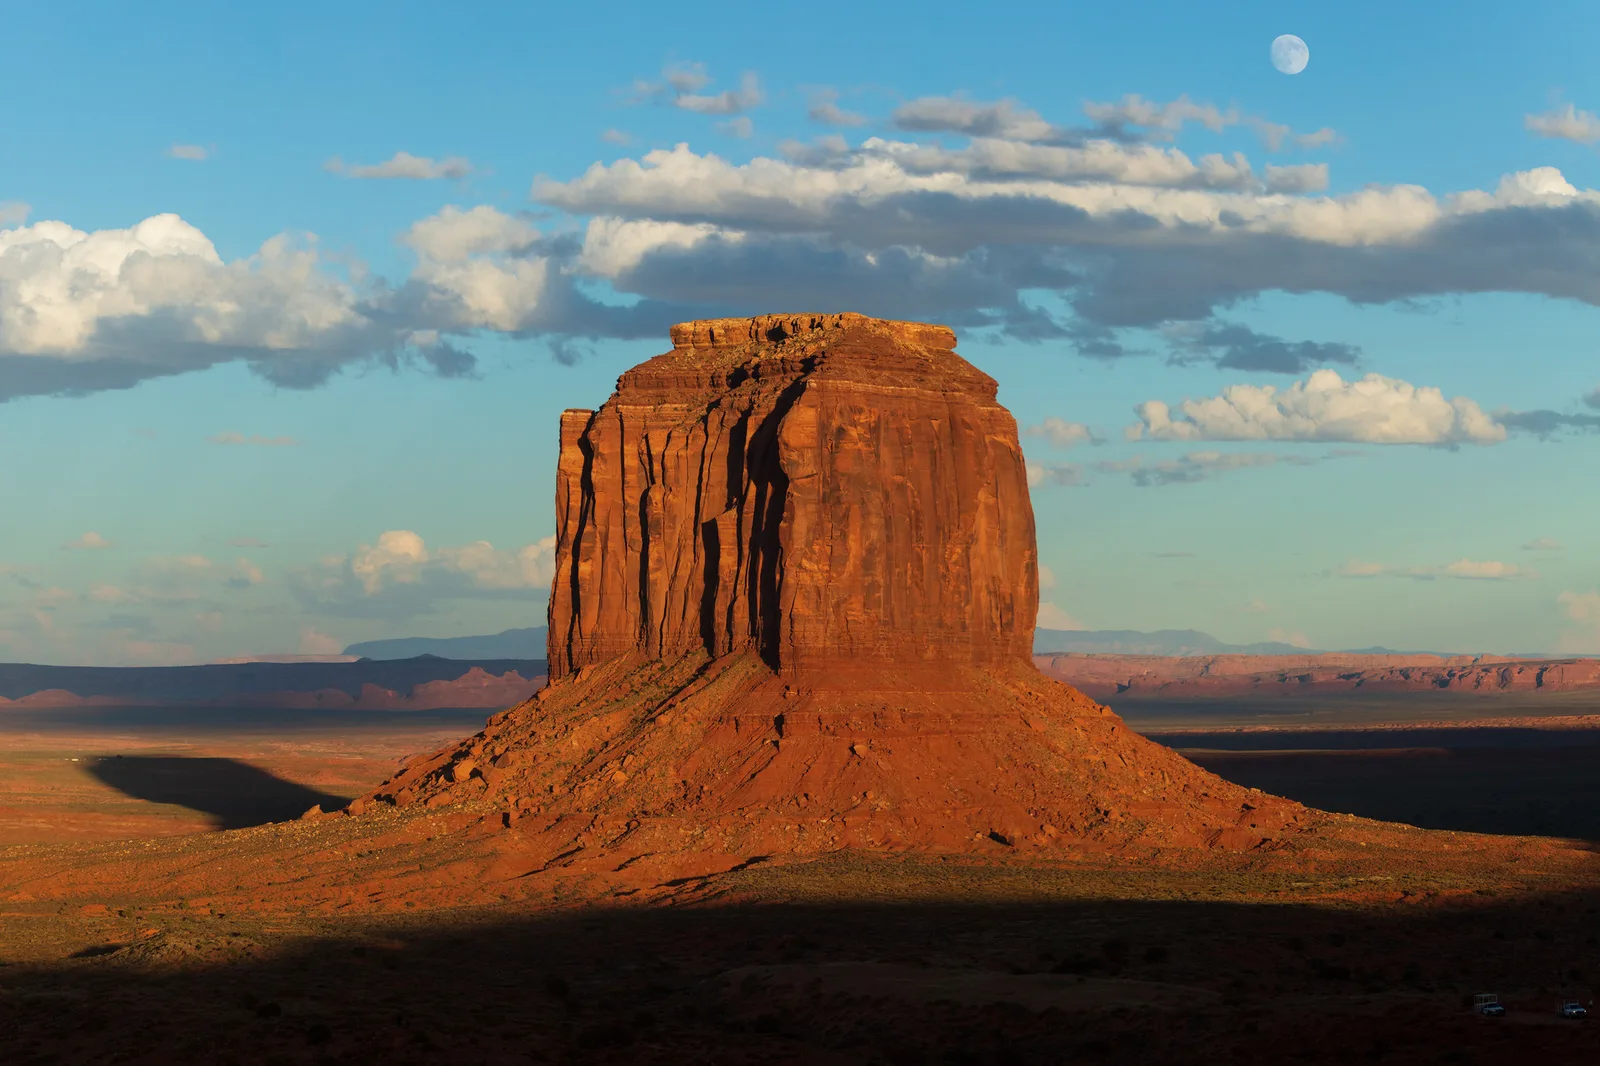
Simple landscapes need less. The frame below takes two linear gradient layers: one from the top to darken the sky slightly, one from the bottom to lift the shadowed foreground, each limited with luma range so the lit rock between them is left alone.
Styles, presets and copying adjustments across a shoot
Capture One uses two words that other programs blur. A preset stores the settings of one tool, for example a curve shape or a set of copyright fields. A style stores settings from several tools together and gives a complete look. Both are saved from the current image and applied from the styles and presets tool. A style can also be applied to a new layer, which lets you fade it with layer opacity.
To carry an edit across a series:
- Finish one image. It is the source.
- Select the source and the other frames, with the source as the primary (thicker border).
- Copy adjustments, then open the adjustments clipboard and untick anything frame-specific: crop, rotation, heal and clone layers, and usually masks.
- Apply. Make sure the “edit all selected variants” toggle is on, or the paste lands on the primary only.
The term variant matters here. Every image in the browser is a variant of a raw file, and you can make more: a new variant starts from the default, a clone variant copies the current adjustments. Variants are virtual copies that take almost no space, useful for a colour and a black and white version of one frame.
Process recipes and export
Export is built on process recipes. A recipe is a saved output specification:
- Format and quality (JPEG, 8 or 16-bit TIFF, PSD, DNG and others).
- ICC profile: sRGB for screens, a wider space or a printer profile where the destination calls for it.
- Size: full, or a long edge, width or height in pixels, centimetres or inches at a set resolution.
- Location and subfolder: in a session, the Output folder by default, with optional subfolders built from tokens such as the recipe name.
- Output sharpening for screen or print, metadata to include, and an optional watermark.
The strength of the system is that several recipes can be ticked at once. One export run then produces, for example, full-size TIFFs in one subfolder and 2,048-pixel JPEGs in another. Name each output with tokens so files from different recipes never overwrite each other.
Before exporting, turn on recipe proofing. The viewer then shows the image as the selected recipe will render it: at the output size, in the output profile, with output sharpening and JPEG compression applied. It is the only reliable way to set sharpening for a small web file. For print profiles the principle is the one in soft proofing, and format and size choices by destination are in exporting photos.
Common mistakes
Copying raw files out of a session without their settings. The adjustments live in the CaptureOne subfolder. Fix: move whole folders, or the whole session, never loose files.
Reorganising a catalog’s referenced folders in the file manager. The catalog loses track and shows the images as offline. Fix: move and rename from the catalog’s own folder list, or use its locate command afterwards.
Editing the background when you meant a layer, or the reverse. Sliders affect whichever layer is selected. Fix: read the layer name shown in the tool before you drag.
Pasting adjustments and seeing only one image change. The “edit all selected variants” toggle is off. Fix: switch it on before applying to a selection.
Expecting the sliders to behave like another program’s. Highlight and shadow recovery are in the high dynamic range tool, not the exposure tool, and the ranges feel different. Fix: learn the four sliders on a few difficult frames before judging the result.
Leaving every recipe ticked. A quick export of ten web files also writes ten large TIFFs. Fix: check which recipes are enabled each time, and keep proofing on.
Emptying the session trash without looking. That is the point where deleted frames are really gone. Fix: open the Trash folder and review it before emptying.
Try this
Allow 20 minutes and about twenty raw files from one outing.
- Create a new session. Open its folder in your file manager and find the four subfolders.
- Import the files into Capture with a job-name-and-counter naming format.
- Cull with stars. Move the three best frames to Selects with the move-to-selects command and confirm the files moved on disk.
- On one select, switch the base characteristics curve between the standard and linear response options and note what changes in the highlights.
- Balance the frame with exposure and the four high dynamic range sliders. Add one gradient layer on the brightest area, darken it, and restrict it with luma range.
- Copy the adjustments to the other two selects with layers unticked in the clipboard.
- Tick two recipes (a full-size TIFF and a 2,048-pixel sRGB JPEG), turn on recipe proofing for the JPEG, set its sharpening, and export. Check the Output folder.
Frequently asked questions
Should I use a session or a catalog in Capture One?
Use a session for work with a clear start and finish, such as one shoot or one trip, because everything stays in one portable folder. Use a catalog for a long-term library you want to search as a whole. Many people do both, importing finished selects from sessions into a catalog.
Where does Capture One store my edits?
In a session, in a CaptureOne subfolder inside each image folder. In a catalog, inside the catalog database. The raw files are never changed in either case, so back up the settings location as well as the images.
What is the difference between a style and a preset?
A preset saves the settings of a single tool. A style saves settings from several tools as one look. Both can be applied to many images at once, and a style can be placed on a layer so its strength is adjustable with opacity.
What does the linear response curve do?
It removes the default contrast curve that is normally applied to a raw file. The image looks flatter and darker in the midtones, but highlight and shadow detail is easier to see and shape. It is a starting point for high-contrast scenes, not a finished look.
Can I move a Lightroom library into Capture One?
A catalog can import another program’s catalog, bringing the folder structure, ratings, keywords and some basic adjustments. Looks built with the other program’s tools do not transfer exactly, because the two raw engines differ. Expect to re-edit important images.
Related guides
- How to retouch fashion portraits in Capture One: heal and clone layers, skin tone and dodging and burning.
- Tethered shooting: connecting the camera and shooting straight into the Capture folder.
- DxO PhotoLab workflow: a folder-based raw editor centred on optical corrections.
- Luminar workflow: a catalog, a tool stack and plug-in use.
- Lightroom for beginners: the catalog-only model, for comparison.
- Photo culling workflow: a selection method that works in any browser.
- Exporting photos: formats, colour space, size and sharpening by destination.