Chromatic aberration is color fringing that appears along high-contrast edges because a lens cannot bring every wavelength of light to exactly the same point. It shows up as purple, green, red or cyan outlines on dark branches against a bright sky, on window frames, and around bright highlights. Purple fringing is its most familiar form. You can reduce it in camera by stopping down and composing carefully, and remove most of what remains with the lens correction and defringe controls in any raw editor.
Why glass splits light into colors
A lens focuses light by bending (refracting) it. The trouble is that glass does not bend every color by the same amount. Its refractive index is slightly higher for short wavelengths (blue and violet) than for long ones (red). This property is called dispersion, and it is the same effect that lets a prism spread white light into a rainbow.
In a camera lens, dispersion means the blue part of an image comes into focus at a slightly different distance, or at a slightly different size, than the red part. Where the image is a smooth gradient you never notice. Where a very dark area meets a very bright one, the colors no longer line up and a thin colored outline appears along the edge.
Lens designers fight this by pairing elements made of different glass types so that one element’s dispersion cancels much of another’s. Special low-dispersion glass and fluorite-type elements go further, and lenses corrected to bring three wavelengths to a common focus are called apochromatic. Every extra corrective lens element adds cost, size and weight, which is why the problem is most visible in inexpensive lenses, very fast lenses and lenses with extreme zoom ranges.
Lateral and longitudinal (axial) chromatic aberration
There are two distinct kinds, and telling them apart matters because they respond to different fixes.
Lateral chromatic aberration (also called transverse CA) happens when the lens projects each color at a slightly different magnification. All colors are in focus, but the red image is a touch larger or smaller than the blue one. At the center of the frame the difference is zero, and it grows toward the edges and corners. The telltale sign is fringes of complementary colors on opposite sides of an object: red on one side of a lamppost and cyan on the other, or blue and yellow, always aligned along lines that run out from the center of the frame.
Longitudinal chromatic aberration (also called axial CA) happens when each color focuses at a slightly different distance from the lens. It can appear anywhere in the frame, including the dead center. In most lenses it shows as a purple or magenta tint on edges just in front of the plane of focus and a green tint on edges just behind it. You will often see it in the out-of-focus areas of wide-aperture portraits, where hair or twigs in front of the subject pick up a magenta rim and background highlights pick up a green one.
| Lateral (transverse) | Longitudinal (axial) | |
|---|---|---|
| Where it appears | Toward the edges and corners, none at the center | Anywhere, including the center |
| Typical colors | Red/cyan or blue/yellow on opposite sides of an edge | Purple in front of focus, green behind |
| Stopping down helps? | Very little | Yes, often dramatically |
| Software fix | Easy and nearly perfect | Partial, needs defringe controls |
Lateral CA is easy for software to remove because it is geometric: the editor simply rescales the red and blue channels so they line up with the green. Axial CA is harder, because the color error is mixed with blur that differs from color to color, so the software can only desaturate the fringe rather than truly realign it.
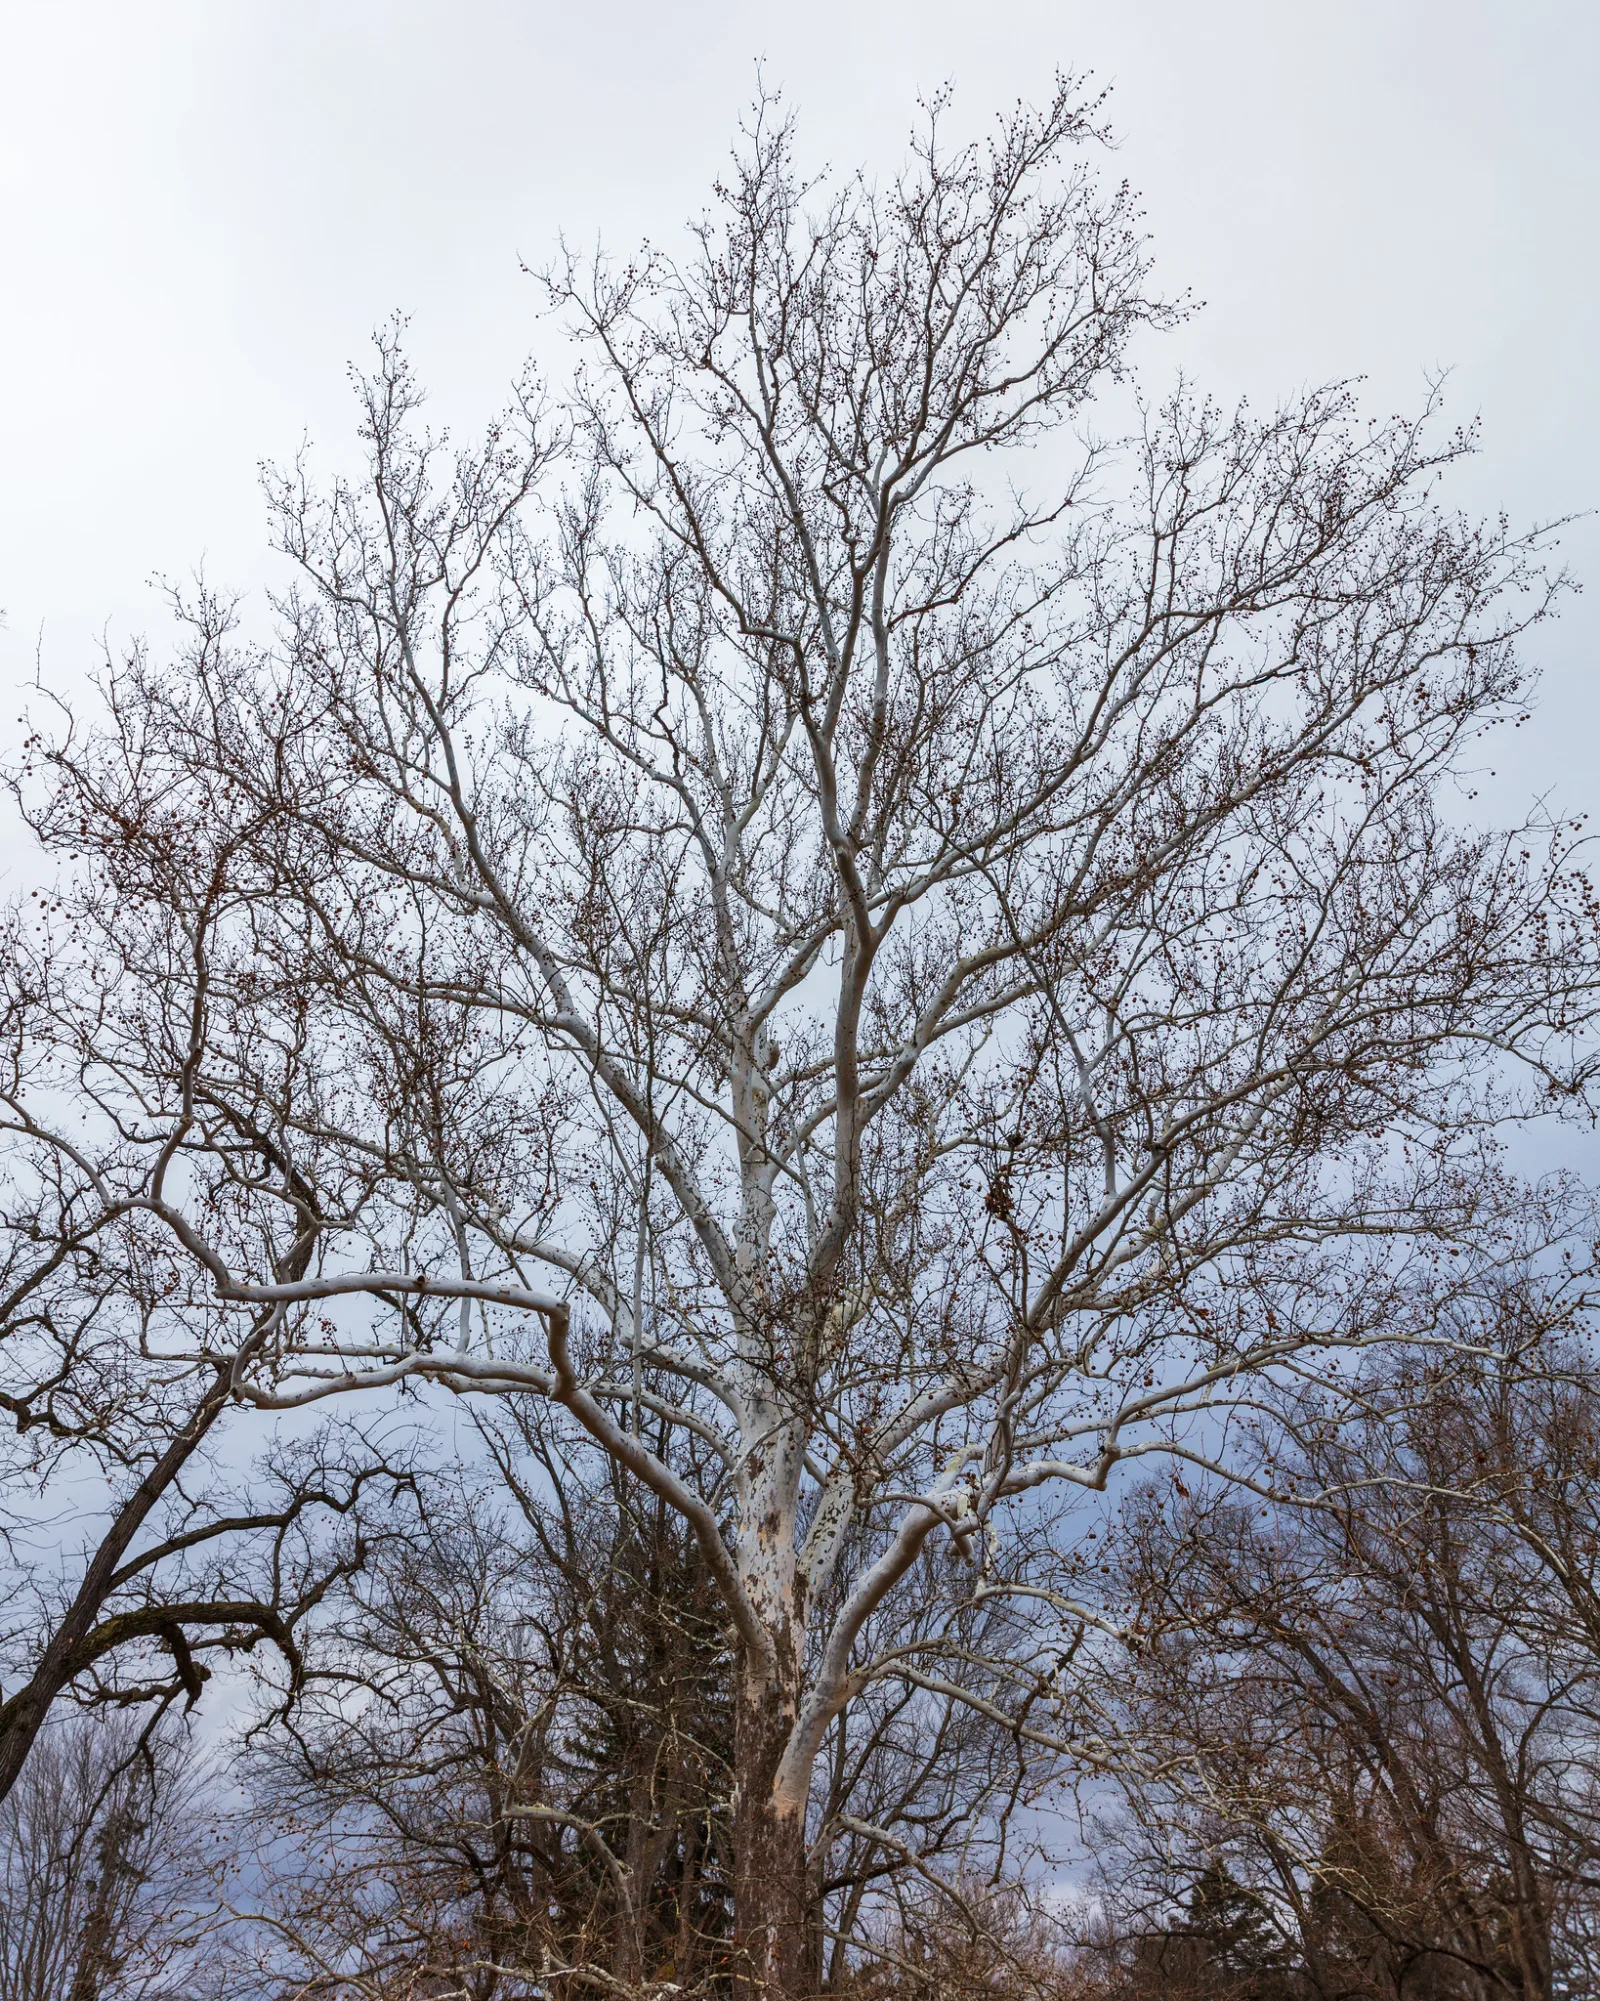
Purple fringing on high-contrast edges
Purple fringing is the name photographers give to the violet or magenta outline that appears around dark objects seen against a bright background: tree branches against an overcast sky, the frames of a sunlit window seen from indoors, rigging against the sea, or the edge of a building against a white sky. It is the single most common complaint about chromatic aberration.
Several things combine to make it purple. Axial CA leaves the blue and violet end of the spectrum slightly out of focus, so it spreads as a soft haze past the edge. Where one side of the edge is overexposed, all three color channels are clipped there, which exaggerates the difference on the transition and makes the fringe wider and more saturated. On some sensors, very bright light striking the edge of a dark area can also leak into neighboring pixels. The result is a halo that looks the same whatever its exact cause, and the practical fixes are the same.
Three conditions make purple fringing worse:
- Extreme contrast. A dark subject against a sky several stops brighter is the classic case. The same branch against a mid-toned hill shows nothing. See backlighting for why these scenes are both attractive and demanding.
- Clipped highlights. Once the bright side of the edge is pure white, the fringe has nothing to blend into. Keeping the sky just below clipping narrows the fringe.
- Wide apertures. Axial CA shrinks as depth of field grows, so a lens that fringes badly at its maximum aperture may be clean two stops down.
Why fast, wide and budget lenses show it most
Not all lenses are equal, and knowing which ones are prone to fringing tells you when to be careful.
- Fast lenses at wide apertures. A fast lens at f/1.4 or f/1.8 has a very shallow depth of field, so the small difference in focus distance between blue and red is visible as fringes. The same lens at f/5.6 hides it inside the extra depth of field.
- Wide-angle and ultra-wide lenses. Light reaching the corners arrives at steep angles, which makes lateral CA harder to correct in the optical design. Expect red/cyan edges near the corners of a wide-angle lens.
- Long telephoto lenses. Axial CA scales with focal length, which is why serious telephoto lenses use low-dispersion elements to control it.
- Zooms with very large ranges. Correcting color perfectly across a tenfold zoom range is extremely difficult, so all-in-one zooms usually show some lateral CA at one end of the range or both.
- Simpler, cheaper designs. Fewer elements and fewer special glasses mean less correction. Older manual lenses designed before digital sensors were common can fringe noticeably.
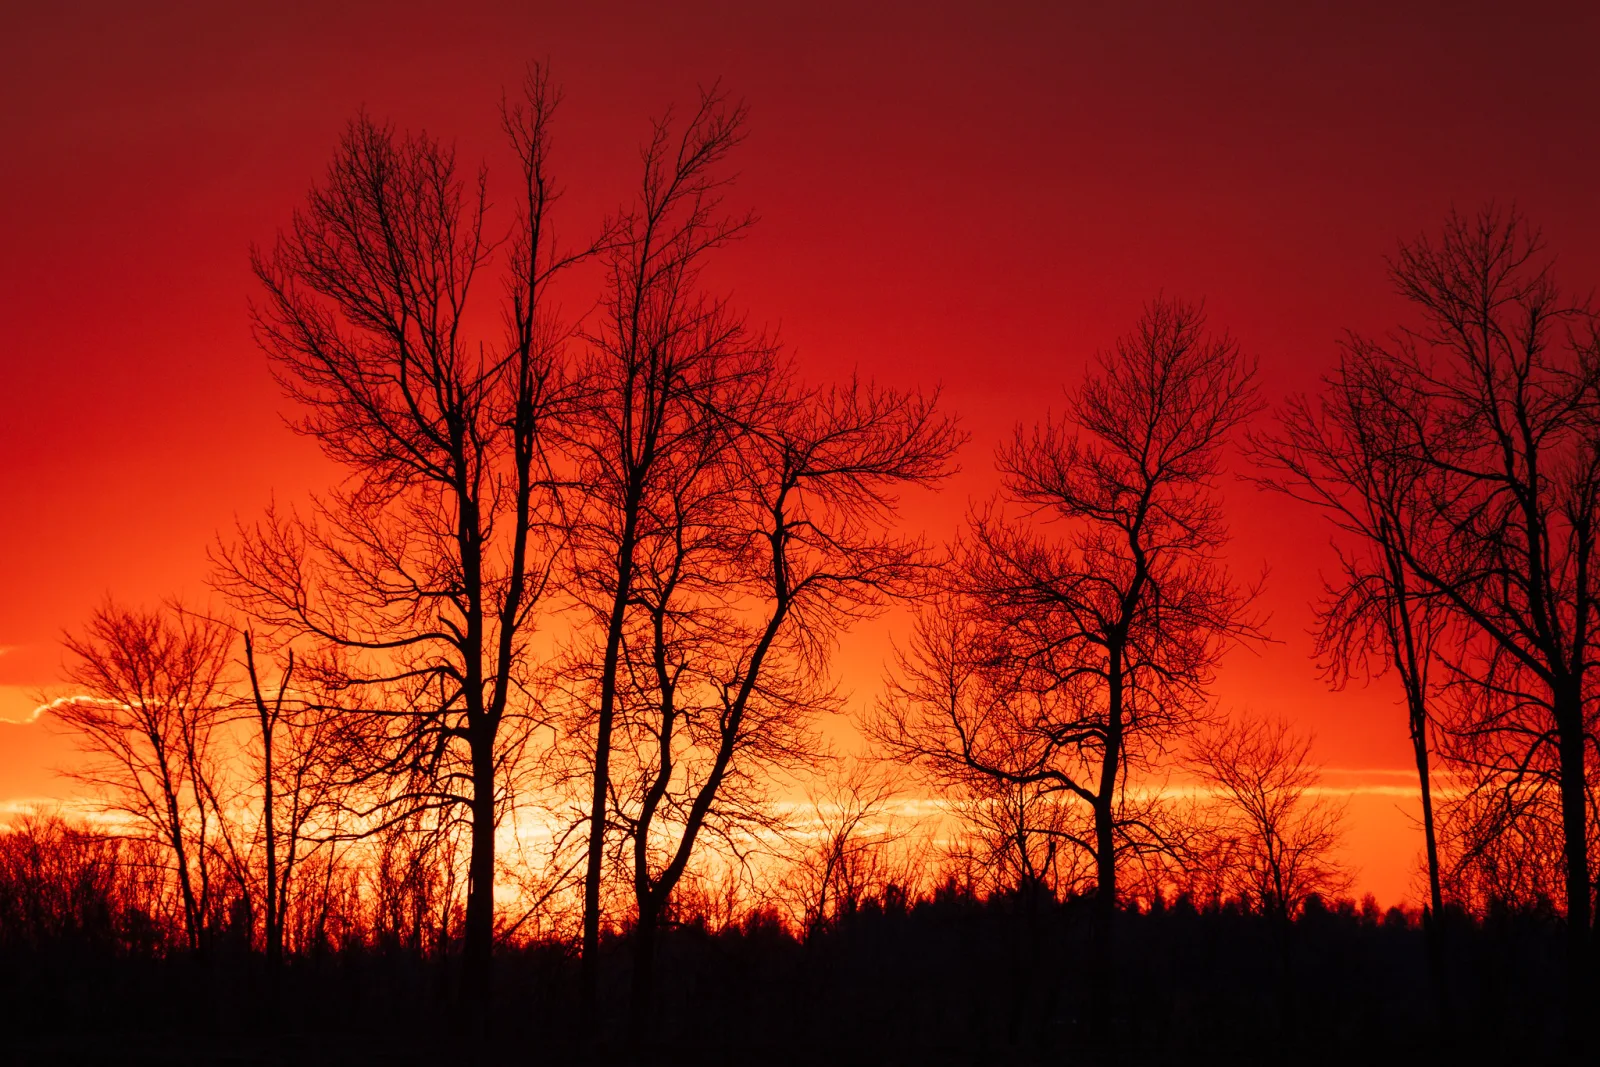
Preventing fringing when you shoot
You cannot remove chromatic aberration entirely in camera, but you can often reduce it enough that editing becomes a quick touch-up rather than a rescue job.
- Stop down one or two stops for axial CA. If a portrait at f/1.8 shows magenta hair edges, f/2.8 or f/4 usually cleans them up. This does nothing for lateral CA, so do not expect corner fringes on a wide-angle to vanish at f/8. Your lens’s sweet spot is usually a good compromise between CA, sharpness and diffraction.
- Keep critical edges away from the corners. Lateral CA is zero at the center and worst at the edges. If a dark spire against a white sky matters, placing it closer to the middle third reduces fringing, and you can crop later if needed.
- Protect the highlights. Expose so the bright sky behind your subject is not clipped. A histogram that just touches the right edge gives a much narrower fringe than one with a large spike of pure white. See dynamic range for why this is such a common problem in backlit scenes.
- Change the angle to the light. Moving a few steps so a branch sits against cloud rather than directly against the sun, or so a window frame is not silhouetted against a blown-out view, reduces the contrast that makes fringes visible.
- Turn on in-camera lens corrections for JPEGs. Most cameras can correct lateral CA for known lenses when they create JPEGs. If you shoot raw, the equivalent correction happens in your editor instead.
- Focus accurately. Axial CA is worst just in front of and just behind the focus plane. A subject that is precisely in focus shows much less fringing on its own edges.
Removing chromatic aberration in any editor
Almost every raw editor offers the same two tools, even if the names differ. Use them in this order.
Step 1: remove lateral CA automatically
Enable the lens profile correction or the “remove chromatic aberration” option. For lateral CA this is close to perfect: the software measures or knows the color misalignment and rescales the red and blue channels to match. Check a corner at 100 percent magnification before and after. Red/cyan edges near the corners should disappear completely. This step also corrects geometric lens distortion and vignetting if you enable those parts of the profile.
Step 2: defringe what remains
Whatever is left is usually axial CA, typically purple in front of focus and green behind. Defringe controls work by finding edges that carry a specific hue and removing that color from the edge only. They usually give you:
- A purple amount and hue range. Raise the amount until the fringe goes gray, then narrow the hue range so only the fringe color is targeted.
- A green amount and hue range. Do the same for green fringes behind the subject.
- An eyedropper in many editors, which lets you click directly on a fringe to set the hue range for you.
Zoom to 200 or 400 percent while you work. Fringes that look minor at full screen are much easier to judge at high magnification, and you can see immediately if you are desaturating something that should keep its color.
Step 3: fix stubborn areas locally
Global defringing can gray out things that are genuinely purple or green: the edges of violet flowers, green leaves against the sky, or a purple jacket. When that happens, lower the global setting and paint the defringe effect only where the problem is, using a local adjustment brush with masking. A brush that lowers saturation over the fringe works as a fallback in editors without a local defringe option. The same idea done by hand with layers is covered in removing chromatic aberrations manually.
Do all of this before sharpening. Sharpening increases edge contrast, and it will make any remaining fringe brighter and harder to remove.
When it is not chromatic aberration
Several other artifacts produce colored or glowing edges. They look similar at a glance but have different causes and fixes.
- Blooming. When a very bright point, such as a streetlight or the sun, overloads the sensor, the excess can spread into surrounding pixels and create a bright glow or smear around the light. Blooming is centered on the highlight itself and grows with overexposure. Defringe tools will not remove it; exposing less or accepting it is the answer.
- Flare and ghosts. Stray light bouncing between lens elements produces haze and colored blobs, often in a line from the light source. That is lens flare, and a hood or a hand shading the lens prevents it.
- Sharpening halos. Oversharpening creates light and dark outlines along edges. They are neutral in color, the same on every side of an object, and they get worse as you raise the sharpening amount or radius.
- Moiré and demosaicing artifacts. Fine repeating patterns such as fabric or distant brickwork can produce false color patterns. These appear across the pattern, not as a thin line along one edge.
- Color noise. High-ISO images can show random colored speckles, especially in shadows. Color noise is spread across flat areas rather than concentrated on edges.
- Real color in the scene. Rim light from a colored sky, a purple dusk behind a subject, or a green reflection can all put genuine color on an edge. If the color is still there when you stop down and move the subject to the center of the frame, it is probably real.
Common mistakes
- Expecting stopping down to fix corner fringes. That only helps axial CA. For lateral fringes near the corners, use the lens correction in your editor instead.
- Pushing defringe to the maximum everywhere. This desaturates genuinely purple and green details across the frame. Use the lowest amount that works and a local brush for the rest.
- Sharpening before removing fringes. Sharpening makes the fringe more intense and wider. Remove CA first, then sharpen.
- Judging at full-screen size only. Small fringes hide at fit-to-screen and show up in prints. Check edges at 100 percent or higher before you export.
- Blowing out the sky behind silhouettes. Clipped highlights make fringes wider and more saturated. Expose to keep the sky just short of clipping and lift the shadows later.
- Blaming the lens for blooming or flare. If the color is centered on a light source rather than lining a dark edge, it is not CA, and CA tools will not remove it.
Try this
Test your own lens in 20 minutes. Find a scene with dark, fine detail against a bright sky: bare branches, a power line, a fence or a railing. Mount the camera on something steady and shoot the same scene at your widest aperture, then one, two and three stops down. Take one set with the key edge in the center of the frame and another with it in a corner.
Open the files at 200 percent. In the centered frames, watch the purple and green fringes shrink as you stop down: that is axial CA. In the corner frames, look for red/cyan fringes that stay roughly the same at every aperture: that is lateral CA. Now enable your editor’s lens correction and watch the corner fringes vanish, then use the defringe controls on whatever purple remains. You will come away knowing exactly which apertures to avoid with that lens in backlit scenes and how much editing it needs.
Frequently asked questions
Is chromatic aberration a sign of a bad or damaged lens?
No. Every lens has some chromatic aberration because all glass disperses light. Better designs reduce it, but even expensive lenses can show a little on extreme edges at wide apertures. A sudden increase in fringing on one side of the frame only might indicate a decentered element, which is a different fault.
Why do I see purple fringing more on some cameras than others?
Sensor pixel size, the design of the microlenses over the pixels, and the camera’s processing all affect how fringes are recorded. Higher-resolution sensors also reveal fringes that a lower-resolution sensor would have blurred away, so a new camera can make an old lens look worse.
Should I correct chromatic aberration on every photo?
Turning on lateral CA correction is harmless on almost every image, so many photographers set it as a default when importing. Defringing, however, can remove real color, so apply it only when you can see fringes at 100 percent.
Does chromatic aberration affect black and white photos?
Yes, though it looks different. In a monochrome conversion, fringes become light or dark outlines along edges, which read as softness. Removing CA before converting to black and white gives crisper edges.
Can a filter reduce chromatic aberration?
No. CA comes from the lens’s own glass. Adding a filter in front does not correct it, and a poor-quality filter can add its own flare and softness.
Related guides
- Lens flare: the other common optical artifact in backlit scenes, and how to tell it apart from fringing.
- Achromatic and apochromatic lenses: how lens designers correct color with special glass.
- Lens distortion: the geometric problem your lens profile corrects at the same time.
- Sharpening: why sharpening comes after fringe removal, and how to avoid halos.
- Backlighting: shooting into the light, where fringing is most likely.
- Lens sharpness: the other optical qualities that change as you stop down.
- Fast lenses: the trade-offs of shooting wide open.