Most camera damage comes from a short list of causes: grit dragged across glass, dust getting inside when you change lenses, water condensing on a cold camera, salt left to dry on metal, and damp storage that lets fungus grow. Each has a simple habit that prevents it. Clean glass with air first and a cloth last, change lenses rarely and in shelter, let a cold camera warm up inside a sealed bag, rinse salt off with a damp cloth the same day, and store gear somewhere dry with moving air.
Cleaning a lens without scratching it
The order of operations matters more than the products you use. Sand and grit can be harder than glass and its coatings, so the one thing you must never do is wipe a lens that still has particles on it. A cloth pushes each grain across the glass like sandpaper. Work from the gentlest method to the most direct, and stop as soon as the glass is clean.
- Blow. Hold the lens facing down and use a hand-squeezed rubber blower to puff loose dust off the front element. Facing down, the particles fall away instead of settling back.
- Brush. A clean, soft lens brush lifts anything the air left behind. Keep it capped and never touch the bristles, since skin oil transfers to the next lens.
- Clean with fluid. Only now, for fingerprints, water spots or smears, put one or two drops of lens cleaning fluid on a lens tissue or a clean microfiber cloth, never directly on the glass. Fluid dripped onto the lens can run to the edge and wick in between the element and the barrel.
- Wipe gently in a spiral. Start at the center and move outward in a slow spiral with light pressure. Finish with a dry, clean part of the cloth to lift any remaining film.
- Inspect at an angle. Tilt the lens under a light. Smears and streaks show clearly in the reflection that you would miss looking straight on.
Front elements tolerate a few specks of dust without any visible effect on your pictures, so there is no need to clean them after every outing. Smudges are a different matter: a fingerprint in the middle of the glass scatters light and produces the same low-contrast haze a lens hood is meant to prevent, so remove those promptly. Rear elements sit close to the sensor, where a smear matters more; clean them only when needed, with the same sequence.
Microfiber cloths trap grit, which makes them excellent at cleaning and dangerous once dirty. Keep yours in a small sealed bag, wash it regularly without fabric softener (softener leaves a film), and throw it out if it has been dropped in sand. Never clean a lens with a shirt, a tissue meant for your face, or a breath-and-wipe. Clothing carries grit and oil, and facial tissues can contain lotions.
Body, mount and contacts
Blow off the outside of the body first, especially around the dials, the lens release button and the edges of the rubber grip, where dust collects. Then wipe the body with a lightly dampened cloth, never wet, and dry it. The screen is coated, so treat it like a lens: dust off first, then a clean microfiber cloth.
The electrical contacts on the lens mount and on the back of each lens carry power and data. Dirty contacts can cause intermittent errors or a camera that does not recognize the lens. Wipe them gently with a clean, dry cloth. Avoid solvents and avoid touching them with fingers.
For the sensor, start with the camera’s built-in cleaning function and a blower, and only go further if a dust test shows spots that will not move. The full process, including how to confirm that a spot is actually on the sensor, is in how to clean your camera’s sensor. One rule belongs here too: never use canned compressed air inside the camera. The can can spit liquid propellant, which leaves residue on the sensor that is much harder to remove than dust.
Dust and sand: deserts, beaches and festivals
Fine dust is the most persistent threat to camera gear because it goes where you cannot see it. The moment you remove a lens, the mirror box or sensor chamber is open to the air. Many zoom lenses also draw air in and push it out as they extend and retract, which is why dust can appear inside a lens that was never opened. In a desert or at a dusty outdoor event, the air can be full of particles fine enough to pass through gaps in any seal.

The strategy is to open the camera as little as possible:
- Choose one lens for the day. A general-purpose zoom that covers most of what you will shoot means you never have to change lenses in the open. If you need two focal ranges, carry two bodies, each with its own lens.
- Change lenses only in shelter. Inside a car with the windows up, inside a tent, or at least with your back to the wind and the camera held inside your jacket. Point the camera body downward while the mount is open, have the new lens ready with its rear cap loosened, and swap quickly.
- Bag the camera between shots. A zip-top plastic bag, a rain cover or a sealed pouch keeps dust out when the camera is not in your hands. A camera bag alone is not enough in a dust storm; the dust gets into the bag too.
- Keep the front glass protected. A clear or UV filter earns its place in blowing sand, because you can clean it roughly or replace it without risking the lens. Keep the hood on as well.
- Clean from the outside in. At the end of the day, blow the dust off the outside of the camera and lens before opening anything. Otherwise that dust falls into the mount.
On beaches, sand can jam a zoom or focus ring and grind into the lens mount. Never put the camera down on the sand, even on a bag, and brush sand from your hands before handling the camera. The same practices apply at outdoor events with dry ground and crowds, covered in festival photography, and in hot, sandy conditions described in summer photography.
Condensation: moving between cold and warm
Condensation happens when a surface is colder than the dew point of the air around it. The moisture in that air turns to liquid on the cold surface, the same way a glass of cold water fogs on a summer day. A camera that has been outside in the cold is a mass of cold metal, glass and electronics. Carry it into a warm, humid room and water forms on every surface it can reach: the lens, the screen, the viewfinder, and, more seriously, on the inside of the lens and the circuits inside the body.
The fix is to let the camera warm up slowly inside a sealed container, so the moist room air never touches the cold equipment:
- Before you go inside, remove the memory card and a spare battery if you will want them soon. Once the camera is sealed, you should not open it.
- Seal the camera outdoors in a zip-top bag or an airtight container, pressing out as much air as you reasonably can. Putting the whole camera bag in a large plastic bag also works.
- Bring it inside and leave it closed until the equipment has reached room temperature. Condensation forms on the outside of the bag instead of on the camera. A small body and lens may take an hour; a full bag of gear can take several.
- Open it when the bag feels warm and there is no moisture on the outside of it.
The same problem runs in reverse in hot, humid climates. A camera kept in an air-conditioned room or car is cold relative to the steamy air outside, and fogs over the moment you step out. Seal it before you leave the cool space and open it once it has warmed. If a lens fogs anyway, do not wipe the inside of the viewfinder or try to dry it with heat; turn the camera off, remove the battery and card, and let it acclimatize and dry out naturally.
Cold, heat and batteries
Lithium-ion batteries deliver less power as they get colder, because the chemical reactions inside slow down. A battery that seems dead in the cold is often fine: warm it in an inside pocket and much of its charge returns. Carry spares close to your body and rotate them. For a full treatment of shooting in snow and cold, including dressing to keep your hands working, see the winter photography guide.
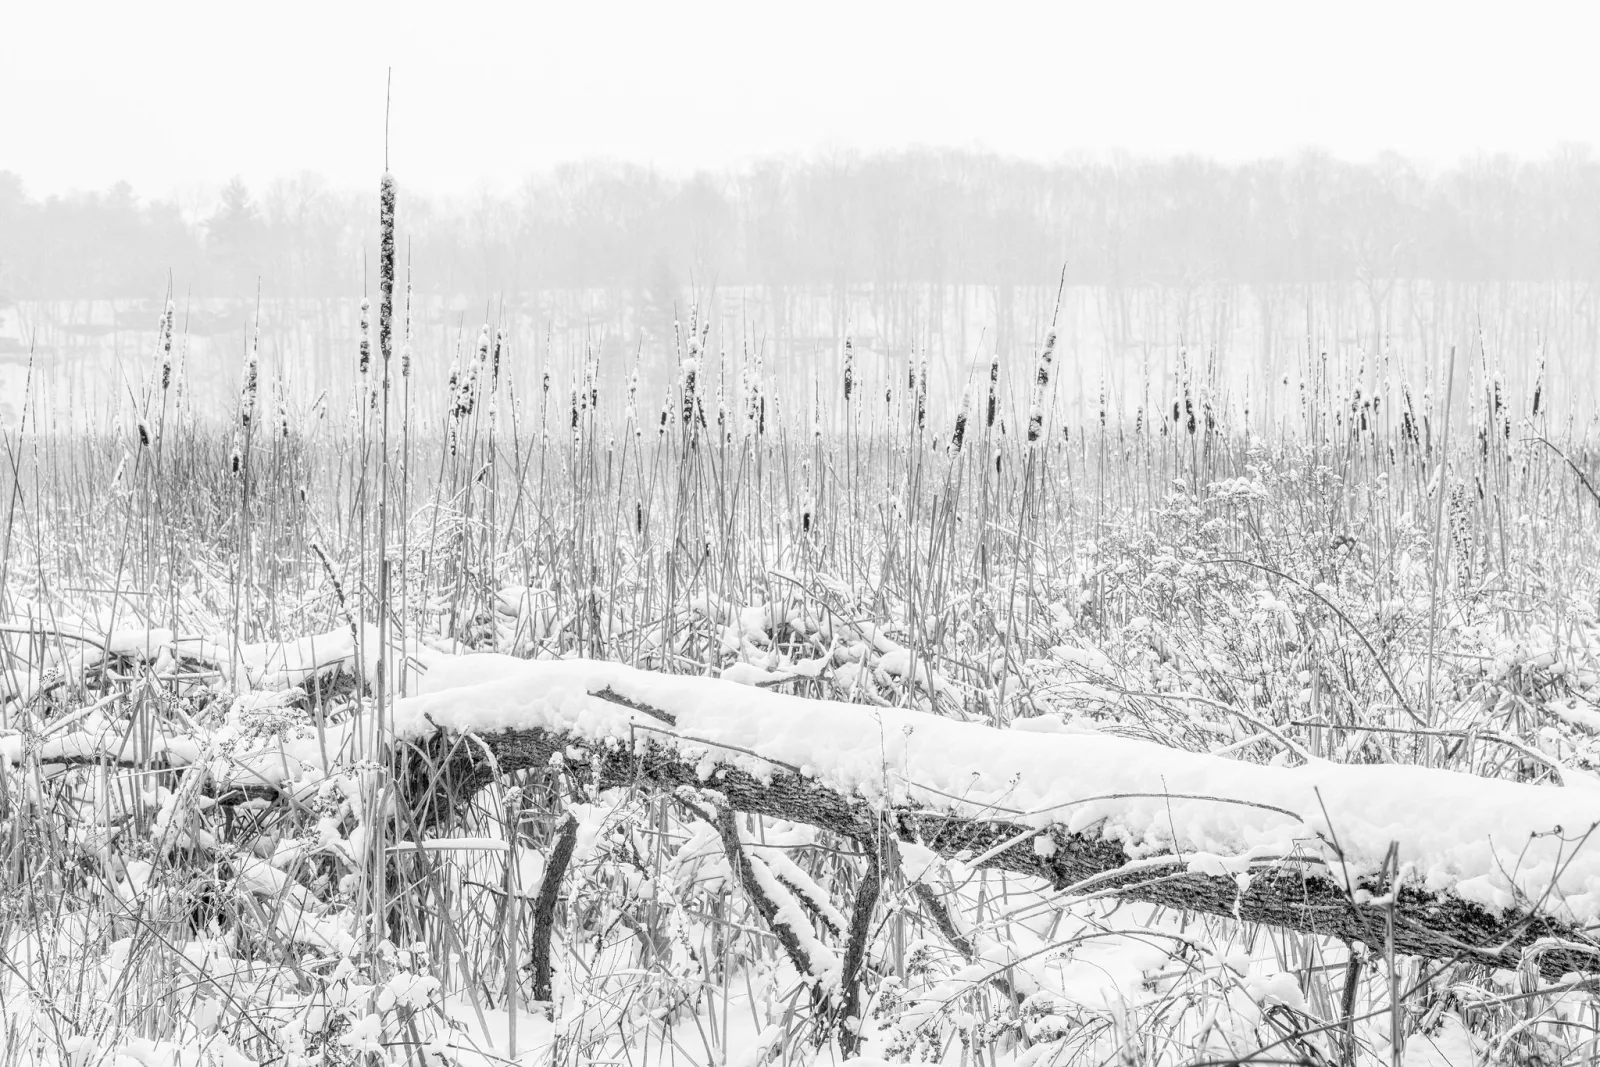
In the cold, keep the camera itself cold for the whole outing rather than repeatedly tucking it inside your coat. Repeated warming and cooling invites condensation. Screens become sluggish in severe cold and recover as they warm; that is normal and harmless.
Heat is harder on equipment than most people expect. A closed car in the sun can become hot enough to harm batteries, soften adhesives and warp plastic parts, so never leave gear in a parked car in summer. A black camera body in direct sun heats quickly, and a hot sensor produces more noise in long exposures. Keep the camera shaded between shots, in a light-colored bag if possible. Extended video recording can make a camera overheat and shut itself down; let it cool rather than forcing it on.
Batteries in general last longer with gentle treatment. Modern lithium-ion batteries have no memory effect, so there is no need to drain them before charging. For storage longer than a few weeks, leave them partly charged rather than full or empty, and keep them somewhere cool. Carry spares with their contact covers on, since a loose battery touching coins or keys in a pocket can short-circuit. Retire any battery that swells, gets unusually hot while charging, or no longer fits the camera easily.
Rain, spray and salt
Weather sealing slows water down; it does not make a camera waterproof. A sealed body with an unsealed lens is only as good as the lens. In steady rain, use a rain cover or a plastic bag held around the lens hood with a rubber band, and carry a small absorbent towel. The practical side of working in wet weather, from covers to composition, is in how to photograph rain.
After a wet shoot, do not zip the camera straight into a closed bag. Wipe it down, then leave the camera, the lens and the bag open in a dry room so the moisture can escape. Open the battery and card doors once the outside is dry, so no trapped droplets remain.

Salt spray deserves special attention. Near breaking waves, the air carries fine droplets of seawater that dry on your camera as a crust of salt. Salt is corrosive to metal parts and contacts, abrasive on glass, and it attracts moisture from the air, so it keeps surfaces damp long after you leave the beach. The same day, wipe the body and lens barrel with a cloth dampened in fresh water, then dry them. Clean the front glass as described above, blower first, because dried salt crystals scratch like sand. For shooting close to the waves, see seascape photography.
Storage, humidity and lens fungus
Lens fungus is a mold that grows on and between glass elements. It starts as fine, branching threads and can permanently etch coatings if left alone. It needs three things: spores, which are everywhere; something organic to feed on, such as dust or fingerprint residue; and sustained humidity with still air and darkness. A lens sealed in a padded bag in a damp closet for a year is ideal for it. The same lens used every week and kept on an open shelf is not.
- Keep humidity moderate. Fungus thrives when relative humidity stays high for long periods. Aim for the middle of the range, roughly 40 to 50 percent. An inexpensive hygrometer in your storage box tells you where you stand.
- Use desiccant in a closed container. Silica gel only works in a reasonably sealed box or cabinet; in an open room it saturates quickly and does nothing. Indicator gel changes color when it is full. Dry it out following its instructions and reuse it.
- Do not store gear in its bag. Foam padding holds moisture. For long-term storage, move equipment to a dry box or an open shelf in a dry room.
- Use your gear. Light and air movement discourage fungus. Take lenses out and use them regularly, especially in humid seasons.
- Dry it before you store it. Never put away a camera that is still damp from rain, fog or a humid day.
Memory cards and file safety in the field
A failed card costs pictures rather than equipment. Format cards in the camera you will use them in, not on a computer, after you have confirmed the previous files are backed up. Never remove a card or battery while the camera is still writing. Keep cards in a hard case, away from dust and water. Choosing reliable cards is covered in choosing the right memory card, and keeping a second copy of your pictures on the road is in the photo backup guide.
When to send gear for professional service
Some problems are beyond a blower and a cloth. Opening a lens or a camera body at home almost always causes more harm than it fixes, because elements must be realigned precisely and internal parts are fragile. Send the equipment to a qualified repair service when you see any of these:
- Fungus threads, haze or fog inside a lens that does not clear after the lens has dried out.
- Grinding, stiffness or rattling in a focus or zoom ring, or an element that moves when you shake the lens gently.
- Spots on the sensor that survive a careful wet clean, or oily marks that return after cleaning.
- Any camera that got water inside it, especially seawater. Remove the battery and card at once, do not turn it on, and get it to a repair service as quickly as you can.
- A lens or camera that was dropped, even if it seems to work. Impacts can knock elements out of alignment and cause softness on one side of the frame.
- Persistent error messages, autofocus failures or a shutter that sounds different from usual.
If you depend on your equipment for income, consider whether photography insurance should cover accidental damage.
Common mistakes
- Wiping a lens before blowing it off. Grit trapped under the cloth scratches coatings. Always blow and brush first.
- Changing lenses in the wind. This is how dust reaches the sensor. Pick one lens for dusty days, or change it inside a car or tent.
- Carrying a cold camera straight indoors. Water condenses inside it. Seal it in a bag outside and let it warm up closed.
- Leaving salt to dry overnight. It keeps absorbing moisture and corroding. Wipe gear with a damp, fresh-water cloth the same day.
- Storing gear for months in a padded bag. This is the classic recipe for fungus. Store it dry, with air around it, and use it regularly.
- Forcing a jammed zoom or focus ring. Grit is often the cause, and forcing it grinds the grit deeper. Stop and get it serviced.
Try this
Put together a small care kit, then use it once on everything you own. You need a rubber blower, a soft lens brush, a bottle of lens cleaning fluid, a packet of lens tissues, two clean microfiber cloths in a zip-top bag, a few large zip-top bags for dust and condensation, and a sachet of silica gel.
- Blow off every body and lens, outside first, then remove each lens and inspect the mount and contacts.
- Check each front and rear element under a light at an angle, and clean only the ones that need it, using the blow, brush, fluid, spiral sequence.
- Photograph a plain sky at f/16 with each body to check for sensor dust, and note what you see.
- Look at where you store your gear. If it lives in a closed bag, move it to a box with silica gel or an open shelf.
- Put the blower, one cloth and two zip-top bags into your everyday camera bag, so they are with you in the field.
Frequently asked questions
How often should I clean my lenses?
Only when they need it. A little dust on the front element has no visible effect. Clean smudges and fingerprints promptly, and do a full check after any trip to dusty, sandy or salty places.
Can I use my shirt or a paper towel in an emergency?
Avoid it. Both can carry grit and fibers, and paper is abrasive. If there is only dust, leave it until you have a blower; a few specks will not show in your pictures. Save any wiping for a clean lens cloth.
What does lens fungus look like?
Fine, branching threads, like a spider web or frost, usually seen when you shine a light through the lens. Early fungus can often be cleaned by a repair service; advanced fungus can etch the coatings permanently.
Related guides
- How to clean your camera’s sensor: dust tests and the full blower, brush and swab sequence.
- Winter photography: batteries, gloves and exposure in snow and cold.
- Summer photography: heat, bright light and beach days.
- How to photograph rain: rain covers and making the most of wet weather.
- Seascapes: working near the waves, where salt spray is constant.
- Festival photography: dust, crowds and long days at outdoor events.
- Camera bags: choosing a bag that protects gear in the field.
- Lens hood: the simplest protection for the front element.