
Your photographic voice, or personal style, is the set of choices that makes your pictures recognizable as yours: the subjects you return to, the light you wait for, how you compose, and how you edit. You develop it by studying what you already shoot, making those choices on purpose, working in focused series, and showing only the pictures that fit.
Style is not a filter, a preset or a favorite lens. It is not something you invent in a weekend either. It grows out of hundreds of decisions, and the fastest way to grow it is to notice those decisions and start making them deliberately. The steps below take you from the pictures you have now to a body of work that looks like one person made it.
What a photography style is made of
Two photographers can stand in the same spot and come home with completely different pictures. The difference comes from a handful of choices that, repeated, add up to a style:
- Subject. What you point the camera at, and what you leave out.
- Light. Soft overcast light or hard sidelight, early morning or night, natural or flash.
- Composition. Tight or open framing, centered or edge-placed subjects, lots of negative space or busy layers, eye level or unusual angles.
- Lens and depth. Wide, normal or telephoto; everything sharp or a subject isolated by shallow depth of field.
- Color and tone. Warm or cool, saturated or muted, punchy contrast or soft and matte, color or black and white.
- Mood and moment. Calm or energetic, intimate or distant, posed or candid.
Style is separate from genre. Genre is what you photograph; style is how. A strong style carries across subjects, so the same photographer’s landscapes, portraits and street pictures still look related. For an overview of genres and visual styles, see the guide to photography styles and genres.
Why a personal style matters
A consistent style makes your work recognizable. When someone can identify your photographs without seeing your name, that is style at work. It also holds a portfolio together, tells clients and collaborators what to expect from you, and makes shooting easier: when you know what you are drawn to, you spend less time deciding what to photograph and more time getting it right.
Step 1: Study what you already shoot
You already have the seeds of a style. The first step is analysis, not shooting. Choose 30 to 50 photographs from the past year that you are most drawn to, not the most technically perfect ones. Print them small or lay them out in a grid on screen, and look at them as a set.
Ask yourself:
- What subjects keep appearing?
- What light were most of them taken in, and at what time of day?
- What focal lengths and apertures did you use most?
- Where in the frame does the subject usually sit? How much empty space is there?
- What is the dominant color palette, and how much contrast is there?
- What mood do most of them share? Are the subjects still or moving?
Sort the set by focal length, then by time of day, then by color. When the same decision shows up in 20 out of 30 favorite frames, that is not coincidence; it is a preference. These recurring choices are the raw material of your style.
Then show the grid to someone who does not photograph and ask what they notice. Non-photographers look at the overall feeling rather than the technique, and often see patterns you have missed.
Step 2: Study photographers you love, and ones you dislike
Pick three photographers whose work produces a strong response in you, not the ones you feel you ought to admire. For each, note their usual focal length, the direction and quality of their light, their use of color, and how they relate subject to background. Then look for what the three have in common. The overlap almost always points to something already in your own work.
Spend time with work you dislike as well. If over-processed skies, heavy vignettes or blown-out high-key portraits irritate you, those reactions are precise information about your own values. Knowing what you refuse to do is as defining as knowing what you want to do.
The goal is to understand the decisions behind images that move you, not to copy their surface. Copying a particular film look or framing trick without knowing why it was used produces work that looks derivative. The masters of photography are a good place to study how a consistent point of view looks across a whole career: Henri Cartier-Bresson photographed streets, portraits and historic events, and his pictures are recognizable through their geometry and timing rather than their subject; William Eggleston‘s saturated dye-transfer color became inseparable from his style; Sebastião Salgado works almost entirely in black and white and lets natural light and context carry his documentary work.
Want a place to collect what you notice? A photographer’s sketchbook covers keeping notes, sketches and references that feed your own work.
Step 3: Experiment within limits
Once you know your tendencies, push them, but inside a narrow space. Constraints force decisions, and decisions reveal preferences you did not know you had. Try one of these for a month:
- Shoot with a single prime lens. A 50mm on full frame, or a 35mm on a smaller sensor, makes you move your feet, so every frame is a choice about distance and framing.
- Photograph the same place 30 times in different weather and light: fog, rain, blue hour, harsh midday sun.
- Work only in black and white.
- Shoot only in the first and last hour of daylight.
- Use one fixed white balance setting for a whole project, so every frame shares the same color base.
Experiment with genres and subjects too, especially early on. Trying portraits, landscapes, street and still life tells you what you enjoy and what you connect with. Then narrow down: spreading yourself across five genres in the same month scatters the evidence you need.
Step 4: Make technical commitments
Recognizable photographers often have a technical fingerprint. Some always work wide open, at f/1.4 or f/2, so backgrounds become soft tone rather than detail: a commitment to shallow depth of field as a visual language. Others expose to keep the highlights and let the shadows fall dark, which pushes the work toward a low-key look. Others use deliberate motion blur or tilted, unconventional framing.
Decide what your choices are and make them on purpose: how you handle dynamic range, whether your light is soft or hard, how close you stand. A technically perfect frame with no point of view has no style; an imperfect one made with a clear intent often does.
Step 5: Build a consistent editing approach
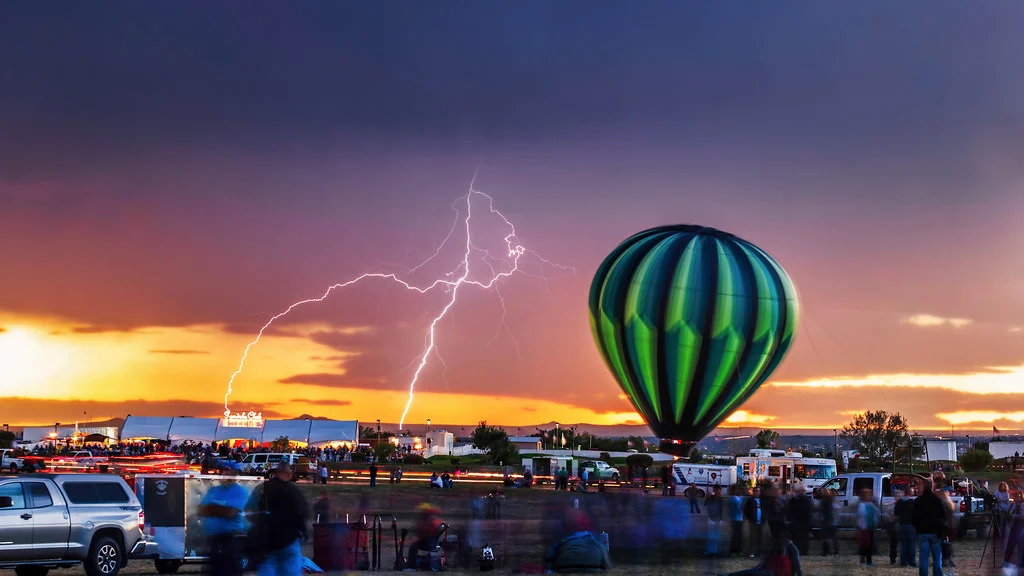
Editing is a large part of style. Build a base treatment you start every image from, saved as a preset or a standard tone curve, then adjust each photo from there. Decide on:
- Contrast: soft and matte, or deep and punchy? See contrast.
- Color: a warm shift, a cool shift or natural? Muted or vibrant?
- Shadows: deep blacks for drama, or lifted shadows for a softer feel?
- Highlights: bright and airy, or held back for detail?
- Color grading: a tint in the shadows and highlights, or a single dominant cast?
- Retouching: how far you go, and where your line is.
Keep the base treatment for at least a whole project. Changing your look with every shoot, or chasing whatever editing style is popular, produces a portfolio that looks like ten different photographers. Shooting raw gives you the most room to develop that look while you are still experimenting; once it settles, some photographers set a matching picture profile in camera to see the look while shooting. Raw vs JPEG explains the trade-off.
Step 6: Work in series
Style settles through repetition on a defined project, not through variety. Choose one subject, place or theme and stay with it for at least three months: a single city block for street work, only window light for portraits, one stretch of coast for landscapes. By the time you have 100 frames from the same project, the choices you made over and over under the same conditions are your style, and you can carry them consciously to new subjects.
Series thinking also changes how you shoot. You start to picture how each frame will sit next to the others, which is previsualization applied to a whole body of work. Photo sequencing and the photo essay guide cover how to put a series in order.
Need a project to start with? Photography project ideas has long-term themes that suit working in series.
Step 7: Curate ruthlessly
Style is as much about what you leave out as what you include. From a shoot of 300 frames where 40 are technically sound, ask which 15 share the same mood and visual tone. Show those. The others, however competent, dilute the set. Keep everything in your archive, but let your portfolio, website and social accounts show only work that fits the direction you want to go, even if that means posting half as often.
Ready to put the work together? Photography portfolio covers selecting, sequencing and presenting your best images.
Step 8: Use your own experience, and get feedback
Your background, the places you know and the things you care about shape what you notice. A subject you return to again and again (a landscape, a person, a neighborhood, an idea) gives your work depth that a list of popular locations cannot. Photograph what you know well and what genuinely interests you.
Then get honest responses. Share a set, not single pictures, with other photographers, a mentor or a critique group, and ask what ties the pictures together and which ones do not belong. Photography mentorship covers finding someone to review your work regularly.
How long it takes, and why style keeps changing
There is no fixed timeline. For most people a recognizable consistency appears after months to years of regular shooting with honest review, and you usually notice it looking back rather than in the moment. Shooting often, on focused projects, and reviewing your work every month speeds it up; occasional casual shooting slows it down because the feedback is too slow.
Do not force it by picking a fashionable look and applying it to everything; style that is manufactured feels hollow and wears thin. And expect it to change. Compare the early and late work of any long-career photographer and you will see it evolve with new places, new interests and growing skill. The aim is consistency within a body of work, not the same look for the rest of your life.
Common mistakes
- Thinking a preset is a style. Fix: a preset is one part of style at most. Light, subject and composition matter more.
- Changing your editing look every few weeks. Fix: hold one base treatment for a whole project before judging it.
- Confusing technical quality with voice. Fix: sharp, well-exposed images with no point of view have no style. Decide what each picture is about.
- Treating new gear as new vision. Fix: a new camera does not change how you see. Put the effort into practice and review.
- Copying the surface of someone else’s work. Fix: study the decisions behind it, then make your own.
- Showing everything. Fix: cull hard, and show only the pictures that belong together.
Try this
Choose your 20 favorite photographs from the past six months and arrange them in a grid. Write down three things that most of them share: perhaps soft light, muted color and a lone subject. Then plan your next three shoots around those three things. If your best work is quiet and minimal, go somewhere quiet in soft light with a simple composition; if it is busy and colorful, go somewhere crowded and bright. Leaning into your strengths is how natural tendencies become a deliberate style.
Frequently asked questions
How do I find my photography style?
Start with the photos you already have: lay out your favorites and look for repeated subjects, light, framing and color. Then make those choices deliberately, work on a focused series for a few months, and show only the images that fit together.
What is a photographic voice?
It is the point of view that runs through your work: what you choose to photograph and how you choose to show it. Style is the visible form of that voice, in your light, composition and editing.
How long does it take to develop a photography style?
Usually months to years. It comes faster if you shoot often, work in series and review your pictures critically, and slower with occasional, unfocused shooting.
Can I have a style if I shoot many different subjects?
Yes. Style lives in your light, composition, tone and timing, not in your subject. Many photographers who work across several genres are still instantly recognizable.
Should I shoot raw or JPEG while developing a style?
Raw gives you the most freedom to experiment with tone and color while your look is still forming. Once your editing settles, a matching in-camera picture profile can help you see the look as you shoot.