High key and low key describe the overall tonal key of a photograph, not how well it is exposed. A high key image is built mostly from light tones, with soft shadows and only small touches of dark, and it feels open, calm and clean. A low key image is built mostly from dark tones, with a few carefully placed highlights, and it feels dramatic, intimate or serious. Both are deliberate choices you make with your subject, your light and your exposure.
Tonal key is not the same as exposure
The most common confusion about high key and low key is treating them as overexposure and underexposure. They are not. Exposure is about recording the scene’s tones in the right place. Key is about which tones the scene is made of in the first place.
A small cabin on a snowy frozen lake, exposed correctly, is high key because nearly everything in it is bright. The same camera settings pointed at a busy street would not make that street high key. It would just make it overexposed, with washed-out colours and white skies with no detail. In the same way, a candle-lit face surrounded by darkness is low key because the scene really is mostly dark. Underexposing an ordinary daylight scene only makes it muddy and noisy.
The test is simple: in a real high key or low key image, the important tones still hold detail. Skin in a high key portrait still has texture and shape. The lit side of a face in a low key portrait is exposed properly, even though most of the frame is black. Anything between the two extremes, with a full spread of tones and no dominant end, is called mid key, which is where most everyday photographs sit.
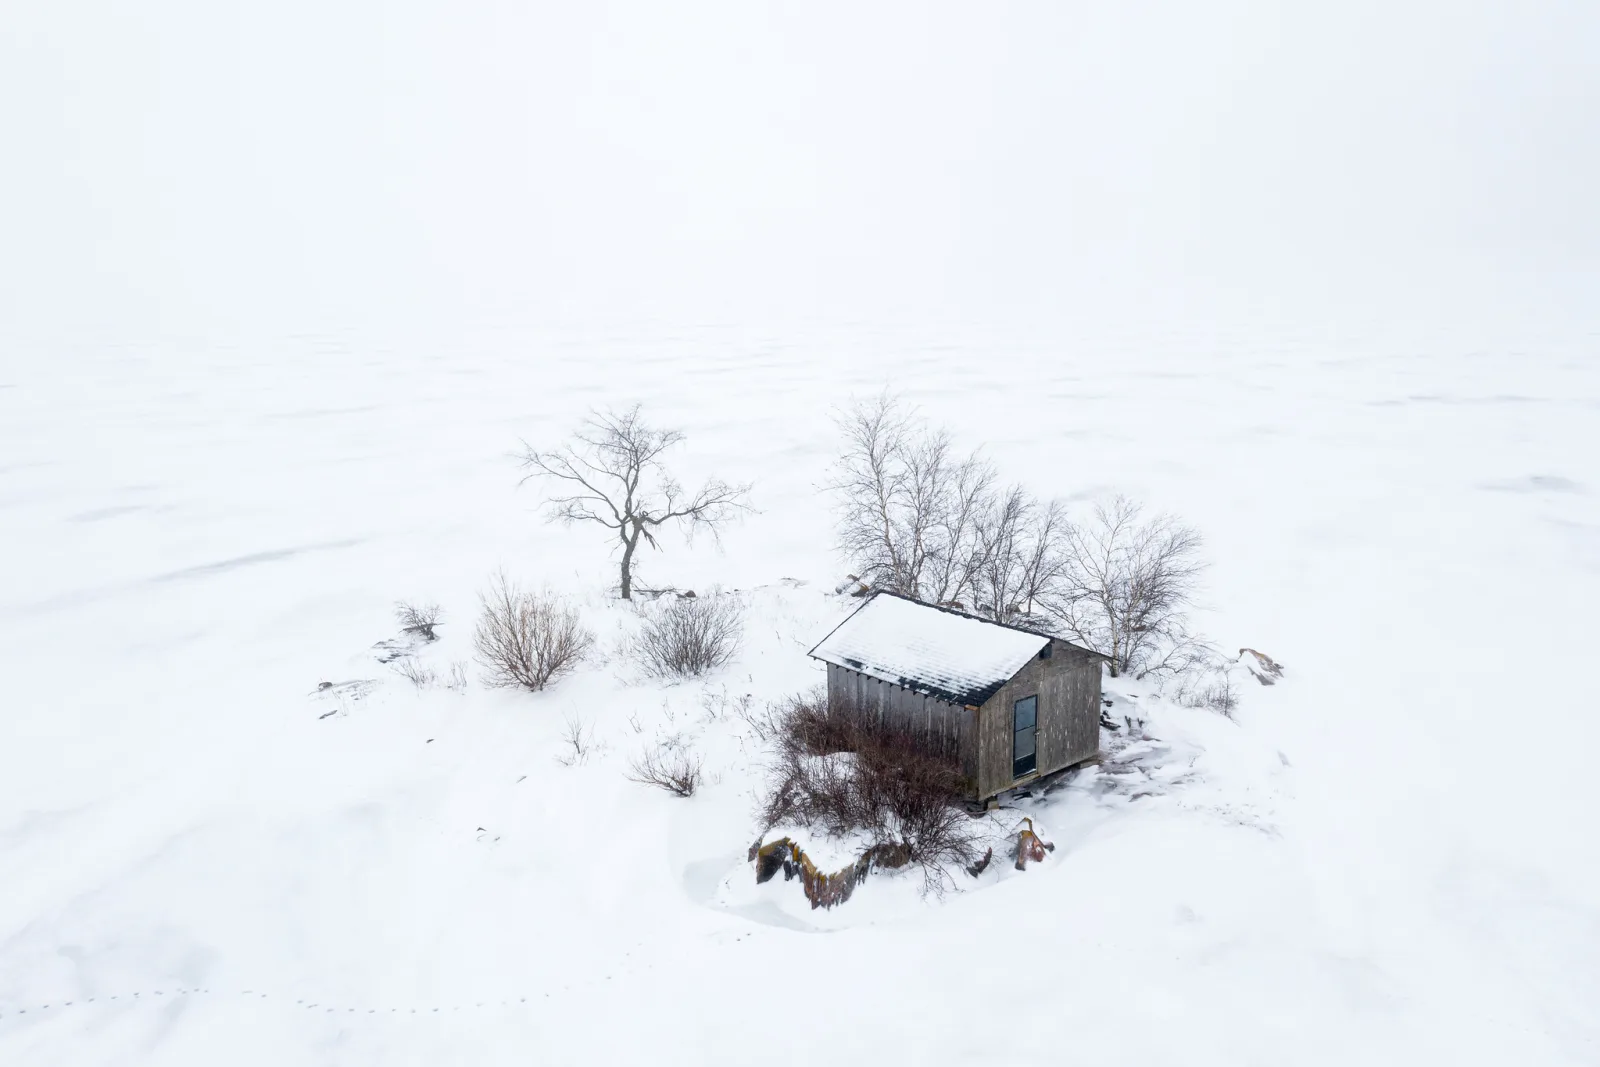
Photographers who use the zone system think about this directly: a high key image places most of its important tones in the upper zones, and a low key image places them in the lower zones, with the few tones that matter still inside the range where detail survives.
Reading the histogram for each key
The histogram is the quickest way to check whether you have the key you intended. It shows how many pixels sit at each brightness level, from black on the left to white on the right. A correct histogram is whatever matches the scene, not a hill in the middle.
| Key | Histogram shape | Warning signs |
|---|---|---|
| High key | Most data in the right third, a thin tail reaching into the midtones and a few darks | A tall spike against the right edge over the subject means lost detail |
| Mid key | Data spread across the whole width | Nothing specific; the full range is expected |
| Low key | Most data in the left third, with a small group of pixels reaching well to the right | No data on the right side means there are no real highlights, so the image looks dull rather than dramatic |
Two details matter here. First, a high key image usually needs a small amount of dark somewhere: eyes, a line, a branch, a shadow under an object. Without any dark anchor the picture floats and looks faded. Second, a low key image needs at least a little genuine brightness: a catch light, a rim of light on a shoulder, a flame. Those small highlights are what make the darkness read as intentional.
Clipping is sometimes acceptable. A pure white background in a studio high key portrait is supposed to clip, and a pure black background in a low key still life is supposed to crush to black. What must not clip is the subject. Turn on your camera’s highlight warning, and check the individual colour channels if your camera can show them, because a bright red or yellow can clip in one channel while the overall histogram looks safe. The guides to clipping and reading a camera histogram go into this in detail.
Why your meter fights you, and how to correct it
Your camera’s meter assumes the scene averages out to a middle grey. That assumption is exactly wrong for high key and low key scenes, so the meter will pull both of them toward the middle.
- High key scenes fool the meter into underexposing. Snow comes out grey, white walls look dingy, and a pale portrait against a bright background looks dull. Add exposure compensation, typically +1 to +2 stops, then check the histogram and the highlight warning.
- Low key scenes fool the meter into overexposing. The dark background turns grey, noise appears, and the few highlights blow out. Subtract compensation, typically -1 to -2 stops, until the blacks look black and the highlights keep their detail.
A more precise method is spot metering the tone that matters and placing it where you want it. In a low key portrait, spot meter the lit side of the face and expose so that it falls where skin belongs, about a stop brighter than the meter’s reading for light skin. Everything else in the frame will fall dark because it is darker. In a high key portrait, meter the skin the same way, then make sure the background is brighter than the face by adding more light to it, not by pushing the whole exposure up.
In manual mode none of this drifts. Once you have the exposure right for a high key or low key setup, locking it in manual prevents the meter from undoing your choice every time the framing changes. The page on metering explains the different metering modes.
Lighting a high key setup
High key lighting is about abundance and softness. You want light coming from large sources, filling in shadows and bouncing around the space so that almost nothing falls dark.
- Light the background separately. Aim one or two lights at a white background so that it reads about one to one and a half stops brighter than the light on the subject. That is enough to render it pure white. Much more than that and light bounces back off the background and wraps around the edges of the subject, reducing contrast and softening edges.
- Use a large, soft key light. A big softbox or umbrella placed close to the subject and near the camera axis gives gentle, shallow shadows.
- Fill generously. Add a reflector or a fill light on the other side so the lighting ratio is close to even, between 1:1 and 2:1. At 1:1 the shadow side is as bright as the lit side, and faces look almost shadowless.
- Keep the subject away from the background. A gap of two metres or more reduces spill from the background lights onto the subject and makes it easier to control each separately.
You do not need a studio to shoot high key. Many of the best high key pictures are made outdoors in conditions that already provide soft, bright, even light.
Natural light high key
- Overcast days act like a giant softbox, especially with pale subjects.
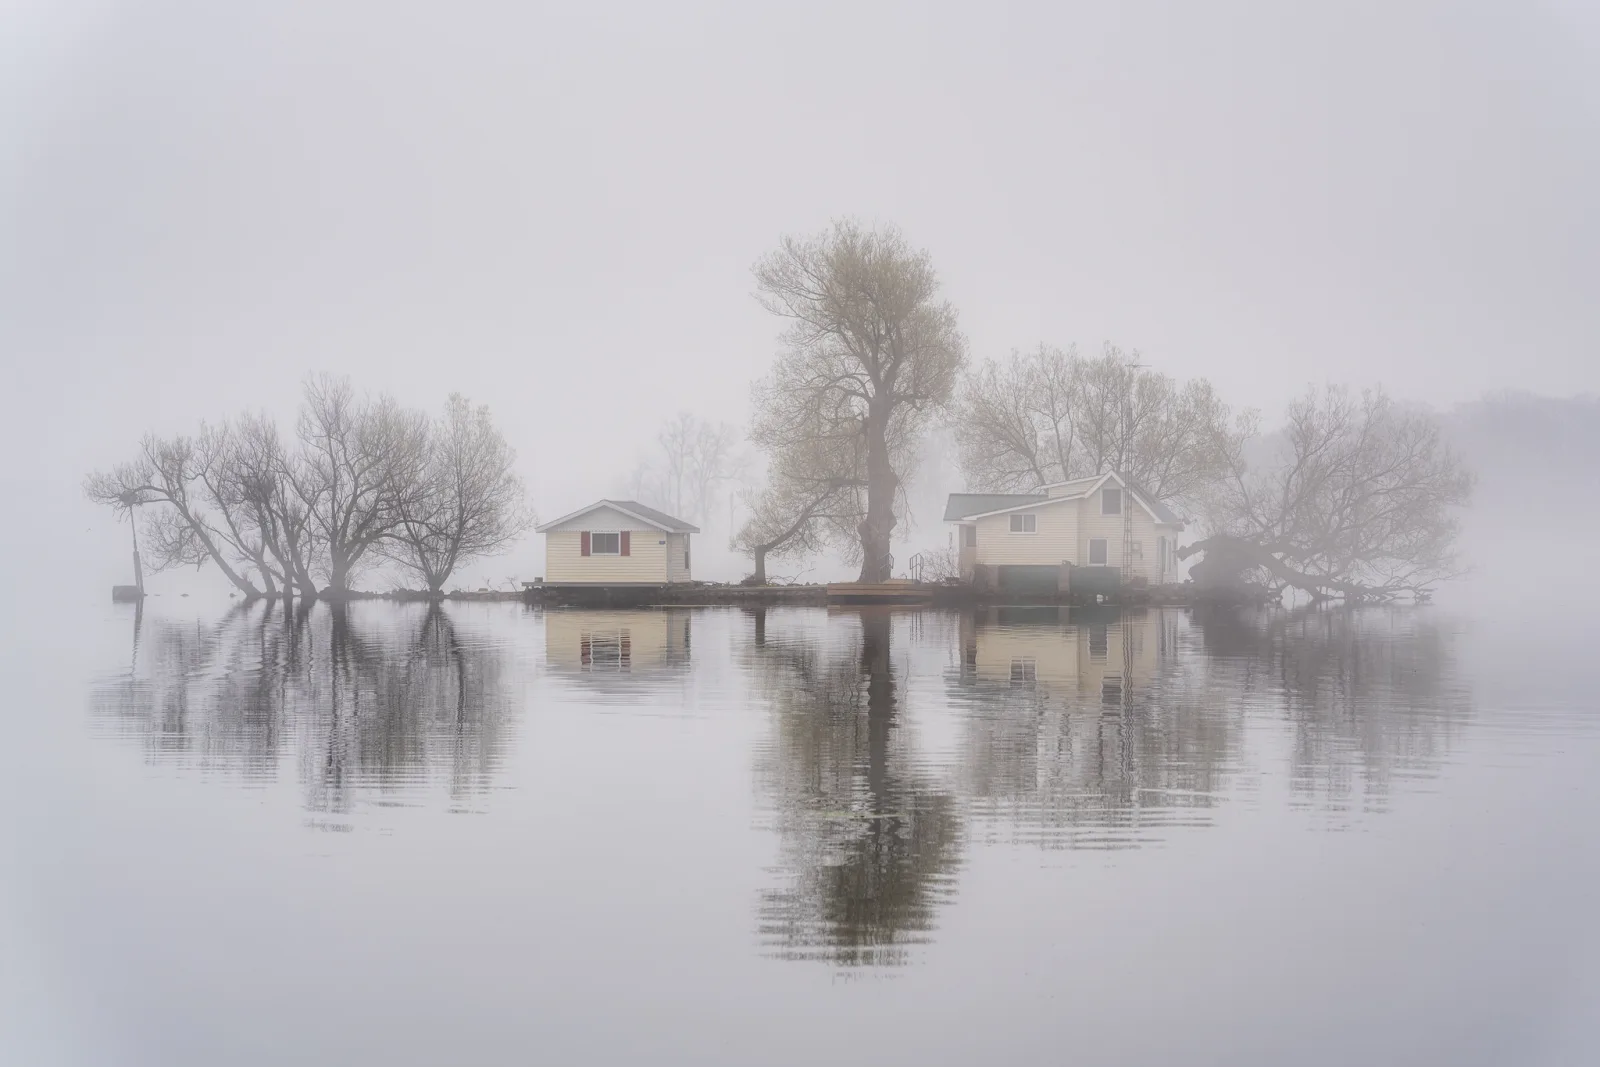
- Snow, sand and fog fill a scene with bright tones and bounce light into shadows. Fog in particular lowers contrast and lightens everything behind the subject.
- A window with white walls gives a directional but soft light, and white walls act as built-in fill.
- Backlit subjects against a bright sky can go high key if you expose for the subject and let the sky clip, though a reflector in front helps keep the face from going flat.
Lighting a low key setup
Low key lighting is about control. The goal is to put light only where you want it and keep it off everything else, especially the background.
- Use one main light. A single key light placed to the side, often between 45 and 90 degrees from the camera, sculpts the subject with strong shadows.
- Restrict the spill. A grid, snoot or flags narrow the beam so it lands on the subject and not the surroundings.
- Use distance to darken the background. Light falls off with the square of distance, as the inverse square law describes. If the subject is 1 metre from the light and the background is 3 metres from it, the background receives one ninth of the light, about three stops less. With a dark background, that is enough for it to go black.
- Add little or no fill. A lighting ratio of 8:1 or higher gives deep shadows. If the shadow side disappears entirely and you want a hint of shape, add a weak reflector rather than a second light.
- Separate the edges. A rim light behind the subject draws a thin line of light along the hair or shoulder so the subject does not merge into the background.
This is the lighting tradition often called chiaroscuro, borrowed from painting, where strong contrast between light and dark gives a subject weight and volume.
Natural light low key
- A single window in a dark room, with other windows covered, is a classic low key light source.
- A doorway or gap between buildings can throw a narrow beam of sun across a subject while everything around stays in shade.
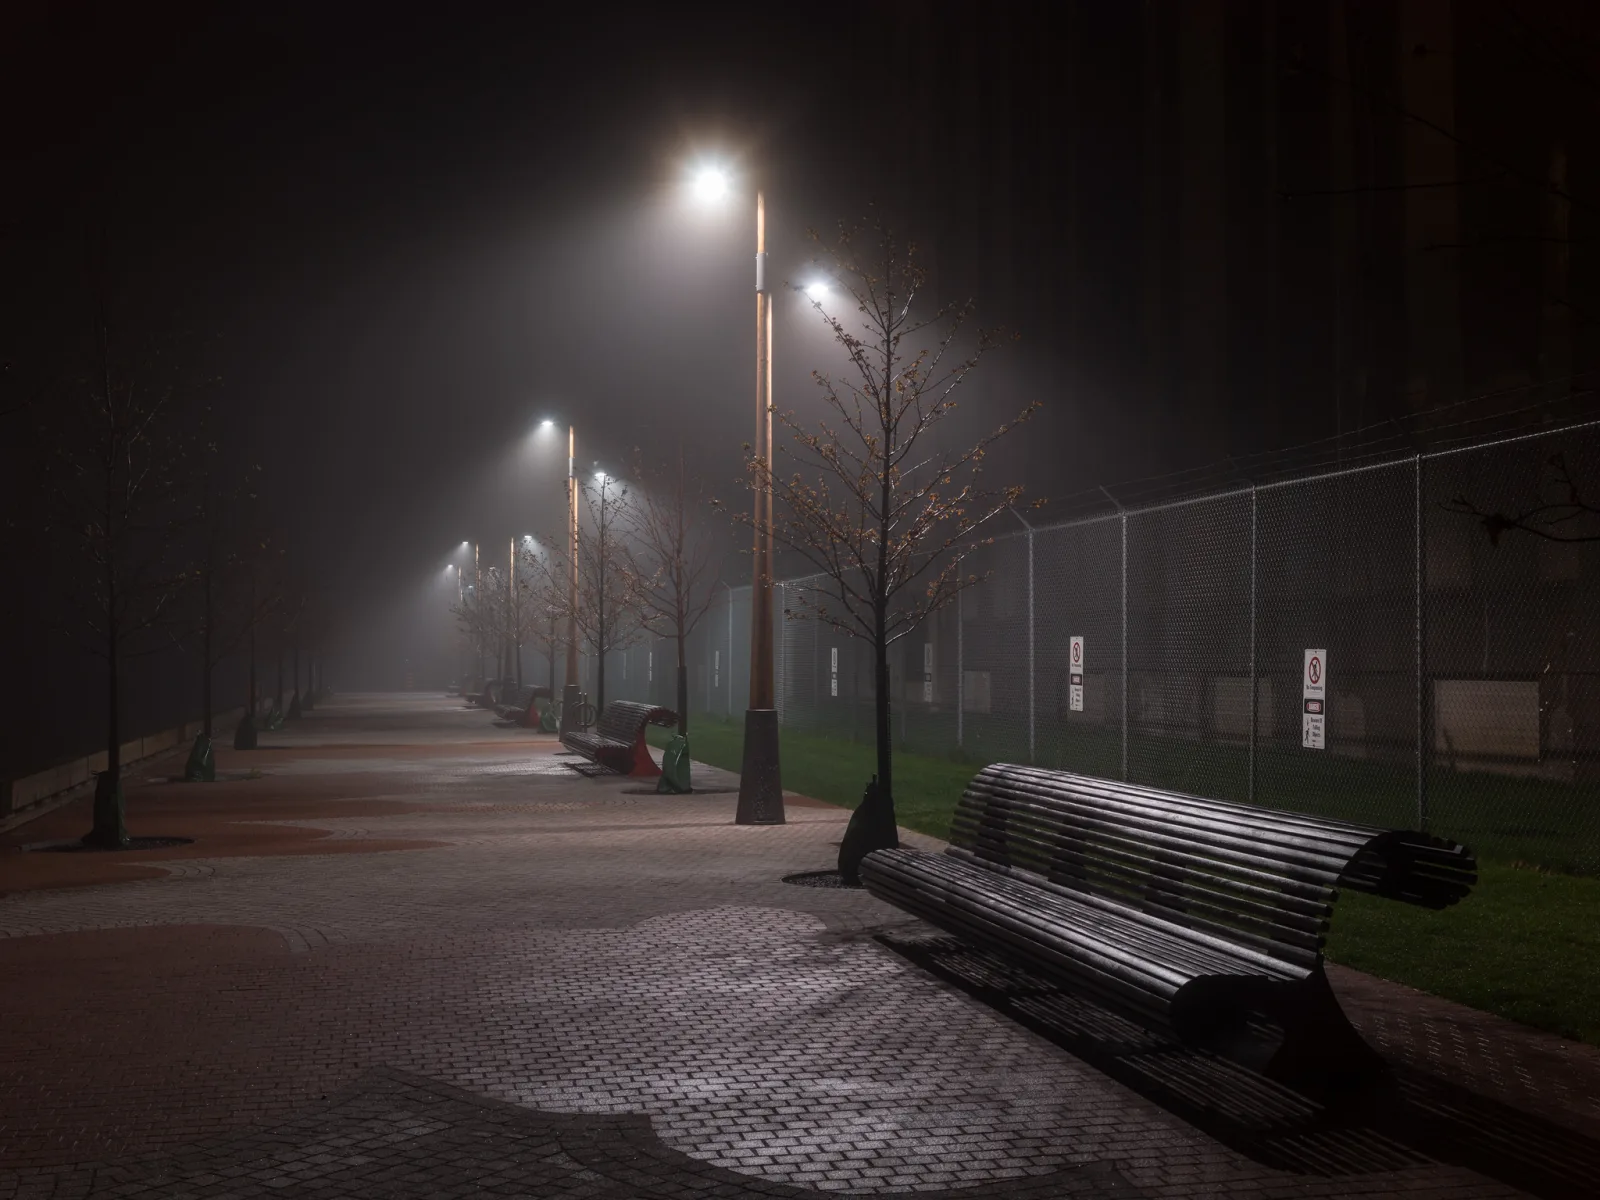
- Candles, lamps and street lights at night light a small area and leave the rest dark, which is low key by nature.
- Low sun raking across a landscape can light one hill or tree while the foreground stays in shadow, if you expose for the lit part.
Exposing to protect the tones that matter
Both keys push tones toward one end of the range, so both need a clear idea of which tones you are protecting.
For high key, expose as brightly as you can without clipping the subject. This is close to the idea of exposing to the right, and it gives clean shadows with very little noise. Shoot raw so that you have room to recover a slightly overexposed highlight later. Check that the brightest part of the subject, such as a white shirt or the forehead, still has some texture on the camera screen when you zoom in.
For low key, expose for the highlights and let the shadows fall. Resist the urge to brighten the whole frame in camera; if the lit part of the subject is correct, the image is correct. Because you are not planning to lift the shadows later, noise is rarely a problem at low ISO. The trouble starts when a scene is underexposed by mistake and then brightened in editing, which drags noise out of the dark areas.
Contrast between the keys is different too. High key images usually have low overall contrast, with a narrow range of bright tones. Low key images often have high local contrast, with bright highlights sitting right next to deep shadows.
Editing high key and low key images
Editing can refine a key you shot for, but it rarely creates one from a mid key original without damage.
Refining high key
- Raise the whites and brighten the midtones with a curve rather than just raising overall exposure, so the brightest details do not clip.
- Lift the shadows gently to soften them, but keep a few true darks as anchors.
- Reduce saturation slightly if colours feel heavy; high key often looks best with light, clean colour.
- Clean the background to pure white with a local adjustment brush if small grey patches remain.
Refining low key
- Set the black point so the background is truly black rather than dark grey. The page on curves and levels shows how.
- Use dodging and burning to brighten the lit side of the subject slightly and darken distractions at the edges.
- Add a subtle vignette to pull the eye toward the lit area.
- Keep texture in the highlights. A low key image lives or dies on a few bright details, so do not let them clip.
Both keys work well in monochrome, where tone carries the whole picture. If you are working in black and white, the key becomes even more obvious.
Choosing a key to match the mood
Key is one of the strongest tools you have for mood, because viewers read brightness and darkness emotionally before they notice anything else.
| Key | Mood it tends to carry | Subjects that suit it |
|---|---|---|
| High key | Light, calm, hopeful, clean, gentle | Children, newborns, weddings, beauty, product shots, snow and fog landscapes, minimalism |
| Mid key | Natural, factual, balanced | Documentary, travel, most everyday work |
| Low key | Dramatic, mysterious, serious, intimate | Character portraits, still life, night scenes, candlelit interiors, moody landscapes |
These associations are tendencies, not rules. A low key portrait of a newborn lit by a single window can feel tender rather than dark, and a high key picture of an empty room can feel lonely rather than cheerful. Decide what you want the viewer to feel first, then choose the key that supports it.
Common mistakes
- Calling an overexposed image high key. Blown skin and white skies without detail are an exposure error, not a style. Fix: protect the subject’s highlights and make the background brighter with light, not with exposure.
- Calling an underexposed image low key. Grey, muddy blacks and a dim subject look like a mistake. Fix: expose the subject correctly and darken the surroundings by controlling where light falls.
- No dark anchor in a high key frame. The image looks faded and weightless. Fix: include eyes, a dark object or a line that gives the viewer something to hold onto.
- No real highlight in a low key frame. The picture looks flat and heavy. Fix: add a rim light, a catch light or a bright detail.
- A grey background in a high key studio shot. The background is not lit brightly enough. Fix: add power to the background lights until it reads about one to one and a half stops brighter than the subject.
- Spill on the background in a low key shot. The black background turns grey. Fix: move the subject further from the background, add a grid or flag, or angle the light away from the background.
- Trusting the meter. The camera pulls both keys toward middle grey. Fix: use exposure compensation or manual exposure, and judge by the histogram.
Try this
Make one high key and one low key still life with a single object, in thirty minutes, using only a window.
- For the high key image, place a pale object, such as a white cup or an egg, on white paper beside a window on an overcast day. Put a second sheet of white card on the far side as fill. Add +1 to +2 stops of exposure compensation until the paper looks white but the object still shows its shape.
- For the low key image, move the same or a darker object onto black cloth, close the curtains until only a narrow gap of light falls on the object, and turn off other lights. Subtract -1 to -2 stops until the background goes black while the lit edge keeps its detail.
- Compare the two histograms side by side. The high key one should lean right, the low key one should lean left, and the object should hold detail in both.
Frequently asked questions
Is high key just overexposure?
No. High key describes a scene made mostly of light tones, exposed so that those tones stay bright but still hold detail where it matters. Overexposure is an error where detail is lost.
Do I need studio lights for high key or low key?
No. Overcast light, snow, fog and white rooms produce natural high key conditions. A single window in a dark room, a doorway or a candle produces natural low key light.
What background should I use for low key portraits?
A dark background far from the light works best. Black fabric or dark paper absorbs spill, and distance from the light lets the inverse square law darken it further.
Can I convert a normal photo into high key or low key in editing?
You can push it partway, but the result usually shows it. Shadows lifted too far look grey and flat, and a darkened background often keeps visible detail. Shooting for the key gives much cleaner results.
What lighting ratio is typical for each key?
High key portraits usually use ratios close to 1:1 or 2:1, so shadows are very soft. Low key portraits often use 8:1 or higher, so the shadow side falls close to black.
Related guides
- Photography histogram: the tool for checking which key you captured.
- Exposure compensation: correcting the meter when a scene is mostly bright or mostly dark.
- Portrait lighting: light patterns that shape faces in either key.
- Key light: the main light that sets the character of a low key image.
- Chiaroscuro: the painterly tradition behind dramatic low key light.
- Blown highlights: the line between bright high key and lost detail.
- Inverse square law: using distance to darken or brighten a background.
- Shadow photography: making shadows the subject of the picture.