Great cityscapes come from three decisions: a vantage point that shows the city’s shape, light that balances the sky with the city’s own lights, and a steady camera that can hold a long exposure. The most reliable time is blue hour, the short window after sunset or before sunrise when the sky and the lit buildings reach similar brightness. Find a legal high or distant viewpoint, put the camera on a tripod, keep your verticals straight, and let the exposure run.
Finding vantage points that show a city’s shape
A city seen from the pavement is a wall of buildings. To photograph it as a cityscape you need either distance or height, so the skyline separates from the sky and the streets reveal their pattern. The best viewpoints usually fall into a few types:
- Across water. Harbours, rivers, lakes and islands give a clean foreground, a full view of the skyline and reflections at night. Water also keeps other buildings from blocking the view.
- Public high places. Observation decks, hilltop parks, the upper floors of public buildings, and restaurants or bars with terraces give height without trespassing.
- Bridges and footbridges. These give views along rivers and over roads, which suit light trails. Traffic makes many bridges vibrate, so wait for gaps in traffic before long exposures.
- Distant hills. A park or ridge several kilometres away lets you use a long lens to stack the buildings together, making the city look dense and dramatic.
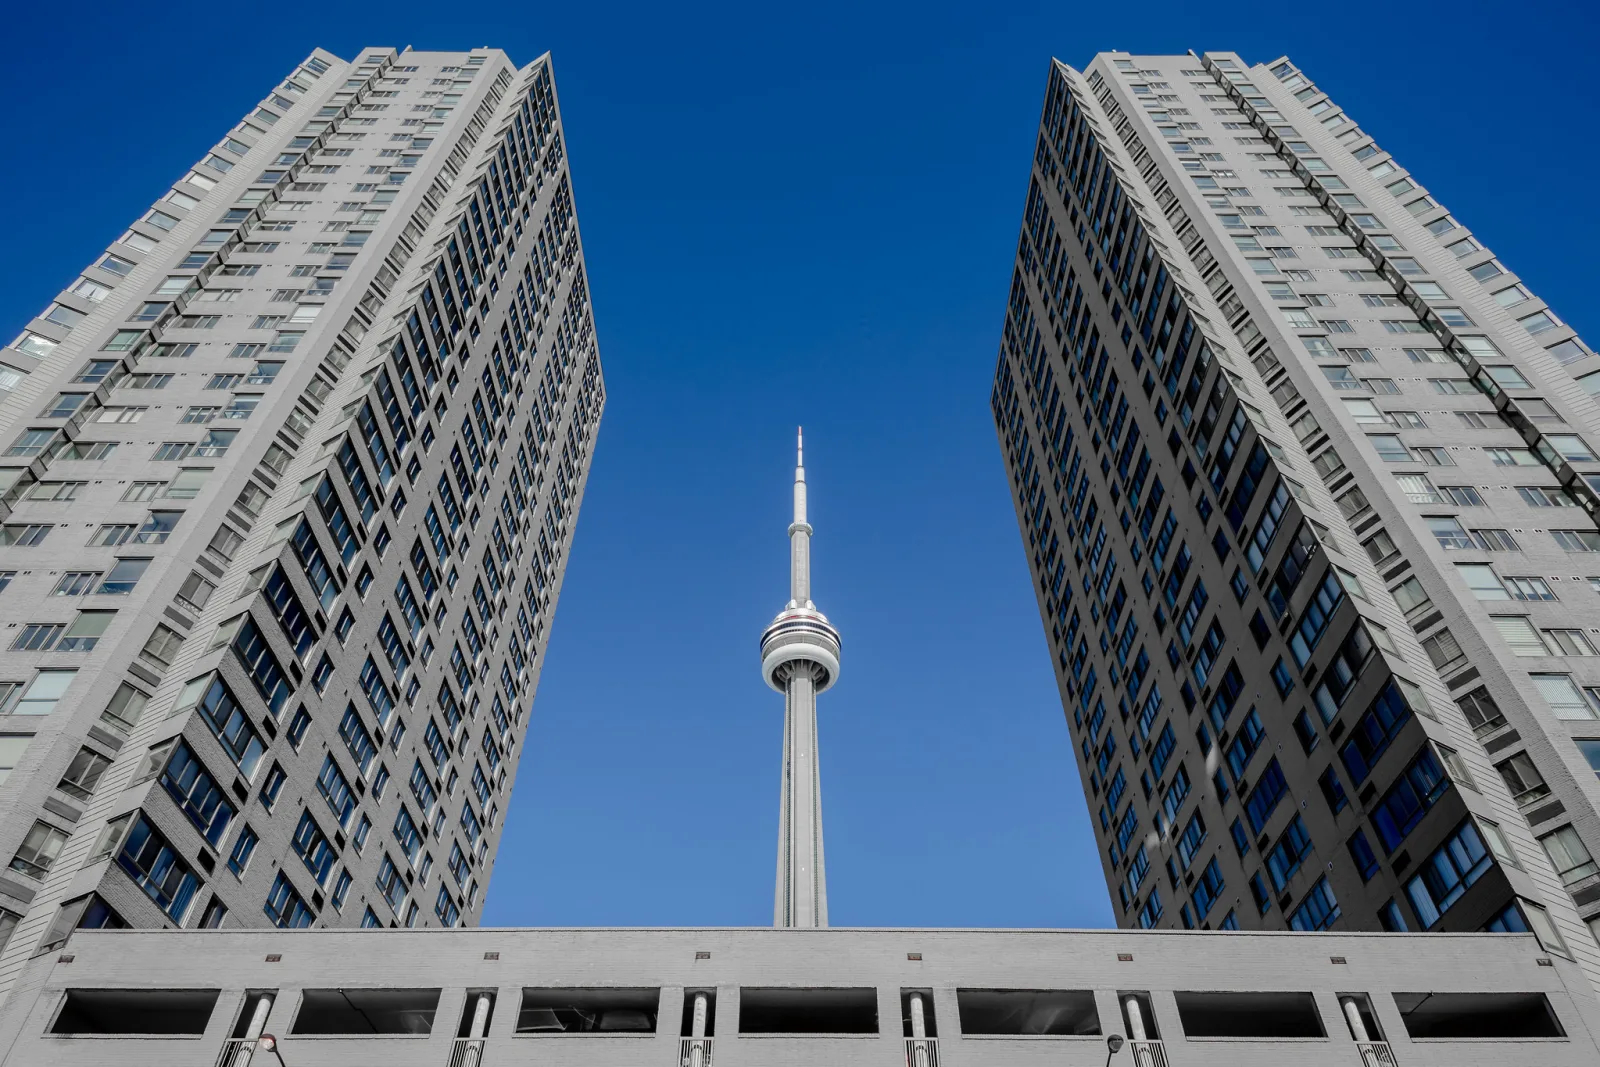
- Street level, looking up. Tall buildings photographed from their base show scale and geometry rather than the whole skyline.
Scouting saves shoots. Use satellite and 3D map views to find open ground with a line of sight to the buildings you want, then use a sun-position planning app to see where the sun sets relative to the skyline. Visit the spot in daylight first to check for fences, construction, tripod rules and a safe place to stand. The guide to planning around the sun, moon and tides covers these tools in more depth.
When shooting through glass on an observation deck, put the lens right against the window, or use a soft rubber lens hood pressed to the glass, and wear dark clothing. Reflections of interior lights and your own shirt will otherwise appear in every frame.
Rooftops and access: stay legal and safe
Some famous city photographs are taken from rooftops, cranes and construction sites reached without permission. Do not copy them. Entering private roofs or restricted structures is trespass in most places, it can bring criminal charges, and people have died falling from them. A picture is never worth that.
There are legal ways to get height:
- Ask building managers for access. Explain what you want to shoot, how long you need and that you will follow their safety rules. Offices, hotels and residential buildings sometimes say yes, especially outside working hours.
- Book a room on a high floor in a hotel with opening windows or a view in the right direction.
- Use paid observation decks and public terraces. Check their rules first, because many prohibit tripods; a small beanbag or a clamp can hold a camera steady on a ledge instead.
- Look for top floors of public car parks, which often have open views. Some forbid photography or loitering, so check signs and move on if asked.
Rules on photographing in public places, tripods on public land and flying drones over cities vary by country and city. If you plan commercial work or drone flights, check the regulations where you are and consult a lawyer or the relevant authority in your jurisdiction if you are unsure.
Blue hour: when the sky matches the city
The single biggest improvement most people can make to their cityscapes is shooting at the right time. In full darkness the sky goes black, and lit buildings become bright shapes floating against nothing. In daylight, the city’s own lights are invisible. During blue hour, the sky still holds deep blue light while windows, streetlights and signs are switched on, and the two sit close together in brightness. The camera can record both in one exposure, and the blue sky contrasts with the warm artificial light.
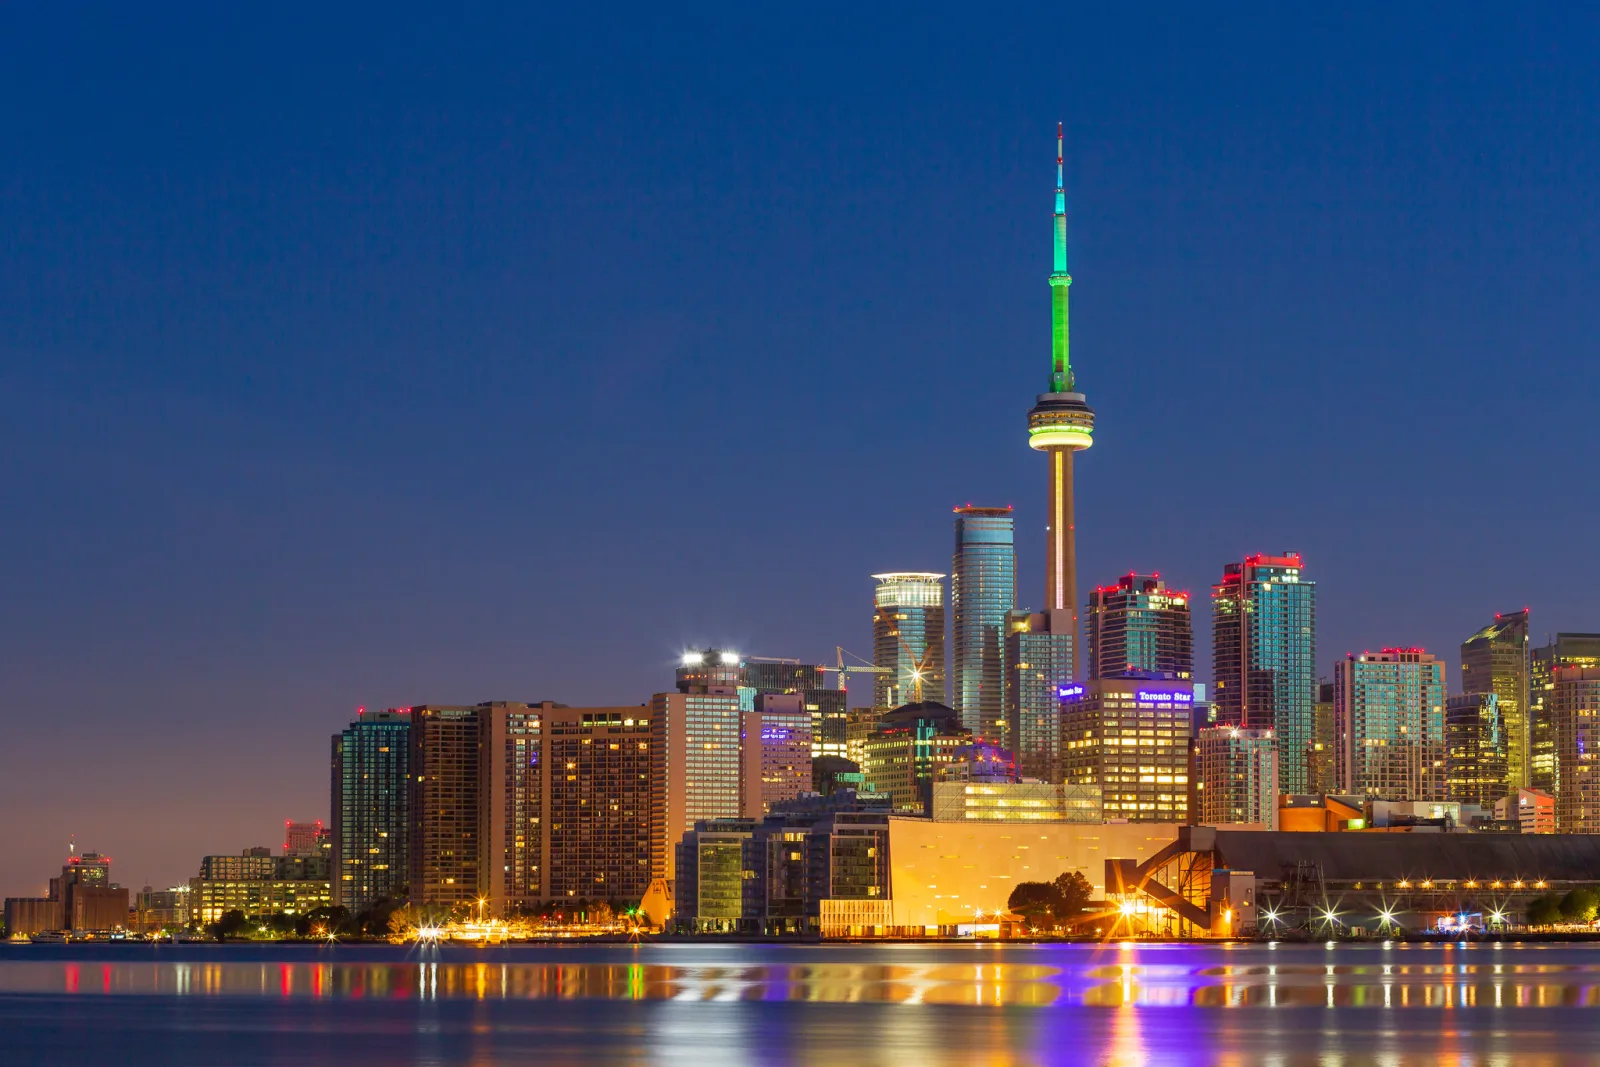
The best moment is often shorter than the name suggests. After sunset, watch the sky get darker and the city lights get relatively brighter. The ideal balance, when the sky is only slightly brighter than or equal to the brightest buildings, may last only ten or fifteen minutes. Start shooting as soon as the lights come on and keep going every minute or two, then choose later. How long the window lasts depends on your latitude and the season: close to the equator twilight is quick, while at high latitudes in summer it can last a long time.
Two practical points help. First, office buildings are most fully lit on working-day evenings in the darker months, when sunset falls while people are still at their desks. Weekends and summer evenings often leave towers dark. Second, morning blue hour is quieter and has fewer people, but many buildings are unlit before dawn. The guide to blue hour photography explains the light itself in detail.
Photographing the skyline
A skyline photograph is mostly about distance and lens choice. From close in, with a wide-angle lens, nearby buildings dominate and distant ones shrink. From far away, with a telephoto lens, the buildings appear closer to one another and closer in size, which makes the skyline look taller and denser. Distance also reduces the tilt of the buildings, because you do not need to angle the camera up.
Some composition guidelines for skylines:
- Decide how much water or foreground to include. Still water doubles the lights, so give it room. A dull foreground of grass or road deserves less space.
- Place the landmark deliberately. If the city has one recognisable tower, it usually works best away from the exact centre, with the rest of the skyline balancing it.
- Keep the horizon level. Crooked water lines are obvious. Use the camera’s electronic level, and correct any remaining tilt when editing.
- Consider going wide. Skylines are naturally long and thin, so a crop to 2:1 or a stitched panorama often suits them better than a standard frame.
Include some sky above the tallest building. Cropping the top of the tower or leaving only a thin band of sky makes the skyline feel squeezed.
Keeping verticals straight, or bending them on purpose
When you tilt the camera up to fit a tall building in the frame, the building’s parallel sides appear to lean toward each other. This converging verticals effect is a type of perspective distortion. It happens because the top of the building is further from the camera than the bottom, not because of a fault in the lens.
You can control it several ways:
- Keep the camera level. If the sensor is vertical, vertical lines stay vertical. Use a wider lens so the building fits, then crop off the extra foreground.
- Move further away or higher. The less you need to tilt the camera, the less the lines converge. Shooting from partway up another building is ideal.
- Use a shift lens. A lens that shifts its optics upward lets you keep the camera level while moving the frame up the building. The guide to tilt-shift photography explains how.
- Correct it when editing. A perspective or transform tool can straighten moderate convergence. It stretches the top of the frame and crops the edges, so leave generous space around the building when you shoot.
The other option is to embrace convergence. Standing at the base of a tower and pointing straight up makes lines rush toward a point in the sky, which can be dramatic. The key is commitment: a strong, obvious angle looks deliberate, while a slight lean looks like an error.
Light trails from traffic
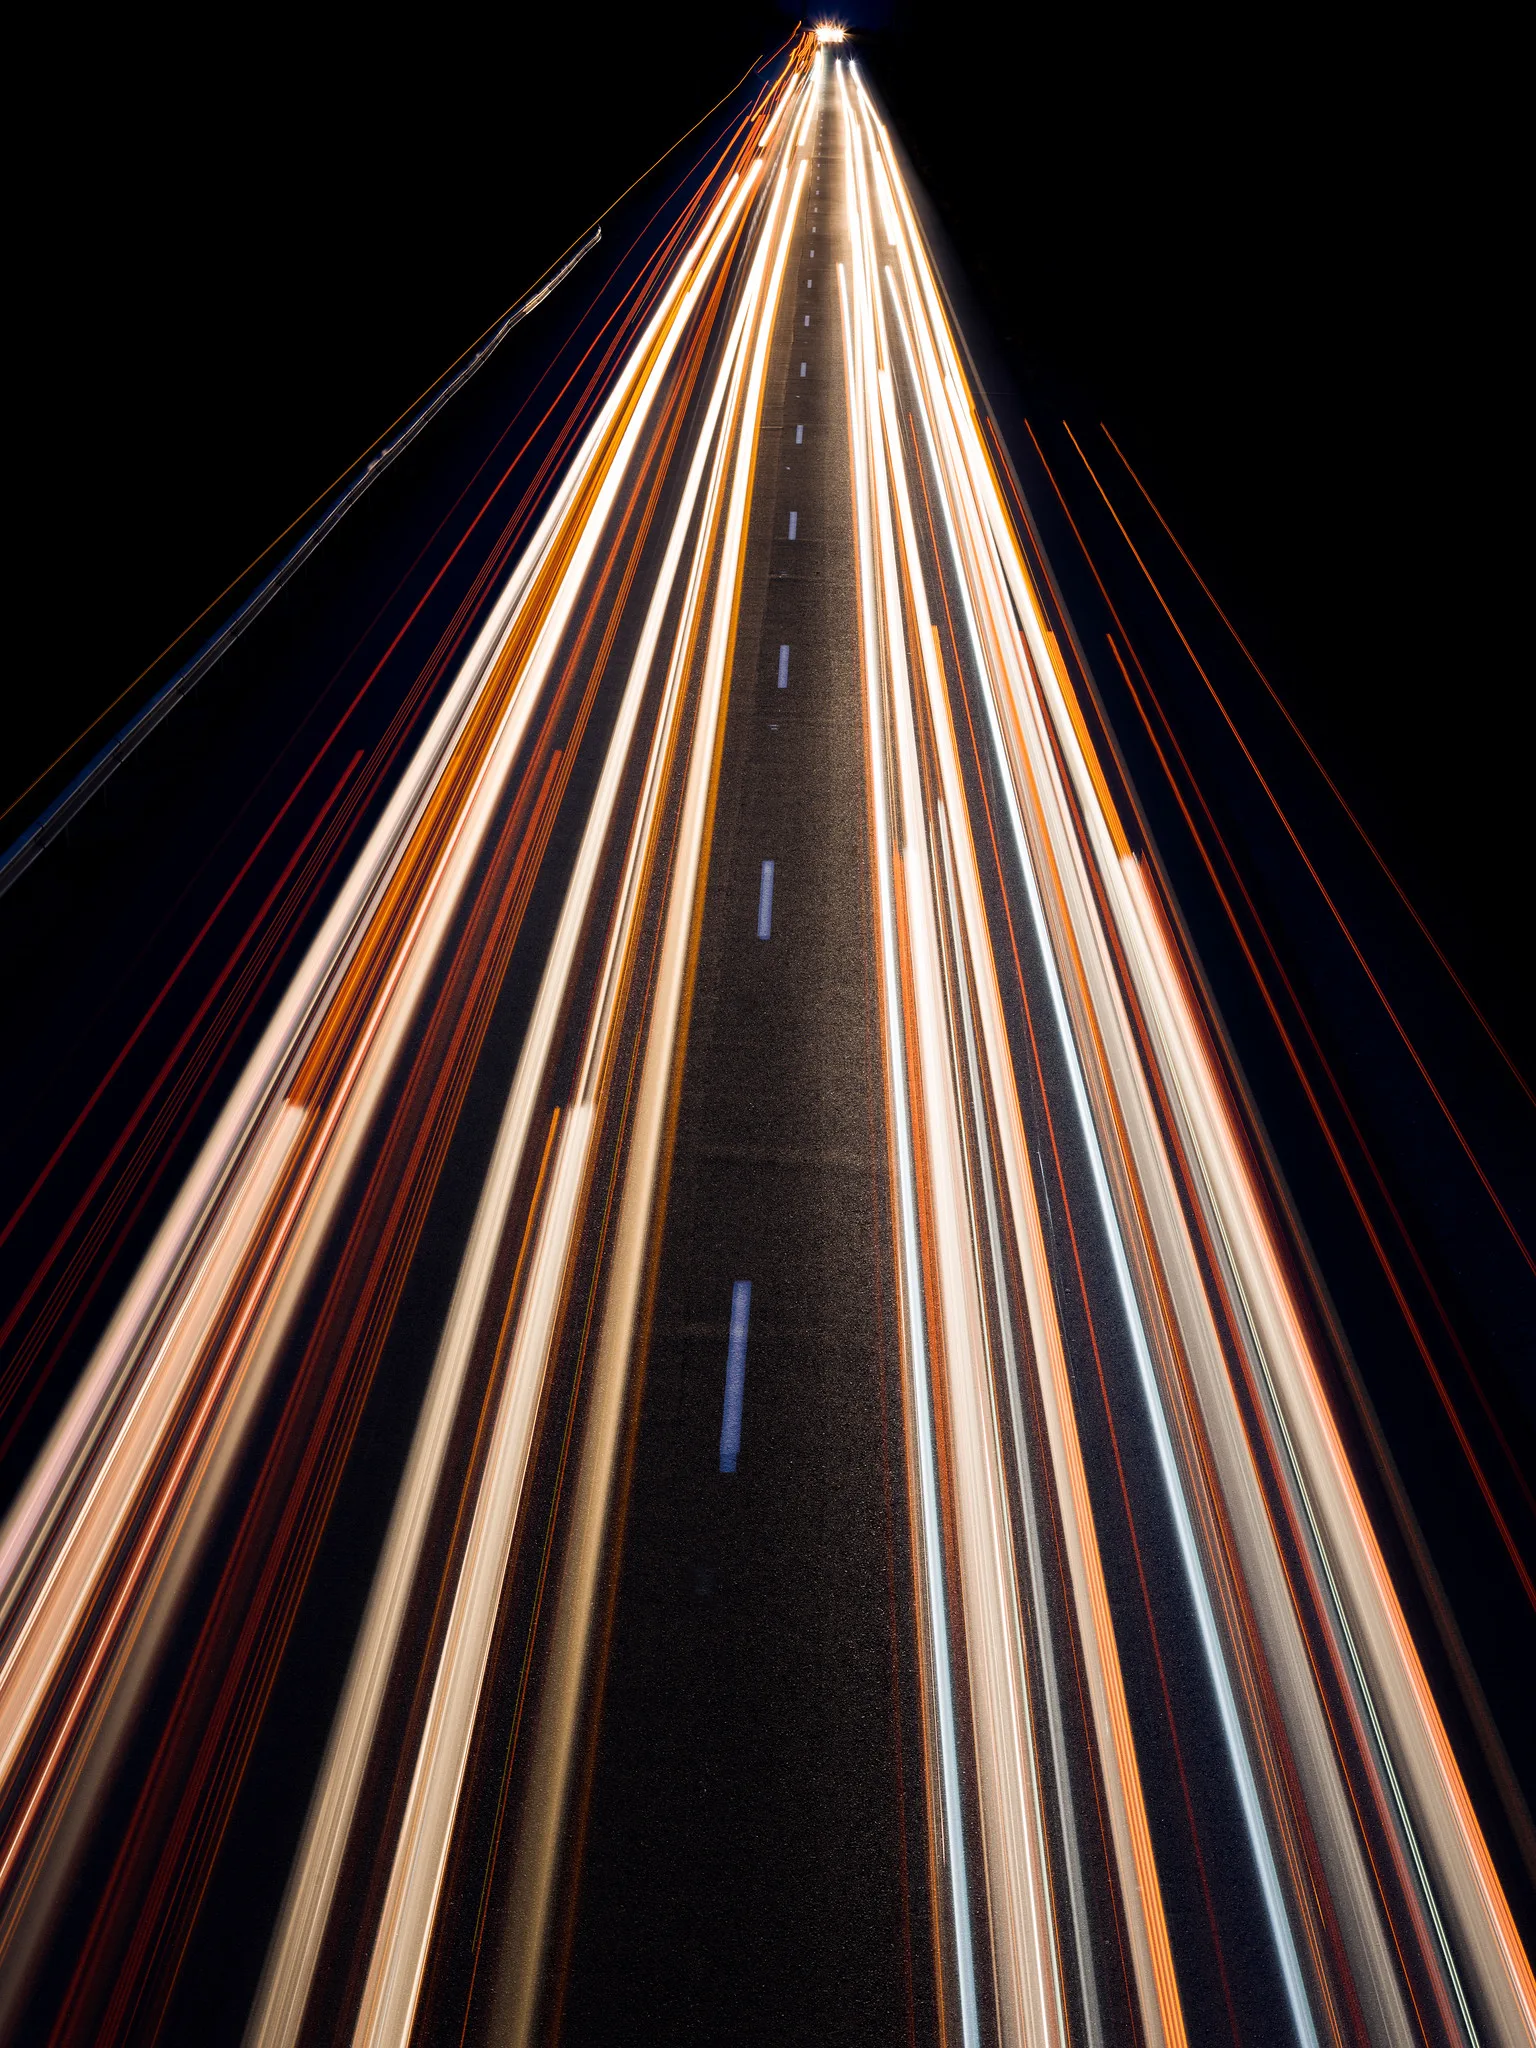
Long exposures turn moving car lights into continuous streaks, which adds energy and shows the flow of a city. The light trails page covers the basics; here is how to approach them in a cityscape.
- Find a high, legal position over the traffic, such as a pedestrian bridge or an overlook, or a spot at the edge of a curving road.
- Use exposures of about 5 to 30 seconds. Shorter exposures give broken trails. Longer exposures give fuller, smoother streams.
- Watch the traffic lights. Start the exposure as a signal turns green so the cars are moving, not waiting in a queue.
- Remember the colours. Cars coming toward you leave white and yellow trails from their headlights, and cars moving away leave red trails from their tail lights. Buses and trucks leave higher trails from their upper lights.
- Combine several frames if traffic is light. Shoot a series from the same position and blend them with a lighten blend mode in an editor that supports layers, so each trail adds to the last.
Exposure and camera settings at night
City night photography is mostly about keeping the camera still and protecting the brightest lights. Use a sturdy tripod (the guide to using a tripod covers setup), a remote release or the two-second self-timer, and switch off image stabilisation if your camera or lens recommends that on a tripod.
| Scene | Starting settings | Notes |
|---|---|---|
| Skyline at blue hour | ISO 100, f/8, 2 to 15 s | Exposure lengthens quickly as the sky darkens |
| Skyline in full darkness | ISO 100, f/8, 10 to 30 s | Check that lit signs are not clipped |
| Light trails | ISO 100, f/11, 10 to 30 s | Smaller aperture lengthens the exposure |
| Handheld street scene | ISO 1600 to 6400, f/2.8, 1/60 s | For when a tripod is not possible |
Some details that make a difference:
- Starbursts. Stopping down to around f/8 to f/16 turns point lights into stars. The number of points depends on the aperture blades: an even number of blades gives the same number of points, while an odd number gives twice as many.
- Highlights. Illuminated signs and floodlit towers clip easily. Check the histogram and highlight warning, and if the range is too wide, use bracketing and blend the exposures.
- White balance. Cities mix sodium, fluorescent and LED light of different colours. Shooting raw lets you choose later. A white balance around 3,500 to 4,500 K usually keeps the sky blue while stopping the lights from turning orange.
- Long exposure noise reduction. If your camera offers it, it takes a second dark frame of the same length, doubling the wait. During a short blue hour you may prefer to switch it off and deal with noise later.
For more on the settings themselves, see the best camera settings for night photography.
Weather, reflections and changing conditions
Clear evenings are reliable, but some of the most striking cityscapes come from weather that sends other people indoors.
- After rain, wet roads and pavements reflect every light, and puddles can mirror whole buildings. Get the camera low, close to the puddle, to make the reflection large.
- Fog and mist diffuse lights into glowing halos and hide the tops of towers, which turns a familiar skyline into something mysterious. See the page on fog for exposure tips.
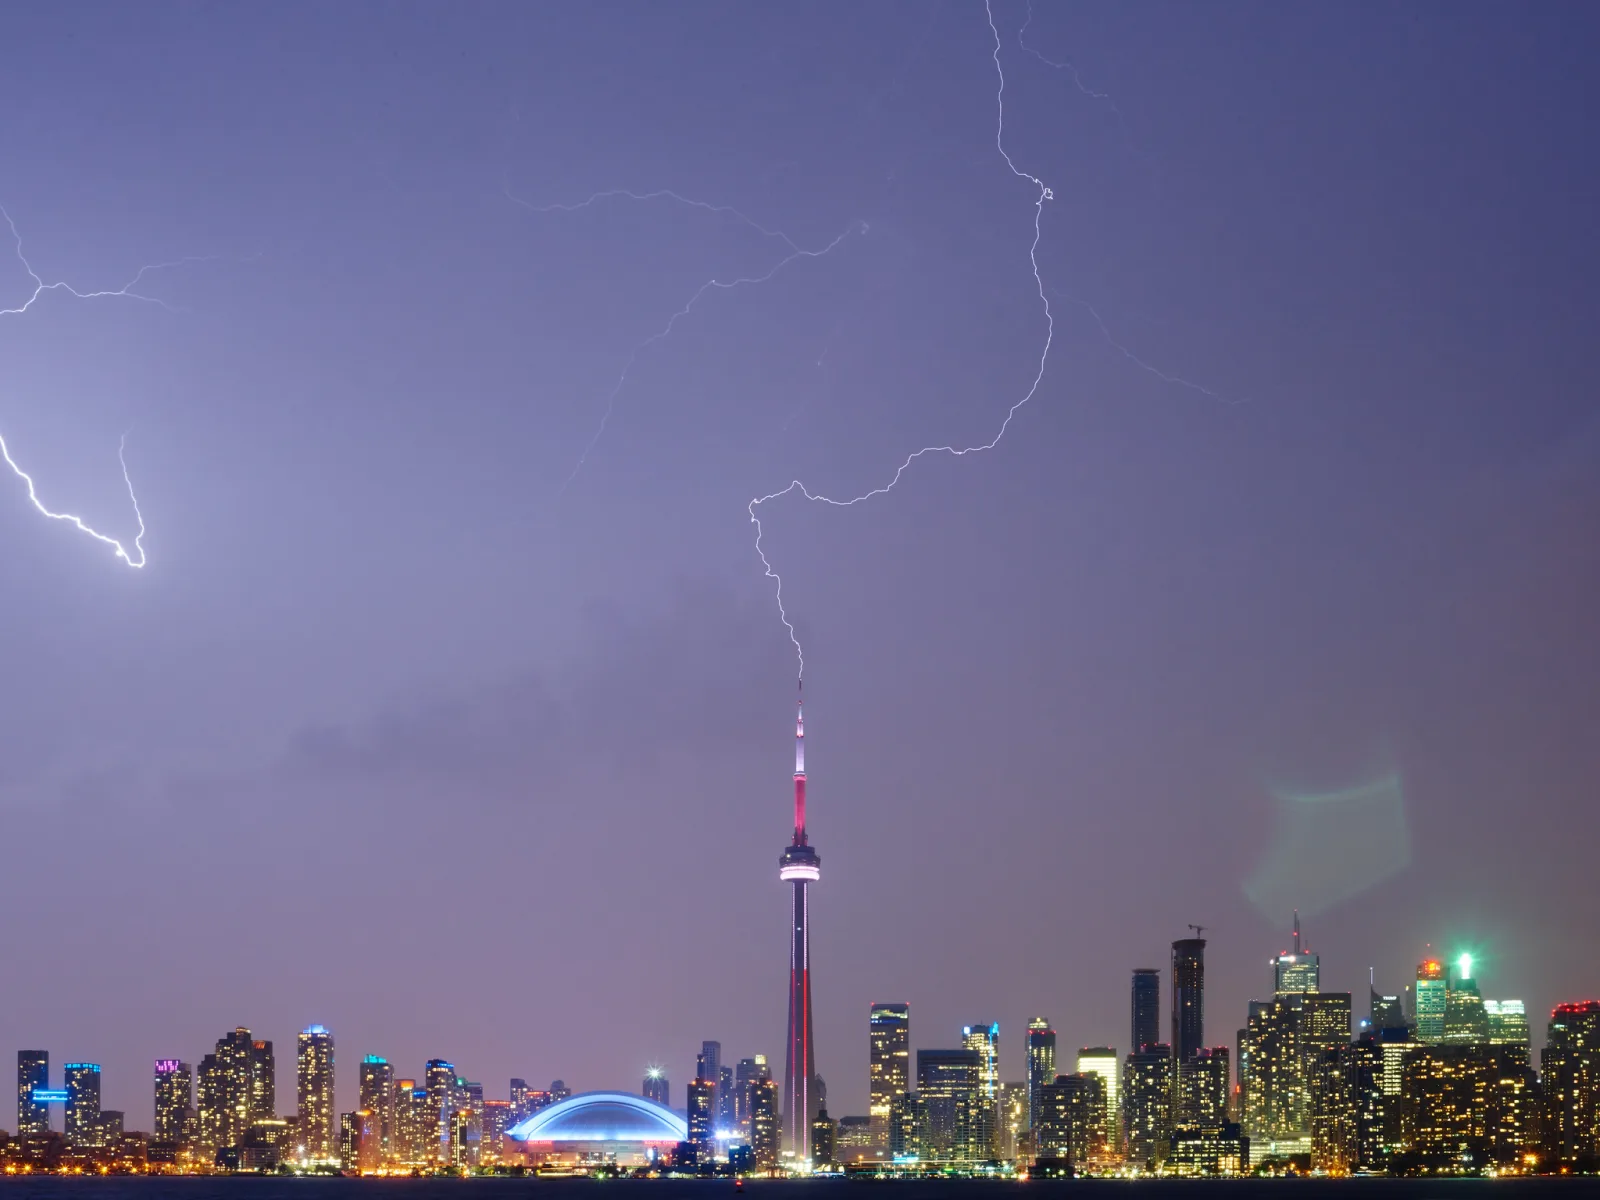
- Storms bring dramatic skies and, occasionally, lightning over the city. Shoot from indoors or a sheltered spot, never from an exposed high point. The guide to photographing lightning explains the technique and the safety rules.
- Still water in harbours and rivers gives clean reflections early in the morning and on calm evenings. A long exposure also smooths small ripples into a glassy surface.
- Winter often brings clear, dry air, early sunsets and fully lit offices during blue hour.
The reflection photography guide goes deeper into using water and glass in city scenes.
Common mistakes
- Waiting for full darkness. The sky turns black and the buildings lose their outline. Fix: shoot during blue hour, starting as the lights come on.
- Accidental converging verticals. Buildings lean slightly backward and the picture looks careless. Fix: keep the camera level and crop, or correct in editing, or tilt dramatically on purpose.
- Blown-out signs and floodlights. Bright areas become white blobs. Fix: watch the highlight warning, shorten the exposure or bracket and blend.
- Blur from a vibrating bridge or deck. Traffic and footsteps shake the camera during long exposures. Fix: wait for quiet moments, shorten exposures, or move to solid ground.
- Reflections when shooting through glass. Interior lights and your clothes appear in the frame. Fix: press the lens or a rubber hood against the window and wear dark clothes.
- Orange, muddy colours. Auto white balance struggles with mixed city lighting. Fix: shoot raw and set a cooler white balance around 3,500 to 4,500 K.
- Trespassing for a better view. It risks arrest and serious injury. Fix: use public viewpoints or ask for permission.
Try this
Pick a public viewpoint over a part of your town or city, even a small one, and arrive twenty minutes before sunset with a tripod. Frame a single composition that includes both sky and lit buildings. Set ISO 100 and f/8, and from sunset onward take one exposure every two minutes, adjusting the shutter speed so the histogram stays clear of the right edge, until the sky is fully dark.
At home, line up the frames in order. Find the one where the sky and the lights look balanced and note how many minutes after sunset it was taken. That number is your blue hour timing for that season and place, and it will guide every city shoot that follows.
Frequently asked questions
What is the best time to photograph a city skyline?
Blue hour, starting as the city lights come on after sunset or before sunrise. The sky and the buildings are close in brightness, so one exposure records both.
Do I need a tripod for cityscapes?
For blue hour and night skylines, yes. Exposures of several seconds are normal. Where tripods are not allowed, a beanbag on a railing or a small clamp can work.
What lens is best for cityscapes?
Both wide and telephoto lenses are useful. A wide lens suits views from within the city and dramatic upward angles. A telephoto lens compresses a distant skyline and isolates landmarks.
How do I stop buildings leaning backward?
Keep the camera level rather than tilting it up, then crop the extra foreground. Moving further away or higher helps, as does a shift lens or a perspective correction tool in editing.
Is rooftop photography legal?
Only with permission from whoever controls the roof. Entering private roofs or restricted structures without it is usually trespass. Laws vary by country, so check local rules.
Related guides
- Blue hour photography: the light that makes most cityscapes work.
- Night photography: exposure, focus and noise after dark.
- Light trails: turning traffic into streaks of colour.
- Architectural photography: photographing individual buildings with care.
- Night street photography: people and streets in the city after dark.
- Long exposure photography: smoothing water and clouds over the city.
- Panorama photography: stitching wide skylines from several frames.
- Perspective distortion: why tall buildings lean and how to control it.