Haze and fog lay a veil of scattered light over a photo: shadows turn grey, contrast drops and a colour cast creeps in, all more strongly with distance. To remove haze, set a true black point, restore contrast with a haze-removal control, curves and local contrast, correct the colour, and do most of it area by area so the distance stays believable. To add fog, do the reverse: lay a light veil that grows denser with distance, sits behind foreground objects and takes on the colour of the light.
The techniques below work in Photoshop and in any editor with layers or masks, because they are built on a few general tools: levels and curves, a haze-removal slider, local contrast, masks and blend modes. To capture fog well in the first place, see fog and mist photography.
What haze actually does to your pixels
Every stretch of air between the camera and the scene scatters some light toward the lens. That extra light is added to everything in the frame, so dark areas get lifted toward grey, while bright areas change little. The result, read on a histogram, is a graph squeezed toward the right with an empty gap at the left: the darkest tone in the picture is no longer anywhere near black.
The added light also has a colour, and the colour tells you what kind of veil you are dealing with:
- Blue haze in clear air over long distances, from air molecules scattering blue light more than red. It is why distant mountains look blue.
- White or grey haze from fog, mist and water droplets, which scatter all colours about equally.
- Brown, yellow or orange haze from dust, smoke or pollution.
This explains why the fix is a tone and colour job, not a sharpening job. Sharpening makes edges crisper but does nothing about the lifted blacks and the cast that make a hazy picture look hazy. Removing haze means taking that added light back out: pulling the darkest tones down to where they belong, stretching the midtones apart, and neutralising the part of the colour cast you do not want.
Removing haze step by step
Work in this order. Each step does part of the job, and using several gently looks far more natural than using one hard.
- Set the black point. Using levels or the blacks slider, move the shadow end in until the darkest meaningful area in the picture (a deep shadow, a dark trunk, a window) sits close to black. Hold the key your editor uses to show clipping and stop just before large areas turn solid black. On a hazy frame, this single move often does half the work.
- Apply a haze-removal control, modestly. Most editors have a dedicated haze slider. It estimates how much veil each area of the picture carries and subtracts it, which is smarter than plain contrast. It is also strong: past moderate settings it darkens the image, pumps saturation, shifts skies toward deep blue, darkens corners and brings out noise. Start low, and compare before and after. The dehaze control has its own guide.
- Shape the midtones with curves. Hazy detail sits in a compressed band of midtones. A gentle S-curve, or a steeper section of curve across just that band, spreads it out. See curves and levels.
- Add local contrast. Clarity and similar midtone-contrast sliders boost contrast between neighbouring areas rather than across the whole picture. The classic version is an unsharp-mask-style filter run with a very large radius (tens of pixels) and a small amount: instead of sharpening fine edges, it separates broad shapes. Watch for halos along ridgelines and trees against the sky.
- Correct the colour last. Once tones are right, deal with the cast. Use the white balance or a colour-balance adjustment to remove unwanted brown or grey, but keep some of the natural blue in the far distance: it is one of the main cues that tells the eye those hills are far away.
Working area by area, because haze grows with distance
Haze is not spread evenly over a picture. The foreground, with only a few metres of air in front of it, carries almost none; the horizon, with many kilometres, carries the most. A single global correction strong enough to clear the distance will overcook the foreground, making it harsh, saturated and dark. A correction gentle enough for the foreground barely touches the distance.
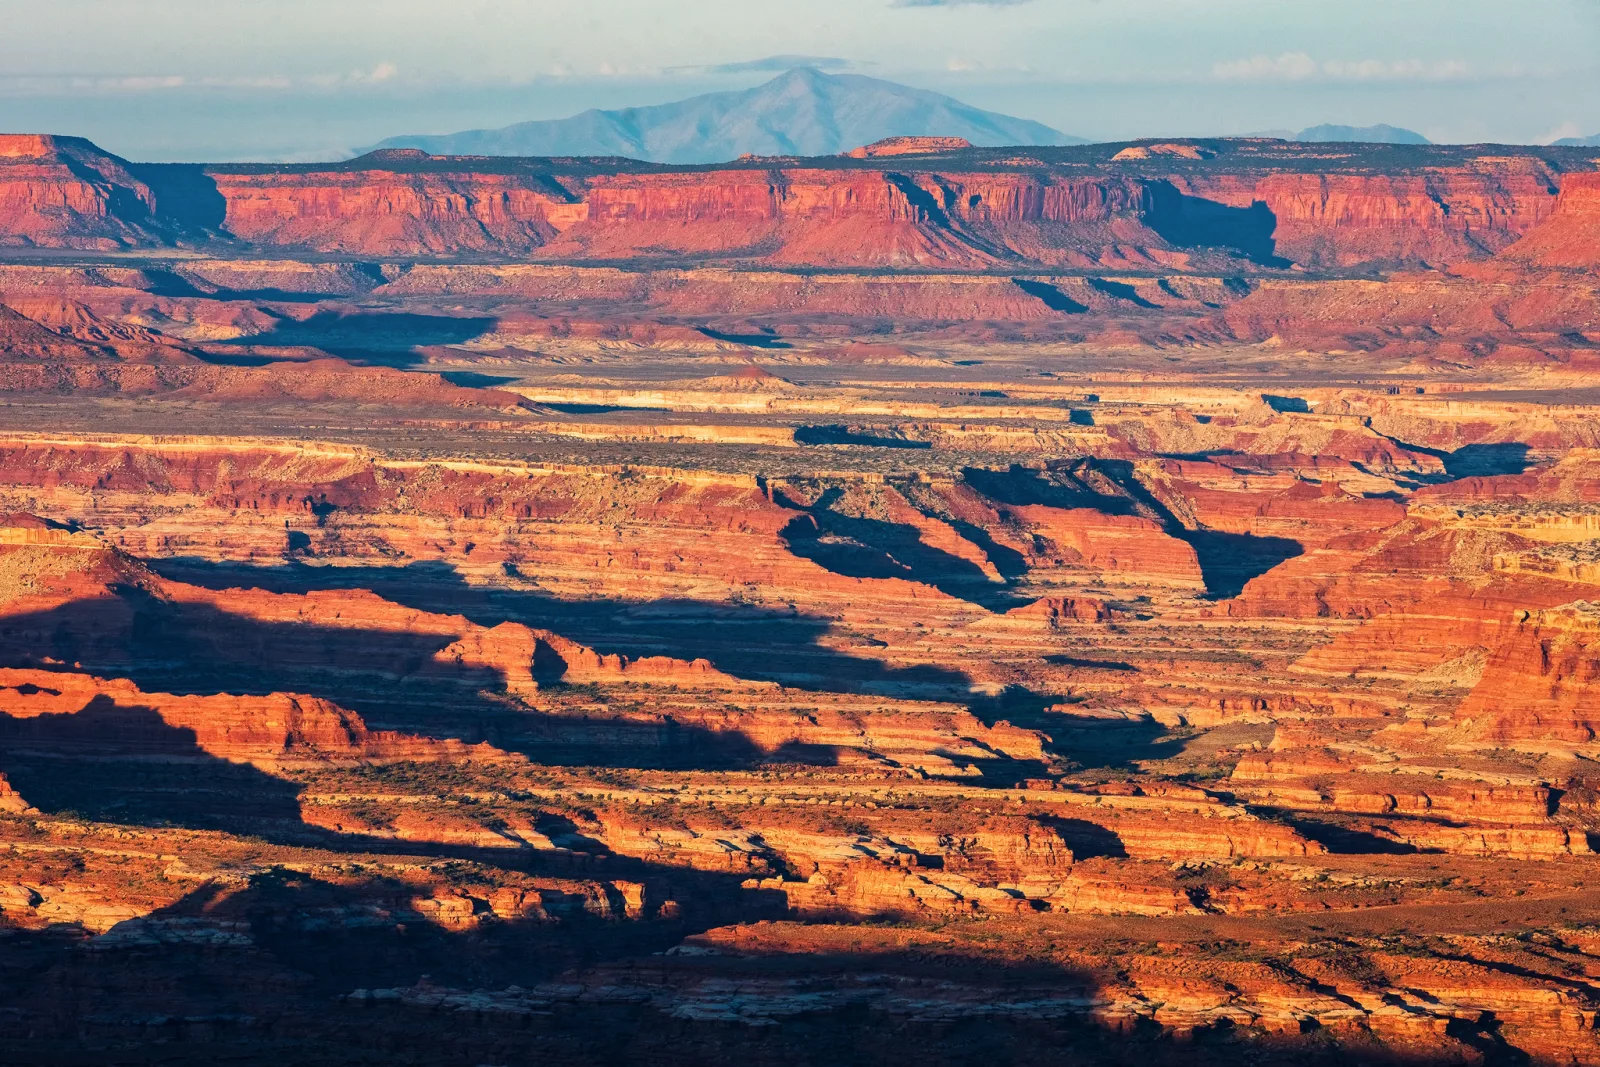
The fix is to apply haze removal through masks that follow distance:
- A graduated mask running from the horizon down toward the foreground is the quickest option when the land rises or falls evenly. Stronger at the top of the landscape, fading to nothing in the foreground.
- A painted or selected mask for uneven ground: a near hill against distant mountains needs the mountains selected separately. Automatic sky and subject selections help, then refine the edges with a brush.
- A tonal or range mask that limits the adjustment to the lighter, lower-contrast tones where haze sits, leaving strong darks alone. In Photoshop this idea is often called a luminosity mask: a mask built from the brightness of the image itself.
- Dodging and burning for the final shaping. Burning the lifted shadows in a distant range, a little at a time, restores form without touching anything else. See dodging and burning.
A worked example: a view with a grassy hill in the foreground, a valley in the middle and a mountain range on the horizon. Leave the hill alone or give it a touch of local contrast. Give the valley a moderate haze reduction. Give the mountains a little more, then stop while they are still clearly lighter and bluer than the valley. The rule that keeps it believable: far must stay lighter and lower in contrast than near. If a distant range ends up as dark and punchy as the foreground, the picture flattens, because you have removed the very gradient the eye uses to judge distance.
When removing haze hurts the picture
Haze is not always a defect. Before reaching for the haze slider, ask whether the veil is the problem or the point.
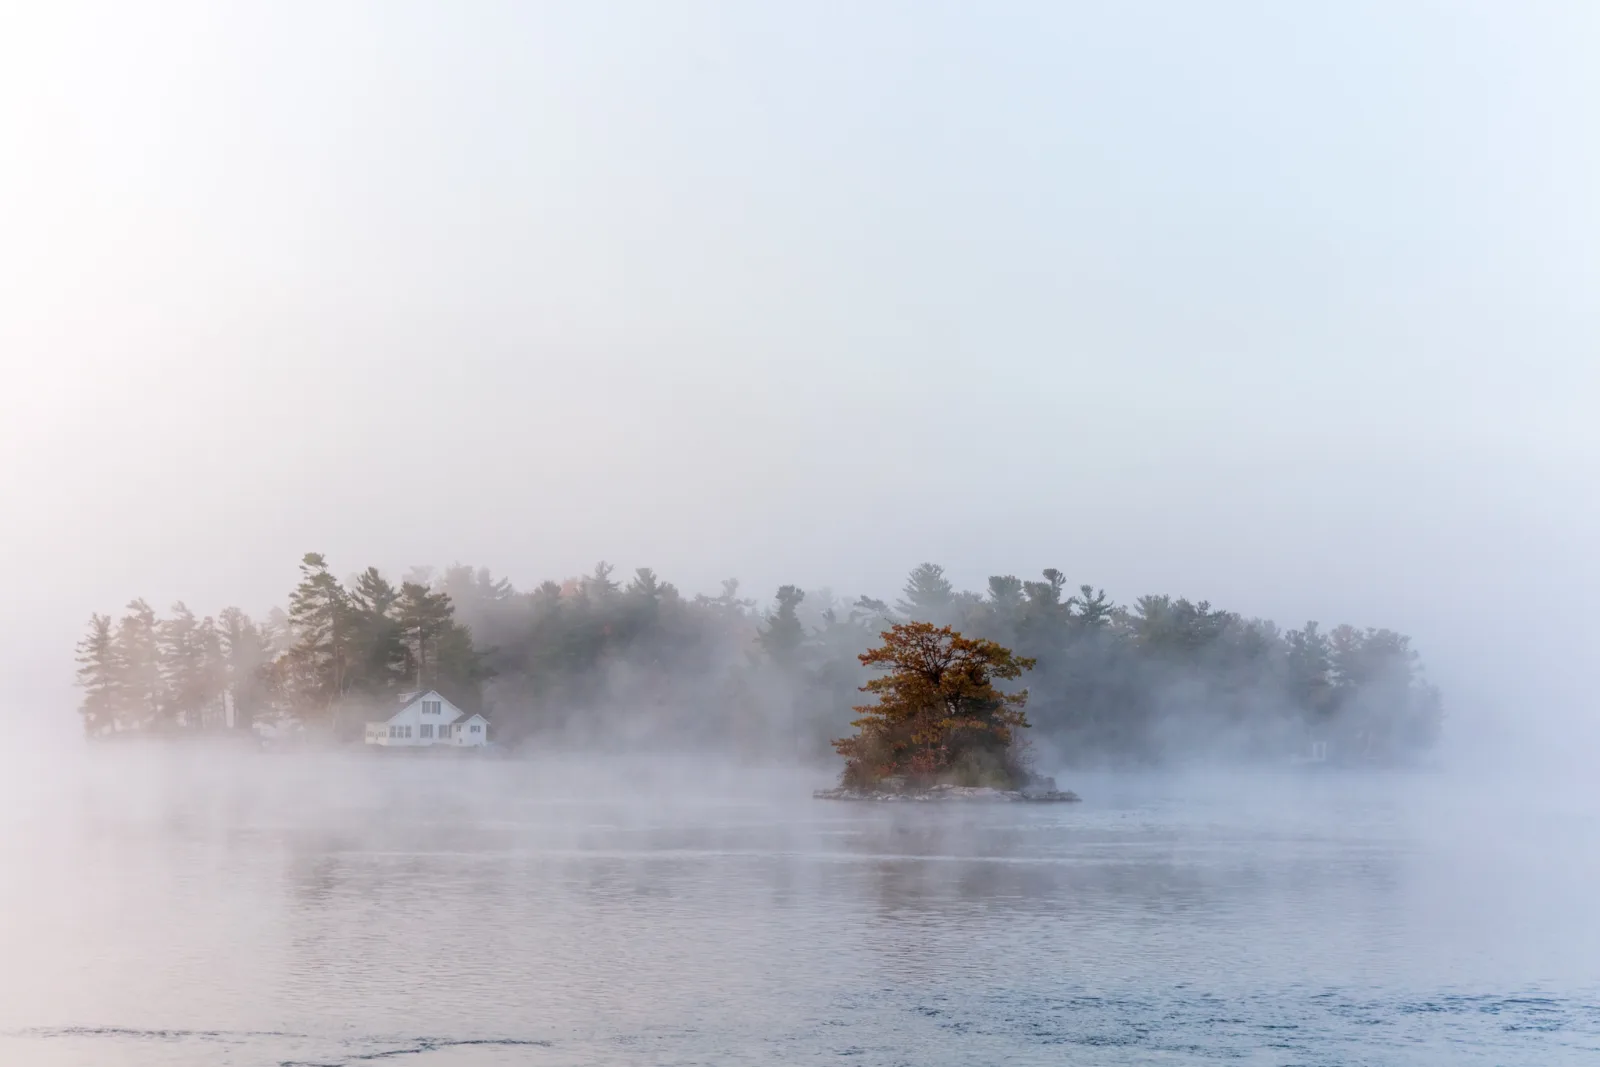
- When fog is the subject. In a misty morning scene, the soft grey is the mood. Stripping it out leaves a dull, slightly dirty version of an ordinary view. Here the right edit usually goes the other way: set the black point on the nearest dark object, keep everything else soft, and perhaps brighten the fog so it glows instead of looking grey.
- When haze is carrying the depth. Layered hills, a city skyline receding into the distance and forest ridges all rely on atmospheric perspective. Clearing it evenly flattens them into cardboard cut-outs.
- When the file cannot take it. Dense haze leaves very little tonal information in the distance. Stretching it far enough to look clear brings up noise, blotches and banding, especially in skies and in JPEG files. A raw file tolerates much more, but even raw has limits.
- When it creates halos. Strong haze removal and local contrast leave bright or dark rims where a dark ridge meets a pale sky. Once you notice them, they are all you see.
A quick test: toggle your edits off and on. If the edited version looks like the same moment, seen more clearly, you are in a good place. If it looks like a different day with different weather, you have gone too far.
Adding or strengthening mist believably
Adding fog is easy to do badly: a flat white wash, the same density everywhere, the foreground as foggy as the background. Real fog follows rules, and fake fog that follows the same rules becomes very hard to spot. Real fog:
- gets denser with distance, never evenly spread across the frame
- lifts darks toward a light grey but leaves near objects crisp and dark
- sits behind near objects, so a foreground tree cuts cleanly against it
- pools in low ground and over water, and thins with height
- takes the colour of the light around it: warm at sunrise, blue-grey in shade, the colour of street lights at night
- spreads a soft glow around light sources
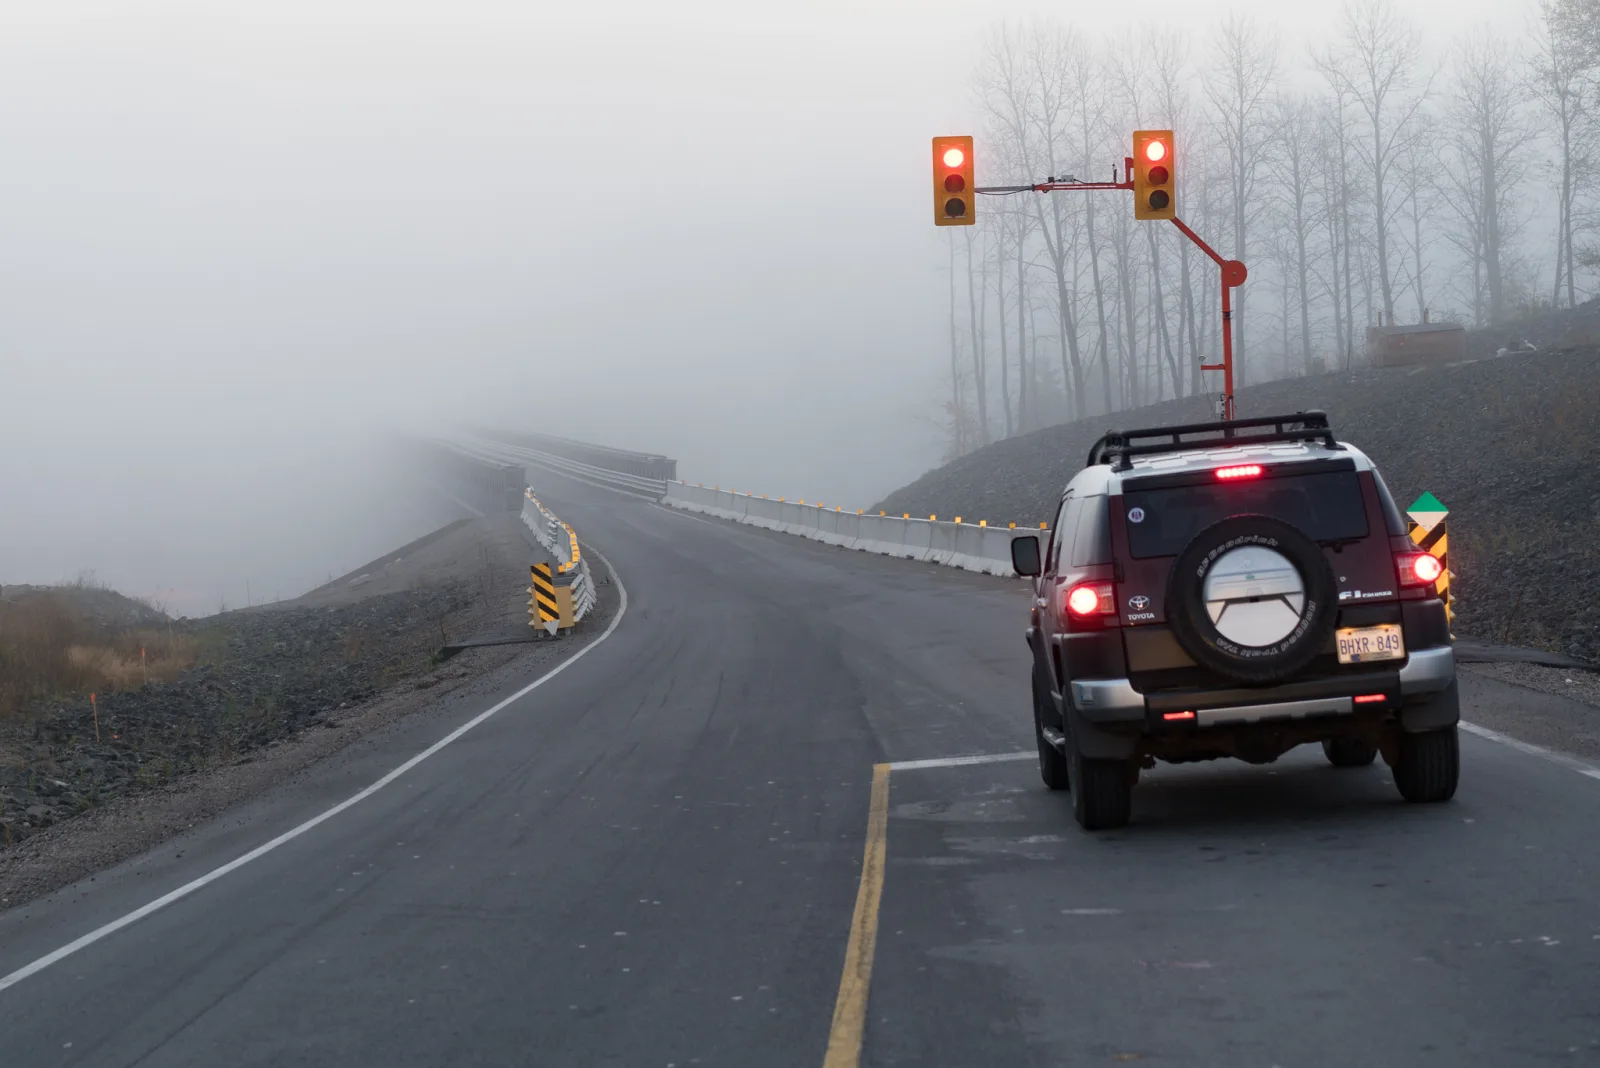
With those rules in mind, here is a method that works in any layer-based editor:
- Sample the fog colour. Pick a colour from the brightest, most distant part of the picture, usually the sky near the horizon. Pure white almost always looks wrong.
- Lift the blacks in the distance. This is the most natural way to add haze, because it is literally what fog does. Add a curves or levels adjustment that raises the black output (so the darkest tone becomes a mid or light grey) and lowers contrast, then restrict it with a mask.
- Build a mask that follows depth. Start with a gradient running from the horizon (strong) toward the foreground (none). Then paint out any near objects that cross into the fog zone, such as trees, people and posts, so they stay in front of it. A mask built from image brightness can help: fog added mostly to the lighter distant tones sinks in more naturally than fog painted over everything.
- Add a veil of colour for density. On a new layer filled with the sampled colour, set to a lightening blend mode such as screen, or to soft light for a gentler glow, use the same depth mask and lower the opacity until the far distance just starts to disappear.
- Add texture sparingly. Real fog is rarely perfectly smooth. A heavily blurred cloud texture on a low-opacity layer, masked to low areas and water, suggests drifting wisps. Keep it subtle and avoid obvious repeating patterns.
- Match the rest of the file. Added fog is often suspiciously clean. Add a little noise or grain to the fog layers so they match the texture of the original, and check that glows around lights and bright areas match the density you have added.
Most editors’ haze-removal slider also works in reverse: moving it into negative values adds a haze-like veil. On its own it applies everywhere at once, so use it through the same depth mask. To strengthen fog that is already there, the job is simpler: brighten the fog areas slightly, lower their contrast, and deepen the nearest dark subjects so the difference between near and far grows.
Keeping it honest
Removing haze is an ordinary tonal correction, in the same family as adjusting contrast or white balance, and it is accepted almost everywhere. Adding fog that was not there is different: it changes what the scene looked like. That is fine in personal and artistic work, but it matters where viewers trust the picture as a record.
- News, documentary and many nature photography contexts do not accept added atmospheric effects. Leave them out of that work entirely.
- Competitions set their own rules, and many nature and landscape categories forbid adding elements. Read the rules before entering an edited image.
- When you share or sell an image with substantial added fog, say so in the caption or description. A short “fog added in editing” costs nothing and protects your credibility.
For a fuller discussion of where the lines sit, see photo retouching ethics.
Common mistakes
- Maxing the haze slider. Dark, oversaturated skies, noise and darkened corners follow. Fix: set the black point first, then use a modest haze reduction and curves together.
- Treating the whole frame the same. The foreground gets crunchy while the distance barely changes. Fix: apply haze removal through a graduated or painted mask that follows distance.
- Making the distance darker than the foreground. Depth collapses. Fix: keep far tones lighter and softer than near ones.
- Sharpening to “cut through” fog. Edges get harsh while the grey veil stays. Fix: work on black point, contrast and colour instead.
- Pure white added fog. It looks pasted on. Fix: sample the fog colour from the image and lift blacks rather than painting white.
- Fog in front of the foreground. A near tree dissolving like a far one looks wrong instantly. Fix: mask near objects out of the fog layer.
- Undisclosed composites. Added fog in documentary or contest work damages trust. Fix: follow the rules of the context and disclose substantial additions.
Try this
Choose a landscape photo with visible distance in it: a range of hills, a skyline or a long valley. Make two copies. On the first, apply one strong global haze reduction and nothing else. On the second, set the black point, then apply a moderate haze reduction only to the distance through a graduated mask, and finish with a gentle curve. Put the two side by side and compare the foreground, the sky and the sense of depth. Then, on a third copy, go the other way: add a veil of fog to the distance using a lifted-blacks curve through a depth mask, keeping the foreground clear. Twenty to thirty minutes of this teaches you more about haze than any single slider.
Frequently asked questions
Is a haze-removal slider just a contrast slider?
No. A contrast slider stretches every tone in the picture by the same rule. A haze-removal control estimates how much veil each area carries and removes more where there is more, which is why it clears a distant sky and range more than a foreground.
Why does removing haze turn my sky dark blue?
Clear-air haze is blueish and the sky behind it is blue. Removing the lighter veil leaves deeper, more saturated blue behind. Reduce the effect in the sky with a mask, or lower the saturation of blues slightly afterward.
Can I completely remove thick fog?
Usually not. Where fog is dense, the camera never recorded the detail behind it, so there is nothing to recover. Light haze clears well; thick fog is better embraced as part of the picture.
Can I add fog in a mobile editor?
Yes, in a simpler form. Many mobile editors have a haze slider that adds a veil in negative values, and some offer graduated or brush masks so you can keep it in the distance. See the mobile masking guide.
Related guides
- Fog and mist photography: capturing fog well in camera so it needs less editing.
- Dehaze: a closer look at a dedicated haze-removal control.
- Curves and levels: the tonal tools behind both removing and adding haze.
- Dodging and burning: shaping haze and fog by hand, area by area.
- Layers and masks in Photoshop: the building blocks for depth-following adjustments.
- Photo editing for beginners: the basic workflow these techniques fit into.
- Photo retouching ethics: when adding fog needs to be disclosed.