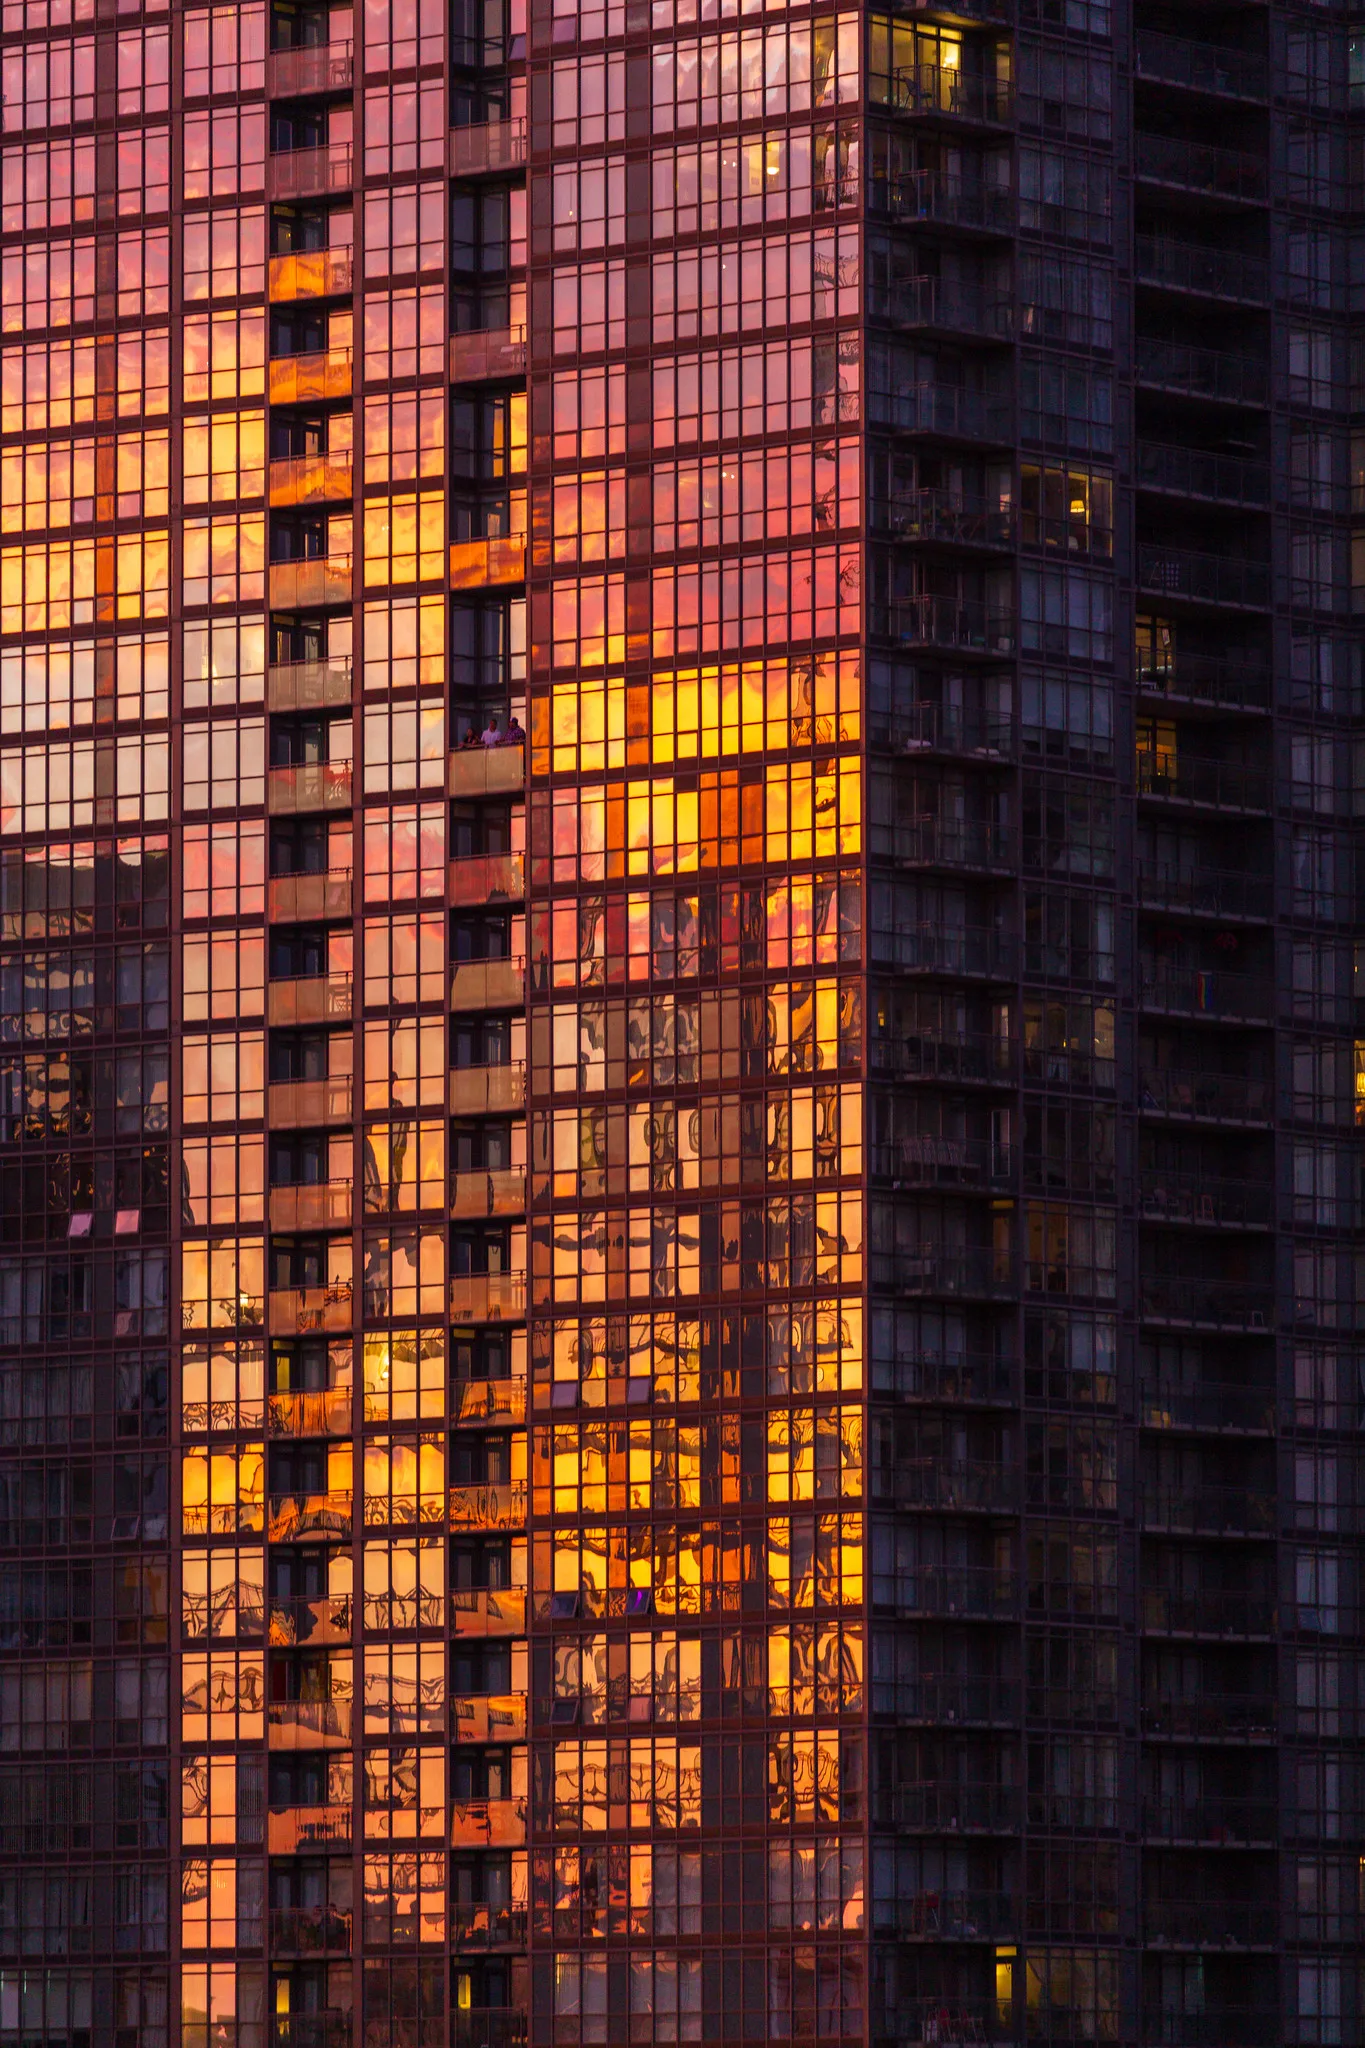
In photography, resolution is how much detail an image can hold. For a digital photo it is stated as pixel dimensions, such as 6000 × 4000, or as a total in megapixels, here 24. It matters because it sets how large you can print, how hard you can crop, and how much fine texture survives, but only up to a point: past what your print or screen can show, extra pixels add file size and nothing you can see.
So there is no single number that makes a photo “high resolution”. A 2 megapixel file fills a phone screen beautifully and falls apart on a poster. The useful question is always: high enough for what, seen from how far away?
Three ways to state a photo’s resolution
A digital image is a grid of pixels, and its resolution is described in three ways that are easy to mix up:
- Pixel dimensions, width by height, such as 4000 × 3000. This is the most useful form, because it gives the shape as well as the size.
- Megapixels, width times height divided by one million. 4000 × 3000 is 12,000,000 pixels, or 12 megapixels. A full HD frame of 1920 × 1080 is about 2.1 megapixels and a 4K UHD frame of 3840 × 2160 is about 8.3. The megapixel page explains the unit and the megapixel chart lists common sizes.
- Pixels per inch (ppi), how tightly those pixels are packed once the image has a physical size. The same 3000 pixels across make a print 10 inches wide at 300 ppi or 20 inches wide at 150 ppi. Ppi is not a property of the file on its own; it only means something once you pick an output size.
Megapixels measure area, not width
This is the idea that most often trips people up. Megapixels count the whole area of the grid, but detail is judged along a line: how many pixels fall across a face, a leaf or a line of text. Doubling the megapixels makes the image only about 1.41 times wider and taller (the square root of 2). Going from 24 to 48 megapixels takes a 6000-pixel-wide frame to about 8485 pixels wide. To print twice as wide at the same quality, you need four times the megapixels.
Ppi, dpi and the 72 dpi myth
Ppi counts pixels in an image. Dpi counts the ink dots a printer lays down, and a printer uses many dots to render each pixel. People use the two words for the same thing, and when a lab asks for “300 dpi” it means 300 pixels per inch at the size you ordered. On a screen the stored ppi number does nothing at all: a monitor shows one image pixel per screen pixel at 100 percent, whatever the file says. Saving web images “at 72 dpi” changes a label, not the picture. How to set ppi in an editor without resampling is on DPI vs PPI.
Viewing distance decides how many pixels a print needs
Here is the mental model that makes every resolution number make sense. Your eye can separate detail only down to a certain angle, about one sixtieth of a degree for normal 20/20 vision. Hold a print close and that angle covers a tiny patch of paper, so you need many pixels per inch. Step back and the same angle covers a bigger patch, so fewer pixels per inch look just as sharp.
The arithmetic is simple: the ppi at which one pixel spans one sixtieth of a degree is about 3438 divided by the viewing distance in inches. That gives these figures:
| Viewing distance | Ppi that looks fully sharp to 20/20 vision | Typical example |
|---|---|---|
| 10 in (25 cm) | about 344 | a small print held close |
| 12 in (30 cm) | about 286 | a print or book held in the hand |
| 24 in (60 cm) | about 143 | a print on a desk or a framed print up close |
| 5 ft (1.5 m) | about 57 | a large framed print seen across a room |
| 10 ft (3 m) | about 29 | a poster on a far wall |
| 50 ft (15 m) | about 6 | a billboard from the street |
That is where the 300 ppi standard comes from: it is what a print held at reading distance needs, with a little headroom for sharp-eyed viewers. It is not a rule for every print. Printers also cannot show much more than that, so feeding a hand-held print 600 ppi gains nothing visible. A wall print that people stand back from can look just as good at 150 ppi, and a billboard is printed at a tiny fraction of that.
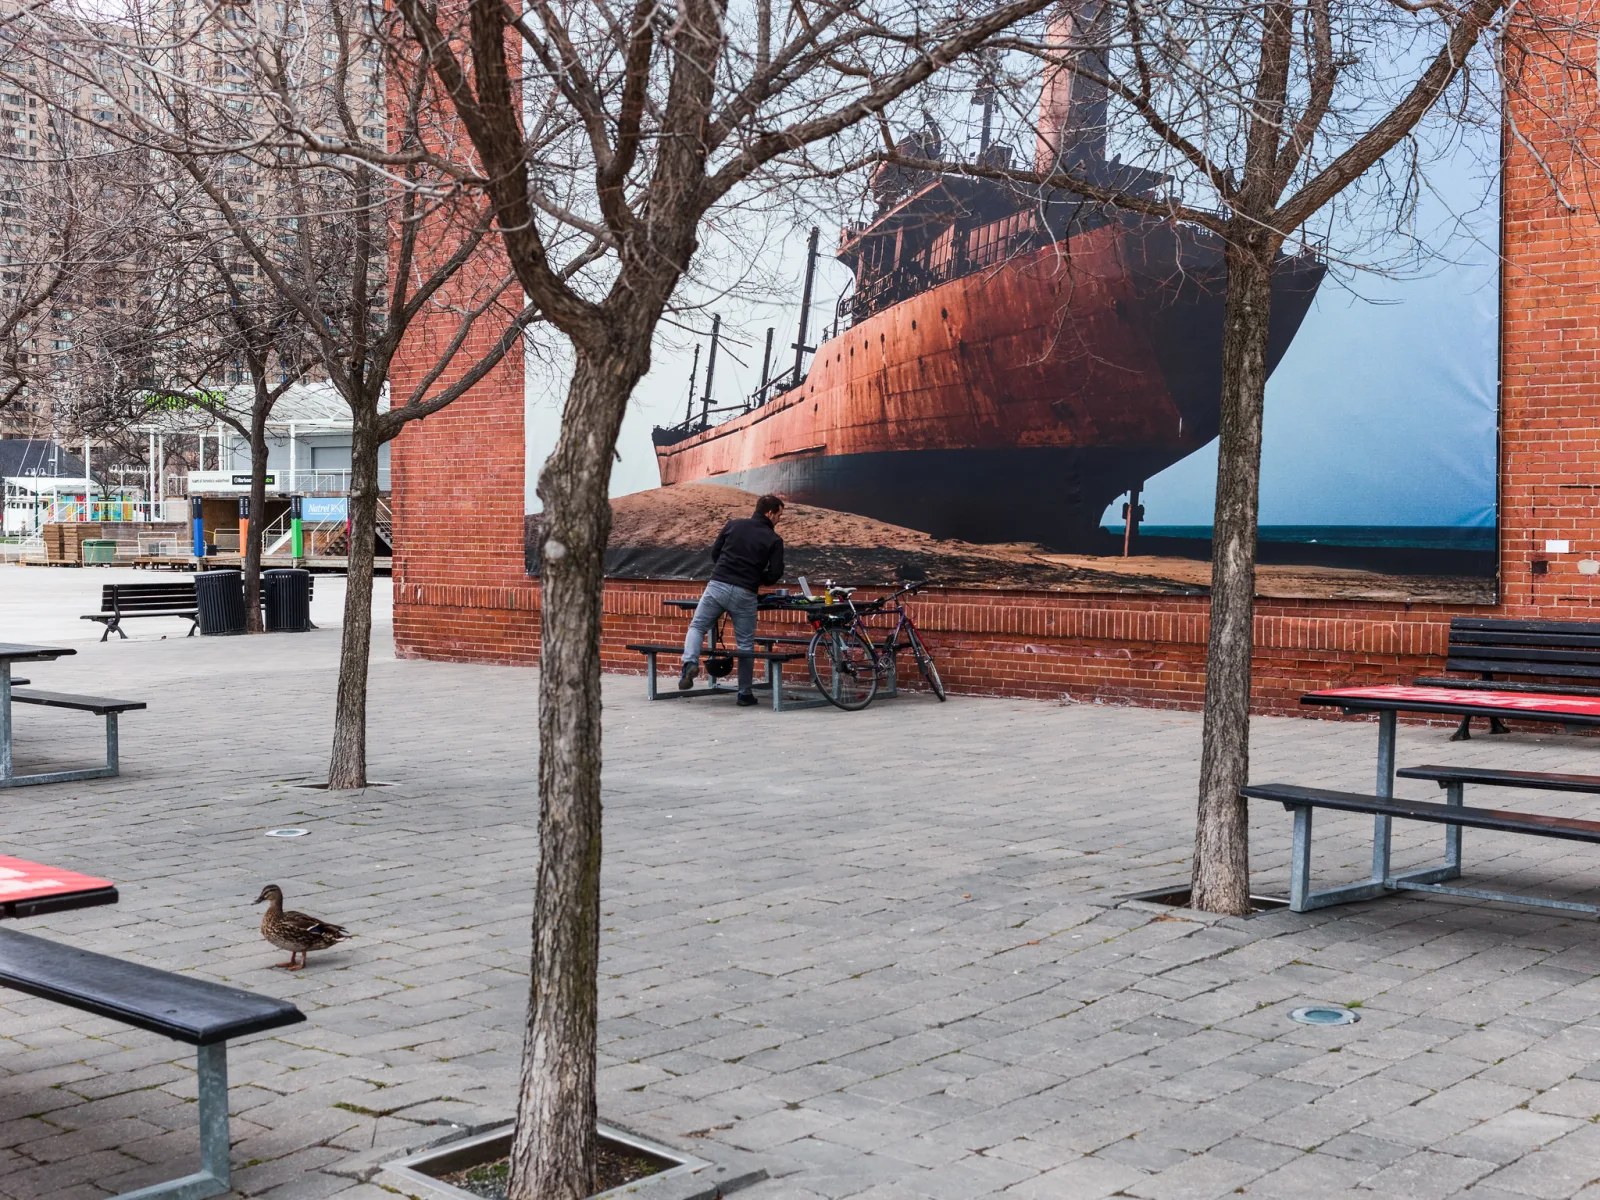
The one catch is that people walk up to big prints. If you expect viewers to step close to a gallery print to inspect it, plan for the close distance, not the far one.
How many pixels a print needs
The pixels needed for a print are the print size in inches times the ppi you want. At 300 ppi:
| Print size (inches) | Pixels at 300 ppi | Megapixels | Megapixels from a 3:2 camera frame |
|---|---|---|---|
| 4 × 6 | 1200 × 1800 | 2.2 | 2.2 |
| 5 × 7 | 1500 × 2100 | 3.2 | 3.4 |
| 8 × 10 | 2400 × 3000 | 7.2 | 8.6 |
| 11 × 14 | 3300 × 4200 | 13.9 | 16.3 |
| 12 × 18 | 3600 × 5400 | 19.4 | 19.4 |
| 16 × 20 | 4800 × 6000 | 28.8 | 34.6 |
| 20 × 30 | 6000 × 9000 | 54 | 54 |
Why the last column? Most cameras record a 3:2 frame, but 5 × 7, 8 × 10, 11 × 14 and 16 × 20 are squarer shapes. To fill an 8 × 10 you have to trim the long side of the frame, so the short side must already be 2400 pixels, which means a 3600 × 2400 frame, 8.6 megapixels, not 7.2. Only the 2:3 sizes (4 × 6, 12 × 18, 20 × 30) use the whole frame. Aspect ratio explains the print shapes and what each one crops away.
Turned the other way, divide your pixel dimensions by the ppi to get the largest print:
| Camera resolution (3:2) | Pixel dimensions | At 300 ppi (in the hand) | At 150 ppi (on a wall) |
|---|---|---|---|
| 12 MP | 4240 × 2832 | 14.1 × 9.4 in | 28.3 × 18.9 in |
| 24 MP | 6000 × 4000 | 20 × 13.3 in | 40 × 26.7 in |
| 45 MP | 8256 × 5504 | 27.5 × 18.3 in | 55 × 36.7 in |
To run these numbers for your own file and paper size, the print size calculator does the division for you and flags when a print will fall short.
Wondering how far past these sizes a file can be pushed? How large can you enlarge different megapixels goes through it size by size.
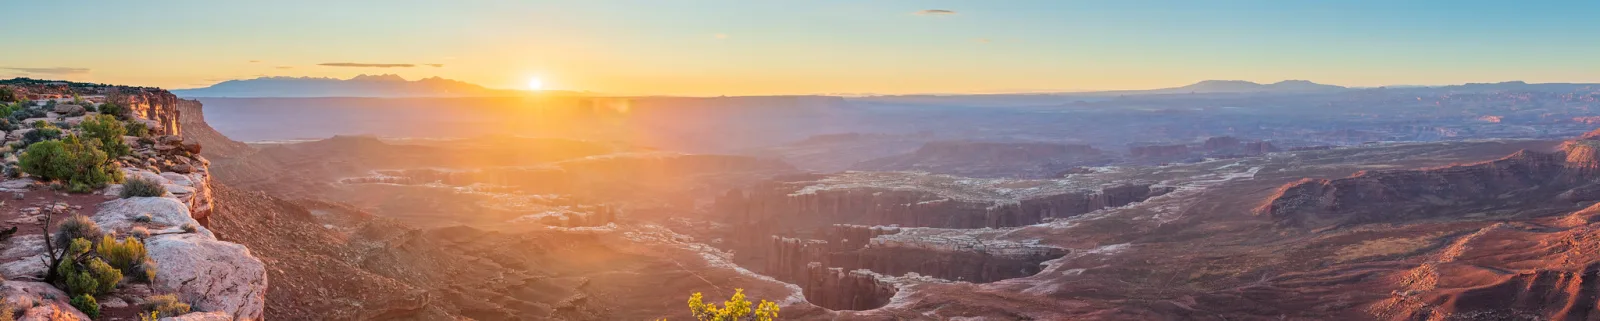
When one frame is not enough, you can add pixels honestly by shooting several overlapping frames and stitching them, which is how the canyon panorama above reaches about 174 megapixels from a 50mm lens. Each frame contributes real detail, unlike enlarging in software. Panorama covers how to shoot and stitch them.
How many pixels a screen needs
Screens need far fewer pixels than prints, because a screen can only show as many pixels as it has. A photo that fills a 1920 × 1080 display uses about 2.1 megapixels of it; a full 4K display uses about 8.3. Most photos on a web page or social feed are shown smaller than full screen.
The wrinkle is high-density displays. Phones, tablets and many laptops pack two or three device pixels into every unit of layout, so a photo laid out 1000 units wide on a 2× screen is drawn with 2000 real pixels. That is why images exported at exactly the layout width can look soft on a phone. A sensible rule is to export the long edge at about twice the size it will be displayed, cap it there, and keep the full-size original for printing. Exporting photos gives sizes and sharpening for each destination.
Pixel count is not the same as real detail
The pixel count is a ceiling, the most detail the file could hold. How close a photo comes to that ceiling depends on everything that happens before the pixels are written.
The sampling limit
To record a pattern of fine black and white lines you need at least one pixel for each black line and one for each white line. So a sensor 4000 pixels tall can, at the very best, record 2000 line pairs from top to bottom of the picture. Finer patterns than that do not just blur; they can turn into false patterns called aliasing and moiré. Some cameras put an anti-aliasing filter over the sensor to blur away detail just past that limit, trading a little sharpness for freedom from false patterns.
Color is calculated, not recorded
Most sensors see only one color at each photosite, through a Bayer filter, and the camera or raw converter calculates the other two by demosaicing. The result has the full pixel count, but the finest color detail is somewhat lower than the count suggests. Measured on a test chart, a camera always resolves a bit less than its pixel count’s theoretical maximum.
The lens, the aperture and the moment
- Focus and movement. Missed focus, motion blur and camera shake spread each point of detail across many pixels. At any size where the blur shows, a sharp 12 megapixel photo beats a blurred 50 megapixel one.
- The lens. Every lens blurs a little, and its blur combines with the sensor’s. A better sensor still lifts the result behind an ordinary lens, but with shrinking returns. Lens sharpness explains what makes one lens resolve more than another.
- Aperture. Every aperture causes some diffraction, but stopping down past about f/11 on a full frame camera makes it visible as an even softening of fine detail across the frame.
- Processing. Heavy JPEG compression and strong noise reduction smear fine texture into flat patches.
Lens and camera testers measure this real detail, called optical resolution, in line pairs per millimeter on the sensor or in line pairs per picture height. Picture height is the fairer way to compare cameras with different sensor sizes, because it describes the finished photo rather than a millimeter of a small or large sensor. For your own photos the test is simpler: view at 100 percent, sometimes called pixel peeping, and look at fine edges and texture. How to test a lens turns that into a repeatable check.

Is it your technique, not your pixel count, that is costing you detail? How to take sharp photos works through focus, shutter speed and support one cause at a time.
More megapixels: what they give you and what they cost
The clearest gain is room to crop. Cropping to half the width and half the height keeps a quarter of the pixels: a 24 megapixel frame becomes 3000 × 2000, 6 megapixels, still enough for an 8 × 10 print at about 250 ppi along its short side. More pixels also mean larger prints at close viewing distances and more freedom to straighten or correct perspective without running short.
The costs are practical. Files grow in step with the pixel count: a 24 megapixel image saved as an uncompressed 8-bit TIFF is about 72 MB (three bytes per pixel), and twice that at 16 bits. Cards, drives and backups fill faster, editing needs more memory, and burst rates or buffer depth may drop. Image resolution and file sizes goes into storage in more detail.
Two costs that people expect turn out to be mostly illusions, because they only appear when you compare at 100 percent rather than at the same output size:
- Noise. Each pixel on a higher resolution sensor is smaller and looks noisier at 100 percent. Shown at the same print or screen size, the extra pixels are averaged together and the difference between sensors of the same size and technology is small. Noise covers what really drives it.
- Diffraction and shake. At f/16 the diffraction blur spot is about 21 micrometers across whatever sensor sits behind the lens. On a 24 megapixel full frame sensor (pixels about 6 micrometers apart) it spans roughly 3.6 pixels; on a 45 megapixel one (about 4.4 micrometers) roughly 4.9. More pixels make the blur easier to see at 100 percent, but in an 8 × 10 print from either camera the blur is the same size, and the higher resolution file is never worse. Shake works the same way.
Does a bigger sensor give more detail than more pixels on a small one? Camera sensor sizes explained compares formats, and pixel pitch explains how sensor size and pixel count fit together.
Phones, binning and the headline number
Many phones advertise a very high megapixel number but save only a fraction of it by default. They group photosites in blocks, usually of four and sometimes of nine or more, and combine each block into one output pixel, so a 48 megapixel sensor binned in fours delivers a 12 megapixel photo. This binning gathers more light per output pixel and gives cleaner results in dim light. The full resolution mode is usually a separate setting, worth using in good light when you plan to crop or print large. Check the pixel dimensions of a saved photo, not the spec sheet, to know what you really have.
How to check a photo’s resolution
- On a computer: the file’s info or properties panel lists the pixel dimensions. In an editor, look under image size or canvas size.
- On a phone: swipe up on the photo or open its details view; most gallery apps show dimensions and megapixels.
- In the camera: the image size or image quality menu sets the JPEG size. Raw files are normally recorded at the sensor’s full resolution.
Shooting raw does not add pixels compared with a full size JPEG, but it keeps more tonal and color information, which helps when you edit hard or print large.
Making a small file bigger: what upscaling can and cannot do
Enlarging an image means making up pixels that were never recorded, a process called interpolation. Simple interpolation blends neighboring pixels, so the result is larger but soft. Upscaling software that uses machine learning goes further and draws in plausible edges and texture, which can rescue a modest enlargement for a print seen at a distance. It does not recover detail the camera missed; it guesses. On faces, lettering, feathers and fine patterns the guesses can be visibly wrong. Treat upscaling as a repair, and when you can, capture the pixels in the first place, by moving closer, using a longer lens or stitching frames.
Need a clean enlargement for a print? Sharpening explains output sharpening, the last step that makes a resized file look crisp on paper.
Common mistakes and misconceptions about resolution
- “Twice the megapixels, twice the detail.” Twice the megapixels gives about 1.41 times the detail along each edge. Visible gains need big jumps.
- Raising the ppi number to add quality. Changing ppi without resampling only changes the print size the file is tagged for. The pixels stay the same.
- Treating 300 ppi as a law. It is right for prints held in the hand. Wall prints seen from a few feet away look just as sharp at 150 ppi, and billboards need a small fraction of that.
- Forgetting the print shape. An 8 × 10 from a 3:2 frame needs 8.6 megapixels, not 7.2, because the frame has to be trimmed to fit.
- Sending a web copy to the lab. Copies exported for the web are often 2000 pixels or less across. Always print from the full size original.
- Uploading full size files to websites. A 45 megapixel file on a web page loads slowly and shows nothing more than a well sized copy.
- Setting a small JPEG size to save card space. Pixels you did not record can never be brought back.
- Buying resolution to cure blur. Missed focus and shake are not fixed by more pixels; they are only easier to see at 100 percent.
- Believing upscaling restores detail. It invents believable detail, which is not the same as the real thing.
Try this: find where extra pixels stop mattering
This takes about 10 minutes and a camera or phone.
- Photograph something full of fine detail, such as a brick wall, a bookshelf with readable spines, or tree branches against the sky, at your camera’s full resolution. Hold steady or brace against something.
- Find the photo’s pixel dimensions and write down the largest print at 300 ppi and at 150 ppi (divide each dimension by 300, then by 150).
- Export three copies: one at full size, one at half the width and one at a quarter of the width.
- Open each copy so it fills the same screen, one after another. Look from about 50 cm, then from across the room.
- Now crop the full size copy to the part you would actually print and recheck its dimensions.
How to judge it: up close, the half and full size copies probably look the same and the quarter copy may look soft on a high-density screen. From across the room, all three probably look identical. That is viewing distance at work. The crop in step 5 shows how much print size your framing costs, and whether you have the pixels to spare.
Want to check you can work out how many pixels a print or a screen needs? Try the image resolution and file sizes quiz.
Questions about photo resolution
What counts as a high resolution photo?
One with enough pixels to look sharp at the size and distance it will be seen. For a print held in the hand that is about 300 ppi at the print size, so an 8 × 10 needs about 2400 × 3000 pixels. For a screen it means at least as many pixels as the display will use to show it.
Is 300 dpi high resolution?
Not on its own. 300 dpi or ppi is a density, so it describes resolution only together with a print size. A file that is 300 ppi at 4 × 6 inches has 1200 × 1800 pixels, far too few for a large poster seen up close.
How many megapixels do I need?
For screens and sharing, almost any modern camera or phone has plenty. For prints up to about 8 × 10 inches, about 9 megapixels from a 3:2 frame is enough at 300 ppi. Larger prints viewed close, and heavy cropping, are where 20 megapixels or more starts to pay.
Why does my photo look sharp on my phone but soft when printed?
A phone screen shows only a few megapixels at a time, so it hides blur and low pixel counts that a print reveals. Check that you sent the full size file, that it has enough pixels for the print size, and view it at 100 percent to see whether focus or shake is the real cause.
Does a higher resolution camera take better photos?
It can record more detail, but only if focus, the lens, the light and steady technique deliver that detail to the sensor. A well made photo from a modest camera beats a careless one from a high resolution camera at every print size people normally use.
Can I lower a photo’s resolution and get it back later?
No. Downsizing throws away pixels for good, and enlarging later only fills the gaps with estimates. Keep the full size original and make smaller copies for each use.