Great photography locations are found in three places: on maps and satellite views, in the work and knowledge of people who know the area, and on foot. The reliable method is to research a place at home, visit it once in ordinary light to learn the ground, record what you find in a location notebook, and then return when the light, weather and season suit the picture you have in mind.
Every place you scout properly becomes a permanent asset: you know where to stand, how long the walk takes and whether you are allowed to be there. Predicting the light itself is a separate skill, covered in planning around the sun, moon and tides. This page is about finding the place and learning it.
Reading maps and satellite views for photographic potential
A map shows you things a photograph never will: which way a slope faces, how high a viewpoint is, where the water is and how to reach it. Most online maps offer three views, and each answers a different question.
- Topographic view (contour lines). Each line joins points of equal height. Lines packed tightly together mean steep ground or a cliff; widely spaced lines mean gentle slopes. Look for high ground that overlooks something interesting, such as a lake, a bend in a river or a village, with nothing higher standing between you and the view. A hilltop with open ground on the side facing your subject is a potential viewpoint. A hilltop with forest on every side probably is not.
- Satellite view. Shows what is actually on the ground: open fields versus trees, rock versus grass, beaches, clearings, the rough texture of a shoreline. Use it to spot possible foregrounds such as rock shelves, lone trees, piers or patterns in fields, and to check whether a promising hilltop is a clearing or a wall of trees.
- Street-level imagery and 3D terrain views. Let you stand virtually at a road pull-off or city corner and see the actual sightline, including power lines, fences, signs and new buildings that a map will not show. Terrain tilted into 3D is a quick way to judge whether a distant ridge will block a view.
Work systematically. Pick an area, scan it for water, high ground and open sightlines, and drop a pin on every candidate. Then for each pin ask four questions: can I get there legally, which direction would I be facing, what is behind the subject from that spot, and what is in front of me to use as a foreground? The pins that pass all four become your scouting list.
Maps also reveal patterns worth planning around. A lake in a deep valley is a likely place for morning mist (see fog and mist photography). A beach facing west is a sunset location; one facing east suits sunrise. A narrow canyon will be in shade for much of the day.
Using other photographers’ work as research, not a template
Searching for photographs tagged with a place name is one of the fastest ways to learn a location. Treat what you find as research data, and pay attention to more than the pretty picture:
- Where did they stand? The angle to landmarks, the height of the horizon and what sits behind the subject tell you the rough position. Match it against the map.
- What focal length did they use? Background mountains looming large behind a foreground point to a long lens and a distant viewpoint. Stretched, dramatic foregrounds point to a wide angle close to the ground.
- What time of year and day? Foliage, snow, water levels, the direction of shadows and the colour of the sky all reveal when a picture was made.
- What is missing? If every picture of a waterfall is taken from the same bridge, the other bank, the top, the pool below or a winter visit might be wide open. The gaps in other people’s coverage are where your own pictures live.
A viewpoint belongs to nobody, and photographing a famous scene from the usual spot is a perfectly good way to learn it. The trap is stopping there. Deliberately reproducing someone else’s specific image, with the same framing, same moment and same processing, teaches you little and produces a picture the world already has. Close copying of a particular photograph can also raise legal questions in some countries, which photography copyright explains in general terms. A better habit: make the classic frame first as a warm-up, then spend the rest of the session walking away from it. For famous and busy places, photographing crowded landmarks covers how to work around the crowd.
Local knowledge no map will give you
People who live and work in a place know things you cannot learn remotely. Rangers and park staff know which trails are closed, where wildlife is active and which viewpoints are fenced off. Farmers know when the fields are cut and which gates stay open. People who fish, paddle or run the local boat launch know when the water is calm, when mist sits on the river and where the ice forms first. Staff at a visitor centre, a café owner, or members of a local photography club can save you days of trial and error.
Ask specific questions rather than “where is a good spot for photos?”. Try “where can I see the lake from above?”, “does the mist form here in autumn mornings?” or “is this track passable after rain?”. Explain what you are doing and offer to share a picture afterward; local goodwill is also how you get permission for private land.
The scouting visit: what to check on the ground
A map tells you a spot might work; standing there tells you whether it does. On a scouting visit you are collecting information, not making the final picture.
| Check | Why it matters | How to record it |
|---|---|---|
| Compass direction to the subject | Tells you later whether sunrise, sunset or moonrise lines up with it | Phone compass bearing, noted with the spot |
| Exact shooting positions | Saves searching in the dark or while the light is peaking | A dropped pin plus a phone photo from each spot |
| Walking time and route | You will walk it again before dawn or after dusk | Timed walk, turn-by-turn notes, tricky junctions photographed |
| Parking and opening hours | Car parks close, gates lock, roads have seasonal closures | Posted hours and signs photographed |
| Hazards | Cliff edges, loose ground, tides, ice and wildlife are harder to judge in low light | Written notes, with the safe route marked |
| Rules and ownership | Tripods, drones, after-hours entry and private land may be restricted | Photograph the signs; note who to ask |
| Obstructions | Power lines, bins, fences and signs ruin frames and are easy to miss | Reference photo at the lens you plan to use |
Compass directions need one detail right. A phone compass can show either magnetic north or true north, and sun and moon planning tools work in true north. In some parts of the world the two differ by more than ten degrees, which is enough to put the rising sun behind a tree instead of beside it. Check which setting your compass uses, and use the same one every time.
Make reference frames, not art. At every promising spot, take a wide phone photo showing where you stand, then a frame roughly matching the lens you plan to use. Location data saved with the file records the position automatically. Back home, these frames let you compare spots side by side.
Walk the edges. The obvious viewpoint is usually at the end of the path. Walk fifty metres in each direction along the shore or ridge, step down to water level, climb to any safe high point, and look back the way you came.
Scouting in the wrong light on purpose
The ideal scouting visit happens in flat midday light, the kind you would rarely choose to shoot in. It is easy to see the layout of the land, safe to explore, and you are not tempted to spend the visit shooting instead of learning.
There is one exception worth making: if you will be walking in or out in darkness, walk the route in twilight at least once, or retrace it with a headlamp after sunset. A trail that is obvious in daylight can split, fade or cross bare rock in ways that are easy to miss by torchlight. Note landmarks at every junction.
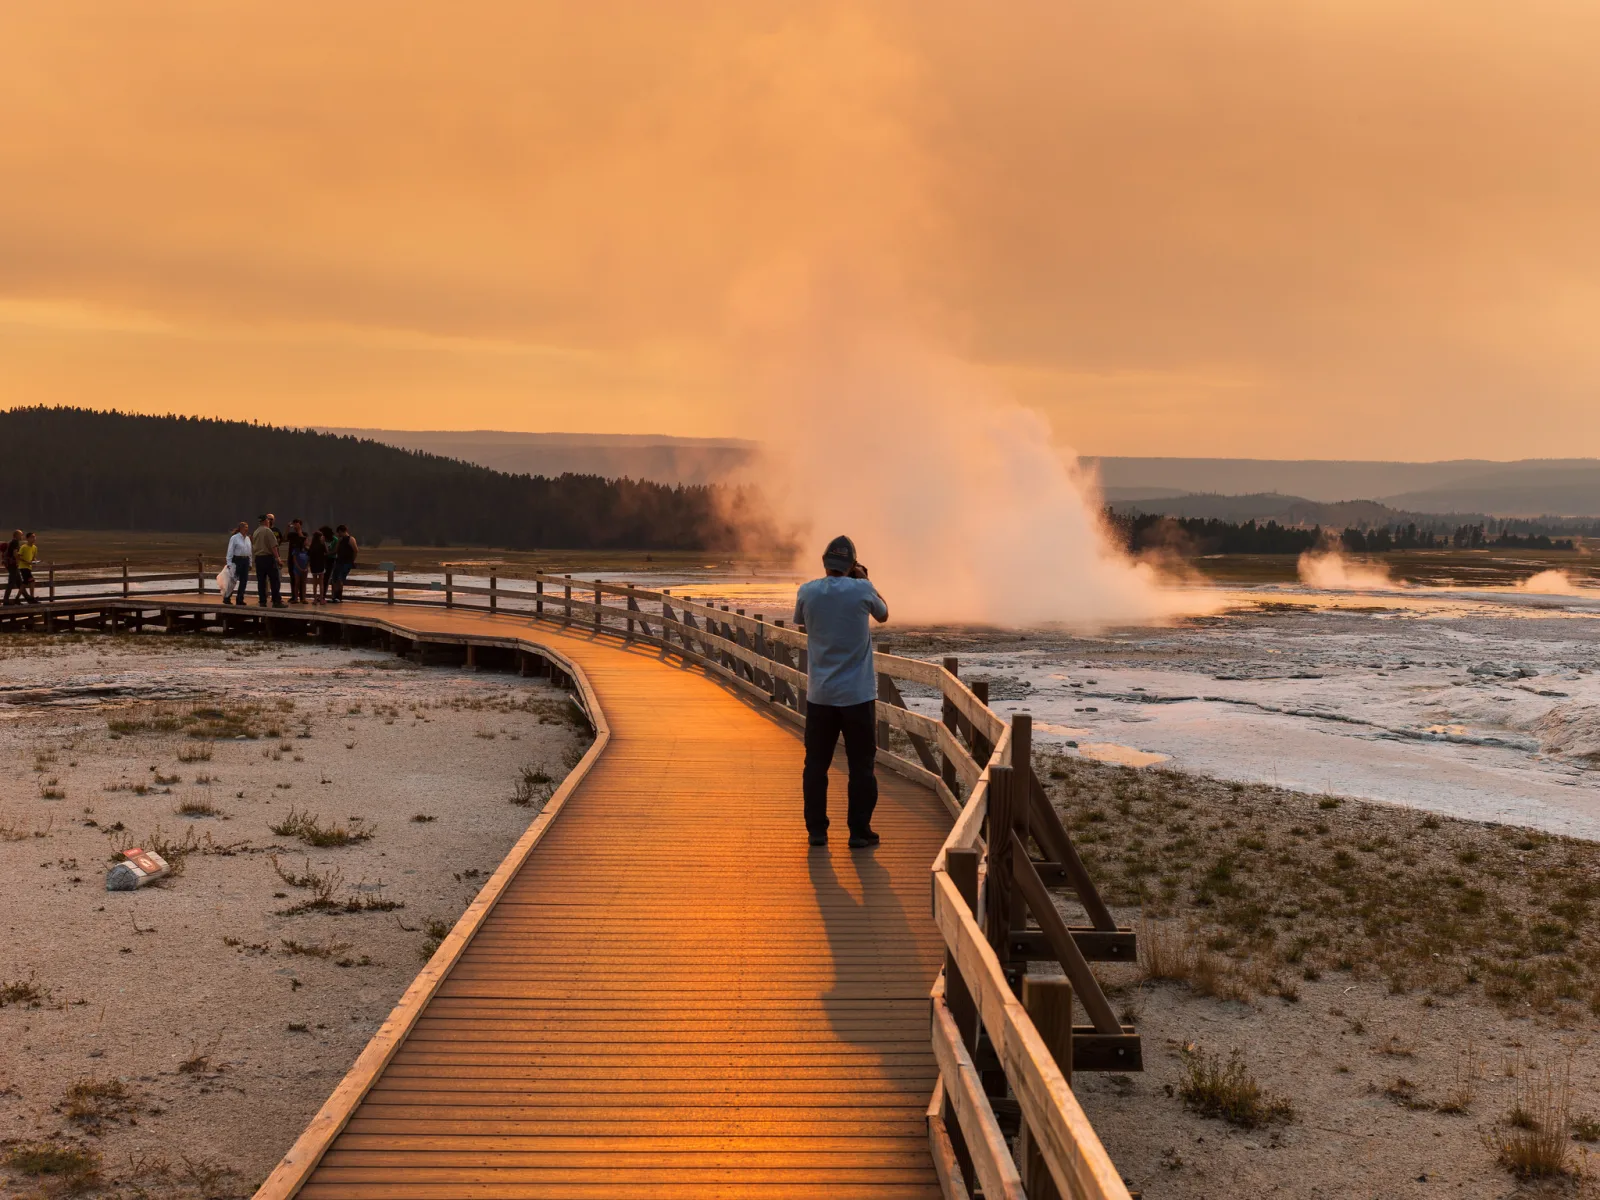
At sites where you must stay on a boardwalk or marked path, scouting becomes a search along a line. Walk the whole length, note where the subject sits against the cleanest background, and note which stretch will have the sun behind or beside the subject at the time you plan to return. When the light arrives, you walk straight to the right plank.
Returning in different light, weather and seasons
A location is not one photograph. It is a set of possibilities that open and close through the day and the year. The first visit tells you which of those possibilities exist; later visits are when you collect them.
- Time of day. A valley that is in deep shadow at sunrise may be glowing at sunset. A city view that is ordinary in daylight may be at its best in the blue hour when the lights come on. The golden hour flatters some places and flattens others.
- Weather. Fog hides clutter, rain adds reflections to pavement, snow turns busy ground into clean shapes, and storm light can transform a scene you thought was dull. See photography in different weather conditions.
- Season. Leaves falling from a forest can open views that are invisible all summer. Water levels change: a waterfall that roars in spring may be a trickle by late summer, and a shoreline that is rock at one time of year may be underwater at another. Snow, ice, spring flowers, autumn colour and seasonal crowds all change what is possible, and some roads and trails close for part of the year.
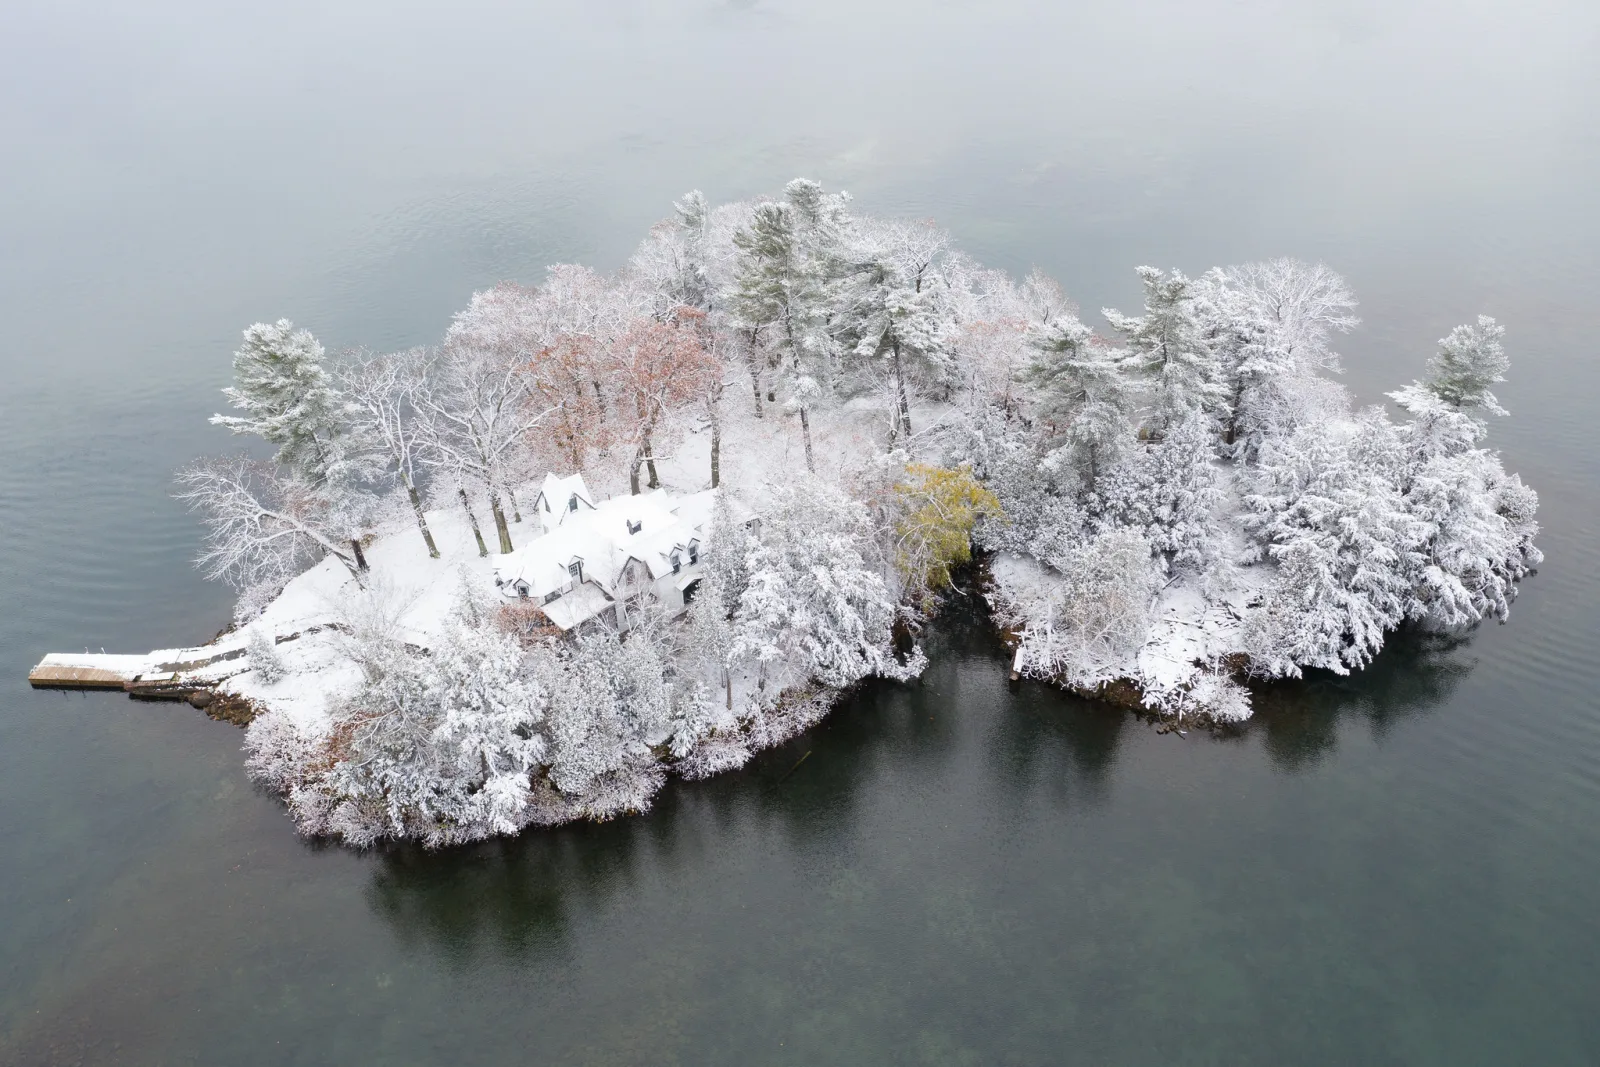
A practical habit: when a location impresses you, write down the one or two conditions that would make it exceptional. “Mist on the water with the far shore just visible.” “Fresh snow on the pines, still morning.” “Autumn colour, calm day, reflections.” Now you are watching the forecast for a specific picture instead of hoping something happens.
Keeping a location notebook
After a dozen scouting trips, the details blur: which car park was closer, whether the view needed a long lens. A location notebook fixes that. It can be paper, a notes file, a spreadsheet or a private collection of map pins with notes attached. What matters is that every entry has the same fields, so you can compare places at a glance.
A useful entry records:
- Name and exact coordinates of each shooting position
- Compass bearing to the main subject, and whether it is true or magnetic north
- Best light (morning, evening, night), with the reason
- Best season and the special conditions you are waiting for
- Access: parking, walking time, route notes, gate or opening hours
- Hazards and safety notes, including tides or cell signal
- Ownership and permissions: public, private (with contact), permit required
- Lenses that worked and a reference photo
- Visit log: date, conditions, what worked, what did not
Here is how an entry might read after two visits: “Lake overlook, east shore. Faces roughly west across the water. Evening location. Twenty-minute walk on a clear path, steep for the last five minutes. Gate closes at dusk; park at the road pull-off. Visit 1: midday, clear, flat. Found a rock shelf fifteen metres left of the bench that works as a foreground at wide angle. Visit 2: autumn evening, broken cloud, good colour; the far shore needed a longer lens than expected. Next: calm autumn morning for mist, shooting from water level instead.”
Review your notebook before every free morning or evening. Matching tomorrow’s forecast to a specific entry is how scouting pays off.
Private property, permits and local rules
Finding a great spot does not mean you may use it. Before you plan a shoot, find out who controls the land and what rules apply. The details differ widely from country to country and even between neighbouring parks, so treat this section as a checklist of questions rather than as legal advice.
- Private land. Crossing or shooting on private property generally requires the owner’s permission, and trespass laws vary by country and region. Asking is often easier than people expect: explain what you want to photograph, when, and for how long, and offer a print. Write down who gave permission and when.
- Parks and protected areas. Many allow personal photography freely but have rules about opening hours, staying on trails, camping, tripods in busy areas, drones and commercial shoots. Some require permits for professional work, large groups or after-hours access. Check the managing authority’s published rules before you go; photographing national parks covers the typical issues.
- Drones. Flying is regulated separately from photography and is often restricted near airports, over crowds and in protected areas. See drone photography and check the aviation rules where you are.
- Private property seen from public land. In many countries you may photograph what is visible from a public place, but rules about publishing, commercial use and privacy vary. If a picture of someone’s property might be used commercially, look into whether a property release is needed where you live.
- Fragile and sensitive places. Nesting birds, rare plants, thin soil and historic sites can be damaged by footsteps. Stay on durable ground, respect seasonal closures, and think twice before publishing exact coordinates for a delicate spot that could be overrun.
When in doubt, ask the landowner or the managing authority, and for anything commercial or contentious, consult a lawyer who practises where you are shooting.
Common mistakes
- Arriving for the light with no scouting. You spend the best ten minutes searching. Fix: visit once in ordinary light first, or at least arrive with a map pin and a planned position.
- Trusting a single viewpoint. The famous spot is rarely the only good one. Fix: walk the edges, change height, and look back the way you came before you settle.
- Mixing magnetic and true north. Your bearing does not match the planning tool. Fix: set your compass to true north, or note which one you used.
- Ignoring the walk out. A route that was easy in daylight is confusing in the dark. Fix: time the walk, note junctions, and carry a headlamp.
- Assuming access. A gate, a sign or a landowner ends the shoot. Fix: confirm ownership, hours and permits before the day.
- Copying instead of researching. You come home with someone else’s picture. Fix: use other people’s images to learn the place, then deliberately look for what they missed.
Try this
Scout one location within fifteen minutes of home, today, in whatever light you have. Spend ten minutes on a map first: find a spot with open views toward water, a skyline, a field or a landmark, and drop a pin. Then go there and spend twenty minutes working through the table above. Record the compass bearing to the subject, three possible shooting positions with a phone frame from each, the walk and parking, and anything that blocks the view. Write a notebook entry when you get home, including the one condition that would make this place special. Watch the forecast for that condition and go back when it arrives.
Frequently asked questions
How far ahead should I scout a location?
For local places, any time, because the ground rarely changes. For a trip, do the map and image research at home, then scout on the first afternoon of the trip and shoot the following morning or evening.
Is it wrong to photograph a spot someone else made famous?
No. Places are free to visit and photograph, subject to local rules. What adds nothing is copying a specific picture frame for frame. Use the famous view to learn the place, then find your own version.
Can I photograph private property from a public road?
In many countries, yes, for personal use, but the rules about publishing and commercial use vary. Check the law where you live, and consult a lawyer if the picture will be sold or used in advertising.
Should I share exact locations when I post photos?
For robust public places, sharing helps others. For fragile habitats, nesting sites or private land reached with permission, keep coordinates to yourself. A general region is enough for most viewers.
Related guides
- Planning around the sun, moon and tides: predict exactly when and where the light will fall at the location you found.
- How to prepare for a shoot in a place you have never been: packing and logistics for an unfamiliar location.
- Landscape photography: light, composition and technique once you are standing in the right place.
- Photographing crowded landmarks: timing, angles and techniques for busy, famous places.
- Photo walk guide: exploring on foot is scouting and shooting at the same time.
- Photography in different weather conditions: what rain, fog, snow and storms do to a location.
- Fog and mist photography: where mist forms and how to photograph it.