Time-lapse
Time-lapse photography involves taking a series of photos at set intervals to record changes that happen slowly over time. When these images are played back in sequence at a normal speed, time appears to be moving faster. This technique is commonly used to capture phenomena like sunsets, blooming flowers, or cityscapes, condensing hours into just a few minutes or seconds of video.
Core Principles
- Frame Interval: This is the duration between each shot. The choice of interval is crucial and depends on the subject; for instance, capturing a blooming flower might require minutes between shots, while a bustling city may need only seconds.
- Playback Speed: During post-production, the sequence of images is usually played back at 24 or 30 frames per second (fps), creating the illusion of accelerated time.
Applications Across Genres
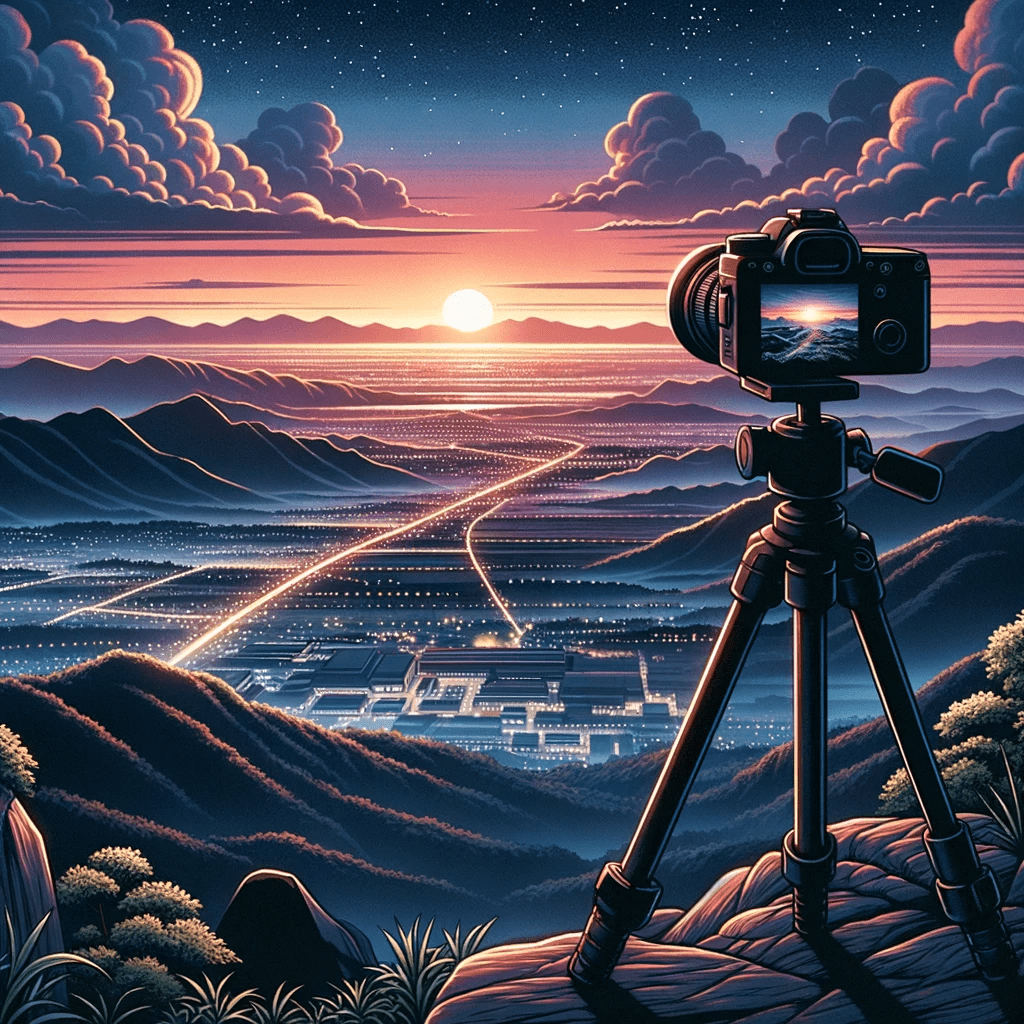
- Nature Photography: Time-lapses are often used to capture the magnificence of natural phenomena like sunsets, tides, or cloud movements.
- Urban Landscapes: Cityscapes come alive through this technique, capturing the ebb and flow of people, traffic, and lights.
- Event Photography: It can be used to condense long events, like construction projects or public gatherings, into short, watchable segments.
Technical Aspects
- Equipment: A sturdy tripod is essential to ensure consistent framing. Many photographers also use external intervalometers for precise timing.
- Camera Settings: Depending on your subject, manual settings are generally advised to maintain consistent exposure and focus throughout the shoot.
Emerging Tech and Trends
- Automated Systems: Some modern cameras come with built-in time-lapse features, reducing the need for external equipment.
- AI Algorithms: Post-production software increasingly incorporates AI to enhance image quality or even ‘fill in’ frames to create smoother motion.
Expert Tips
- Battery Life: Consider the drain on your camera’s battery over extended periods and plan accordingly.
- Frame Composition: Since the camera will be stationary, it’s crucial to carefully compose the initial frame as it sets the stage for the entire sequence.
Planning Your Time-Lapse Sequence
Successful time-lapse photography starts with choosing the right interval between frames. Fast-moving subjects like clouds typically work well with 3-5 second intervals, while slower processes like star trails or construction projects might need 15-30 second intervals or longer. To calculate the total shooting time, multiply your desired final video length by your frame rate (typically 24 or 30 fps) to get the total frames needed, then multiply by your interval. A 10-second video at 24fps needs 240 frames — at a 5-second interval, that requires 20 minutes of shooting time.
Always shoot in manual mode (manual exposure, manual white balance, manual focus) to prevent the camera from making frame-to-frame adjustments that create flickering in the final video. If shooting a sunset or sunrise where light changes dramatically, use aperture priority with exposure smoothing in your intervalometer software, or shoot in manual and adjust exposure incrementally every few minutes. This technique, called “bulb ramping” or “holy grail” time-lapse, requires practice but produces the smoothest day-to-night transitions.
Processing and Assembling the Sequence
Shoot in RAW format to maximize your flexibility when processing the sequence. Import all frames into Lightroom, edit the first frame to your liking, then sync those settings across the entire set. For sequences with changing light, Lightroom’s “Auto Settings” applied to all frames can serve as a starting point, though dedicated time-lapse software like LRTimelapse handles exposure transitions more gracefully by creating smooth keyframe-based adjustment curves across the sequence.
Export your processed frames as full-resolution JPEGs with a sequential naming convention (frame_0001.jpg, frame_0002.jpg, etc.). Import the image sequence into video editing software — DaVinci Resolve (free) handles this workflow natively, as do Adobe Premiere and Final Cut Pro. Set the sequence frame rate to 24fps for a cinematic look or 30fps for smoother motion. Adding a subtle motion blur effect in post can help smooth the stepped motion between frames, particularly when your interval was relatively long compared to the speed of movement in the scene.