Urban exploration photography (often shortened to urbex) documents abandoned and decaying places: closed factories, empty schools, derelict houses, forgotten industrial sites. Before it is a photography problem it is a legal and safety problem, because entering these buildings without permission is trespass in many places and the buildings themselves can injure you. Get permission, never go alone, never break in, and then use a tripod, bracketed exposures and a wide lens to handle the dark interiors and bright windows that define the genre.
The legal reality: permission comes first
“Abandoned” rarely means “ownerless”. Almost every derelict building belongs to someone: a company, a bank, a municipality, a family that has not decided what to do with it. Entering it without permission is trespass in most places. In some jurisdictions trespass is a civil matter unless you refuse to leave or cause damage; in others it is a criminal offence on its own. Forcing entry (breaking a lock, prying a board, climbing through a window you had to open) is in many places treated as a separate and more serious offence. Signage, fencing and security patrols usually make the owner’s position clear, and “the door was already open” is not a defense most courts recognize.
Laws vary widely between countries, regions and cities, and they change. Treat this section as a description of the general landscape, not legal advice, and check the rules where you live. If you are unsure, consult a lawyer in your jurisdiction before you go.
The good news is that the best urbex photography does not require breaking any rules. Legal routes into decaying places include:
- Asking the owner. Property records often show who owns a site. A polite letter or call explaining that you want to photograph the building, with an offer to share the images and sign a liability waiver, works more often than people expect.
- Heritage and preservation groups. Organizations trying to save old mills, theaters and churches frequently welcome photographers, because good images help their cause.
- Organized tours and open days. Many former prisons, hospitals, power stations and industrial sites run guided visits, including some dedicated photography sessions.
- Ruins on public land. Historic ruins in parks and heritage sites let you photograph decay legally, within their rules.
- From public space. Many derelict buildings photograph beautifully from the street, and in many countries photographing a building from public space is generally permitted. Local rules still apply.
Hazards inside derelict buildings
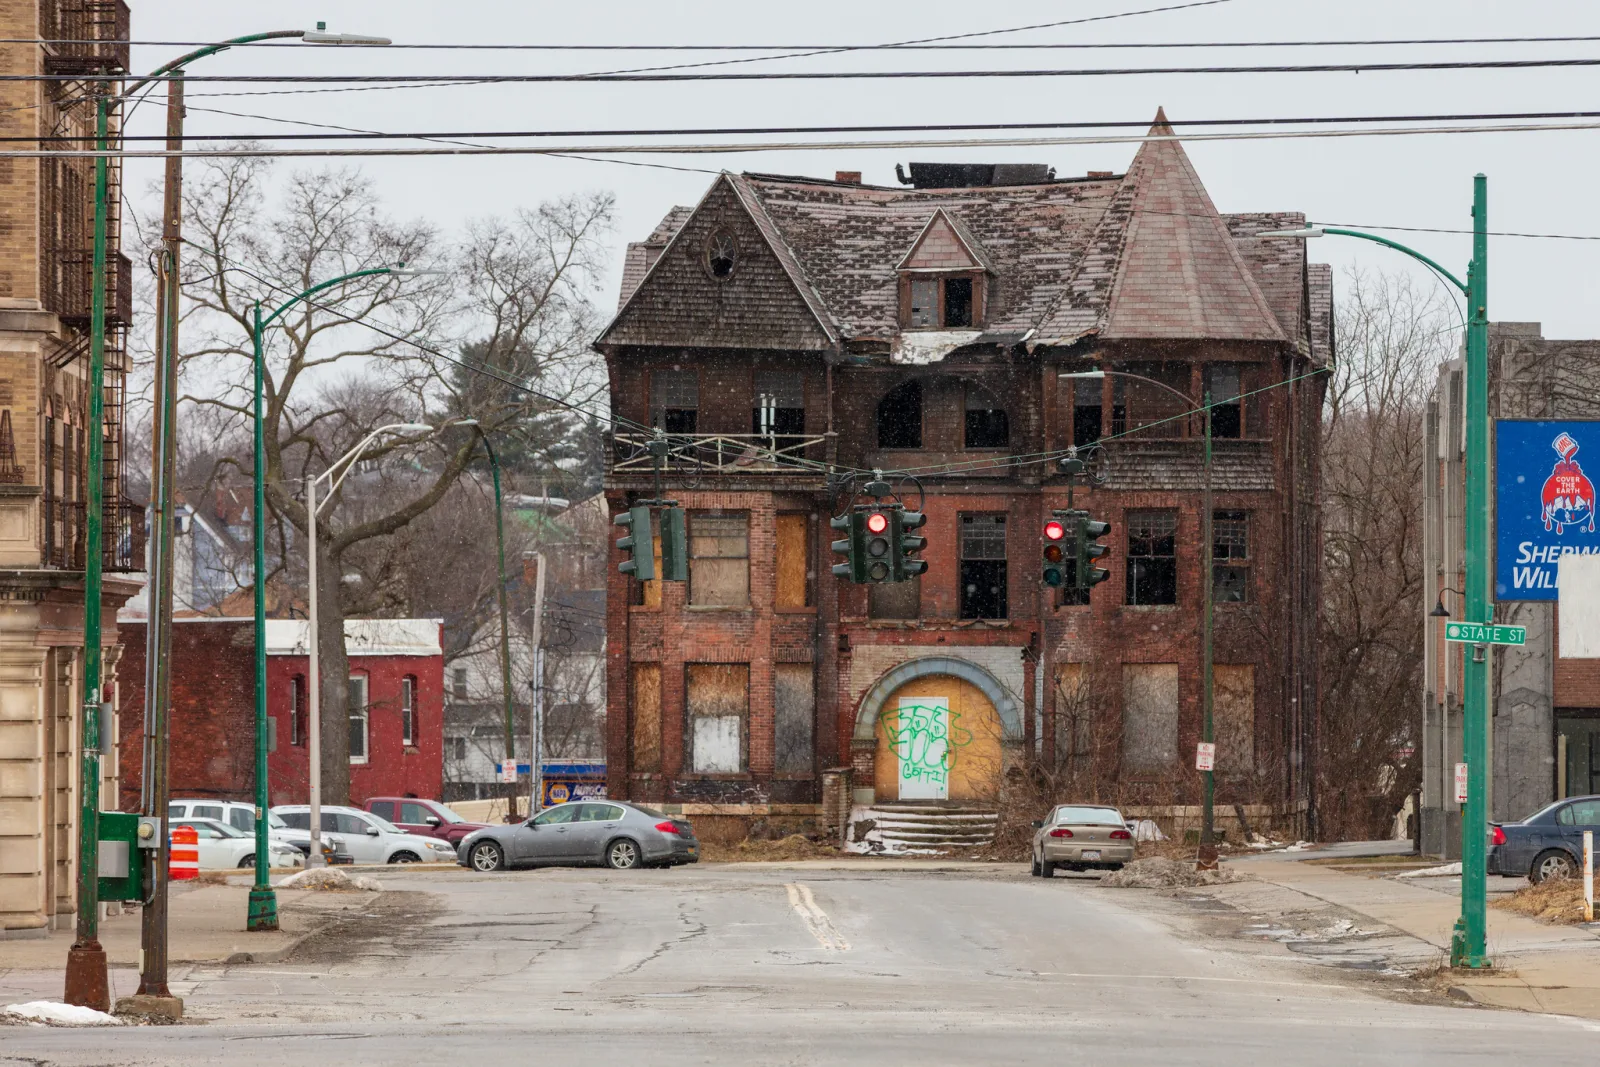
Abandoned buildings are dangerous in ways that are easy to underestimate, because the danger is often invisible. Floors that look solid can be rotten underneath. Water damage that took decades to develop can let a ceiling or staircase give way in a second. And if you are hurt inside a building no one knows you entered, help may not come.
Non-negotiable rules, even with permission:
- Never go alone. Go with at least one other person, and tell someone outside the group where you are going and when you expect to be back.
- Carry light, phone and first aid. A headlamp keeps your hands free; carry a spare light and a charged phone. Signal is often poor inside large concrete buildings.
- Dress for it. Sturdy boots with thick soles (nails and glass are everywhere), long sleeves, and gloves for anything you have to touch.
- Walk the edges. Floors and stair treads are usually strongest near walls and supports. Test each step, and stay off any floor that flexes, sags or shows water staining.
- Leave if it feels wrong. Someone living there, fresh signs of activity, dogs, structural noises or a bad smell are all reasons to walk away. No photograph is worth an injury or a confrontation.
| Hazard | Where you find it | What to do |
|---|---|---|
| Collapsing floors, stairs and roofs | Anywhere with water damage, rot or missing roof sections | Stay near walls, avoid upper floors in doubtful buildings, never jump or bounce to test. |
| Asbestos | Older pipe lagging, boiler insulation, ceiling and floor tiles, sprayed coatings | Do not touch, break or disturb it; avoid areas with crumbling insulation or debris dust. |
| Mould, droppings and dust | Damp rooms, basements, attics, anywhere birds or bats roost | Wear a properly fitted respirator rated for fine particles (a paper dust mask is not enough) and avoid stirring up dust. |
| Bad air | Basements, tanks, pits, sewers, any enclosed underground space | Never enter confined spaces. Gas and low oxygen give little warning. |
| Sharp debris and open drops | Broken glass, exposed nails and rebar, open shafts, missing railings | Watch your feet, keep a light on the floor ahead, and stay back from edges. |
Asbestos deserves special mention because it is both common and invisible in its effects. It was widely used in construction for much of the twentieth century, and the danger comes from breathing fibers released when the material is damaged or disturbed, which is exactly the condition derelict buildings are in. If a site has crumbling insulation or debris everywhere, the safest photograph is one taken from the doorway, or not at all.
Leave no trace, and keep locations private
The long-standing creed of the exploring community is “take nothing but pictures, leave nothing but footprints”. In practice that means:
- No breaking in. If entry requires force, you are not going in. This is both an ethical line and, in many places, a legal one.
- Take nothing. Not a sign, not a document, not a souvenir. Removing items is theft, and it strips the site of the very details that make it worth photographing.
- Damage nothing. No graffiti, no forcing doors that are merely stuck, no climbing on fragile fixtures.
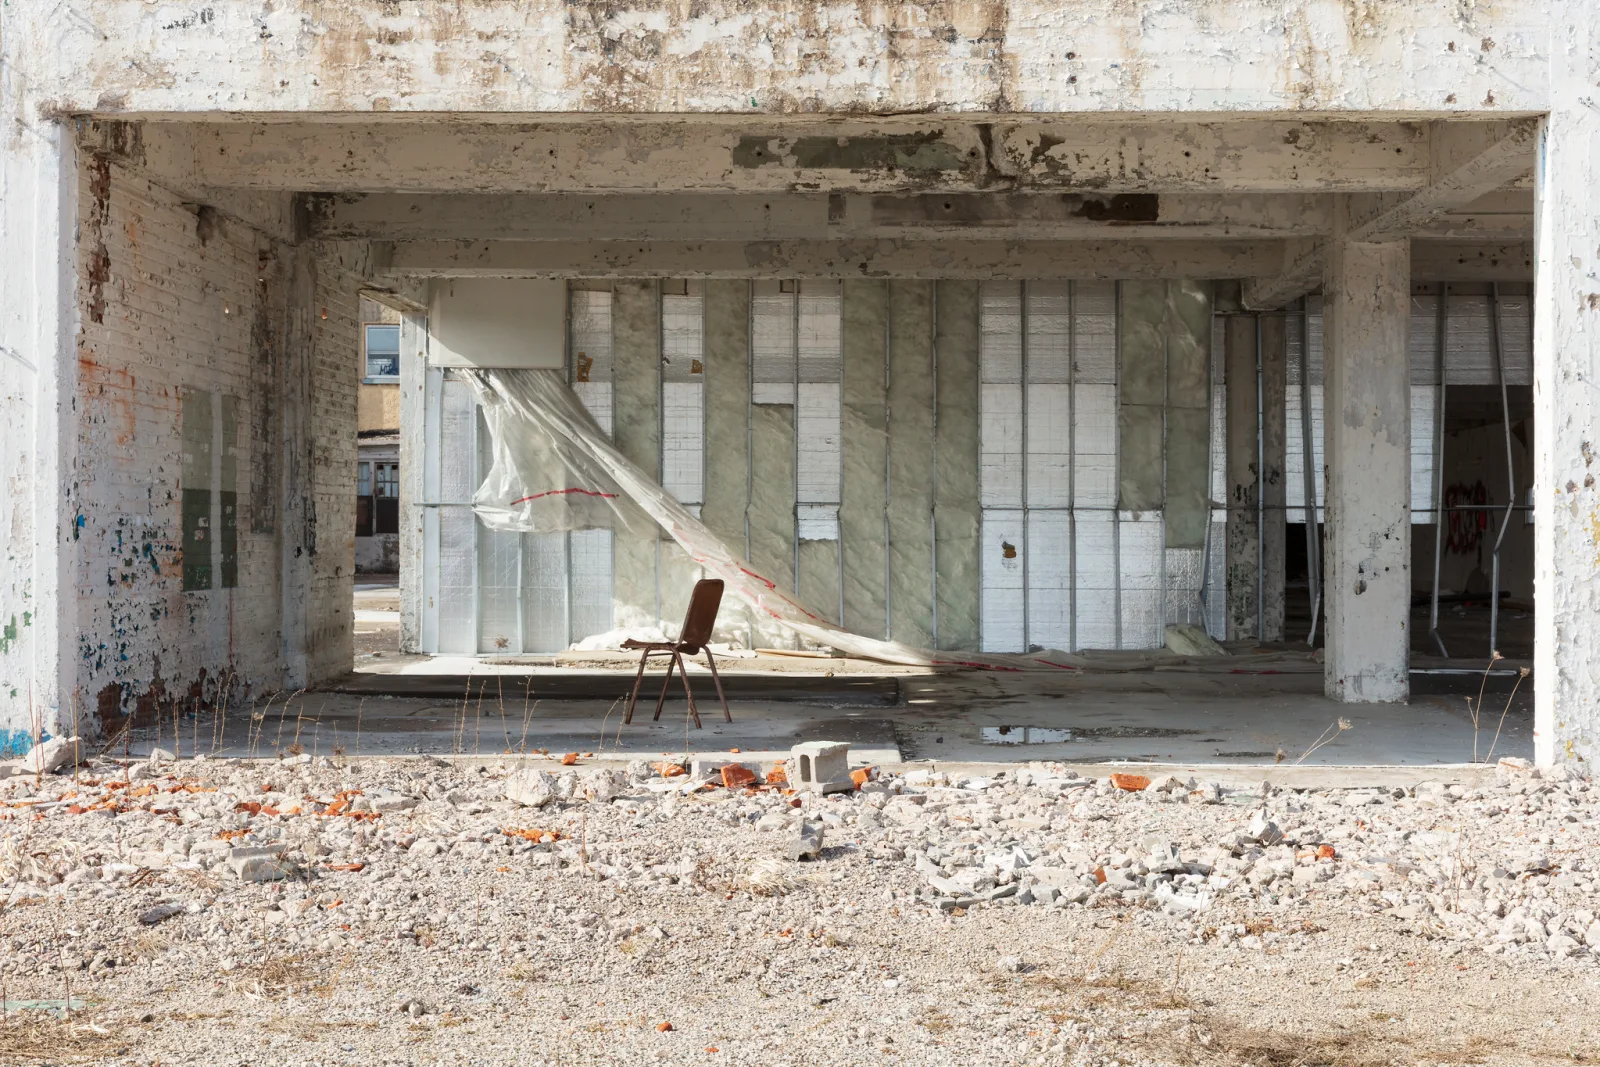
- Be honest about staging. Moving a chair into a patch of light makes a better picture but changes the record. If you rearrange anything, put it back, and do not present a staged scene as found.
- Respect people’s histories. Hospitals, asylums, schools and homes often contain personal papers, medical records or photographs of real people. Do not publish anything that could identify them or their families.
Do not disclose sensitive locations. Once an address circulates online, sites that survived quietly for years can be stripped by metal thieves, burned by vandals or visited by unprepared people who get hurt. Many explorers never name a location publicly and share details only with people they know and trust.
Exposing dark interiors with bright windows
The central technical problem of interior urbex is extreme dynamic range. A room lit only by its windows can easily be ten stops darker in its corners than the sunlit view through the glass. Suppose, at f/8 and ISO 100, the view through a window meters at 1/1000 second and the darkest corner of the room at 1 second. That is a ten-stop difference (1/1000, 1/500, 1/250, 1/125, 1/60, 1/30, 1/15, 1/8, 1/4, 1/2, 1). A good sensor can technically record that in one RAW file, but only if you expose for the window and then lift the corners so far that they turn noisy, flat and colorless.
The reliable answer is a tripod and bracketing:
- Set up on a tripod at the lowest native ISO for the cleanest files, and choose an aperture around f/8 for good depth. Check that the floor under the tripod legs is solid; a flexing floor means both a blurred picture and a hazard. See how to use a tripod for steady technique.
- Focus manually once, because autofocus hunts in the dark and may refocus between frames.
- Bracket five frames two stops apart around the middle exposure. For the example above, a base of 1/30 second gives 1/500, 1/125, 1/30, 1/8 and 1/2. The fastest frame holds the window, the slowest renders the corner cleanly, and the middle frames fill in everything between.
- Use a two-second timer or remote release so pressing the button does not shake the camera.
- Merge the frames in software, or blend them by hand with masks, to keep the view through the window and the detail in the corners. The HDR photography guide covers merging and how to keep the result looking natural.
If you cannot use a tripod, a single RAW file exposed so the windows just avoid clipping, then lifted in the shadows, is the fallback. Check the histogram rather than the screen, which looks much brighter than it should in a dark room. Expect more noise in the lifted areas.
For dark spaces with no windows at all, light painting during a long exposure lets you sweep a flashlight across walls and machinery to reveal them. Keep the light moving to avoid hot spots, and set a fixed white balance so a warm flashlight and cool daylight from a doorway mix predictably.
Wide angles and straight verticals
Interiors are cramped and you often cannot step back, so a wide-angle lens is the standard urbex tool. A focal length around 16 to 24mm on a full-frame camera (roughly 10 to 16mm on the smaller APS-C format) covers most rooms. Wider is not automatically better: at very wide angles, objects near the frame edges stretch and rooms look emptier and larger than they felt. Use the width to include context, not just to fit more in.
The single biggest improvement to most interior and building photographs is keeping vertical lines vertical. When you tilt a wide lens up to include a ceiling, walls lean inward and the building looks as if it is falling backward. Keep the camera level and the sensor upright, and include more floor rather than tilting; crop later if needed. If you must tilt, correct the verticals in editing with a perspective or transform adjustment, leaving room at the edges for the crop it requires. The mechanism is explained in perspective distortion, and architectural photography covers the discipline in depth.
Long corridors, rows of windows and repeated rooms suit one-point perspective: stand in the center, level the camera, and let the lines converge on a single vanishing point. The result uses symmetry and leading lines together, and decay (a collapsed ceiling tile, a door hanging off its hinges) reads strongly when it breaks an otherwise perfect order.
Texture, decay and light through windows
Decay is a texture subject as much as an architectural one: peeling paint curling off plaster, rust blooming on machinery, moss on a windowsill, a carpet of fallen ceiling. Texture shows best in raking light, light that skims across a surface from the side, because every ridge casts a small shadow. Look for walls lit by a window beside them rather than facing them. For detail frames, move in close and fill the frame; the guide to texture in photography explains why direction of light matters so much.
Windows are the light source that defines the genre. A few habits help:
- Use the sun’s angle. Low morning or afternoon sun sends long patches of light across floors and walls. Midday sun through a roof hole drops a hard spotlight straight down.
- Expose for the beam. When a shaft of light is visible in dusty air, meter for the lit area and let the rest go dark. The contrast is the picture.
- Use windows as frames. Broken panes and window frames make natural frames for the outside world, contrasting decay inside with life outside.
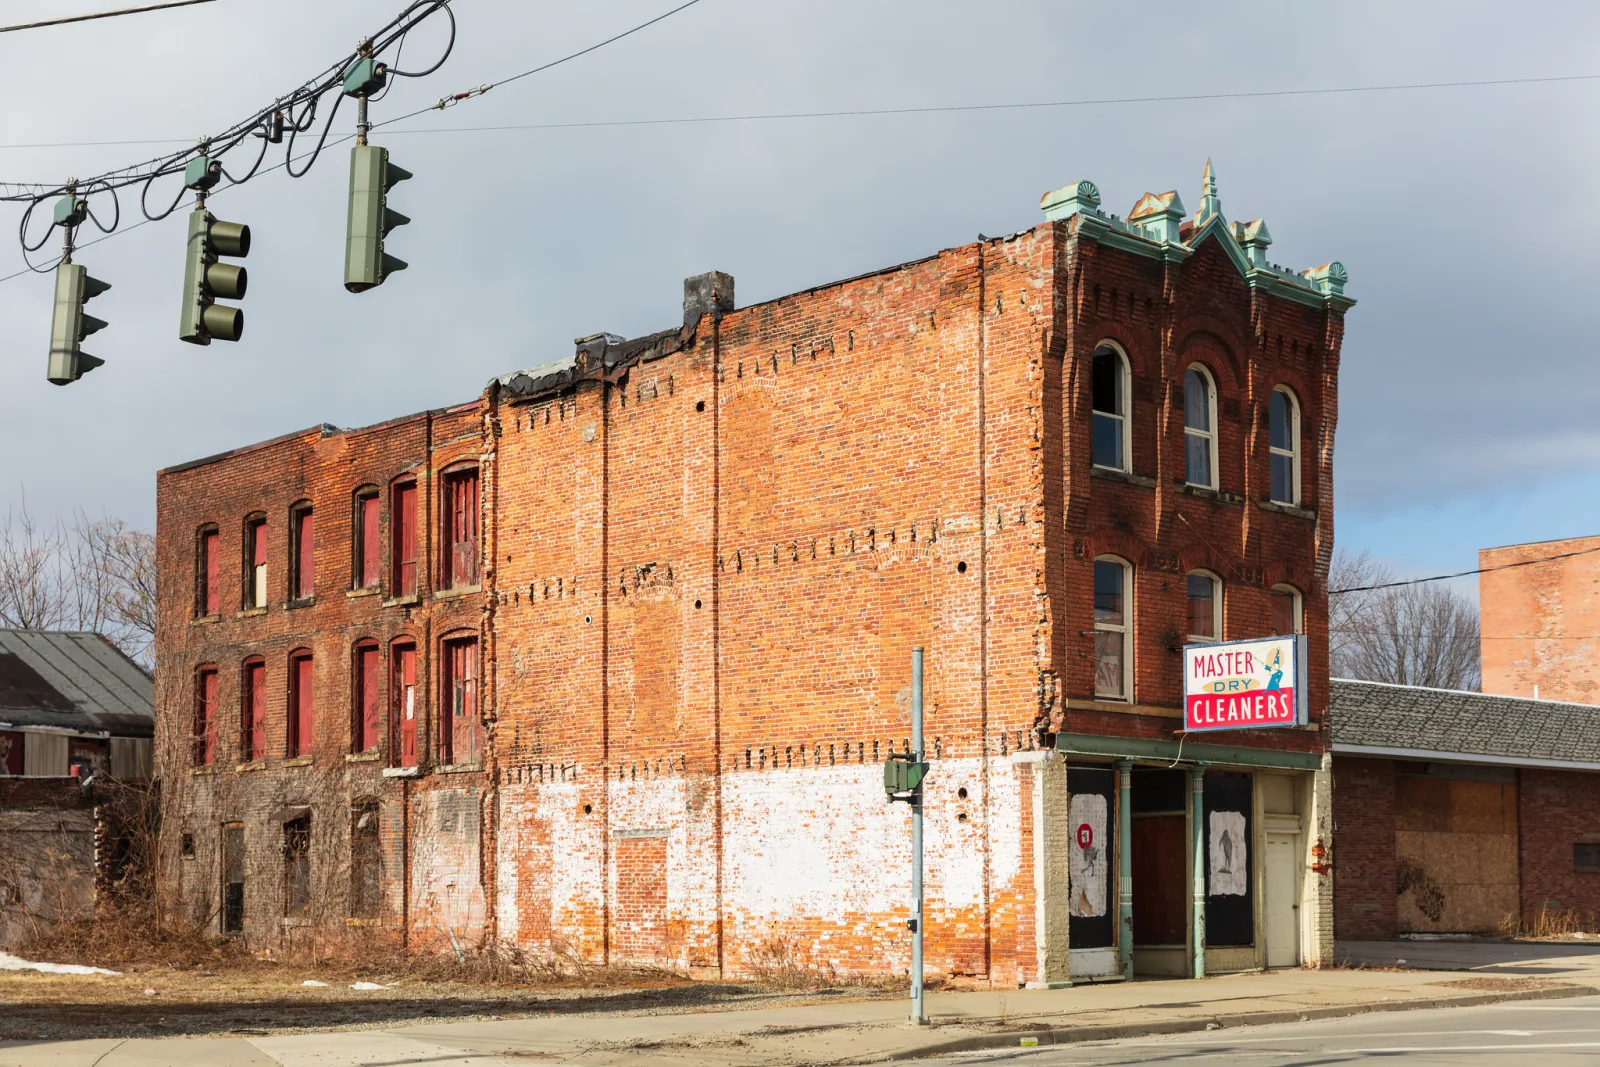
- Watch overcast days. Soft, even light narrows the dynamic range problem and suits exteriors and color studies, as in the facade above.
Color or black and white? Decay often has rich, specific color (institutional green paint, rust orange, faded signage) that is part of the building’s identity. Black and white strips that away and emphasizes form and texture. Try both on the same frame before deciding.
Telling the building’s story
The strongest urbex work is documentary: it shows what a place was, what happened to it and what is left. A pile of pretty decay frames is not a story. A sequence that moves from the building in its surroundings to its rooms to the small traces of the people who worked or lived there is.
- Establish the place. Start with an exterior that shows the building in its setting: the street, the town, the empty lot around it.
- Show what it was. Machinery, lockers, a chalkboard, a nurses’ station, a ticket window. Function explains the ruin.
- Find the human traces. A calendar left on a wall, a coat on a hook, a single chair. Small objects carry more emotion than whole rooms.
- Show time passing. Plants growing through floors, water pooled where a roof failed, nature reclaiming the space.
- Research the history. Local archives, libraries and historical societies often hold old photographs and records. Knowing when a mill closed and why turns a set of images into a record, and informs your captions.
The genre overlaps heavily with documentary photography, and the same principles of sequence and honesty apply. See visual storytelling for how to build a set that reads as a whole.
Sharing urbex photographs responsibly
How you publish matters as much as how you shoot. A few habits protect the sites and the people connected to them:
- Strip location data. Most cameras and phones can embed GPS coordinates in the file. Remove location metadata before sharing, or turn off location tagging for these outings. The guide to sharing photos online privately explains how.
- Watch for giveaways. A recognizable skyline through a window or a readable business name can reveal a sensitive site as surely as coordinates.
- Do not glamorize risk. Images of people on crumbling roofs or edges encourage others to copy them. Keep the focus on the place.
- Keep people’s privacy. Do not publish identifiable images of anyone who may be living in or sheltering at a site, or personal documents found there.
Common mistakes
- Assuming abandoned means open to anyone. Almost every site has an owner. Find out who, and ask.
- Going alone. A fall in an empty building with no one aware of it can be fatal. Always go with a partner and leave word with someone else.
- Wearing a paper dust mask. It does little against fine particles. Use a properly fitted respirator rated for them, or stay out of dusty, crumbling areas.
- Blowing out every window. A single exposure cannot hold a sunny window and a dark room. Bracket from a tripod and merge.
- Tilting the camera up. Walls lean and the building looks like it is falling. Keep the camera level and correct verticals if needed.
- Overcooked HDR. Heavy tone mapping with gray halos around windows looks artificial. Aim for what the eye saw.
- Sharing the location, directly or by accident. Strip GPS data and check backgrounds for landmarks.
Try this
Practice the core technique somewhere legal and safe: a dim garage, a barn you have permission to enter, an old church open to visitors, or simply the darkest room in your home with a single bright window. Set up on a tripod at your lowest ISO and f/8, focus manually on something a third of the way into the room, and shoot five frames two stops apart. Then take one single frame exposed for the window alone. Spend 15 minutes merging the bracket and compare the result with the single frame at full size: look at the window, the darkest corner and the texture on the walls. You will learn more about dynamic range from this comparison than from any number of descriptions, and you will be ready when you get permission to shoot somewhere remarkable.
Frequently asked questions
Is urban exploration photography illegal?
Photographing is rarely the problem. Entering private property without permission is trespass in most places, and forcing entry is often a more serious offence. Laws vary by country and region, so check local rules, consult a lawyer if in doubt, and get the owner’s permission.
Can I photograph an abandoned building from the street?
In many countries, photographing a building from public space is generally permitted. Rules differ, and some sites (military or critical infrastructure, for example) are restricted, so learn your local rules before you start.
What gear do I need for urbex photography?
A wide-angle lens, a sturdy tripod, a headlamp and spare light, and a charged phone. Safety gear matters more than camera gear: thick-soled boots, gloves and a respirator rated for fine particles.
Should I use HDR for abandoned interiors?
Bracketing and merging is the most reliable way to hold both bright windows and dark rooms. Keep the merge natural: the goal is detail in both, not a heavily processed look.
How do I find places to photograph legally?
Contact heritage groups, look for organized tours and open days at former industrial sites, prisons and hospitals, visit public historic ruins, and ask property owners directly.
Related guides
- Architectural photography: the full discipline of photographing buildings and interiors.
- Bracketing: how to capture a range of exposures for high-contrast scenes.
- HDR photography: merging brackets into a natural-looking image.
- How to use a tripod: steady technique for long, low-ISO exposures.
- Texture in photography: making peeling paint and rust look tangible.
- Documentary photography: turning a set of images into a record of a place.
- Light painting: revealing dark spaces with a handheld light.