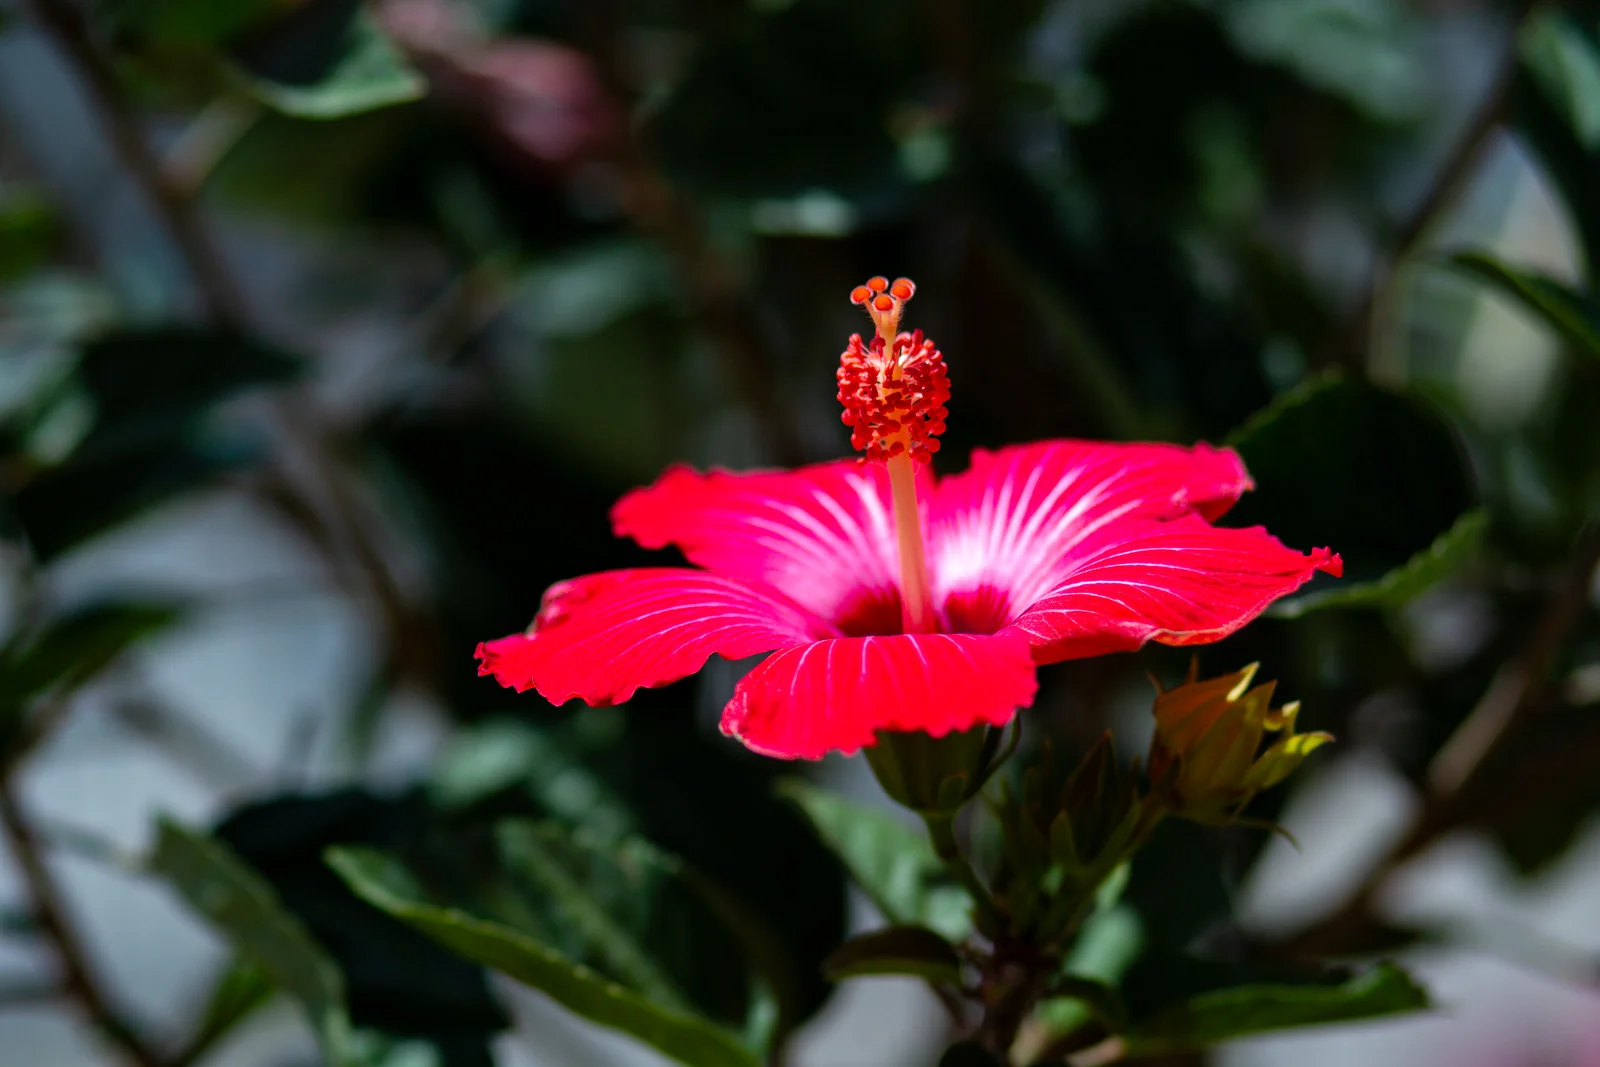
Aperture is the adjustable opening inside a lens that light passes through on its way to the sensor. It matters because it does two jobs at once: it sets how much light reaches the sensor, and it sets how much of the scene, from near to far, looks sharp.
Aperture is written as an f-number such as f/2 or f/11, and the one thing to remember before anything else is that the scale runs backward: a small number means a big opening, and a big number means a small one. Along with shutter speed and ISO, it is one of the three settings of the exposure triangle, and it is the one that changes the look of a picture most, because it decides whether the background melts away or stays crisp.
The Opening in the Lens and What the F-Number Means
Inside most lenses sits a diaphragm, a ring of thin overlapping blades that closes in or opens out to form a roughly round hole. Open it wide and more light gets through in a given moment. Close it down and less gets through, the way narrowing a tap slows the flow of water.
The size of that hole is given as a ratio, not in millimeters:
f-number = focal length ÷ diameter of the opening
A 100mm lens with an opening 25mm across is at f/4, because 100 divided by 25 is 4. Open that lens to 50mm across and it is at f/2. Dividing by a bigger diameter gives a smaller number, which is why the scale runs backward. The “f/” in front is a reminder that the number is a fraction of the focal length: f/4 means the opening is a quarter of the focal length wide.
Using a ratio has one large benefit. A 200mm lens at f/4 has an opening 50mm across, and a 24mm lens at f/4 has one only 6mm across, yet both put the same brightness on the sensor. The longer lens spreads its light over a more magnified image, and the bigger hole exactly pays for that. So f/4 means the same exposure on every lens and every camera, which is what lets you carry settings from one lens to another or read them off someone else’s photo.
Why a Smaller Opening Gives Deeper Focus
A wide aperture blurs the background. Knowing why makes everything else on this page easier to predict.
Think about a single point in the scene, say a distant streetlight. Light from it spreads out in all directions, and the lens catches a cone of it, as wide as the opening, and bends that cone back to a point. If the streetlight is at the distance you focused on, the cone comes to its tip exactly on the sensor and the light is recorded as a sharp point. If the light is nearer or farther than that, the tip of the cone lands in front of or behind the sensor, and the sensor slices through the cone instead, recording a small disc of light, called a blur circle.
The width of that disc depends on the width of the cone, and the width of the cone is set by the aperture. Close the aperture and every cone gets narrower, so every out-of-focus point makes a smaller disc. The background does not suddenly snap into focus. Its blur circles shrink until they are too small for your eye to tell from points. Squinting works the same way: narrowing your eyelids sharpens a blurry view because it narrows the cone of light entering your eye.
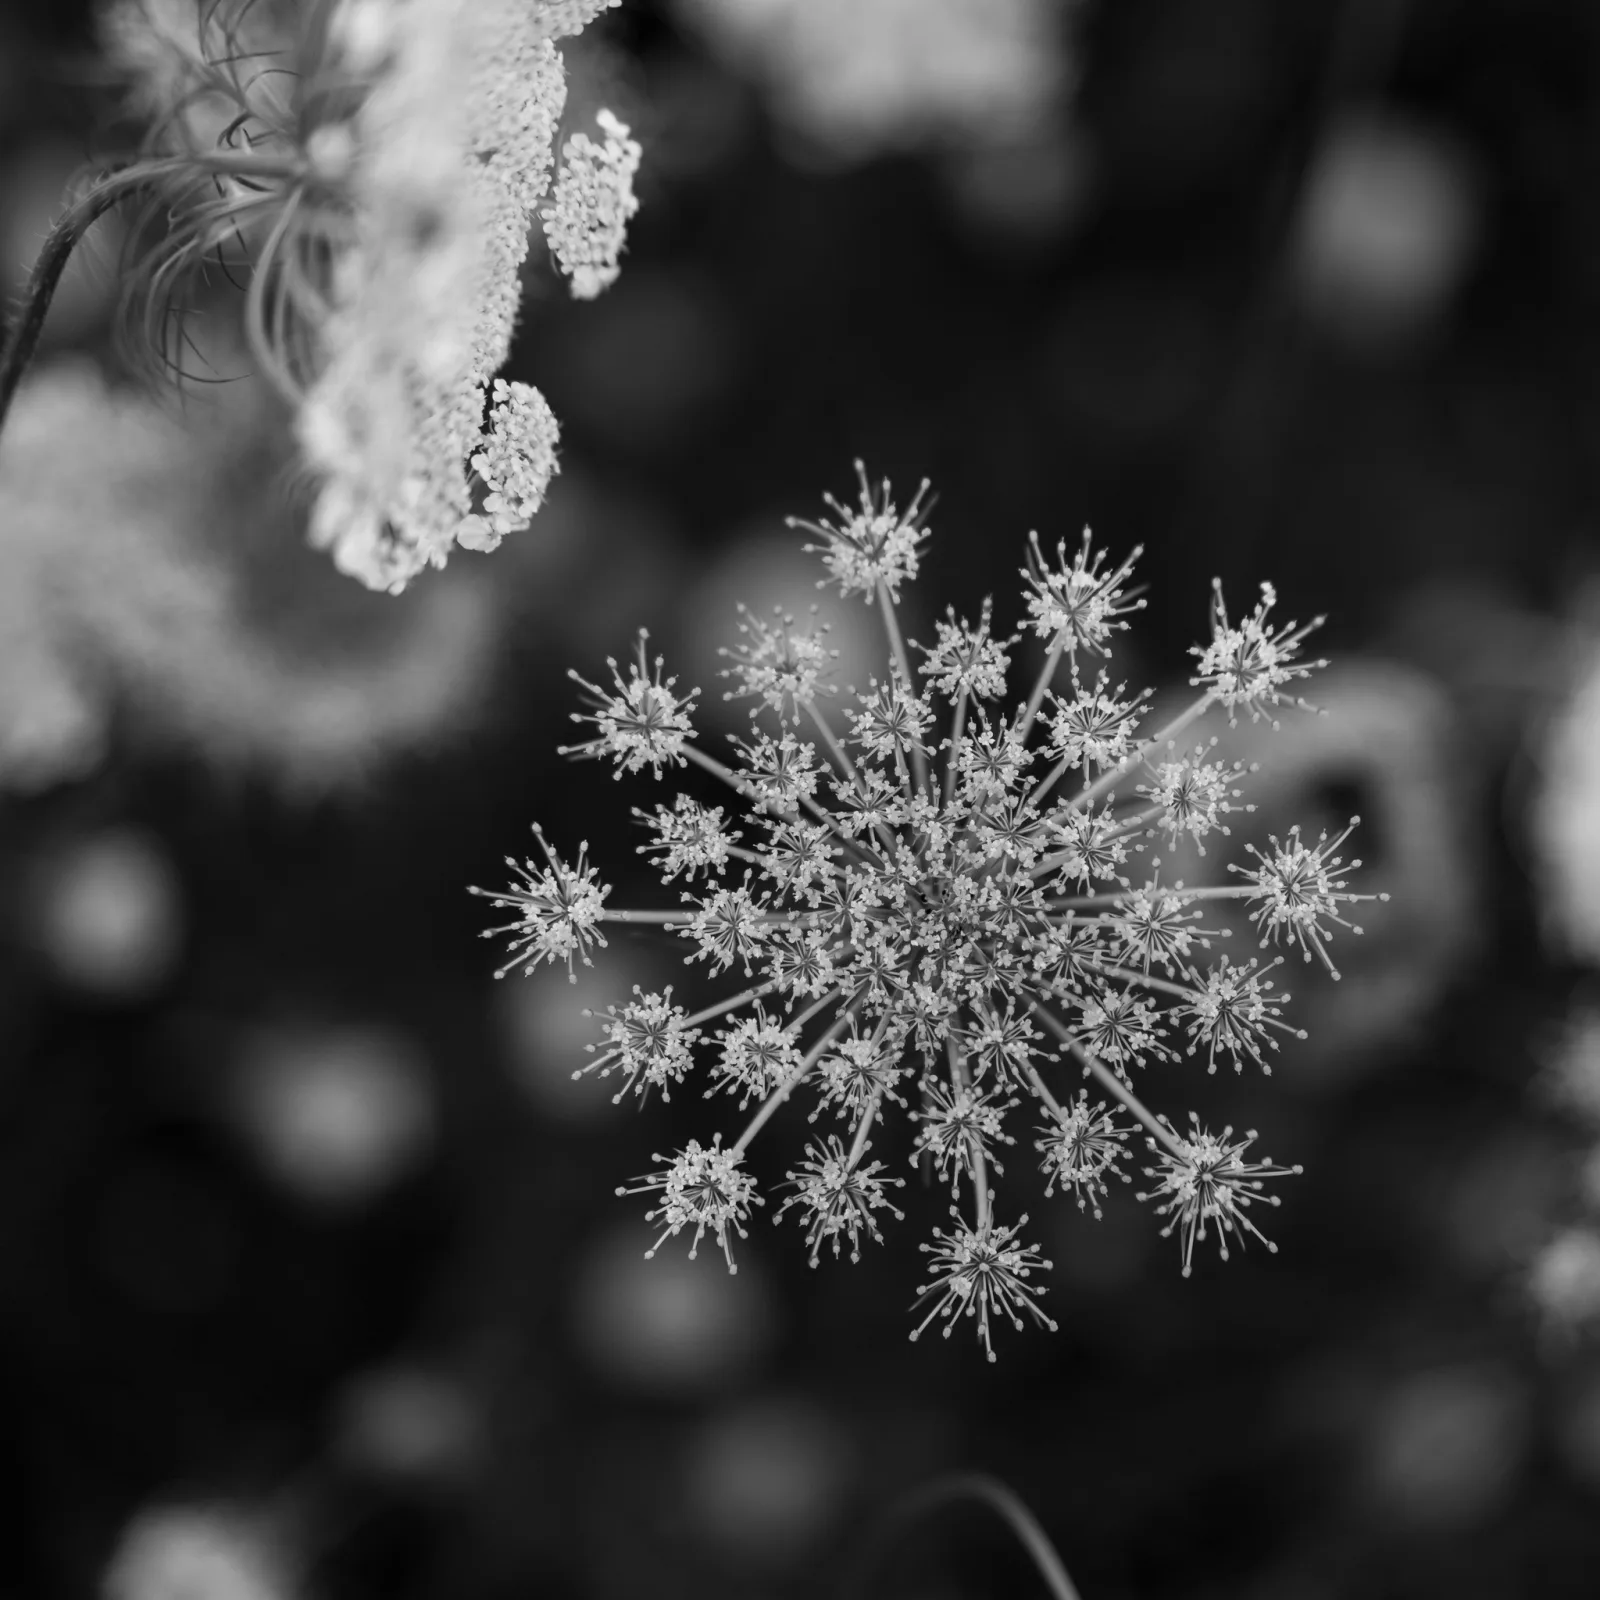
You can put numbers on it. With a 50mm lens on a full-frame camera focused on a subject 2 meters away, a light far in the background is recorded as a disc of these sizes on the sensor:
| Aperture | Blur disc for a distant light | Share of the frame’s width |
|---|---|---|
| f/1.8 | 0.71mm | 2.0% |
| f/2.8 | 0.46mm | 1.3% |
| f/4 | 0.32mm | 0.9% |
| f/8 | 0.16mm | 0.4% |
| f/16 | 0.08mm | 0.2% |
Double the f-number and the disc halves. At f/1.8 each background light becomes a fat ball about a fiftieth of the frame wide. At f/16 the same light is a small smudge that a viewer will barely notice.
This also explains a point that confuses many learners: sharpness does not stop at a hard edge. It fades gradually on either side of the focus distance. “In focus” means the blur circles are still too small to see at the size the photo is viewed, a limit called the circle of confusion, usually taken as 0.03mm on a full-frame sensor. A photo that looks sharp on a phone screen can show its soft edges in a large print.
The F-Stop Scale, and Why the Numbers Go That Way
Aperture is counted in stops, the same unit used for shutter speed and ISO. A stop always means double or half the light. The standard full-stop sequence is f/1.4, f/2, f/2.8, f/4, f/5.6, f/8, f/11, f/16, f/22.
The numbers climb unevenly because light through a hole depends on its area, and area depends on the square of the diameter. To halve the area, you shrink the diameter by the square root of 2, about 1.41. So each full stop multiplies the f-number by about 1.41, and every second number on the scale doubles: 1.4, 2.8, 5.6, 11, 22, and 2, 4, 8, 16.
| Marked f-number | Exact value | Opening on a 50mm lens | Light compared with f/1.4 |
|---|---|---|---|
| f/1.4 | 1.41 | 35.7mm | 1 (the baseline) |
| f/2 | 2 | 25mm | 1/2 |
| f/2.8 | 2.83 | 17.9mm | 1/4 |
| f/4 | 4 | 12.5mm | 1/8 |
| f/5.6 | 5.66 | 8.9mm | 1/16 |
| f/8 | 8 | 6.3mm | 1/32 |
| f/11 | 11.31 | 4.5mm | 1/64 |
| f/16 | 16 | 3.1mm | 1/128 |
| f/22 | 22.63 | 2.3mm | 1/256 |
The marked numbers are rounded for convenience, which is why f/11 is really about f/11.3. The light column follows the exact values, so each row is a clean half of the one above it. The jump from f/16 to f/22 looks bigger on paper than the jump from f/2 to f/2.8, but both are one stop, the same halving of light. Think in stops, not in the raw numbers.
Most cameras also step in thirds of a stop, which is where values like f/3.2, f/3.5, f/6.3 and f/9 come from. Between f/2.8 and f/4 you get f/3.2 and f/3.5. Between f/4 and f/5.6, f/4.5 and f/5. Between f/8 and f/11, f/9 and f/10.
Want the f-number on its own: how to read a lens marked f/3.5-5.6, and how an f-number differs from a stop or a T-stop? Understanding F-Stops takes the number apart.
Aperture and Light: Trading Stops
A wider aperture lets in more light, so in the same scene it lets you use a faster shutter speed or a lower ISO. Because a stop is a stop, you can trade one setting for another and keep the brightness the same. These four give identical exposures:
- f/2.8 at 1/500s
- f/4 at 1/250s
- f/5.6 at 1/125s
- f/8 at 1/60s
Each step closes the aperture one stop and doubles the exposure time to pay for it. The brightness stays put, but the picture changes: depth of field grows with every step, and the slower shutter speeds start to show motion blur from a moving subject or a shaky hand. Every setting buys light at a price, and it helps to see the three prices side by side:
- Aperture: To get more light you: open up to a smaller f-number. What it costs you: less depth of field, and a softer image at the widest settings on many lenses.
- Shutter speed: To get more light you: use a longer exposure time. What it costs you: more blur from subject movement and camera shake.
- ISO: To get more light you: raise the number. What it costs you: more noise and less room to recover highlights.
In dim light the aperture is often the cheapest of the three to spend. Opening from f/4 to f/1.4 is three stops, eight times the light, and it can be the difference between a handheld photo and no photo.
Try the trade yourself. Lock the exposure, move the aperture a stop at a time, and choose whether shutter speed or ISO pays for it: the brightness stays put while the depth of field, the motion blur and the noise change.

One trap for newcomers: in aperture priority or any auto mode, changing the aperture does not change the brightness of the photo. The camera pays the difference back with shutter speed or ISO. What changes is depth of field and the risk of blur. Only in manual mode, with ISO fixed, does opening the aperture brighten the picture.
Aperture and Depth of Field, in Numbers
The second job of aperture is depth of field: the zone, from near to far, that looks acceptably sharp. A small f-number such as f/1.8 gives a shallow zone, with the subject sharp and everything well in front of or behind it soft. A large f-number such as f/11 gives a deep zone, where a foreground rock and a distant ridge can both read as sharp.
Here is how large the zone really is. The table assumes a 50mm lens on a full-frame camera, focused on a person 3 meters away, with the usual 0.03mm circle of confusion.
| Aperture | Sharp from | Sharp to | Total depth | Share in front of the subject |
|---|---|---|---|---|
| f/1.8 | 2.82 m | 3.20 m | 0.38 m | 47% |
| f/2.8 | 2.73 m | 3.33 m | 0.60 m | 45% |
| f/4 | 2.63 m | 3.49 m | 0.87 m | 43% |
| f/5.6 | 2.50 m | 3.74 m | 1.24 m | 40% |
| f/8 | 2.34 m | 4.19 m | 1.85 m | 36% |
| f/11 | 2.16 m | 4.91 m | 2.75 m | 31% |
| f/16 | 1.92 m | 6.92 m | 5.00 m | 22% |
Three things stand out. Doubling the f-number, say from f/2.8 to f/5.6, roughly doubles the depth. The zone always reaches farther behind the subject than in front of it. And the split is not a fixed “one third in front, two thirds behind”: up close it is nearly half and half, and as you stop down or step back, the far limit races off toward infinity while the near limit creeps in slowly. At f/16 here, only 22% of the zone is in front.
Closer subjects shrink the zone fast. An 85mm lens at f/1.8 focused on a face 2 meters away gives about 6 centimeters of total depth, so focus on the eye and the ear can already be soft. For your own lens and distance, the depth of field calculator gives the near and far limits.
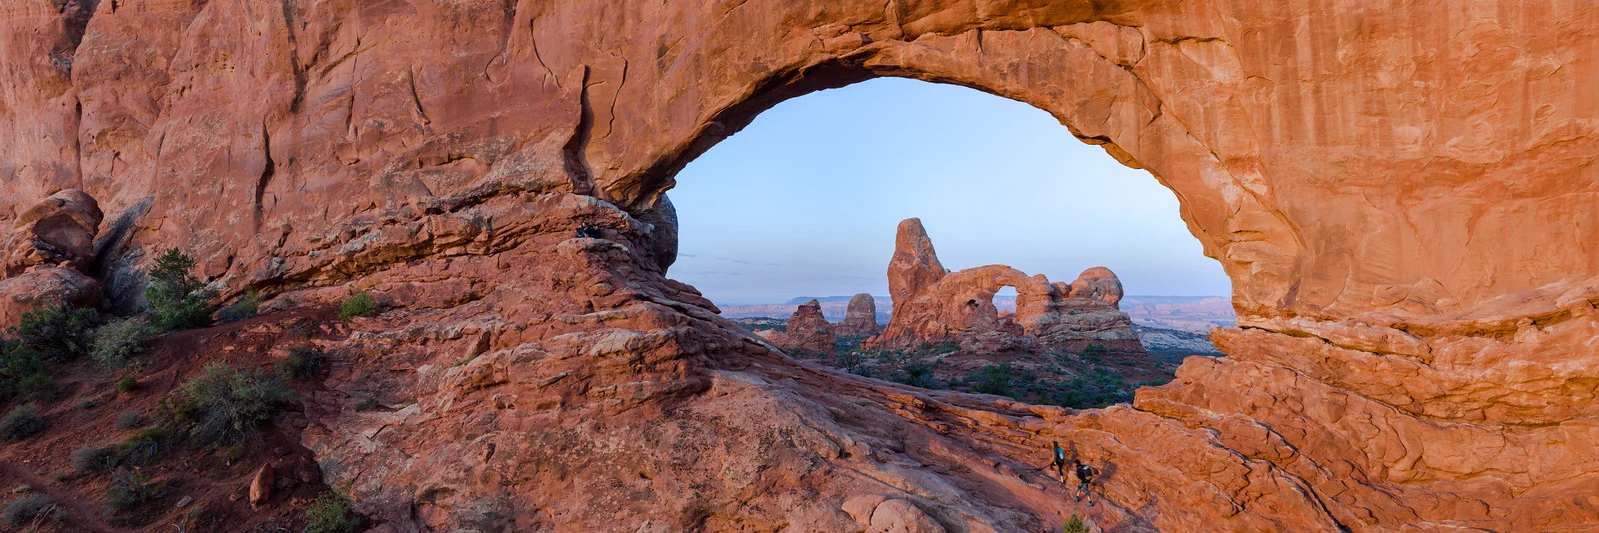
Your viewfinder shows the wide-open view
Most cameras keep the lens fully open while you compose, to give a bright view and fast focusing, and close it to your chosen setting only for the instant of exposure. So at f/11 you may be looking at an f/2.8 picture, with far less depth than the photo will have. Some mirrorless cameras stop the lens down to show the final depth, but many keep it open for focusing. Use the depth of field preview button if your camera has one, or take a test shot and zoom into the playback on the parts that must be sharp.
Aperture Is Only One of Four Depth Controls
Aperture gets the credit for background blur, but three other things matter just as much, and a wide aperture alone will not save a photo where they are wrong:
- Distance to the subject. The closer you focus, the thinner the sharp zone, at any aperture. This is why macro work at f/11 can still look shallow.
- Distance from subject to background. A person standing against a wall shows the wall’s texture even at f/1.8. Move them 10 meters in front of a distant tree line and the same aperture turns it to a wash.
- Focal length. From the same spot, a longer focal length magnifies the background blur along with everything else. Stepping back to keep the subject the same size cancels much of the effect on depth of field, but the long lens still shows a smaller slice of background, magnified, which looks blurrier.
- Sensor size. Framed the same way from the same spot, a larger sensor gives shallower focus at the same f-number. A camera with a 1.5x crop factor at f/1.8 gives about the depth of field full frame gives at f/2.7. The exposure does not change: f/1.8 is f/1.8 for brightness on any sensor. Full frame and crop sensors are compared in detail on their own page.

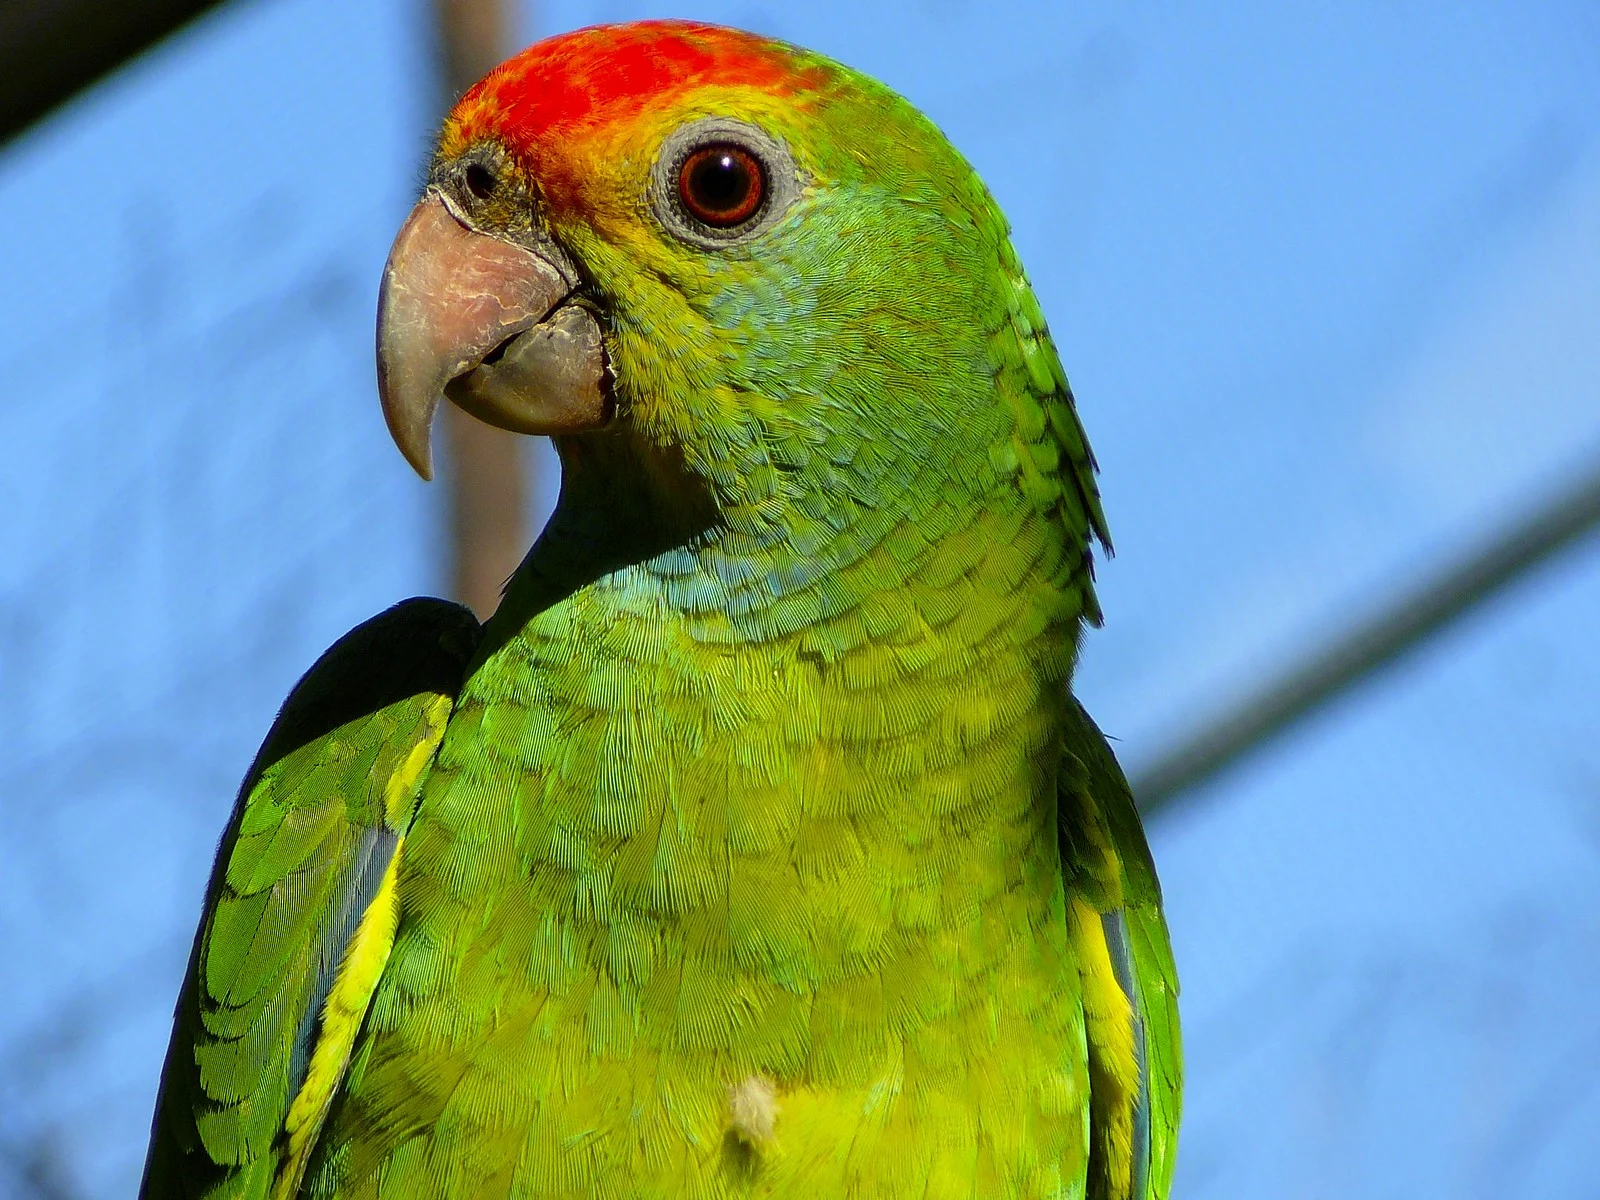
Both birds were shot around f/4, a modest aperture, not an extreme one. The long lens and a background far behind the bird did much of the blurring.
See What Aperture Does to Focus
Try it here. Pick an aperture and a focal length, tap a person to focus on them, and watch how much of the row stays sharp.
Want everything sharp from the foreground to the horizon? Hyperfocal Distance shows where to focus to get the most depth from any aperture.
See It Side by Side
The same scene at a wide and a narrow aperture. Look at the background first, then at the edges of the subject.
A wider aperture (smaller f-number) throws the background out of focus and isolates the subject. A narrower aperture keeps more of the scene sharp front to back.
Bokeh, Sunstars and the Shape of the Opening
The quality of the out-of-focus areas is called bokeh. It is not the same thing as the amount of blur: two lenses at the same aperture can give the same amount of blur, one smooth and creamy, the other busy or ringed. A wide aperture gives more blur, and the lens design decides its character.
Each out-of-focus point of light is a picture of the opening itself, which is why background lights take the shape of the diaphragm. Wide open, the opening is usually a circle and so are the highlights. Stop down a couple of stops and lenses with few or straight blades show polygons, a six-bladed lens giving hexagons. Lenses with many rounded blades stay closer to round.
At small apertures the blades show up in a second way. Bright points such as the sun or a streetlight grow rays, a sunstar, because light diffracts at the straight edges of the blades and each edge throws a pair of opposite rays. With an even number of blades, opposite edges are parallel and their rays overlap, so you see as many rays as blades. With an odd number they do not overlap, so you see twice as many.
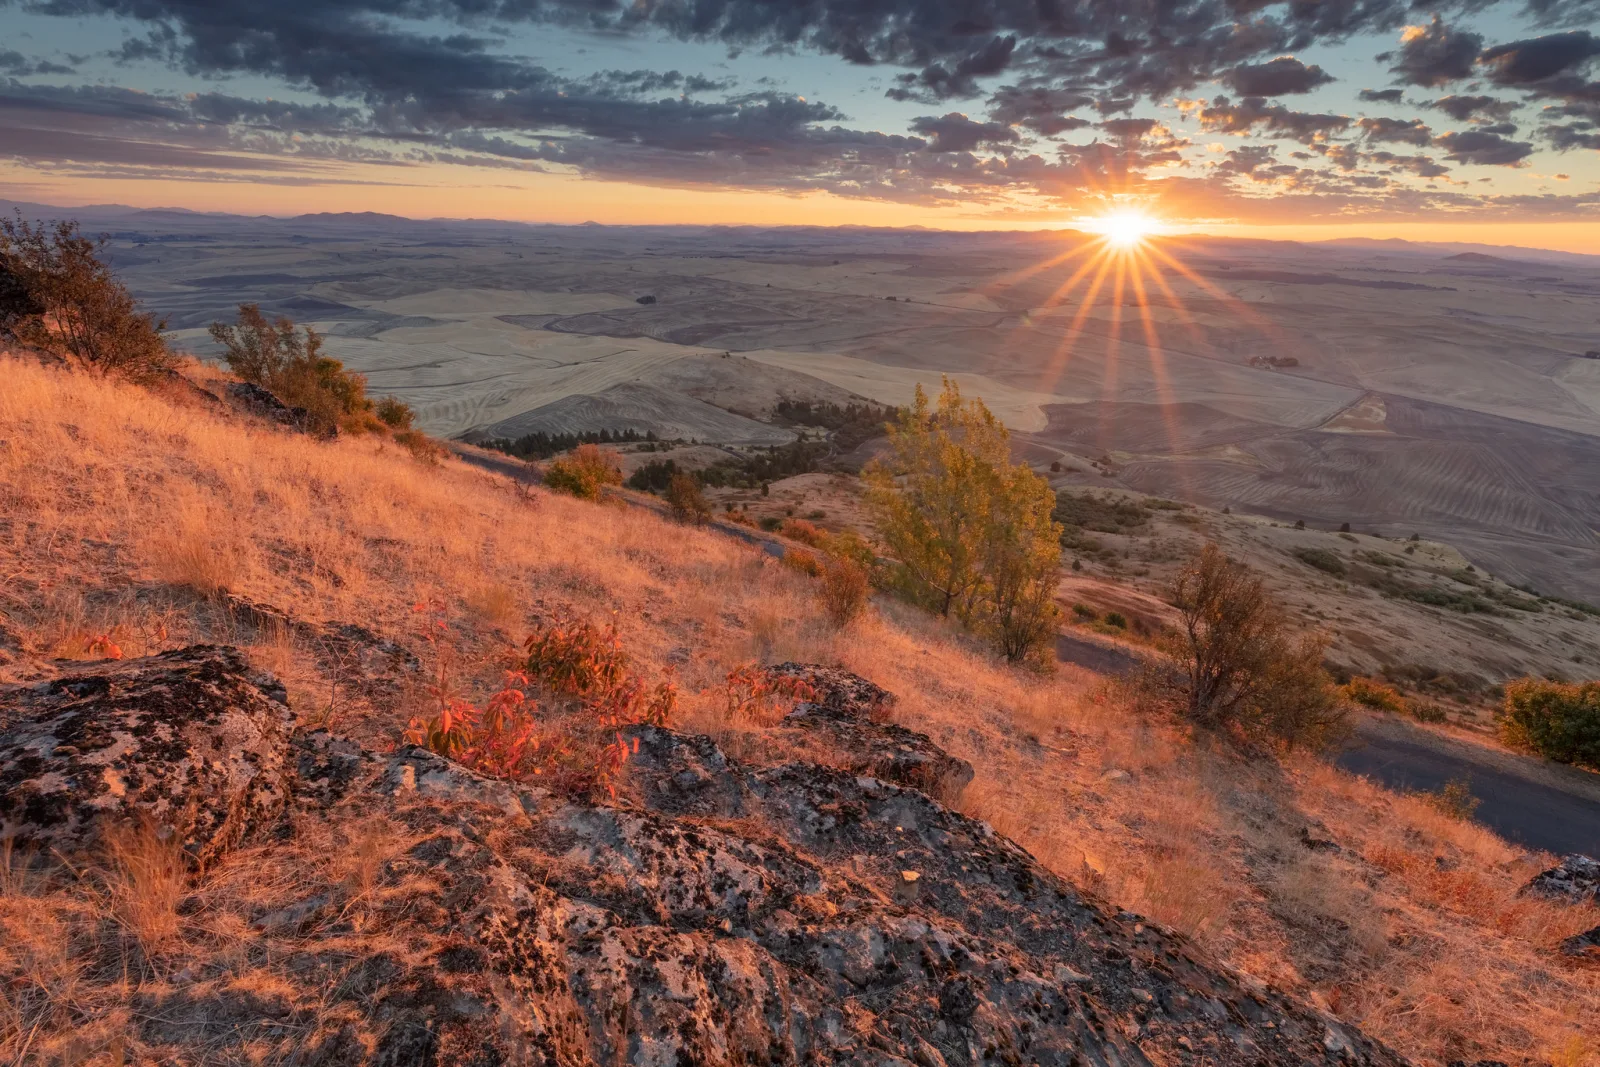
Want rays like these on purpose? How to shoot a star-shaped lens flare covers the apertures and positions that make them crisp.
Sharpness, the Sweet Spot and Diffraction
Most lenses are at their sharpest one to three stops narrower than their widest opening, a range often called the sweet spot. A lens that opens to f/1.8 is often sharpest around f/4 to f/5.6, and one that opens to f/2.8 around f/5.6 to f/8. Wide open, many lenses show soft corners, darker corners called vignetting, and color fringes. Stopping down cleans most of that up, because it blocks the rays passing through the edges of the glass, where flaws are worst.
Close the aperture too far and it backfires. Light spreads slightly as it passes a small opening, an effect called diffraction, and every point of detail becomes a tiny blurred spot whose size grows with the f-number, not with the lens’s quality. For green light that spot is about 11 microns across at f/8, 15 at f/11, 21 at f/16 and 30 at f/22. The pixels on a full-frame camera are roughly 4 to 6 microns wide, so the softening starts to show on high-resolution sensors around f/8 to f/11, and by f/22 the spot is as large as the 0.03mm circle of confusion itself. Smaller sensors have smaller pixels and are enlarged more, so they feel it a stop or two sooner. This is why many landscape photographers settle at f/8 to f/11: deep enough for most scenes, not so narrow that diffraction takes back the gain. When a scene needs more depth than that, focus stacking combines several frames instead.
Where is your own lens sharpest? How to Test a Lens shows how to shoot one target at every aperture and compare the center and corners.
Aperture is only part of sharpness. A very wide aperture magnifies small focus errors, and a very narrow one can force a shutter speed slow enough for camera shake. How to take sharp photos covers every cause.
Maximum Aperture, Fast Lenses and Variable Aperture Zooms
Every lens has a widest setting, its maximum aperture, printed on the barrel and in its name, such as 50mm f/1.8. A lens with a small maximum f-number is called a fast lens because the extra light allows a faster shutter speed. To open wide, a fast lens needs bigger glass, so it is usually larger and heavier for its focal length. That is plain arithmetic: f/1.4 on a 135mm lens is an opening 96mm across.
Many zooms have a variable aperture, written as a range such as f/3.5-5.6. The widest setting changes as you zoom: f/3.5 at the short end, only f/5.6 at the long end. That is about a stop and a third less light at full zoom, so in aperture priority the shutter speed slows as you zoom in. A constant-aperture zoom holds the same maximum at every focal length. Prime vs zoom lenses weighs the wider apertures of fixed lenses against the flexibility of zooms.
Aperture on a Phone Camera
Most phone cameras have a fixed aperture: there are no blades, and the opening is always the same size. The phone controls brightness with shutter speed and ISO alone, which is why you cannot choose depth of field the way you can on a camera with an adjustable lens.
The f-numbers printed on phones look fast, often f/1.5 to f/2, and for brightness they are. But depth of field, for the same framing from the same spot, depends on the physical width of the opening, and a phone lens is tiny. A main phone lens around 6mm long at f/1.8 has an opening about 3mm across. A 50mm lens at f/1.8 is about 28mm across. Phone sensors have crop factors of roughly 3 to 7 compared with full frame, so an f/1.8 phone lens gives about the depth of field of f/5 to f/13 on a full-frame camera. That is why ordinary phone photos are sharp nearly all the way through, and why portrait mode computes its blur: the phone estimates depth and softens the background in software.
Curious how the phone fakes it, and where it slips? Portrait Mode Explained shows how phones create bokeh and how to spot the edges it gets wrong.
Choosing an Aperture by Situation
Start with one question, “how much of this should be sharp?”, and pick the aperture that gives it. Then check that the shutter speed the camera chose still works.
- Single portrait. f/1.4 to f/4. Focus on the nearest eye. At the widest settings, check that both eyes are sharp if the face is turned.
- Groups. Depth matters, not head count. A row of people at the same distance can be shot at f/4. People staggered front to back need f/5.6 to f/8, with focus on a face in the front third and a check of the back row.
- Landscapes. f/8 to f/11 for sharpness front to back, focusing at the hyperfocal distance or on something about a third into the scene. See landscape photography.
- Action and sports. Around f/2.8 to f/4, to separate the athlete from the crowd and to allow the fast shutter speed that freezes motion. See sports photography.
- Close-ups and macro. f/8 to f/16, because focusing close makes the sharp zone very thin. See macro photography.
- Street and travel. f/5.6 to f/8 gives a forgiving zone when things move fast and there is no time to refocus.
- Architecture. f/8 to f/11 for crisp lines near and far. See architecture photography.
- Low light, handheld. As wide as the subject’s depth allows, often the lens’s maximum, before raising ISO further.
Aperture priority, marked A or Av on the mode dial, is built for this way of working. You choose the aperture, the camera picks a shutter speed, and Auto ISO can fill in with a minimum shutter speed you set. If you choose f/11 in a dim room, watch for a shutter speed too slow to hold. If the picture comes out too bright or too dark, exposure compensation shifts it without touching the aperture.
Practise the mode in the camera simulator: switch to Aperture priority, open up to f/2.8 or wider for a portrait, focus on the subject and let the camera choose the shutter speed.
Ready to set it up? Aperture Priority Mode explains how the mode works, when to use it, and how compensation and Auto ISO fit in.
Try It in the Camera Simulator
This challenge asks you to hit a target depth of field: open the aperture to throw the background out of focus, then close it and watch the scene sharpen from front to back.
The full camera simulator has more challenges across several scenes, with shutter speed and ISO in play as well.
Common Mistakes and Misconceptions About Aperture
- Reading the scale backward. f/16 is a small opening, not a big one. Say “small number, big hole” until it is automatic.
- Shooting wide open by default. f/1.4 looks dramatic, but close up the sharp zone can be a few millimeters thick: the eye sharp and the tip of the nose already soft. Stop down for any subject with real depth.
- Assuming the smallest aperture is the sharpest. Past the sweet spot, diffraction softens the whole frame. f/22 is rarely the sharpest setting a lens has.
- Expecting aperture to blur a background on its own. Distance to the subject, distance to the background and focal length matter as much. Move the subject away from the wall before you reach for f/1.4.
- Trusting the one-third rule everywhere. The split of sharpness in front of and behind the focus point changes with distance, from about half and half up close to almost all of it behind at landscape distances.
- Judging depth from the viewfinder. The lens is wide open while you compose. Check a test shot or use depth of field preview.
- Treating crop-sensor f-numbers as darker. f/2.8 on a crop sensor exposes exactly like f/2.8 on full frame. It only matches a larger f-number for depth of field.
- Calling the amount of blur “bokeh”. Bokeh is the quality of the blur. A lot of ugly blur is still a lot of blur.
Try This: One Subject, Three Apertures
This takes about 10 minutes with any camera that lets you set the aperture.
- Find a subject with something clearly in front of it and something clearly behind it, such as a mug on a table with a cluttered shelf a few meters back and a fork in the foreground.
- Put the camera on a stack of books or a tripod, set aperture priority, and focus on the subject.
- Take the same frame at your lens’s widest aperture, then at f/5.6, then at f/16. Let the camera change the shutter speed, and note what it picked each time.
- Now move the subject twice as far from the background and repeat the widest aperture shot.
Judge the results on a large screen at full size. You should see the shelf go from blobs to readable shapes as the f-number rises, and the fork sharpen too, though the zone grows faster behind the subject than in front of it. The f/16 frame may look slightly softer on the subject itself: that is diffraction. The last frame should have a softer background than the first one at the same aperture, which shows how much the background distance matters. Pick the frame you would keep and say in one sentence why that aperture suits it.
Aperture FAQ
What does f/2.8 mean?
The opening’s diameter is the focal length divided by 2.8, so on a 50mm lens it is about 18mm across. It lets in four times the light of f/5.6, two stops more, and gives a clearly blurred background on a close subject.
Does a lower f-number make photos brighter?
Only if nothing else changes, as in manual mode with a fixed ISO. In aperture priority or auto, the camera shortens the shutter speed or lowers the ISO to keep the brightness the same, so what you see change is the depth of field.
Which aperture gives the sharpest photos?
For detail from the lens itself, usually one to three stops down from wide open, often around f/4 to f/8. For depth across a landscape, f/8 to f/11. A portrait at f/1.8 can still be sharp where it counts, on the eyes, with the background blurred on purpose.
Why are my wide-aperture photos soft?
Usually one of three things: the sharp zone is so thin that a small focus miss shows, the lens is optically softer wide open, or the subject moved. Stop down one stop, focus on the nearest eye or edge, and check the shutter speed.
Can I change the aperture on my phone?
On most phones, no: the main camera has a fixed aperture, and an “aperture” slider in a portrait mode only adjusts software blur. The tiny lens gives deep focus at any setting, so real background blur needs a close subject and a far background.
Is f/22 bad?
Not bad, but costly. It gives the most depth of field and a crisp sunstar, and it softens fine detail through diffraction. Use it when the depth matters more than the last bit of detail, and try f/11 first.
To test yourself, try the Aperture and Depth of Field Quiz or the broader Photography Exposure Quiz.