
HDR stands for high dynamic range. In photography it means combining several pictures of the same scene, taken at different brightness levels, into one image that shows detail in both the brightest highlights and the darkest shadows. The HDR setting on a camera or phone does exactly this for you: it takes a quick burst of exposures and blends them automatically. Use HDR when a scene has more contrast than a single exposure can hold, such as a bright sky over a dark landscape or a room with sunny windows, and leave it off when the light is even or the subject is moving.
What HDR means on a camera or phone
When you switch on HDR mode, the camera fires several frames in quick succession: at least one darker than normal to hold the bright areas, one normal, and at least one brighter to open up the shadows. Software inside the camera aligns the frames and blends the best-exposed parts of each into a single picture, usually saved as a JPEG.
- On a phone, HDR is often automatic. Most phone cameras capture and merge a burst of frames for nearly every picture, so turning HDR on or off may only change how strongly the effect is applied.
- On a dedicated camera, the HDR mode (where the camera has one) usually works only with JPEGs and gives you a few strength settings. For full control, photographers shoot a bracketed series of raw files and merge them on a computer, which the rest of this page explains.
Either way, the goal is the same: a picture closer to what your eyes saw, without a white sky or black shadows.
Why a single photo cannot hold everything
Every camera sensor has a limited dynamic range, the span from the darkest to the brightest tone it can record in one shot. It is measured in stops, and each stop is a doubling of light. Your eyes handle a far wider range because they adjust constantly as you look from the bright window to the dark corner of a room.
When a scene’s contrast is wider than the sensor’s range, you have to choose. Expose for the shadows and the sky turns pure white. Expose for the sky and the foreground falls into black. HDR removes that choice: the dark frame records the highlights, the bright frame records the shadows, and the merge keeps both.
Curious how much range a single frame can hold? Dynamic range explained covers how sensors capture it, how ISO affects it and what ISO invariance means.
When to use HDR, and when not to
HDR is worth using when the contrast in a scene is greater than your camera can capture. Typical cases:
- Sunrise and sunset landscapes, when the sky is bright and colorful and the land is in shadow.
- Interiors with windows, where the view outside is many stops brighter than the room. This is why HDR is standard practice in real estate photography and interior photography.
- Architecture, with sunlit walls beside deep shade under arches, overhangs and doorways.
- Backlit scenes, where the subject stands in front of a much brighter background.
- Forests and canyons, with patches of bright sky or sunlight among deep shade.
Leave HDR off when:
- The light is even. On an overcast day, one exposure already holds every tone, and HDR only flattens the picture.
- Things are moving. People, animals, sports, waves and wind-blown branches change position between frames and leave semi-transparent “ghosts” in the merge. For moving subjects, take a single exposure.
- You want a silhouette or deep shadows. Strong contrast is often the point of a picture. HDR would remove the mood you were after.
A graduated neutral density filter, which darkens only the sky, can also solve many landscape scenes in one exposure.
How to shoot HDR brackets
For the best results, shoot the frames yourself with exposure bracketing: several pictures of the same scene at different exposure values. Most cameras have auto exposure bracketing (often labeled AEB), which takes the whole series with one press of the shutter once you choose the number of frames and the spacing between them.
Camera settings for HDR
- Shoot raw. Raw files hold far more tonal information than JPEGs, which gives the merge more to work with.
- Keep the aperture fixed. Use aperture priority or manual mode so only the shutter speed changes between frames. A changing aperture would change the depth of field from frame to frame, and the merge would not line up.
- Fix the ISO at its lowest practical value and turn off auto ISO. Changing ISO between frames would give each a different amount of noise.
- Choose a sharp aperture. Around f/8 to f/11 works well for landscapes and interiors.
- Use continuous shooting so the frames fire as close together as possible, which leaves less time for clouds or leaves to move.
- Turn off image stabilization on a tripod, and use a remote release or a two second self-timer so pressing the button does not shake the camera.
How many frames and how far apart
Three frames two stops apart is the usual starting point. Add frames for stronger contrast, such as a dark interior with bright windows or a scene with the sun in it. Here is what common brackets look like, starting from a normal exposure of 1/125 second at a fixed aperture and ISO:
| Bracket | Exposures | Shutter speeds | Extra range covered |
|---|---|---|---|
| 3 frames, 2 stops apart | -2, 0, +2 | 1/500, 1/125, 1/30 | 4 stops |
| 5 frames, 1 stop apart | -2, -1, 0, +1, +2 | 1/500, 1/250, 1/125, 1/60, 1/30 | 4 stops, finer steps |
| 5 frames, 2 stops apart | -4, -2, 0, +2, +4 | 1/2000, 1/500, 1/125, 1/30, 1/8 | 8 stops |
To check that a set covers enough, look at the histogram of the darkest and brightest frames. In the darkest frame, nothing important should touch the right edge, so the highlights are held. In the brightest frame, the shadows should sit clear of the left edge. If either one still clips, add frames or widen the spacing.
Tripod or handheld
A tripod gives the cleanest result. The brighter frames use slower shutter speeds (1/8 second in the table above, and often much longer indoors), and frames that line up perfectly need no software alignment, which shifts the frames and can crop the edges of the picture slightly. Handheld HDR also works in moderate contrast: shoot three frames in fast continuous mode, brace yourself against something solid, keep stabilization on, and let the software align them.
Setting up the tripod for a bracketed series? How to use a tripod properly covers setting up in the right order, the center column problem and leveling the legs versus the head.
Merging the exposures into one HDR image
- Import and select the set. Pick out the frames of one bracket. Many editors can group brackets automatically.
- Run the HDR merge. In Lightroom, select the frames and choose Photo Merge, then HDR; it produces a merged DNG you edit like any raw file. In Photoshop, use File, Automate, Merge to HDR Pro. Dedicated HDR programs and most other raw editors have a similar command. The software aligns the frames and combines them into one file with a much wider tonal range than any single frame.
- Remove ghosts. If anything moved between frames, turn on deghosting, which takes the moving area from one frame only. Check clouds, water, foliage and people closely.
- Tone map. The merged file holds more range than a screen or print can show, so it has to be compressed into a viewable image. This step decides whether the result looks natural or overdone (see below).
- Finish as usual. Treat the merge as a starting point. Set white balance, restore some overall contrast, and make local corrections, just as you would with any photograph. Finish the merge and tone mapping before creative color work, because doing both at once makes it hard to judge either.
Prefer to blend exposures by hand? Exposure blending covers shooting for a blend, manual blending, luminosity masks and how it compares with HDR.
Natural HDR versus the dramatic HDR look
Tone mapping is where HDR pictures split into two styles. Strong tone mapping squeezes every tone toward the middle and pushes local contrast hard, which gives the hyper-detailed, painterly look many people picture when they hear “HDR”, with glowing halos around edges and very saturated color. It can suit gritty urban or abstract work when the look is deliberate.
Natural HDR aims for a picture that looks like what you saw. It recovers the highlights and shadows while keeping realistic contrast and color, and nobody looking at it should think “HDR”. Most landscape, real estate and commercial work uses this approach. To keep it natural:
- Keep real shadows. A picture with perfectly even brightness everywhere looks false, because real light is never like that.
- Go easy on clarity, structure and detail sliders. They create the gritty look when pushed.
- Watch for halos, bright or dark outlines where sky meets buildings or trees. Lower the strength or local contrast until they go.
- Hold back on saturation. The merge often intensifies color on its own.
- Compare the result with the normal exposure from the set. If that single frame looks better, the HDR processing is doing harm.
HDR from a single raw file
A single raw file from a modern camera often holds enough range for moderate contrast, so you may not need to bracket at all. This is sometimes called single exposure HDR. Expose so the highlights are not clipped, underexposing slightly if needed, then pull the highlights down and lift the shadows in your raw editor. It is quicker, and there is nothing to align and no risk of ghosts.
The limit is noise. The darker the shadows were in the original exposure, the more noise and color shift appear when you lift them. For scenes that truly exceed the sensor’s range, a bracketed set, with a bright frame that records the shadows cleanly, still gives a better result.
Want to lift shadows in only part of the frame? Luminosity masks explain how to select by brightness, with separate masks for lights, darks and midtones.
HDR for landscapes, interiors and architecture
Landscapes
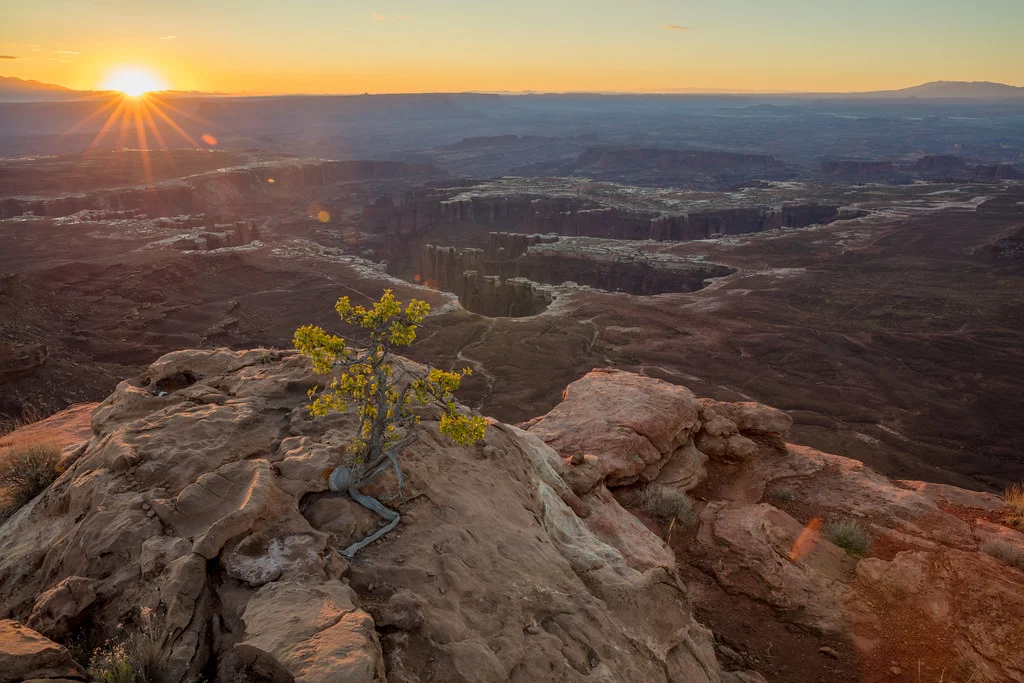
In landscape photography, the sky is often the brightest thing in the frame by a wide margin, especially around sunrise, sunset and golden hour. Meter the brightest part of the sky and the darkest shadow you want to keep, and set a bracket that spans both with some overlap. Moving water and clouds can ghost; one approach is to take the moving parts from a single frame and the rest from the merge.
Interiors and real estate
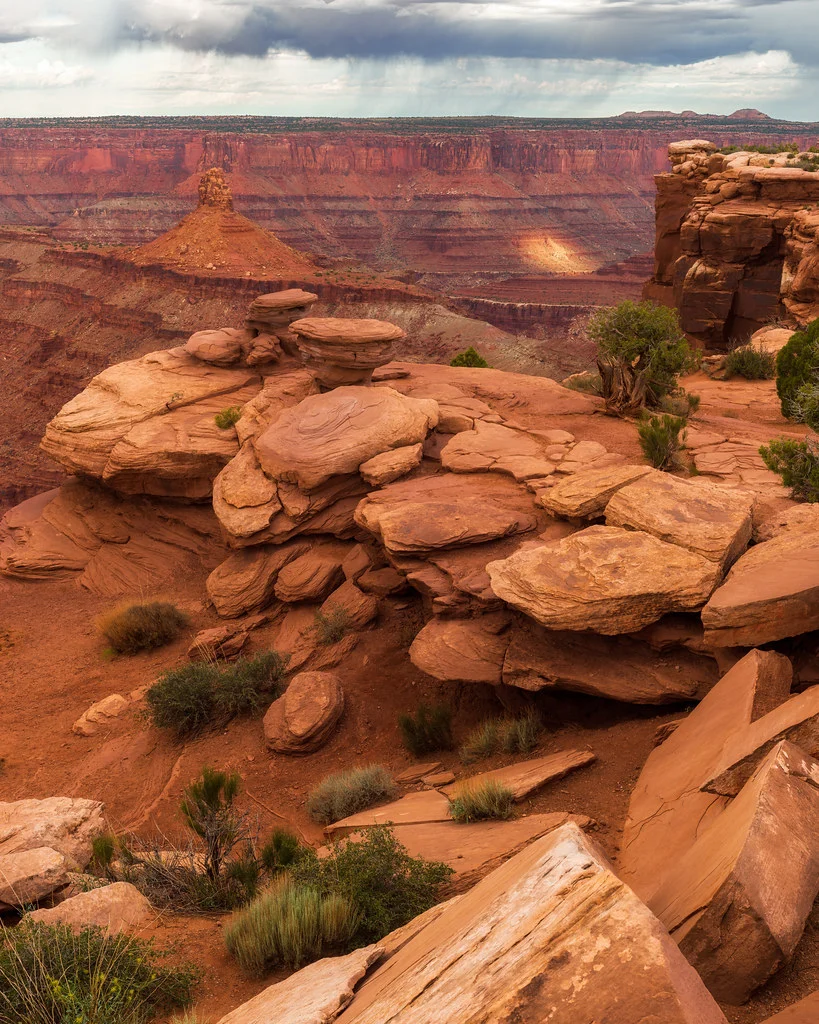
A room lit by daylight can be many stops darker than the view through its windows. Bracket generously, often five to seven frames two stops apart, always on a tripod. Turn on the room’s lights before you shoot: it lowers the contrast and makes the space feel warmer. Keep the processing natural. The picture should look like walking into the room, and overdone HDR makes a space look unreal.
Architecture
Buildings mix sunlit surfaces with deep shade under overhangs and inside doorways. HDR shows the whole structure evenly. Process with restraint so stone, glass and metal still look like what they are.
HDR photos and HDR screens
“HDR” also describes screens. An HDR display can show highlights brighter than the white of a standard screen, and some phones and editors can now save photos that use that extra brightness. This is a different thing from HDR merging: a merged HDR photo is about holding detail across a wide range of tones, while an HDR screen is about how bright the highlights can be shown. A photo can use either, both or neither.
Common HDR mistakes
- Over-processing. Halos, glowing edges, gray skies and candy colors come from tone mapping pushed too far. Pull everything back until the picture looks believable.
- Flat pictures. Tone mapping can remove too much overall contrast. Add some back with a curve after the merge.
- Noisy shadows. If the brightest frame was not bright enough, lifted shadows show noise. Add a brighter frame next time, or use targeted noise reduction.
- Ghosts. Check every edge of anything that could have moved, and use deghosting.
- Using HDR on every picture. If the light is even, a single exposure looks better.
Try this
Find a window with daylight outside and stand inside the room. Put the camera on a tripod, set aperture priority at f/8 and base ISO, and shoot a three frame bracket two stops apart. Merge the frames, then compare the merge with the middle frame and with that middle frame edited on its own. Ten minutes of this shows you exactly how much HDR adds with your camera, and how much a single raw file can already do.
Frequently asked questions
What does HDR mean on a camera?
It is a mode that takes several pictures at different exposures and blends them into one, so both the bright and dark parts of the scene keep their detail. It is useful for high contrast scenes with still subjects.
Should I leave HDR on all the time?
On a phone that manages HDR automatically, leaving it on is usually fine. On a camera, use it only when the contrast is high and nothing is moving; in even light it can make pictures look flat, and with motion it can cause ghosting.
Is HDR the same as raw?
No. Raw is a file type that stores the sensor’s unprocessed data, while HDR is a technique for combining several exposures. They work well together: raw files give the HDR merge more information, and a single raw file can sometimes replace a bracket altogether.
How many photos do I need for HDR?
Three frames two stops apart covers most outdoor scenes. Very high contrast, such as interiors with bright windows or the sun in the frame, may need five to seven.
Why do some HDR photos look fake?
Heavy tone mapping evens out every tone and boosts local contrast and color, which produces halos and a painted look. Gentle processing that keeps real shadows looks natural.