A wide-angle lens is one with a focal length shorter than about 35mm in full-frame terms, and an ultra-wide is shorter than 24mm. To use one well, get close: put something interesting within a metre or two of the camera, keep the camera level so vertical lines stay vertical, keep people away from the corners where shapes stretch, and shoot at f/8 to f/11 focused a metre or two away so that everything from the foreground to the horizon is sharp.
This guide covers what counts as wide on each sensor size, why wide shots so often look empty and how to fix that, edge stretch, leaning buildings, focus, flare, filters, and the situations where a wide lens is the wrong tool. The sibling entry on the ultra-wide lens defines the extreme end of the range, and foreground interest goes deeper on choosing a foreground. This page is about handling the lens.
What counts as wide and ultra-wide
Width is about angle of view, which depends on both focal length and sensor size. The usual reference is the full-frame sensor, 36 by 24mm. To find the lens that gives the same view on a smaller sensor, divide by the crop factor.
| Full-frame focal length | Horizontal angle of view | Same view on APS-C (1.5x) | Same view on Micro Four Thirds (2x) | Category |
|---|---|---|---|---|
| 35mm | 54 degrees | 23mm | 17mm | Moderate wide |
| 28mm | 65 degrees | 19mm | 14mm | Wide |
| 24mm | 74 degrees | 16mm | 12mm | Wide |
| 20mm | 84 degrees | 13mm | 10mm | Ultra-wide |
| 16mm | 97 degrees | 11mm | 8mm | Ultra-wide |
| 14mm | 104 degrees | 9mm | 7mm | Ultra-wide |
The main camera on most phones sees roughly what a 24 to 28mm lens sees on full frame, and the ultra-wide camera on a phone is usually close to 13 to 16mm. All the lenses in the table are rectilinear, meaning they draw straight lines as straight. A fisheye lens is a different design that covers an even wider angle by letting straight lines curve.
Why wide shots look empty
The size of anything in the frame is proportional to the focal length divided by its distance. A wide lens has a short focal length, so everything far away is drawn small. A mountain 2,000 metres high and 20 kilometres away fills about 42 percent of the frame height at 100mm, 21 percent at 50mm and under 7 percent at 16mm. The scene that looked overwhelming to your eye becomes a thin strip between a large sky and an empty stretch of ground.
There are only two fixes. Either use a longer lens to make the far thing bigger, as explained in lens compression, or keep the wide lens and put something else in the empty part of the frame. A wide lens is a tool for near things with a setting behind them. It is not a tool for fitting everything in.
Get close: build the frame from the foreground back
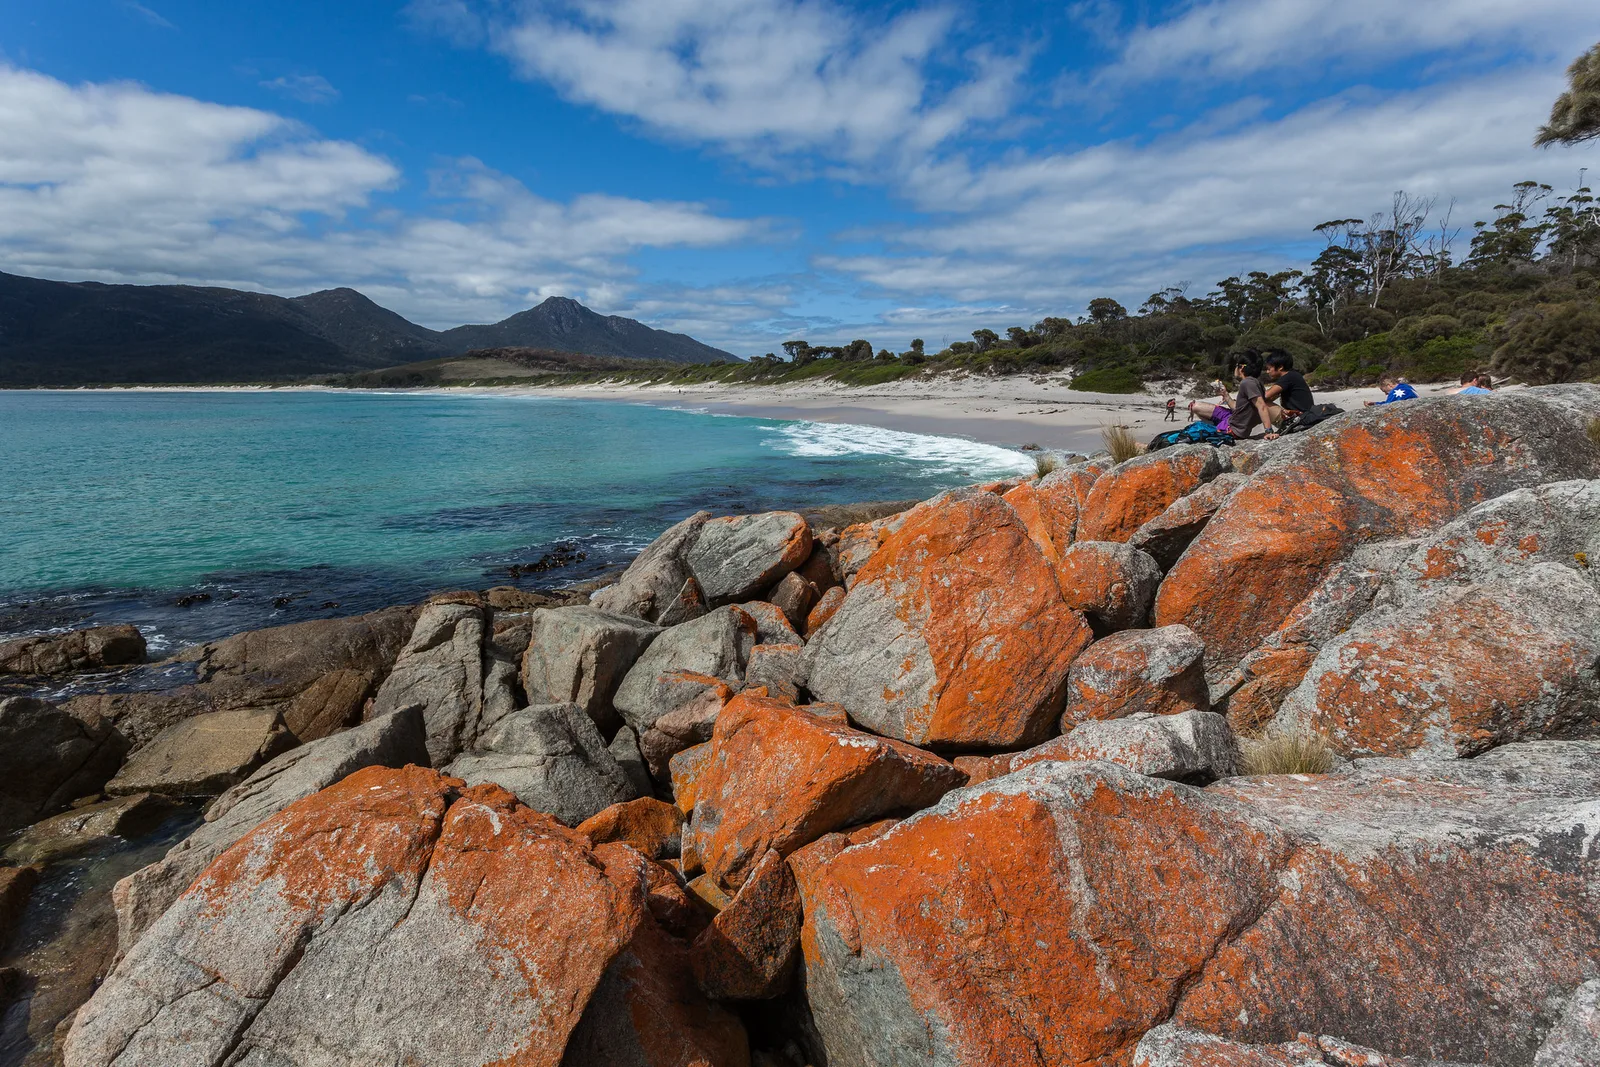
The same arithmetic that shrinks the mountain makes near objects huge. A rock 30 centimetres high takes up 10 percent of the frame height at 16mm from 2 metres away, 20 percent from 1 metre and 40 percent from half a metre. Meanwhile the mountain has not changed at all. Halving your distance to the foreground doubles its size and leaves the background alone.
A working method:
- Find the foreground first. Look for something with shape, texture or colour within two metres of where you can stand: rocks, flowers, ripples in sand, a puddle, cracked mud, a rail, a painted line.
- Move in until it feels too close. At 16 to 20mm, a foreground object should often be 50 centimetres to 1 metre from the lens. If it looks small on the screen, you are still too far away.
- Set the camera height. Low (knee height or less) makes the foreground loom and hides the middle distance behind it. Higher (chest height) shrinks the foreground a little and reveals the ground between near and far. Try both, because the middle distance is what connects the two.
- Check the link to the background. A line that runs from the foreground towards the far subject, such as a stream, a path or a row of stones, ties the picture together. See leading lines.
- Check the edges. A wide frame collects stray branches, your own feet, tripod legs and your shadow. Look round all four sides before pressing the shutter.
Edge stretch: keep people away from the corners
A rectilinear wide lens keeps straight lines straight by stretching the image more and more towards the edges. The stretch is directed outward from the centre, so a ball near a corner is drawn as an egg pointing at that corner. This is not the barrel curvature covered under lens distortion, and a lens profile does not remove it. It comes from projecting a very wide view onto a flat sensor.
| Full-frame focal length | How much longer than wide a ball is drawn in the extreme corner |
|---|---|
| 35mm | about 18% |
| 24mm | about 35% |
| 20mm | about 47% |
| 16mm | about 68% |
| 14mm | about 84% |
Rocks, grass and clouds hide this completely. Faces and bodies do not. A head in the corner of a 16mm frame becomes long and slanted, and a person at the side of a group looks much wider than the one in the middle. Halfway from the centre to the side edge of a 16mm frame the stretch is only about 15 percent, so the practical rules are simple:
- Keep faces in the central half of the frame, and never in a corner.
- For groups, step back and use 28 to 35mm instead of squeezing everyone in at 16mm. More arrangements are in group photography tips.
- Keep circles (clocks, plates, wheels, lamps, the sun) away from the corners.
- If a person must be near the edge, turn them so their body faces the camera. The stretch is less obvious on a shape that is already wide.
A second, separate effect is caused by distance. From half a metre, a nose is much closer to the lens than the ears, so it looks large, and a hand reaching towards the camera looks enormous. That happens in the centre of the frame too and is explained under perspective distortion. For people at wide angles, stay at least a metre or so away and treat it as a picture of a person in a place, the approach described in environmental portraits.
Keep the camera level to control converging verticals
When the back of the camera is vertical, vertical lines in the scene stay vertical and parallel in the picture. Tilt the camera up and they lean inwards towards the top. Tilt it down and they splay outwards. This happens at every focal length, but a wide lens shows more uprights, shows them nearer the edges, and is usually being used close to a tall subject, so the lean is far more obvious.
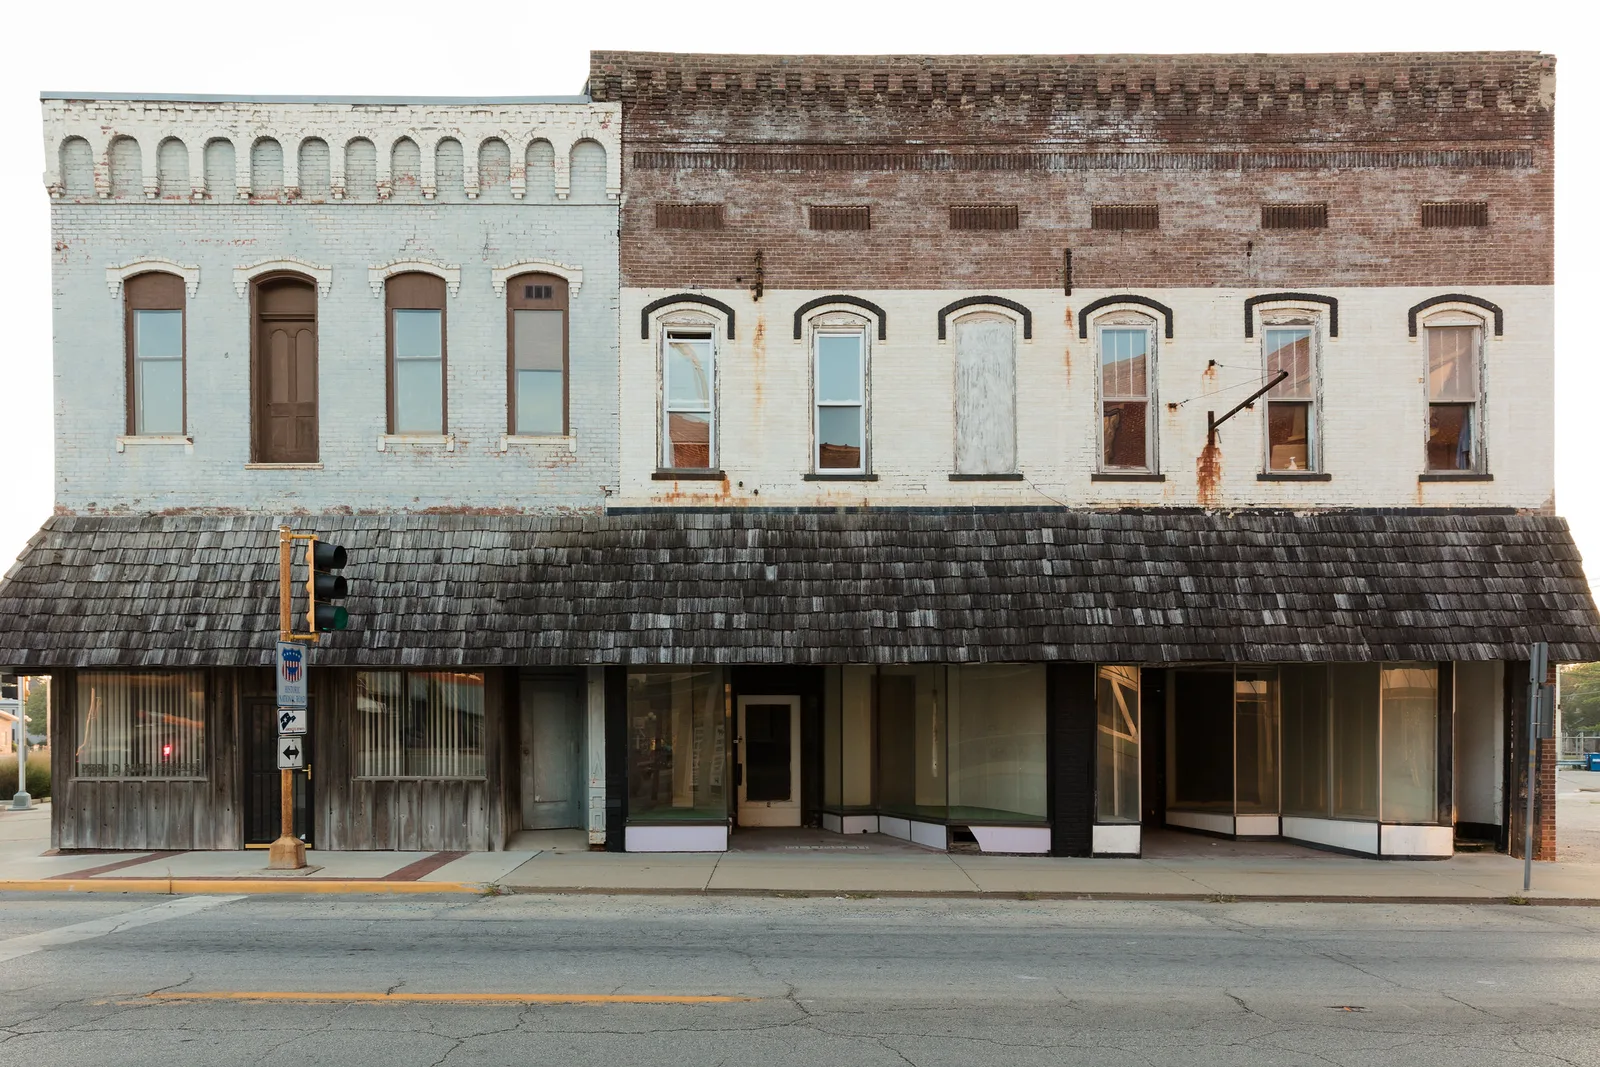
Use the electronic level in the viewfinder or on the rear screen. It shows two things: roll (the horizon tipping left or right) and pitch (the camera pointing up or down). Zero both. A level camera puts the horizon across the exact middle of the frame, which often cuts off the top of a building and shows too much ground. There are five ways to deal with that:
- Move back. More distance fits the subject into the top half of a level frame.
- Raise the camera. From a first-floor window, a bank or a flight of steps opposite, the middle of the building is level with the lens.
- Shoot level and crop. Use a wider focal length, or a vertical frame, keep the camera level, and crop away the surplus foreground afterwards. You lose pixels and keep true verticals.
- Correct it in editing. The upright and perspective controls in most editors straighten the lines, as shown for one editor in the Transform tool guide. The correction stretches the top of the picture and crops the sides, so leave spare room around the subject when you shoot.
- Shift the lens. A tilt-shift lens slides the view upward while the camera stays level.
The alternative is to commit. A slight lean looks like a mistake, and a steep upward view from the foot of a tower looks intended. Either keep verticals true or tilt a lot.
In open country there are few straight uprights, so pointing a wide lens down at a foreground is normal practice. Watch trees near the sides, which will lean outwards, and keep the horizon itself flat.
Depth of field and hyperfocal focusing
At the same distance and f-number, a shorter focal length gives much more depth of field. That is what makes the near and far approach possible in one frame. The quick way to use it is the hyperfocal distance: focus there and everything from half that distance to the horizon is acceptably sharp.
| Full-frame focal length | Hyperfocal distance at f/8 | Sharp from (f/8) | Hyperfocal distance at f/11 | Sharp from (f/11) |
|---|---|---|---|---|
| 14mm | 0.8 m | 0.4 m | 0.6 m | 0.3 m |
| 16mm | 1.1 m | 0.55 m | 0.8 m | 0.4 m |
| 20mm | 1.7 m | 0.85 m | 1.2 m | 0.6 m |
| 24mm | 2.4 m | 1.2 m | 1.8 m | 0.9 m |
| 35mm | 5.1 m | 2.6 m | 3.7 m | 1.9 m |
These figures use the traditional full-frame standard for acceptable sharpness (a 0.03mm circle of confusion). That standard is generous for large prints and high-resolution sensors. For a safety margin, focus a little beyond the listed distance, or use the f/8 distance while shooting at f/11. For other sensor sizes and apertures, use the hyperfocal distance calculator.
In the field, without a distance scale: switch to magnified live view, focus on something at about the listed distance, take the frame, then zoom in on the nearest foreground and on the horizon to check both. If the nearest object is closer than the “sharp from” distance, one frame cannot hold it. Take two or three frames focused at different distances and combine them with focus stacking.
Resist f/16 and f/22 as a habit. On most cameras diffraction softens the whole image at those apertures, and at wide angles you rarely need them. The exception is a deliberate sunstar, which needs a small aperture.
Flare, and filters on bulging front elements
Flare
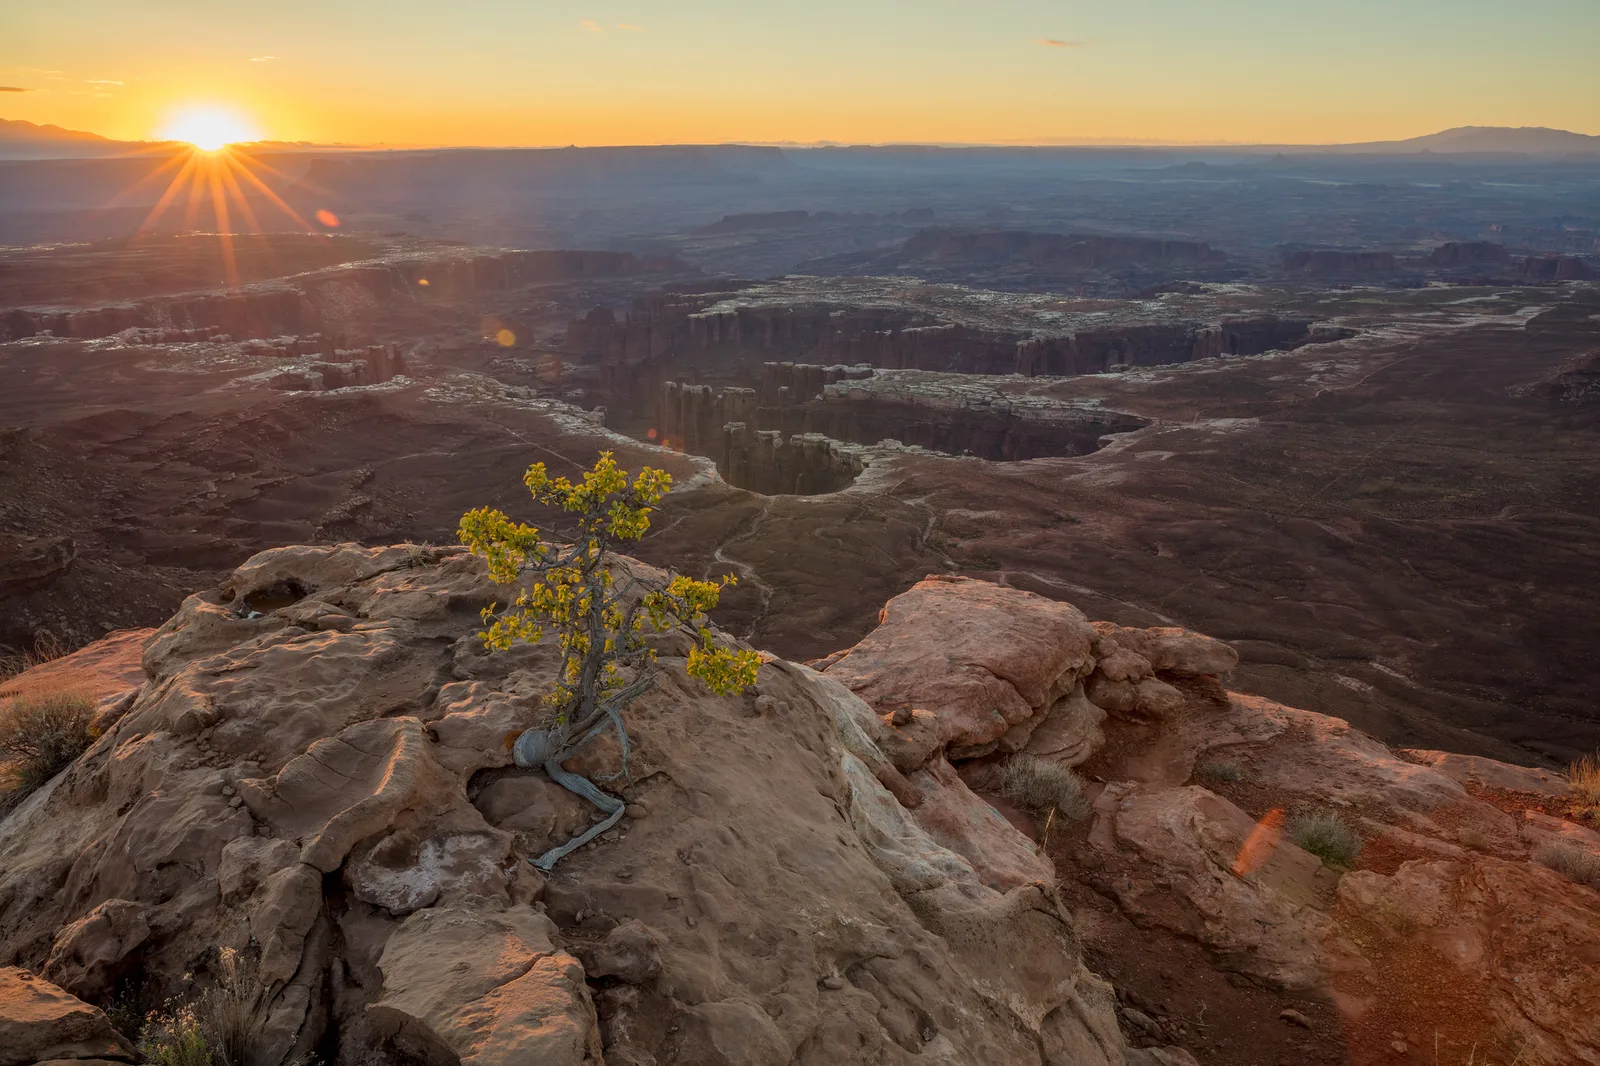
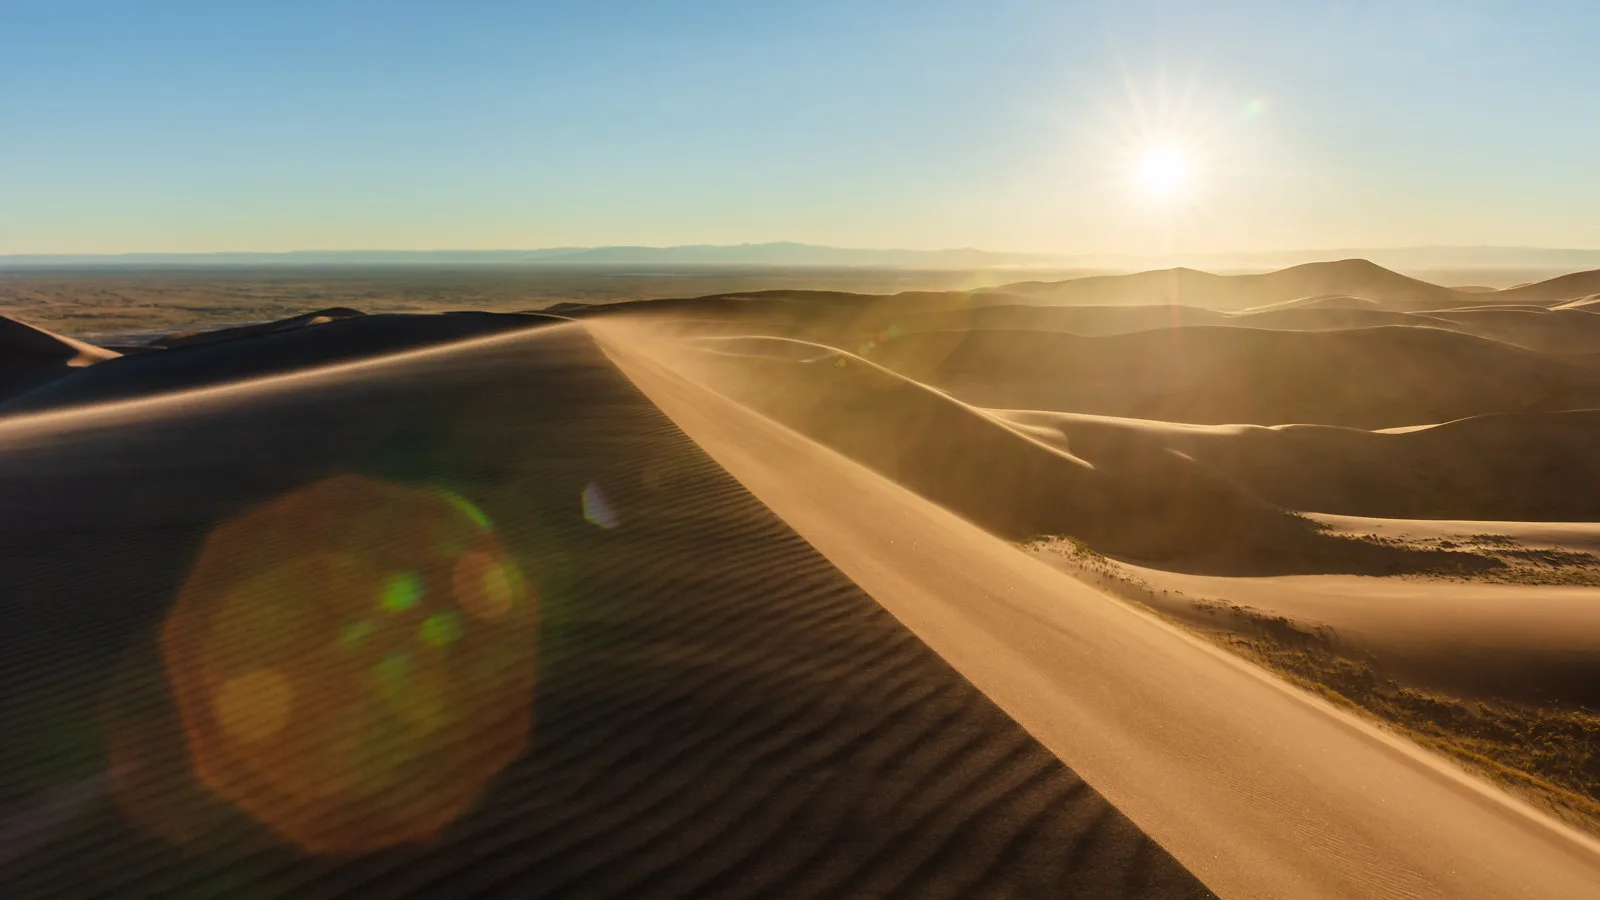
A view of 80 to 100 degrees often includes the sun or sits just beside it. The hood on a wide lens has to be short and cut away at the corners to stay out of the picture, so it gives limited shade. Expect two kinds of lens flare: a haze that lowers contrast, and coloured ghost spots that appear on the opposite side of the frame centre from the light.
- Clean the front element before shooting into the light. Dust, salt and fingerprints glow when backlit, and the deep focus of a wide lens makes marks on the glass more visible.
- Hide part of the sun behind a rock, trunk, roofline or the horizon. Less direct light means weaker ghosts, and at f/11 to f/16 the visible sliver becomes a star. See how to shoot a star-shaped flare.
- Take off any filter you do not need. Each extra glass surface adds reflections.
- When the sun is just outside the frame, shade the lens with a hand or a hat, then check the frame edge to make sure the shade itself is not in the shot.
Filters
Many ultra-wide lenses have a front element that bulges out past the rim, with a fixed hood and no filter thread. They need either a clamp-on holder that takes large square filters or, on some lenses, a small filter slot at the rear. With no filter in front, the exposed glass picks up spray and smears, so check it often.
On wide lenses that do have a thread, two problems come up:
- Dark corners. A thick filter ring, or two filters stacked, can intrude into the corners of the view. Use slim-mount filters and fit one at a time. Check the corners at the widest focal length and at a small aperture, where the shading is most obvious. Optical vignetting is a separate effect that eases when you stop down.
- Uneven polarised skies. A polarizing filter darkens blue sky most strongly at 90 degrees from the sun and hardly at all towards or away from it. A lens wider than about 24mm sees so much sky that one part darkens and the rest does not, leaving a dark band or blotch. Use the polarizer for reflections on water, wet rock and leaves, and turn it down or remove it when a lot of blue sky is in the frame.
Interiors and cityscapes
Interiors
Rooms are the one place where you often cannot step back, so a wide lens is a necessity. Most rooms photograph well between 16 and 24mm in full-frame terms. Wider than that makes a room look larger than it is and stretches furniture near the edges, which viewers notice.
- Level the camera in both directions. Door frames, window frames and wall corners must be vertical.
- Set the camera at about chest height. With the camera level, that shows floor and ceiling in similar amounts. Too high shows mostly floor and table tops, and too low shows the undersides of things.
- Shoot either square to a wall, for a calm one-point view, or from a corner or doorway looking diagonally, which shows two walls and more depth.
- Keep large near objects, such as a chair back or the end of a bed, out of the bottom corners where they balloon.
Lighting and exposure for rooms are covered in the real estate photography guide, and dim historic spaces in museum and church photography.
Cityscapes
In streets and squares the wide lens works exactly as it does in a landscape: it needs a near element. Paving patterns, tram lines, a puddle reflection, a bollard, a railing or an archway overhead give the frame a front. Without one, a wide city view is mostly road surface. Three more points apply in town:
- For a building front, stand opposite its centre, keep the camera level and crop, as described above.
- For height, go to the foot of the building, use a vertical frame and tilt up boldly.
- For a skyline across water, a wide lens leaves the buildings as a thin band. Add a strong sky or a reflection, or change to a longer lens.
More viewpoints and timings are in how to photograph architecture.
When not to use a wide-angle lens
- The subject is far away and you cannot approach. A distant peak, an animal, a boat or a building across a valley will be a speck. Use a longer lens.
- There is no foreground. A flat field, calm water or a car park under a plain sky gives a wide lens nothing to work with.
- A tight portrait. From the distance needed to fill a wide frame with a face, the features nearest the lens are enlarged.
- You want the background large or blurred. Both need a longer focal length and more distance.
Common mistakes
Using the lens to fit everything in. The result is many small things and no subject. Fix: choose one near subject, move close to it, and let the rest be background.
Standing too far from the foreground. A rock 3 metres away is a pebble at 16mm. Fix: halve the distance, then halve it again.
A slightly tilted camera. Walls lean a little and the horizon tips. Fix: turn on the electronic level and zero both axes, or tilt decisively.
People at the edges. Fix: keep faces in the central half, or step back and use a longer focal length.
Focusing on the horizon. The foreground goes soft. Fix: focus at the hyperfocal distance, a metre or two away at these focal lengths, and check both ends of the scene at magnification.
Try this
Allow 15 minutes. Set your widest focal length and f/8, and find a small object on the ground with open space behind it: a rock, a plant, a bag.
- From standing height, take one frame from 3 metres, one from 1.5 metres and one from 50 centimetres, keeping the object in the lower third each time.
- Repeat the closest frame from knee height and again from just above the ground.
- Find a doorway or a building corner. Take one frame with the camera level and one tilted up by a small amount.
- Ask someone to stand in the centre of the frame about 1.5 metres away, then at the far edge at the same distance, and take both.
- Review the set. Note how the object grows while the background stays the same, how height changes the middle distance, how little tilt it takes to make uprights lean, and how the person changes shape at the edge.
Frequently asked questions
What focal length is considered wide-angle?
Anything shorter than about 35mm on a full-frame camera, which is about 23mm on APS-C and 17mm on Micro Four Thirds. Shorter than 24mm on full frame is usually called ultra-wide.
Why do my wide-angle photos look boring?
Because distant subjects are drawn very small and the lower half of the frame is left empty. Move close to a foreground object so that it fills a quarter to a half of the frame, and let the distant scene serve as the background.
Do wide-angle lenses distort faces?
Two things happen. Shapes near the edges and corners are stretched outward, and anything very close to the lens looks large compared with what is behind it. Keep faces near the centre and at least a metre away and they look normal.
How do I stop buildings leaning backwards?
Keep the back of the camera vertical. If the building no longer fits, move back, shoot from higher up, or shoot level with spare room and crop. Small leans can be corrected with the perspective tools in an editor.
What aperture should I use with a wide-angle lens?
For scenes with a near foreground and a distant background, f/8 to f/11 focused at the hyperfocal distance. Indoors or at night without a tripod, the widest aperture is usable, because depth of field is still deep when nothing is close to the lens.
Related guides
- Ultra-wide lens: the definition and character of lenses shorter than 24mm.
- Foreground interest: what makes a good foreground and how to arrange it.
- Lens compression: the opposite approach, shooting from far away with a long lens.
- Hyperfocal distance: the theory behind the focusing table.
- Perspective distortion: why near objects look large and how to correct leaning lines.
- Landscape photography: light, planning and composition for the scenes where wide lenses are used most.
- Cityscape photography: viewpoints and timing for urban scenes.