Backlighting means the main light is behind the subject and pointing toward the camera. It outlines edges, makes thin materials such as leaves, hair and fabric glow, and leaves the side facing you in shadow. To keep detail in that side, meter the subject and add about +1 to +2 stops over what the camera suggests, or add fill from a reflector or flash. To get a silhouette, expose for the bright background instead.
This guide explains what backlight does and how to control it: where to stand, which part of the scene to expose for, how to get clean rim light and glowing translucent subjects, how to fill the shadows, and how to deal with flare and autofocus when the light points into the lens. Two results of backlight have their own pages, silhouette photos and lens flare; here they are covered briefly and the rest in depth.
What backlight does that other light cannot
Light from the front shows surfaces. Light from behind shows edges and whatever light can pass through. Four separate things happen, and most backlit pictures use one or two of them:
- An outline. Light skimming past the subject catches hair, fur, fuzz and the curve of a shoulder or cheek, drawing a bright line around a darker shape. That line separates the subject from the background.
- A glow through thin material. Leaves, petals, fabric, feathers, ears, glass and liquids let some light through. Seen from the shadow side they look lit from within, and their colour is stronger than by reflected light because there is no surface glare diluting it.
- Visible air. Small particles and droplets scatter light mostly forward, in the direction it was already travelling. Rain, spray, mist, smoke, dust, steam and breath on a cold morning are nearly invisible with the sun behind you and bright when you face it, especially against something dark.
- A shadowed front. The side toward the camera is lit only by the sky and by whatever bounces back from the ground and surroundings. That light is soft and even, which is why backlit faces have no squinting and no hard nose shadows.
The cost is contrast. The background and the edges can be several stops brighter than the side you are looking at, and the camera cannot hold both without help. Everything else on this page is about managing that gap. For how backlight compares with front, side and top light, see direction of light.
Where to put the light, the subject and the background
Three positions decide the picture before any setting does.
The angle of the light
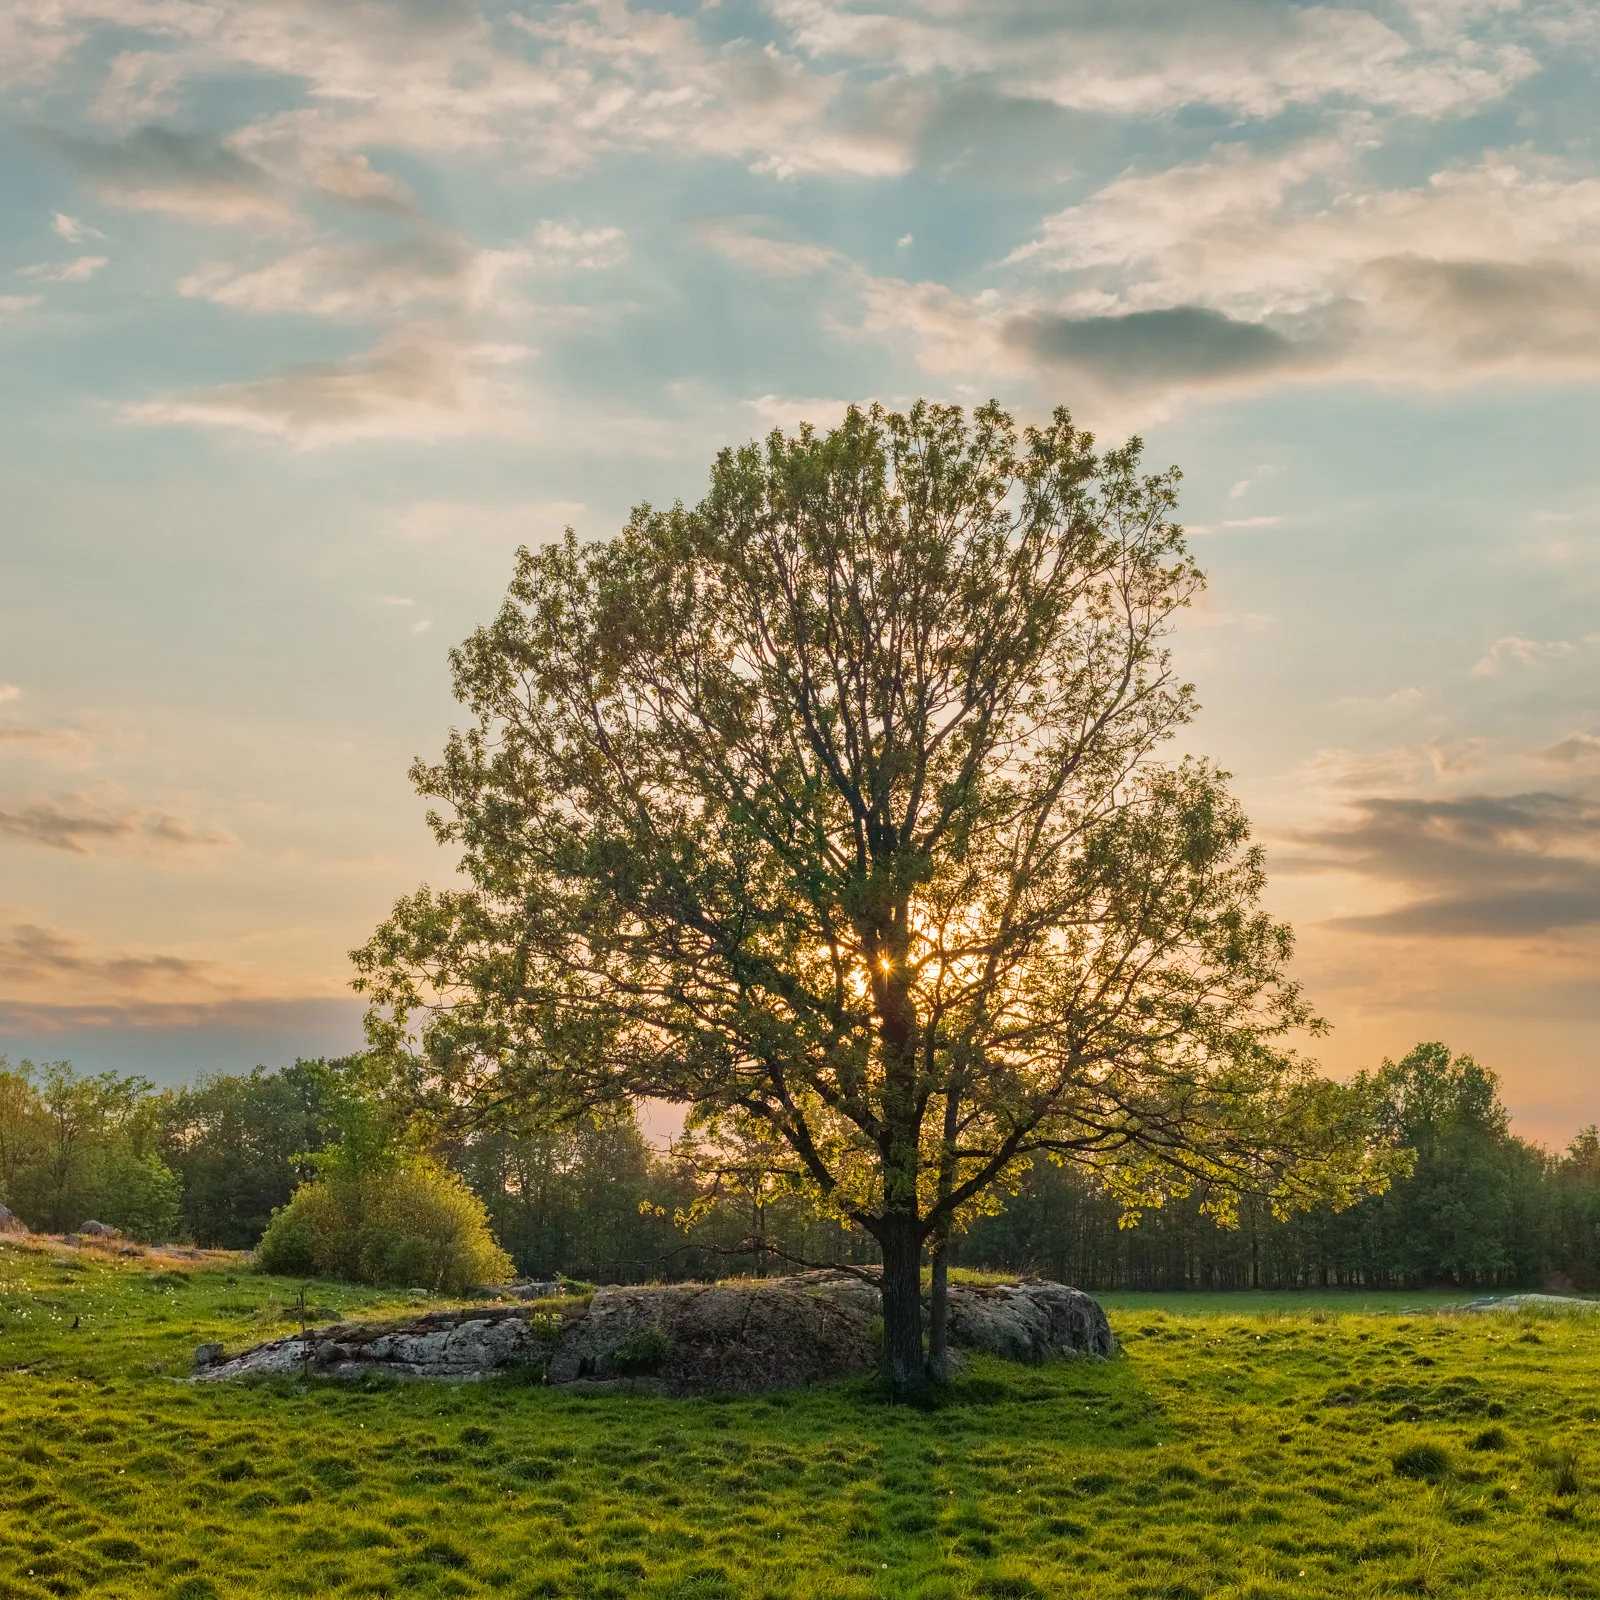
With the light exactly behind the subject, the rim is thin and even all the way round, and the source itself is hidden. Move a step or two sideways so the light sits 20 to 45 degrees off that line and the rim thickens on one side, wraps further onto the cheek or shoulder and starts to show form. Go much further and it becomes side light.
Height matters as much. A low sun, in the hour after sunrise or before sunset, sits behind a standing person’s head and shoulders and is weak enough to manage. This is why golden hour is the usual time for backlit portraits. A high sun lights the top of the head and shoulders only, and you have to shoot from a low position to put it behind anything.
The background
A bright rim only shows against something darker than itself. Place the subject in front of shaded trees, a dark hillside, a building in shadow or a doorway, and the outline stands out. Put the same subject against bright sky and the rim disappears into it. Often this means raising the camera a little so the background behind the head is distant shaded ground, not sky.
Hiding the source
The simplest way to tame backlight is to put the subject, a tree trunk, a building edge or a hat between the lens and the sun. The subject is still backlit, but the direct beam no longer hits the front element, so contrast stays high. Letting a sliver of sun peek past the edge brings back flare and, at small apertures, a starburst. Never look at the sun through an optical viewfinder with a long lens.
Exposing for the subject versus the background
A meter set to evaluate the whole frame sees a large bright background and reduces exposure to protect it. The shadowed subject, already darker, ends up two to three stops too dark. You have to tell the camera which part of the scene matters. There are three honest outcomes, and you choose one:
| What you want | Expose for | How | What you give up |
|---|---|---|---|
| Detail in the subject’s shadow side | The subject | Spot meter the face, or add +1 to +2 stops of compensation | The background goes very bright or pure white |
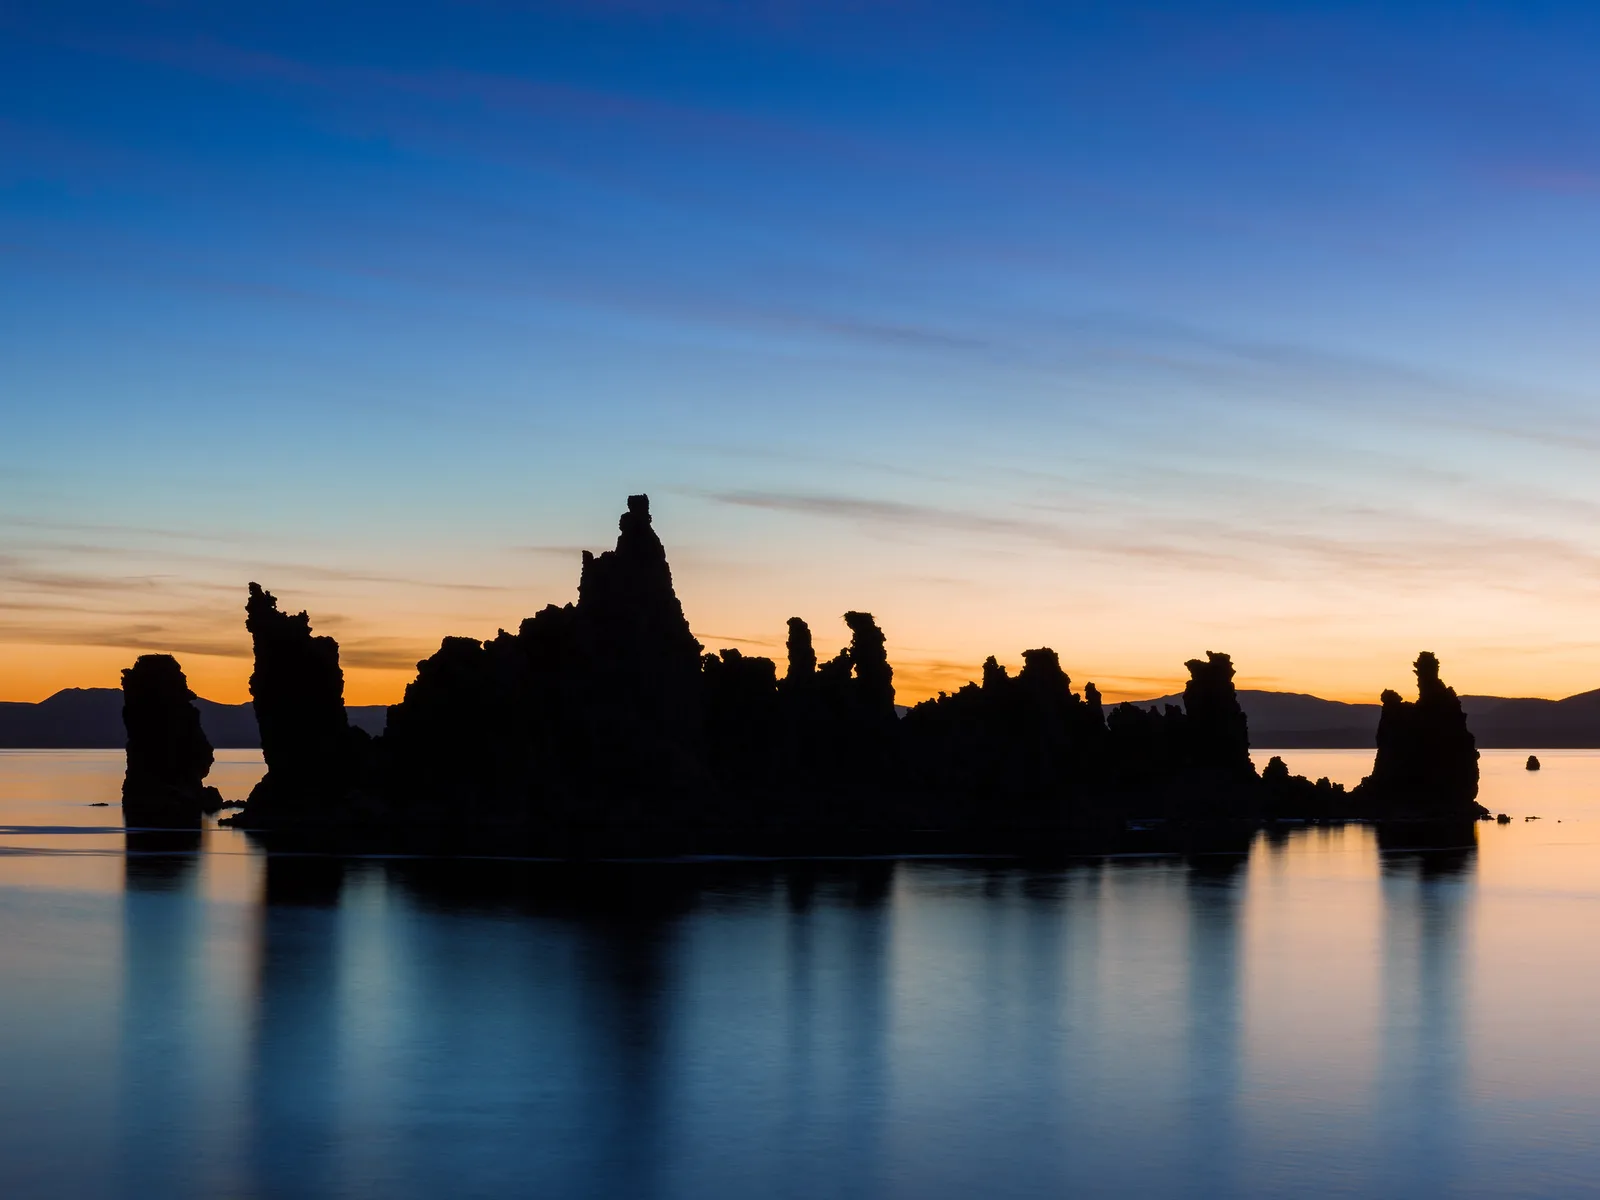
| A silhouette | The background | Meter the sky beside the sun; often 0 to -1 stop | All detail inside the subject |
| Rim or glow as the subject | The lit edge or the glowing material | Meter the highlight; often -0.7 to -1.7 against a dark background | The shadow side falls dark |
| Detail in both subject and sky | The background, then add light | Fill with a reflector or flash, or bracket and blend | Simplicity; needs extra gear or editing |
Getting the subject right
- Switch to spot metering and put the spot on the cheek or on a mid-toned part of the subject, or stay in the default mode and dial in +1 exposure compensation as a first guess.
- Take a frame and look at the subject, not the background. Add more until the face or main surface looks right. Pale skin lit only by open sky often needs a little more than the spot reading; dark skin a little less.
- Once it is right, move to manual exposure with those settings. The light on the subject is not changing, but every small reframing changes how much bright background the meter sees, so automatic modes drift from frame to frame.
- Check the histogram. A spike at the right edge from the background is expected. What matters is that the subject’s tones sit in the middle, not crushed at the left.
How the modes differ is explained in camera metering modes.
How much background to sacrifice
A white, featureless background is not a fault if it is a choice: it gives a clean, bright look that suits portraits and plants. It becomes a fault when the white eats into the subject’s outline, which happens when thin hair or fine twigs are surrounded by blown sky. If that starts, reduce exposure by a third or two thirds of a stop and lift the shadows later; a raw file tolerates that well. When the gap is simply too large, shoot a bracket on a tripod for still subjects, and see dynamic range for what one frame can hold.
Silhouettes in brief
Expose for the bright background and the subject drops to black. It works when the shape alone tells the story: a profile, a tree, a skyline, with gaps between limbs so the outline reads. Meter the sky to one side of the sun, keep the subject entirely against the bright area, and do not let it merge with other dark shapes. Posing, composition and partial silhouettes are covered in the full guide to silhouette photos.
Rim light and translucency: hair, leaves and fabric
A clean rim
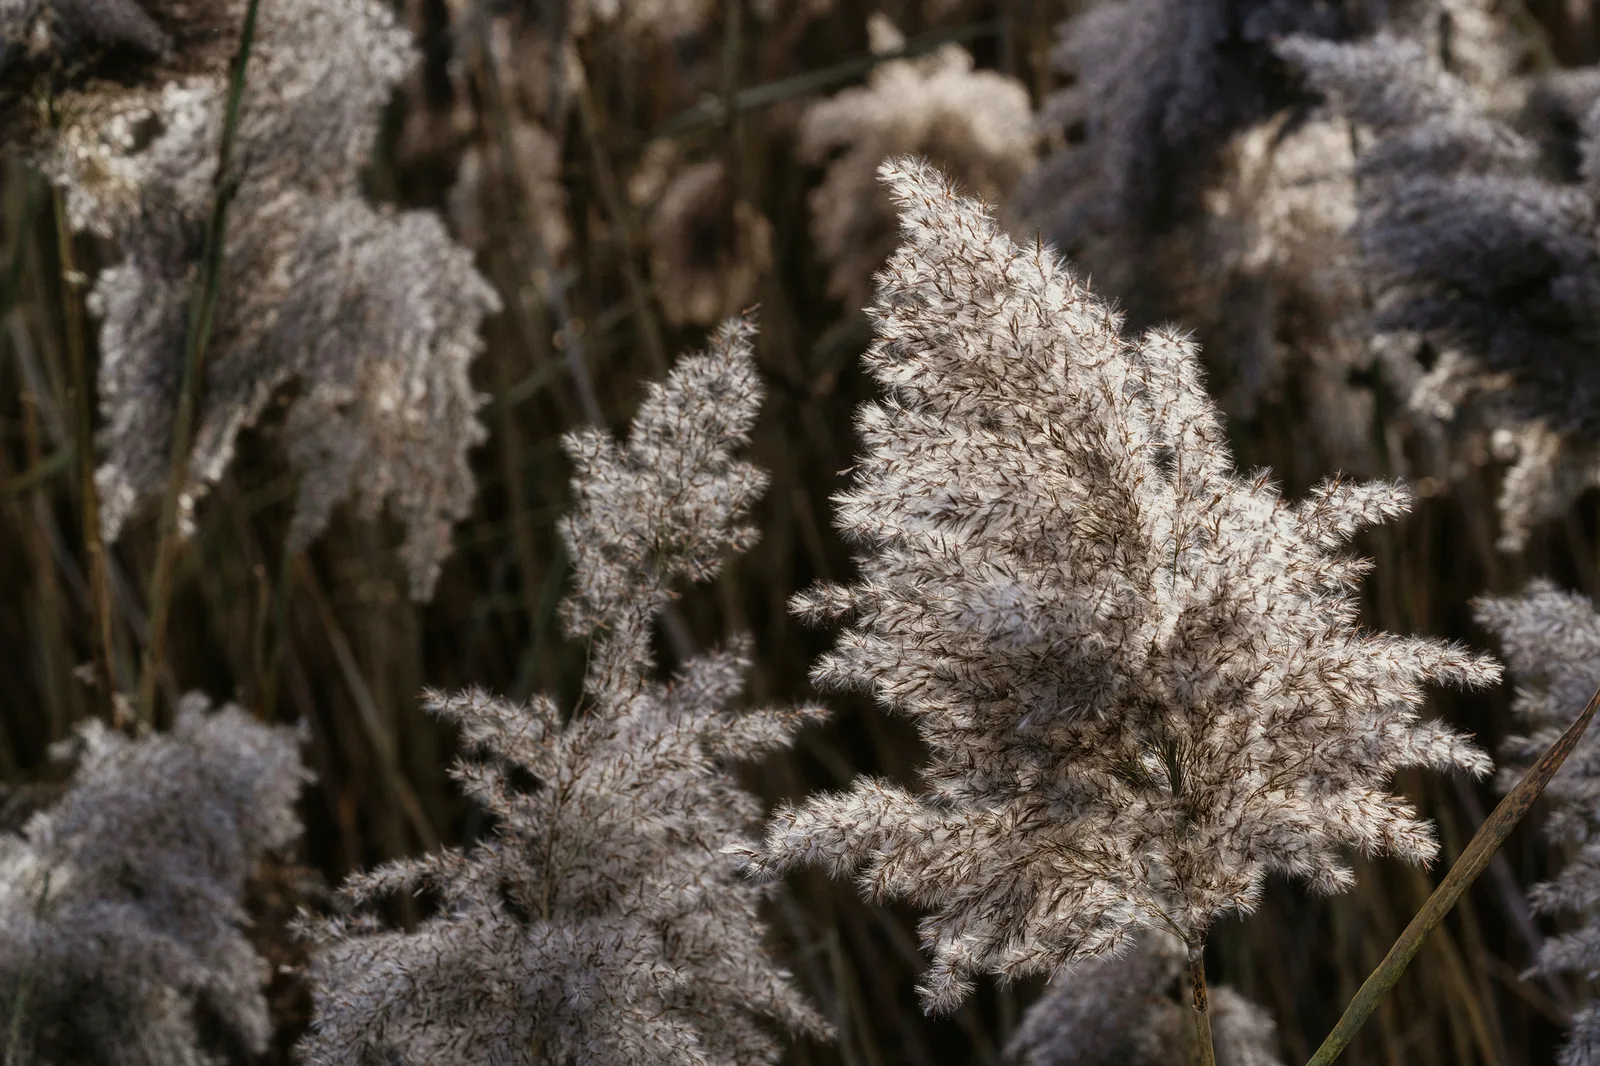
Rim light needs three things: a small, hard source behind the subject (direct sun, a bare lamp, a street light), a dark background, and an exposure that does not burn the rim out. The outline is the brightest thing in the frame, so if you expose for the shadow side it clips to white and loses its colour and texture. When the rim is the point of the picture, expose for it and let the rest go dark.
Texture decides how wide the rim looks. Smooth, hard surfaces give a hairline. Fur, wool, frizzy hair, seed heads, grasses and frost catch light on thousands of fine strands and give a thick, soft halo. That is why animals, dandelions and long grass are classic backlit subjects. In a studio the same edge comes from a separate light behind the subject; placement and power are covered in rim light.
Leaves and petals
Stand so the leaf is between you and the sun, with shade behind it. Veins, cells and insect damage all show, and greens and autumn reds become far more saturated than from the front. Meter the glowing leaf itself; against a dark background the camera will otherwise overexpose it, so expect to dial in -0.7 to -1.3. Thin leaves glow; thick, waxy ones mostly block light and give only a rim. Overlapping leaves show as darker patches where two layers stack, which can be a pattern in itself.
Hair
Backlit hair gives portraits their halo. Fair, grey and red hair pass and scatter a lot of light and glow broadly. Dark, dense hair shows only a thin bright edge, so it needs a stronger source or a darker background to register. Loose strands light up individually, which can look lively or untidy; smooth them or use them, but look before you shoot. A hat brim or hood blocks the effect entirely.
Fabric, glass and liquid
Veils, thin dresses, curtains, sails, flags, tents and umbrellas all act as glowing panels when lit from behind, and they also soften the light that reaches whatever is behind them. Check that thin clothing is not more see-through than the wearer expects. Drinks, bottles and glassware are almost always lit from behind in product work, because light passing through the liquid is what shows its colour.
Filling the shadow side with a reflector or flash
Fill is extra light added to the camera side so the subject and the bright background fit in one exposure. Set the exposure for the background first, then bring the subject up to meet it.
A reflector
Hold a reflector on the camera side, angled to catch the sun coming over the subject’s shoulder and return it to the face. You can see the effect before you shoot, and it costs nothing in batteries.
- White gives soft, modest fill and is hard to overdo. Start with it one to two metres from the subject.
- Silver returns much more light and can be used from further back, but it is harsh up close and makes people squint.
- Hold it at chest to face height. Fill from below the chin lights the face from underneath and looks unnatural.
- No reflector? Pale ground, a light wall, a white shirt or a sheet of card do the same job. Moving a person from dark grass onto pale paving visibly brightens the face.
Flash
Fill flash works where a reflector cannot: in wind, at a distance, or when the sun is too low to catch. Set flash exposure compensation to between -1 and -2 so the flash lifts the shadows without looking like the main light. Two limits apply. Outdoors at wide apertures the shutter speed often rises above the camera’s flash sync speed, commonly around 1/200 to 1/250; either stop down, use a neutral density filter, or turn on high-speed sync, which works at any shutter speed but cuts flash power sharply. And a small flash runs out of reach in bright sun beyond a few metres.
Aim for fill that sits one to two stops below the rim and background. If the front of the subject is as bright as the light behind, the picture stops looking backlit and starts looking flat.
Flare and autofocus when the light points at the lens
Keeping contrast
Bright light striking the front element bounces around inside the lens. Some of it forms coloured blobs in a line from the source; more of it spreads as a general haze that greys the shadows and weakens colour. The second kind does the most damage to backlit pictures, because it is easy to miss on a small screen.
- Use the lens hood. It helps whenever the source is outside the frame.
- When the source is just out of frame and the hood is not enough, shade the front of the lens with a hand, hat or card held out of shot. Watch the viewfinder: the image snaps darker and richer when the shade is in the right place.
- Clean the front element. Dust and smears glow when lit from the front and add their own haze.
- Take off any filter you do not need. Each extra glass surface adds reflections.
- Hide the source behind the subject, as described above.
If you want flare for mood, let part of the sun into the frame and vary the aperture: wide open gives soft haze, small apertures give harder shapes and a starburst (see how to shoot a star-shaped flare). The causes and cures are set out fully in the guide to lens flare.
Getting focus
Autofocus works by finding contrast, and haze from flare removes it. The lens moves back and forth and fails to lock, or locks on the bright background. Things to try, in order:
- Shade the lens with your hand while you focus, then take the hand away to shoot.
- Use a single small focus point and put it on a hard edge at the subject’s distance: the line of the jaw against the collar, the rim of glasses, the edge of a leaf.
- Turn on eye or subject detection if the camera has it, and confirm it has found the near eye and not the bright outline of the hair.
- Focus once, then hold it. Back button focus makes this easy, because the shutter button no longer restarts focusing.
- If it still hunts, switch to manual focus with the view magnified.
Stopping down to f/4 or f/5.6 gives a little margin for small focus errors that f/1.8 does not. More fixes are in common autofocus problems.
Common mistakes
- A dark, muddy subject that is not quite a silhouette. The camera exposed for the background. Fix: decide. Add +1 to +2 stops for detail, or go darker for a true silhouette.
- The rim is lost against the sky. Fix: change your height or position so a dark background sits behind the lit edge.
- Burnt-out rim or leaf. The exposure was set for the shadows. Fix: meter the bright edge or reduce exposure until the highlight warning stops flashing on it.
- Grey, washed-out picture. Haze from flare. Fix: shade the lens, clean the glass, or hide the sun behind the subject.
- Exposure jumping between frames. An automatic mode reacting to changes in the background. Fix: lock the settings in manual.
- Flat, over-filled face. Too much flash or a silver reflector too close. Fix: reduce flash by a stop or move the reflector back.
- Focus on the background. Fix: single point on a contrasty edge, with the lens shaded while focusing.
- Orange skin at sunset. Fill reflected off warm ground or a gold reflector on top of warm light. Fix: use a white reflector and set white balance from the face.
Try this
Find a leafy branch, a houseplant on a windowsill or a clump of long grass with the sun or a bright window behind it, and take 15 minutes. First, shoot it as the camera meters it. Second, add +1, then +2 stops and watch the shadow side open up while the background burns out. Third, move so a dark background is behind the subject, meter the glowing leaves or edges, and go to -1: the rim and glow should now be the picture. Fourth, hold a sheet of white paper beside the lens to bounce light back and see how much it lifts the shadows. Finally, let the sun just clear the edge of the subject and shoot once with the lens unshaded and once shaded by your hand. Compare the last two frames at home for contrast.
Frequently asked questions
What is backlighting in photography?
It is any arrangement where the main light comes from behind the subject toward the camera. Depending on exposure, it gives a silhouette, a bright outline around the subject, a glow through thin materials, or a softly lit subject against a bright background.
How do I stop backlit subjects coming out too dark?
Meter the subject, not the scene: use spot metering on the face or add +1 to +2 stops of exposure compensation. If you also want to keep the background, add light to the subject with a reflector or fill flash.
Is backlighting good for portraits?
Yes, especially with a low sun. The face is in soft, even shade with no squinting, and the hair and shoulders get a bright edge that lifts the person off the background. It needs careful exposure for the face and some control of flare.
How do I photograph a backlit subject with a phone?
Tap the subject to set focus and exposure there, then drag the brightness control up until the face looks right. Most phones also blend several exposures automatically in bright scenes, which recovers some of the background. Shade the lens with your free hand and wipe it first.
What is the difference between backlight and rim light?
Backlight describes where the light is: behind the subject. Rim light describes one result of it: the bright outline along the subject’s edge, usually seen when the source is slightly off to one side and the background is dark.
Related guides
- How to take silhouette photos: shape, pose and exposure when the subject goes fully dark.
- Lens flare: what causes haze and ghosts and how to prevent or use them.
- Rim light: placing and powering a separate edge light in a studio setup.
- Direction of light: backlight compared with front, side and top light.
- Reflector: surfaces, sizes and positions for bounced fill.
- Fill flash: balancing flash with daylight.
- Golden hour photography: the time of day when backlight is easiest to work with.
- Camera metering modes: choosing which part of the scene sets the exposure.