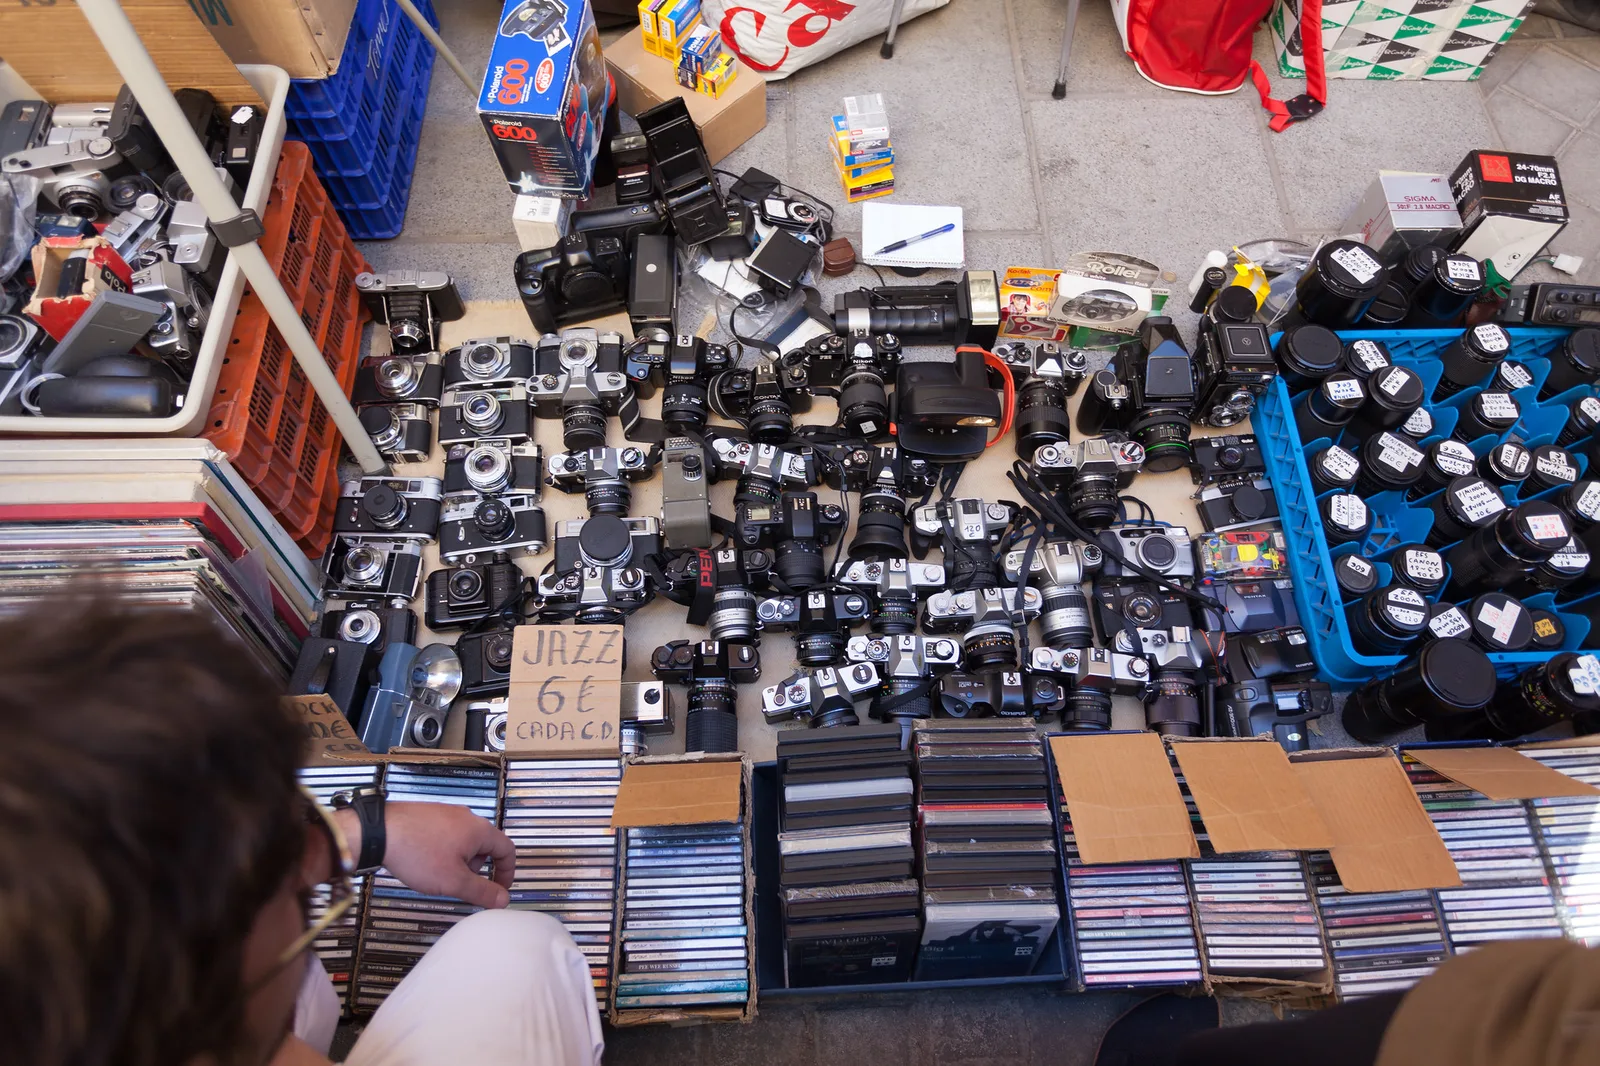
Buying used camera gear is one of the smartest ways for a beginner to get a better camera or lens for less money. To do it safely, buy from a seller with a returns policy or a buyer protection scheme, check the item in person or ask for clear photos and test shots, and go through a simple checklist: the body for damage, the shutter count, the sensor, the buttons and the battery; the lens glass for scratches, haze and fungus, the focus and zoom rings, and the autofocus. Then test everything as soon as it arrives, while you can still return it.
Cameras and lenses are built to last. A camera body that a keen photographer has upgraded from still has years of life left, and a well-kept lens can work for decades. Buying second-hand means you can often afford a better lens, a second lens or a tripod with the money you save. It is also kinder to the planet.
That said, there are risks, and it pays to know what to look for. This guide walks through where to buy, what to check on bodies and lenses, how to test gear, which items are safest to buy used, and the warning signs that should make you walk away.
Why buying used makes sense for beginners
- Your money goes further. Camera gear loses value quickly at first, then much more slowly. A model that has been out for a while often sells used for a fraction of its original price.
- Lenses matter more than bodies. The lens has a big effect on image quality and what you can photograph. Saving on a used body can pay for a better lens. The guide on what lens to buy first helps you choose.
- You can resell it. If you change your mind, a used item bought at a fair price can often be sold again for close to what you paid.
- Older does not mean bad. Cameras from several generations ago still take excellent photos. The skills you are learning matter far more than the newest features. The guide to the best camera for beginners explains which features actually matter.
Where to buy used gear
There are three main places to buy, each with its own balance of price and safety.
| Where | Pros | Cons |
|---|---|---|
| Camera shops and dealers with a used section | Gear is checked and graded, usually with a warranty and returns | Higher prices |
| Online marketplaces with buyer protection | Huge choice, often good prices, a way to get your money back if the item is not as described | You cannot inspect before buying; quality of listings varies |
| Private sellers in person, local classifieds, camera clubs | Lowest prices, you can test before paying | Usually no returns or protection; risk of scams |
For your first used purchase, a shop or a marketplace with strong buyer protection is the safest choice. As you get confident checking gear yourself, buying in person from other photographers can be great value. Camera clubs are especially good, because members tend to look after their equipment.
Understanding condition grades
Shops often grade used gear with words like “like new”, “excellent”, “good” or “fair”, or with a number. Every seller uses their own scale, so read their description of what each grade means. In general:
- Like new or mint: barely used, no visible marks.
- Excellent: light signs of use, such as tiny marks on the body, but everything works perfectly and the glass is clean.
- Good: visible wear, such as scuffs and worn paint, but fully working.
- Fair or user grade: heavy wear and possibly small faults. Can be great value if the fault does not affect photos.
Cosmetic wear on the outside rarely matters for photos. Problems with the glass, the sensor or the mechanics do.
Checking a used camera body
Take your time with each of these. If you are buying online, ask the seller to describe or photograph each point.
1. Look at the outside
- Check for dents, cracks or deep scratches, especially on the corners and the bottom. These can be a sign the camera has been dropped.
- Look at the lens mount, the metal ring where the lens attaches. The lens mount should be clean and undamaged, with no bent parts.
- Open the battery and memory card doors. They should close firmly. Look for any green or white crust on the metal contacts, which can be a sign of moisture damage.
- Look at the rubber grips. Peeling rubber is cosmetic and easy to replace, but very worn grips suggest heavy use.
2. Ask for the shutter count
The shutter is the part that opens and closes to take each photo. It is a mechanical part and wears out eventually. The shutter count is the number of photos the camera has taken. Manufacturers design shutters to last for a large number of shots, and many cameras go well beyond that. A low count compared with the camera’s age is a good sign. A very high count does not mean the camera is about to die, but it is a reason to pay less.
Some cameras show the count in a menu. For others, it is stored in each photo’s hidden information, and free online tools can read it from a sample photo. Ask the seller for an unedited sample image straight from the camera.
Mirrorless cameras that use an electronic shutter for some shots may have a lower mechanical count than the total number of photos taken.
3. Check the sensor
The sensor is the chip that records the image. Remove the lens (on interchangeable-lens cameras) and look at it with a light. Small dust spots are normal and can be cleaned. Scratches, marks that look like smears or anything that looks damaged are serious problems.
The best test is a photo: set the camera to a narrow aperture like f/16, point it at a plain bright sky or a white wall, and take a picture. Dust shows up as small dark spots. A few spots are fine; they can be cleaned. Lines, colored dots in the same place in every photo, or patches of strange color can mean a faulty sensor.
4. Test every button and dial
- Press every button and turn every dial. Each should click and do its job.
- Check the screen for dead areas, scratches or a flickering image.
- Look through the viewfinder. It should be clear and bright, without spots or haze.
- Try the built-in flash if there is one.
- Record a short video, which tests the microphone and the sensor at the same time.
- Check the memory card slot reads and writes cards correctly.
5. Check the battery and charger
Batteries wear out with age. A worn battery runs down quickly. If possible, charge it fully and see how many shots you get. Spare batteries are easy to buy, so a tired battery is not a deal-breaker, but factor it into the price. Make sure the charger is included.
Still deciding which kind of camera to buy in the first place? Best camera for beginners explains the main types and the features that matter.
Checking a used lens
Lenses are often the best used buy of all, because they have fewer electronics and many last for decades. But glass problems can ruin photos, so check carefully.
1. Look through the glass
Hold the lens up to a bright light, such as a window or a phone flashlight, and look through it from both ends. Tilt it slowly. You are looking for:
- Scratches: small marks on the front glass usually have little or no effect on photos. Scratches on the rear glass matter more.
- Dust: a few specks inside are normal in almost every lens and do not affect photos.
- Haze: a cloudy or foggy look inside the lens. It reduces contrast and is expensive to fix. Avoid.
- Fungus: thin, branching lines like a spider’s web or feathery spots inside the lens. Fungus grows in damp conditions and can spread. Avoid, and keep a lens with fungus away from your other gear.
- Separation: a rainbow-colored or cloudy patch near the edge, where layers of glass inside the lens have come apart. Rare, but serious.
The glass elements inside a lens are explained on lens element.
2. Turn the rings
Turn the focus ring and the zoom ring (if it has one) all the way in both directions. They should move smoothly, without grinding, sticking or loose spots. Shake the lens gently. A rattle can mean a loose part inside.
3. Check the aperture
The aperture is the adjustable opening inside the lens, made of overlapping blades. Look into the lens while you take a photo at f/16 or f/22. You should see the blades snap closed quickly and open again. Oil on the blades, which looks like a shiny film, can make them stick.
4. Test the autofocus and stabilization
Mount the lens on a camera and focus on several things near and far. Autofocus should be quick, quiet and accurate. If the lens has image stabilization, turn it on and look through the viewfinder at a slow shutter speed. The image should look steadier, without jumping or noise.
5. Take test photos
Photograph something detailed, like a brick wall or a page of text, at several apertures and, on a zoom, at several focal lengths. Look at the photos on a computer. The center should be sharp, and both sides should look similar. One soft side can mean a lens that has been knocked. The guide on how to test a lens explains a full test step by step.
What is safest to buy used
Some gear is a much safer used buy than others.
| Item | Used risk | Notes |
|---|---|---|
| Simple prime lenses | Low | Few moving parts, built to last. |
| Zoom lenses | Low to medium | Check the zoom ring and sharpness on both sides. |
| Camera bodies | Medium | Check the shutter count, sensor and buttons. |
| Tripods | Low | Check legs lock firmly and the head does not slip. |
| Camera bags | Very low | Check zips and straps. |
| Filters | Low | Look for scratches; avoid any with peeling coatings. |
| Flashes | Medium | Test that it fires at all power levels and check the battery compartment for corrosion. |
| Memory cards | High | Cards wear out and can hide faults. Buy new. |
| Batteries | Medium to high | They wear with age. Buy new spares if you can. |
A prime lens is a lens with one fixed focal length, as opposed to a zoom lens. Simple used primes are one of the best value purchases in all of photography.
Buying online: how to protect yourself
- Use a platform with buyer protection. Pay through the platform’s own checkout so you can claim a refund if the item is not as described.
- Read the whole listing. Look for words like “for parts”, “untested” or “as is”. These usually mean faulty.
- Ask for real photos. Stock photos tell you nothing. Ask for photos of the actual item, including the glass and the sensor.
- Ask questions. How was it used? Any repairs? Was it stored somewhere damp? An honest seller is happy to answer.
- Check the seller’s history. Look at their feedback and how long they have been selling.
- Check the model is right. Make sure the lens fits your camera’s mount. Many lenses look similar but fit different systems.
- Test it the day it arrives. Go through the checklists above straight away, while the return window is open.
Buying in person: staying safe
- Meet in a busy public place during the day, or at a camera shop that offers a safe meeting spot.
- Bring your own memory card, a lens or camera to test with, and a small flashlight.
- Take your time with the checklist. A genuine seller will not rush you.
- Pay in a way that leaves a record.
Red flags: when to walk away
- The price is far below every similar listing. If it seems too good to be true, it usually is.
- The seller will not show the actual item or let you test it.
- The seller asks you to pay outside the platform or by a method with no protection.
- The listing has no serial number or the serial number has been scratched off.
- The lens shows haze, fungus or separation.
- The camera shows signs of water damage, such as corrosion in the battery compartment.
- The story keeps changing when you ask questions.
After you buy
- Clean it gently. Wipe the body, clean the lens glass with a blower and a lens cloth, and clean the sensor if needed. The guide to camera maintenance shows how.
- Update the software. Check whether the camera’s built-in software has updates from the manufacturer. They can fix bugs and add features.
- Reset the settings. Most cameras have a “reset all settings” option in the menu. Use it so you start with the factory defaults.
- Register it if possible. Some manufacturers let second owners register for service.
- Get a bag and a spare battery. Protecting your new gear is worth it. See camera bags.
Common mistakes
- Buying the cheapest listing without checking. A faulty bargain costs more in the end.
- Not testing on arrival. Once the return window closes, problems become yours.
- Buying a lens that does not fit. Check the mount matches your camera.
- Worrying about cosmetic marks. Scuffed paint does not affect photos. Glass and mechanics do.
- Ignoring haze and fungus. These are expensive to fix and can spread.
- Buying used memory cards. Cards are cheap new and used ones can fail without warning.
- Spending all the savings on the body. Put some toward a better lens instead.
Try this: a 10-minute used gear check
Practice the checklist on gear you already own, or on a friend’s camera, so you are ready when you go shopping.
- Minutes 1 to 2: Look over the outside of the camera and lens. Note any marks.
- Minutes 3 to 4: Hold the lens up to a light and look through it from both ends. Find any dust, scratches or haze.
- Minutes 5 to 6: Set f/16 and take a photo of a white wall or clear sky. Open it on a computer and look for dust spots.
- Minutes 7 to 8: Turn every dial and press every button. Focus near and far.
- Minutes 9 to 10: Find the shutter count, either in the menu or using a sample photo and an online reader.
Write the checklist on a card or in your phone and take it with you when you buy.
Frequently asked questions
Is it safe to buy a used camera?
Yes, if you buy from a seller with returns or buyer protection and check the camera carefully. Cameras are built to last, and used ones are a great way to save money.
What is a good shutter count for a used camera?
It depends on the camera. Compare the count with the shutter life the manufacturer designed for that model. A count well below that, with the camera in good condition, is a good sign.
Should I buy a used lens or a used camera body?
Both can be great, but lenses are often the safest used buy because they have fewer electronics and last for many years.
How do I check a lens for fungus?
Shine a bright light through the lens and look from both ends. Fungus looks like thin, branching lines or feathery spots inside the glass.
Is dust inside a used lens a problem?
A few specks are normal and do not affect photos. Large amounts of dust, haze or fungus are a different matter.
What should I never buy used?
Memory cards, and ideally batteries. Both wear out and are inexpensive to buy new.
Got your gear and wondering what lens to add next? What lens to buy first walks through the options.