Good dance photography comes down to two things: a shutter speed fast enough for the movement you want to show, and timing that catches the dancer at the peak of a movement, when the line of the body is complete. Freeze most dance at 1/500 second or faster (1/1000 for leaps), accept a high ISO under stage light, never use flash during a performance, and learn the choreography well enough to press the shutter just before the moment arrives rather than after it.
Four kinds of dance shoot, four different jobs
“Dance photography” covers situations that have almost nothing in common technically. Before you choose a lens or a setting, decide which one you are in, because it dictates what you can control.
- Stage performances. You control nothing but your camera. The light is designed for the audience’s eyes, not your sensor, it is often dim and strongly colored, and you usually shoot from a fixed seat or the back of the house with a long lens. Silence and discretion matter as much as settings.
- Dress rehearsals. The same stage, costumes and lighting as the show, but with permission to move around, sometimes to shoot from the aisles or the wings, and no audience to disturb. Much professional performance photography is made at dress rehearsals for exactly this reason.
- Studio sessions. You control everything: the background, the light, the timing and how many times a move is repeated. This is where you use strobes, build a pose around a single leap and refine it over ten attempts.
- Street and social dance. Breaking battles, festival crowds, weddings, folk performances in a square. Usually good daylight or event light, fast and unrehearsed, and you work close with a wider lens among the people watching.
If you are new to the subject, a rehearsal or an open class is the best place to start. You get usable light, repeated moves and time to learn how a phrase of choreography unfolds before you have to catch it in the dark with one chance.
Catching the peak: anticipation, bursts and timing
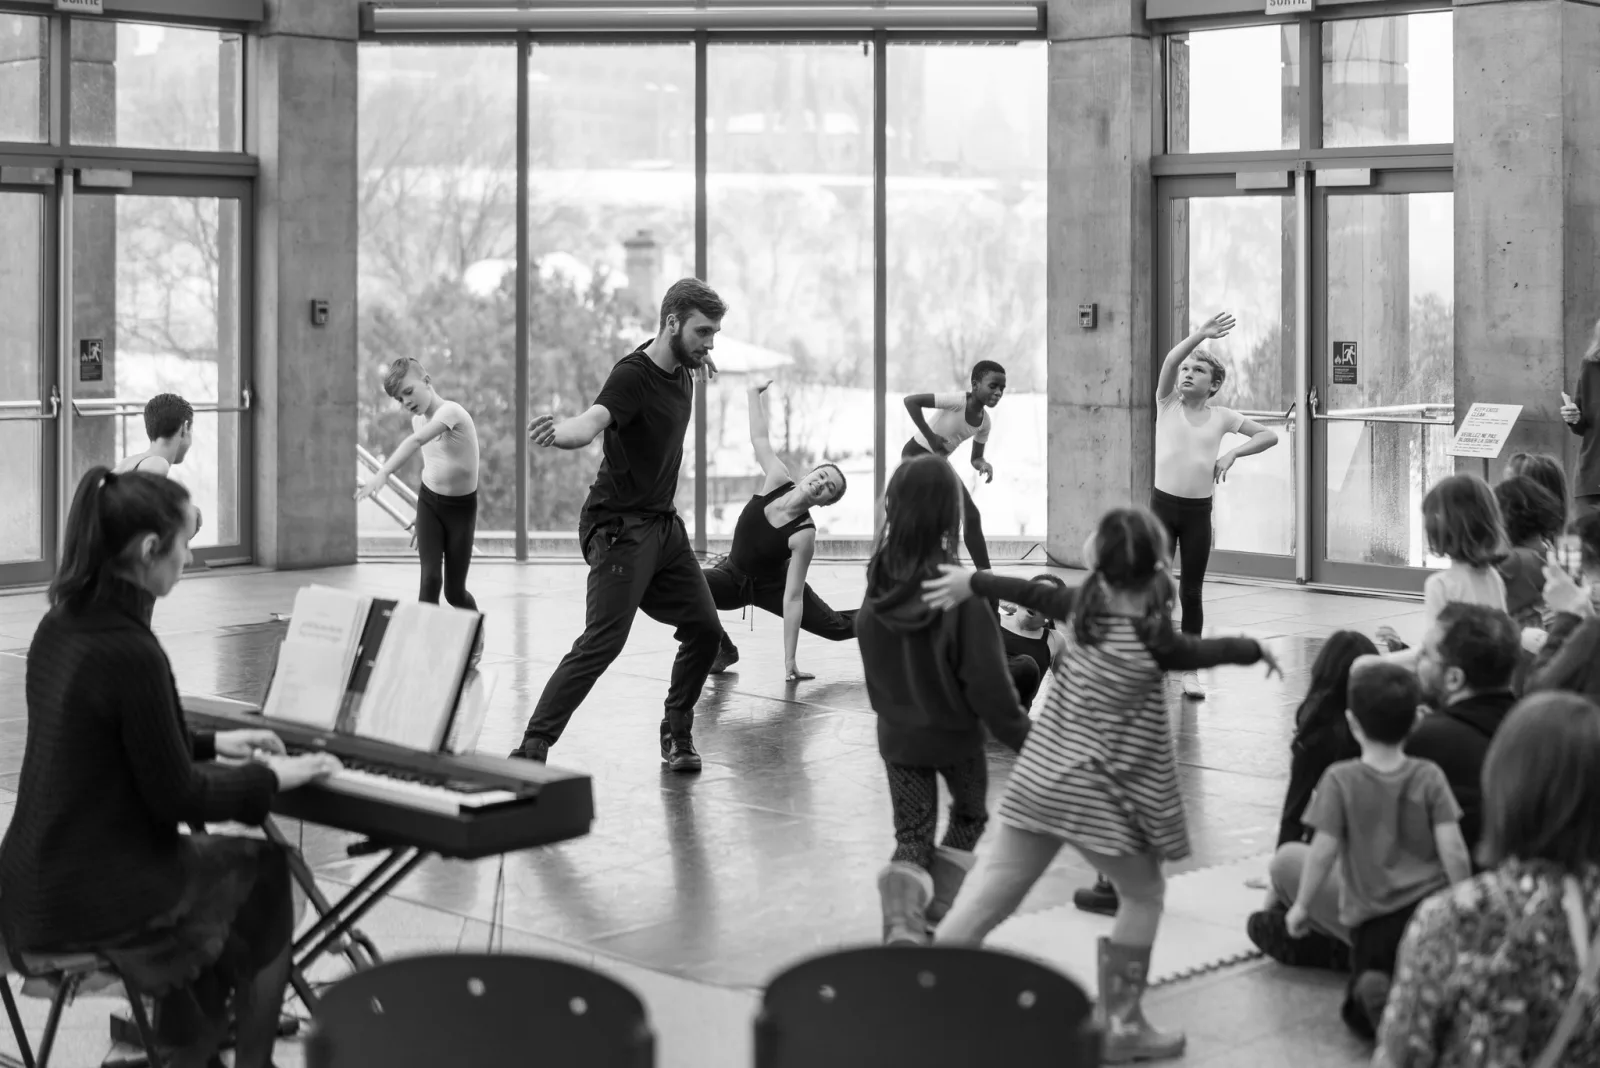
Most dance movements have a peak: the top of a jump, the instant a leg reaches full extension in an arabesque, the held shape at the end of a turn, the freeze in a breaking routine. At that instant the body is at its most readable and often moving most slowly, so it is both the best-looking moment and the easiest one to render sharp.
Physics explains why the top of a jump is forgiving. A body in the air slows as it rises, stops rising, and then falls. A dancer spends about a tenth of a second in the last five centimeters of the rise and another tenth in the first five centimeters of the fall, so there is a window of roughly a fifth of a second where the height barely changes. That sounds generous until you add your own reaction time, which for most people is around a fifth of a second as well. If you press the shutter when you see the peak, you photograph the landing.
The fix is anticipation. Press as the dancer leaves the floor, not when they reach the top. Everything else in this section serves that one habit.
- Learn the choreography. Watch a run-through without the camera, or watch the same section in rehearsal several times. Note where the big moments come and which side of the stage they happen on, and pre-frame for them.
- Listen to the music. Choreography is built on counts. Big lifts and jumps tend to land on strong beats, and the preparation (a plié, a run, a wind-up) is visible a count or two before.
- Use short bursts, started early. At 10 frames per second, frames are a tenth of a second apart, so a burst might put one or two frames inside the peak window. Start the burst on the take-off, fire three to five frames, and stop. Holding the button through a whole phrase fills the buffer and leaves the camera writing files when the next big moment arrives.
- Know your shutter lag. Every camera has a short delay between the press and the exposure. Half-press to focus beforehand so only the release is left, and practice on repeated moves until your timing accounts for it.
The “right” frame in dance is a close cousin of the decisive moment in street photography: a split second when form and meaning line up. The difference is that in dance you can often learn when it is coming.
Shutter speeds to freeze or show motion
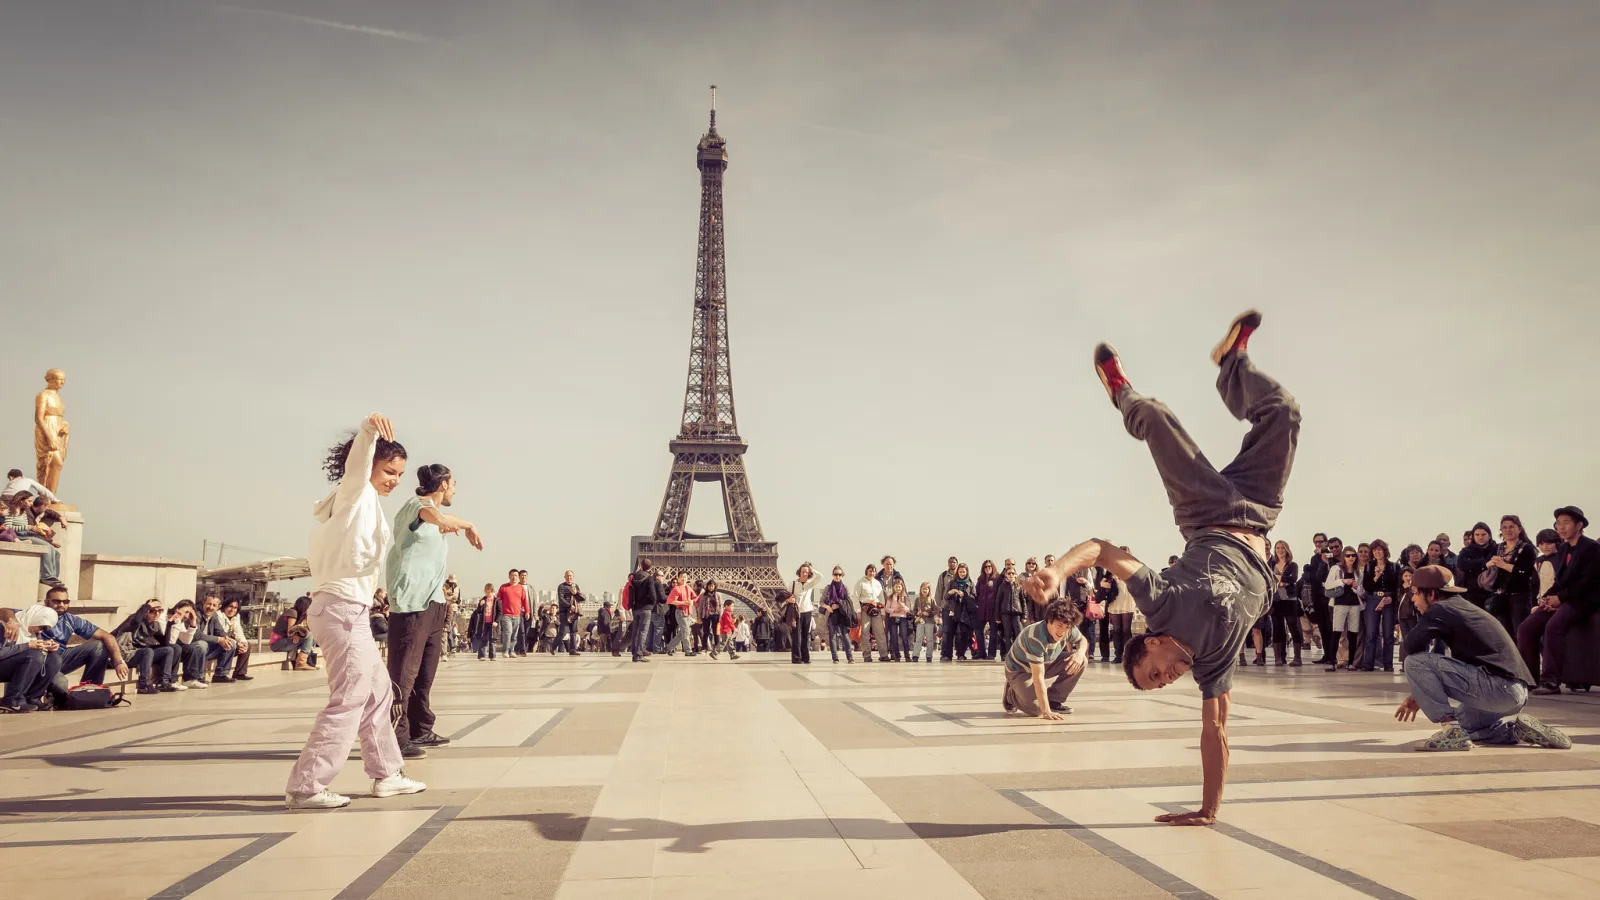
Your shutter speed is a creative decision, not just a technical one. Sharp and frozen emphasizes strength, height and precision. Blur emphasizes flow and speed. The table gives starting points; adjust after checking a few frames at full magnification, because the fastest parts of a dancer (hands, feet, hair, the hem of a skirt) blur long before the torso does.
| What you want | Starting shutter speed | Notes |
|---|---|---|
| Held poses, slow adagio movement | 1/250 s | Enough for a still body; hands may still soften in port de bras. |
| Turns, general choreography, walks and runs | 1/500 s | A safe default for most stage work. |
| Leaps, jumps, lifts, fast footwork | 1/1000 s | Needed for crisp feet and hands at speed. |
| Flying hair, spinning skirts, props like ribbons | 1/1600 s or faster | These move faster than the body itself. |
| Panning with a traveling dancer | 1/30 to 1/60 s | Body relatively sharp, limbs and background streak. |
| Expressive motion blur, ghosted figures | 1/4 to 1/15 s | Use a support; include a still moment for an anchor. |
Two things change these numbers. First, direction: movement across the frame blurs far more than movement toward or away from you, so a dancer running straight at the camera can be frozen at a slower speed than one crossing the stage. Second, magnification: a tight crop on hands with a long lens magnifies the motion, so it needs a faster shutter than a wide view of the whole stage. The guide to freezing motion covers the underlying rule.
Intentional blur works best when something in the frame stays readable: a face at the end of a turn, a planted foot, a still partner. Pure blur with no anchor looks like a mistake. For traveling moves, panning with the dancer at around 1/30 second keeps the body fairly sharp while arms, fabric and background streak. For more on deliberate softness, see motion blur.
Stage light: exposure, white balance and high ISO
Stage lighting is designed to look dramatic to the eye, and it is usually much dimmer than it looks. Combined with the fast shutter speeds dance needs, that pushes you to the widest aperture you have and a high ISO. A typical stage setting might be 1/500 second at f/2.8 and ISO 3200 to 6400, and darker moments go higher. Accept it. Noise can be reduced in editing and looks like grain in print; motion blur you did not want cannot be removed. See noise for how the two trade off.
Metering is the next trap. A dancer in a spotlight on a black stage is a small bright subject in a big dark frame, and an averaging meter will brighten the frame until the lit skin and white costume blow out. Three ways to handle it:
- Manual exposure. Stage cues often hold the same light for a whole section. Take a test frame, check the highlights on the face and costume, and lock the settings until the lighting changes. This is the most consistent method.
- Spot metering on the lit skin, if you shoot in a semi-automatic mode, so the dancer rather than the dark background sets the exposure.
- Exposure compensation of one to two stops under, if you use matrix metering, to stop the camera brightening the darkness.
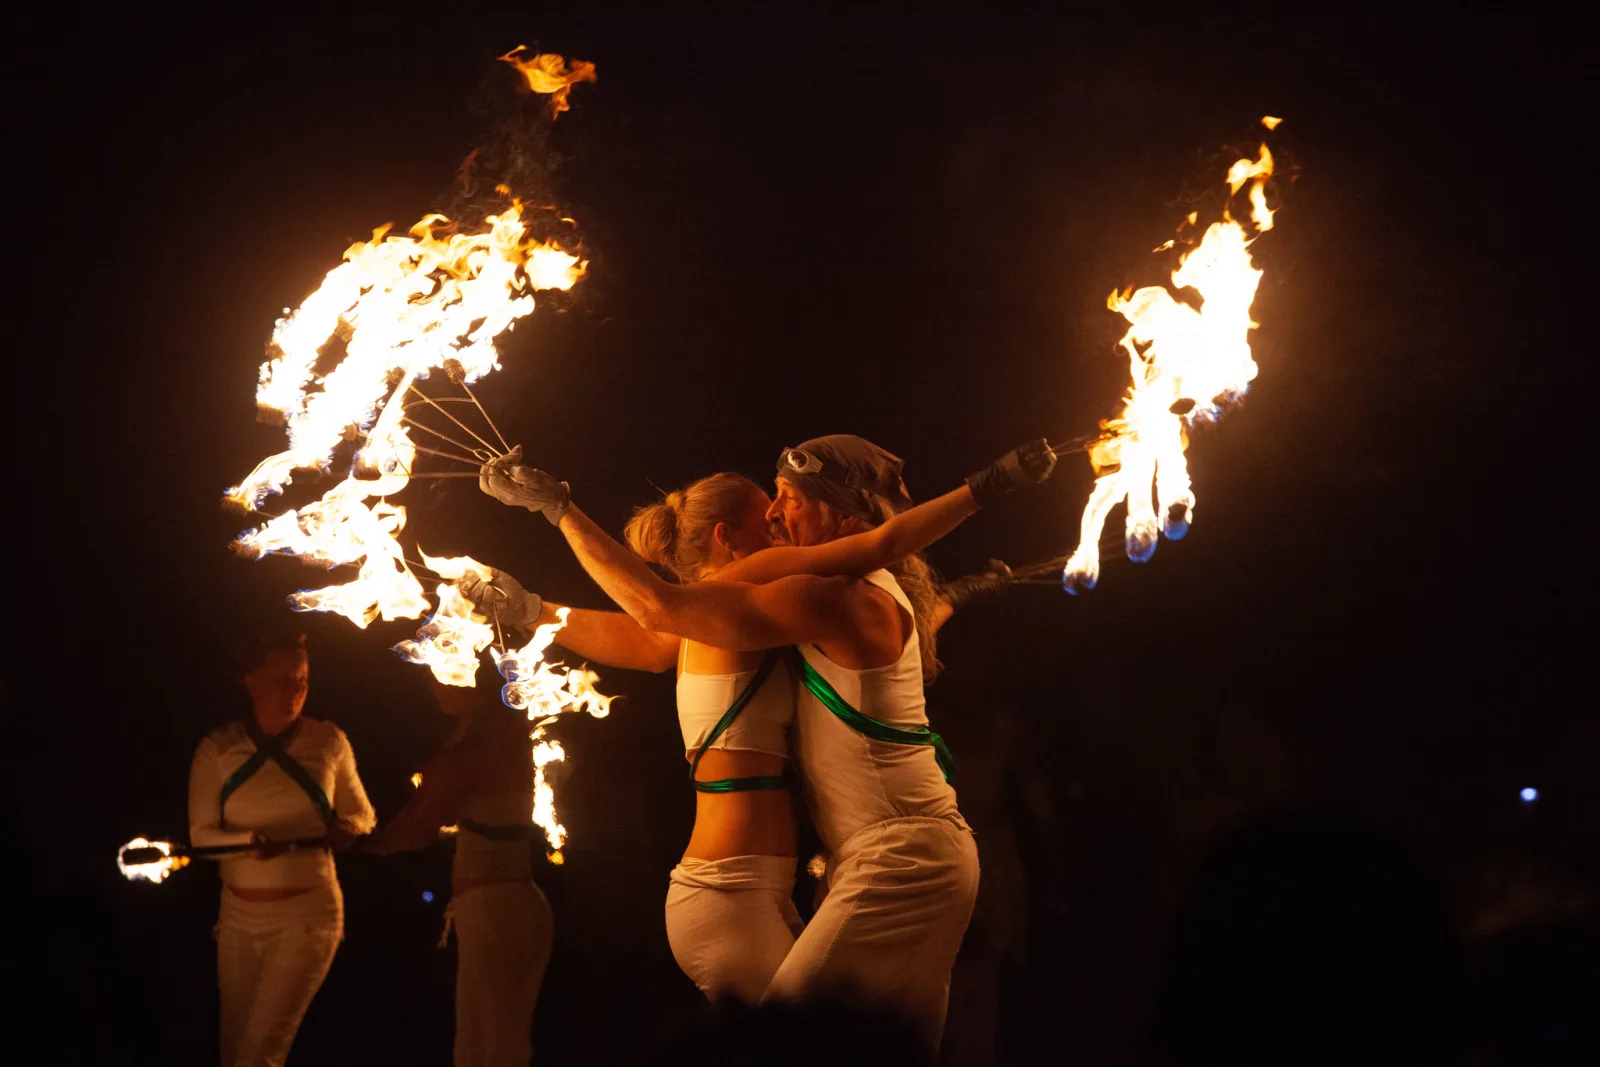
Color is harder still. Stage washes can be deep blue, magenta or red, and many modern lighting rigs change color continuously. Auto white balance tries to neutralize each frame differently, so a sequence of the same moment comes out in several colors. Set a fixed white balance for consistency, shoot RAW so you can adjust later, and decide in editing whether to keep the designer’s color (often the honest choice, because it is part of the show) or pull faces toward natural skin. Saturated red and blue light can clip a single color channel even when the overall exposure looks fine, flattening skin into a smooth blob; slightly underexposing protects that detail.
Focus under stage light needs continuous autofocus (AF-C) so the camera follows the dancer toward and away from you. Choose a focus area around the torso rather than a single tiny point that can slip onto a moving hand, and switch to face or eye detection if your camera handles low light well. If you use a silent electronic shutter, test it first: some stage lighting flickers in a way that shows up as bands across the frame, and fast motion can skew with some sensors. The guide to light flicker and banding explains why.
Why flash is off during performances
Do not use flash during a live performance. It is not only a courtesy rule. A sudden burst of light in a dark theater can startle or momentarily blind a dancer in the middle of a turn, a lift or a landing, and that is a genuine safety risk for people moving at speed, often in pairs. It also distracts the audience and, photographically, a small flash from the audience destroys the lighting design you came to capture and barely reaches the stage anyway.
Flash belongs in the studio, where the dancer knows it is coming and the whole session is built around it. There, a strobe does something shutter speed cannot: in a darkened room where the flash is the only meaningful light, the brief pulse of the flash is effectively the exposure, which can freeze hair and fabric completely. The guide to flash duration explains why lower power settings usually give the shortest bursts, and flash photography covers the basics.
Lines, extension and where to crop
Dancers judge photographs differently from everyone else. A frame you love for its energy may be one they would never share, because the supporting knee is soft, a foot is sickled (rolled inward instead of pointed along the line of the leg), the hips are crooked, or the leg has not quite reached full extension. The best dance images show a clean line that runs through the body and out past the fingertips and toes.
- Wait for full extension. The frame a fraction before the peak often shows a bent leg on its way up. This is another reason to fire early and choose from a short burst.
- Watch the hands and feet. They finish the line. A sharp torso with blurred feet usually reads as a failure to dancers, which is why the table pushes you to faster speeds for jumps.
- Mind your angle. Shooting from slightly below the stage edge makes jumps look higher; shooting from high up in a balcony shortens the legs and flattens height. Side-on views show the shape of an arabesque or a split leap best.
- Give the movement room. Leave space in the direction the dancer is traveling or reaching, so the shape does not press against the frame edge.
Cropping matters more in dance than almost anywhere else. Never crop through ankles, wrists, knees or fingers: cutting a pointed foot at the ankle removes the very thing the dancer worked hardest on. If you must crop, crop through the middle of a limb, well away from a joint, or better, keep the whole figure. The general principle is explained in amputation in composition.
Working with dancers in a studio session
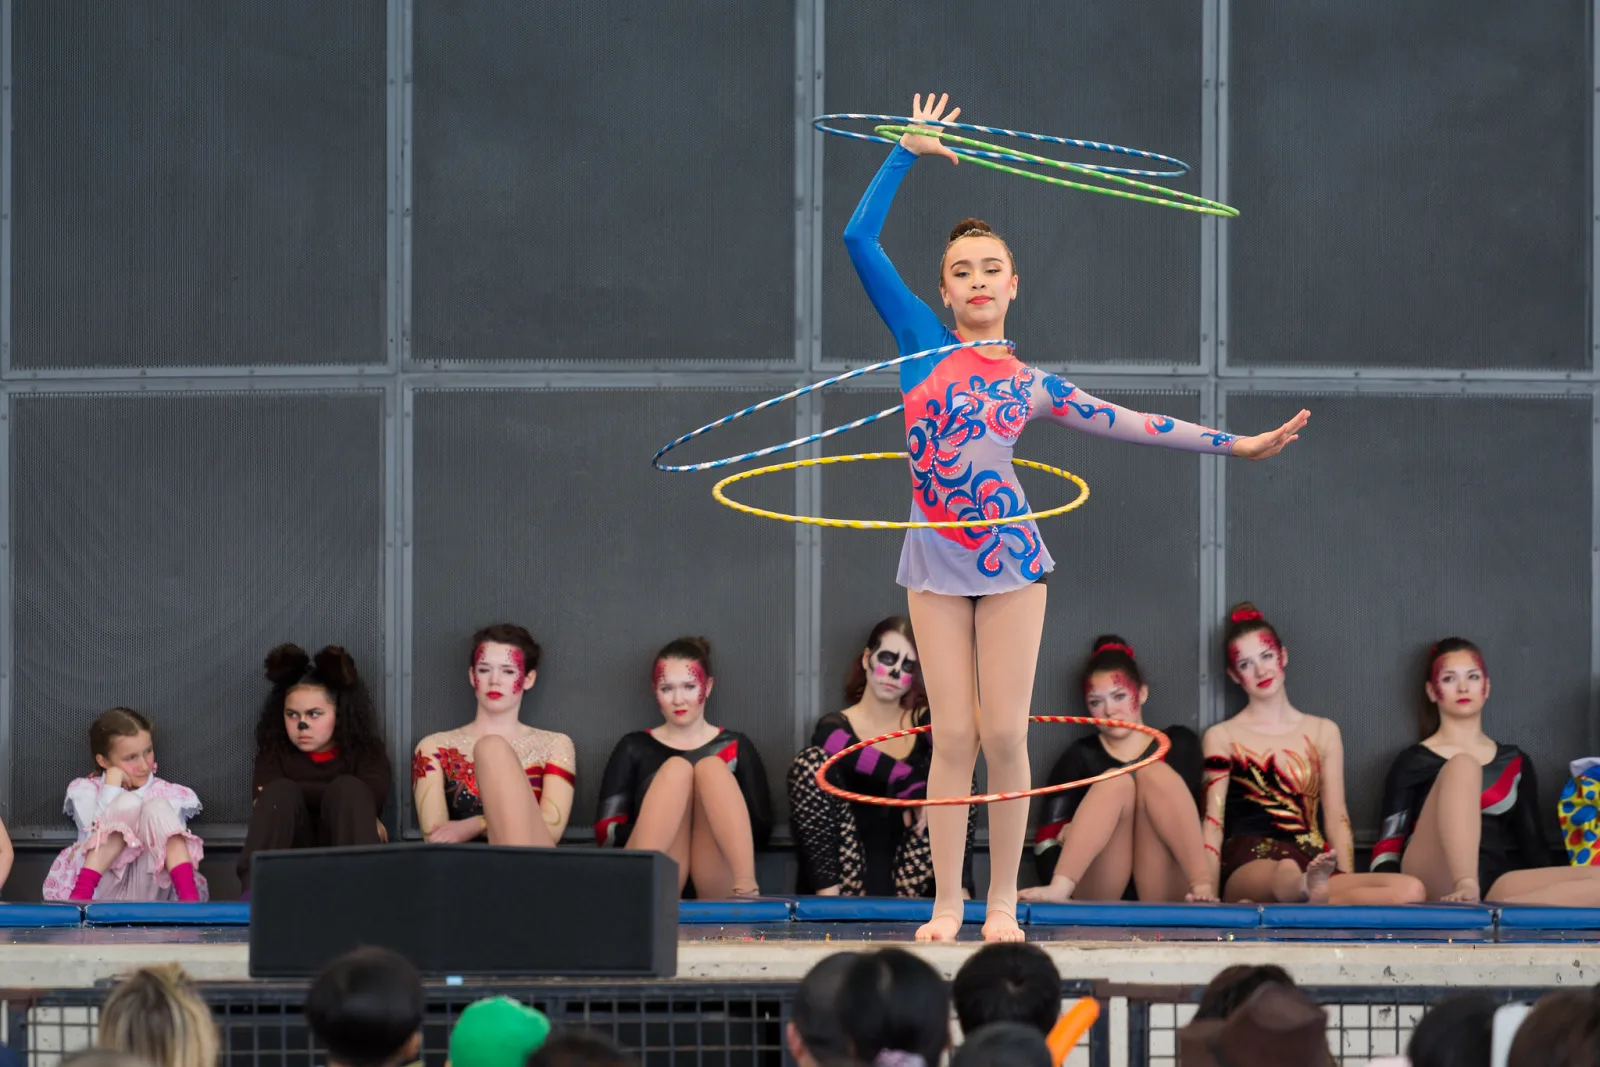
A studio shoot turns dance photography into a collaboration. The dancer knows what their body can do and what looks right; you know what the camera sees. The best sessions use both.
- Agree on the moves in advance. Ask the dancer to bring five or six movements they can perform cleanly and repeatedly. A list prevents a session of random jumping.
- Respect the body. Dancers need to warm up, and repeated jumps are hard on joints. Shoot on a suitable dance floor rather than bare concrete, plan the biggest jumps early while legs are fresh, and let the dancer set the number of repetitions. Twenty identical leaps is too many.
- Count them in. Agree on a count (“five, six, seven, eight”) so you both know when the jump leaves the floor. Your timing improves dramatically when you share the rhythm.
- Show the back of the camera. After a few attempts, show the dancer the frames. They will spot a sickled foot or dropped shoulder you missed, and they will correct it on the next take.
- Simplify the background. A plain dark or light background makes the line of the body the whole subject. Leave generous space around the dancer so you can frame the full figure without cutting limbs.
Lighting from the side or slightly behind (rim light) sculpts muscle and separates the silhouette from the background, which suits dance. For shape-driven images, a fully backlit figure against a bright background is a strong option; see silhouette photography.
Permission, venues and publishing
Most theaters and dance companies do not allow photography during performances without prior permission, and many forbid it entirely for the audience. Choreography, costumes and lighting design are creative work, and companies control how they are recorded. If you want to photograph a production, contact the company or venue, explain what you want to do, and ask whether you can attend a dress rehearsal. That is also where you will get your best images.
For school recitals and children’s performances, follow the organizer’s rules. Many restrict photography to the parents of performers or to an official photographer, often to protect children whose families have not consented. The guide to photographing your kids at a school play covers the practical side.
Publishing is a separate question from taking the picture. Using images of identifiable dancers commercially, and in some places at all, can require written consent, and images of minors call for extra care. Rules vary widely by country and by use, so treat this as general background rather than legal advice and consult a lawyer in your jurisdiction if you plan to sell or license dance photographs. Model release forms explains the concept, and photography etiquette and ethics covers the courtesy side.
Common mistakes
- Pressing the shutter when you see the peak. Your reaction time is about as long as the peak itself. Fire as the dancer takes off.
- Choosing a shutter speed for the body, not the feet. Check hands and feet at full magnification and go faster if they blur.
- Fearing high ISO. A sharp, noisy frame beats a clean, blurred one. Raise ISO before you slow the shutter.
- Letting the meter expose for the dark stage. Lit faces and white costumes blow out. Use manual exposure or spot meter on the skin.
- Leaving white balance on auto under changing lights. Frames of the same moment come out in different colors. Fix the white balance and shoot RAW.
- Cropping at the ankles and wrists. Keep hands and feet in the frame or crop mid-limb.
- Using flash in a performance. It is a safety hazard for dancers and ruins the lighting. Keep flash for the studio.
- Holding the button through a whole phrase. The buffer fills and you miss the next big moment. Use short, early bursts.
Try this
Spend 20 minutes practicing peak timing with any person who can jump, even a child on a trampoline or a friend jumping in a park. Set your camera to 1/1000 second, continuous autofocus and a single-frame drive mode (not burst). Ask them to jump straight up ten times on a count of three, and try to catch the top of each jump with one press. Then do ten more with a three-frame burst started on “three”. Compare the two sets at full size: count how many frames show the feet at their highest with the legs fully extended. If your single-press frames land late, you have just measured your own delay, and the next ten jumps will show you how early “early” really is.
Frequently asked questions
What shutter speed freezes a dancer?
Start at 1/500 second for general choreography and 1/1000 second for jumps and fast footwork. Flying hair and spinning skirts may need 1/1600 or faster. Check the hands and feet, because they move fastest.
What lens is best for photographing a stage performance?
From the audience, a fast telephoto zoom (around 70 to 200mm at f/2.8) covers most stages. A fast prime lets in more light but restricts framing. Closer positions in the wings or aisles at a dress rehearsal suit a standard zoom.
Can I use flash at a dance recital?
No. Flash can startle or blind a dancer mid-movement, distracts the audience, and flattens the stage lighting. Raise your ISO instead, and check the venue’s photography rules first.
How do I get sharp photos in a dark theater?
Use the widest aperture you have, a shutter speed that suits the movement, and let ISO rise as high as needed. Focus continuously on the torso, expose manually for the lit skin, and time your shots for the peaks, when the dancer is moving slowest.
Related guides
- Concert photography: the same stage lighting problems, with musicians instead of dancers.
- How to freeze motion: the shutter speed principles behind sharp jumps.
- Flash duration: why studio strobes can freeze hair and fabric completely.
- The decisive moment: the idea behind catching the peak of a movement.
- Panning photography: showing speed while keeping the dancer readable.
- Sports photography techniques: anticipation and tracking for any fast-moving subject.
- Amputation in composition: why crops at joints feel wrong.