A polarizing filter (a circular polarizer, or CPL) screws onto the lens and rotates. Turning it blocks polarized light, which removes glare from water, glass, wet rock and leaves, and darkens blue sky. The sky effect is strongest when you point the camera at 90 degrees to the sun, and reflections are cut best at about 30 to 40 degrees to the surface. The filter costs 1 to 2 stops of light.
This guide explains what polarized light is in practical terms, how to rotate the filter and read what it is doing, where it works and where it cannot, and when to take it off. The shorter circular polarizing filter tutorial gives the basics; this page adds the angles, the problems on wide lenses, rainbows, stacking with ND filters, and a checklist of situations where a polarizer does harm.
What polarized light is, in practical terms
Light is a wave that vibrates at right angles to its direction of travel. In ordinary light, straight from the sun or a lamp, those vibrations point in every direction around the beam. In polarized light they mostly line up in one direction. A polarizing filter is a grid at a microscopic scale: it passes vibrations in one direction and blocks those at right angles to it. Turning the filter turns the grid.
Two everyday things polarize light, and both are things photographers want to control:
- Reflection from non-metallic surfaces. Light bouncing off water, glass, paint, plastic, wet stone and waxy leaves comes off partly polarized, with the vibrations parallel to the surface. Turn the filter to block that direction and the reflection fades while the rest of the scene passes.
- Scattering in clear air. Blue sky is sunlight scattered by air molecules, and the scattered light is polarized, most strongly in the part of the sky at right angles to the sun. Block it and the blue darkens while white clouds, which are not polarized, stay bright.
Everything else follows from this. Where the light is not polarized, the filter does nothing except cost you light. That includes direct light from the sun and lamps, reflections from bare metal, and the sky close to the sun or directly opposite it.
How to rotate the filter and read the effect
A polarizer has two rings. The rear ring screws into the lens; the front ring turns freely. The effect goes from minimum to maximum in a quarter turn (90 degrees) and repeats, so there are two maximum positions and two minimum positions in each full rotation.
- Compose first. The effect depends on where the camera points, so frame the picture before adjusting.
- Turn slowly through at least a quarter turn while watching one thing: a patch of sky, the glare on the water, the sheen on a leaf. Turn in the direction that tightens the filter on the lens, so that you do not unscrew it.
- Find the maximum, then decide. Go past the strongest point so that you know where it is, come back to it, and then ease off if the result looks too heavy. Full strength is often too much.
- Check the whole frame, not only the spot you were watching. Look for a sky that is darker on one side, and for reflections you wanted to keep.
- Reset when anything changes. Turning the camera from horizontal to vertical rotates the filter by 90 degrees with it, which swaps maximum for minimum. Pointing in a new direction changes the angle to the sun. Adjust again each time.
If the effect is hard to see through the viewfinder, watch the exposure reading instead. With the camera locked on a tripod in an automatic mode, the shutter speed gets a little longer as the filter blocks more polarized light, and is longest at maximum effect. On a lens whose front turns when it focuses, focus first and set the polarizer last. A deep hood gets in the way of your fingers; the lens hood guide covers the workarounds.
Blue skies: the 90-degree rule and the wide-lens problem
The band of strongest sky polarization lies 90 degrees from the sun. To find it, make a pistol shape with your hand, point your index finger at the sun and stick your thumb out at a right angle. Keeping the finger on the sun, roll your wrist: everywhere the thumb points as it sweeps round is the band where a polarizer has the most effect.
- Low sun (morning and evening). The band runs overhead from north to south. With the sun in the west, shooting north or south gives a strong effect; shooting toward the sun or directly away from it gives almost none.
- High sun (midday). The band lies low around the whole horizon, so the sky near the horizon darkens in every direction and the sky overhead does not.
- Overcast or hazy sky. There is little or no blue to darken. The filter still works on reflections.
Uneven skies on wide lenses
Because the effect changes with the angle from the sun, it changes across the frame of any lens that takes in a broad sweep of sky. A 24 mm lens on full frame sees about 74 degrees from side to side, and a 16 mm lens about 97 degrees. One side of the picture may be at 90 degrees to the sun while the other is at 30 or 40. The result is a dark blue patch or band in one part of the sky fading to pale blue elsewhere, which looks like a fault and is hard to repair in editing.
As a working rule, be careful with clear blue sky on anything wider than about 28 mm on full frame (about 18 mm on APS-C), and expect trouble at 24 mm and wider. See ultra-wide lens for what counts as wide. The ways round it:
- Turn the filter back toward minimum until the sky evens out. You can keep part of the benefit on water and foliage.
- Compose with less sky, or put the sky behind trees, buildings or cloud, which break up the gradient.
- Zoom in or use a longer lens, and the variation across the frame shrinks.
- Take the filter off and darken the sky evenly in editing instead.
It is also easy to overdo a sky. At high altitude or in very clear, dry air, full polarization can turn the blue almost black. Back the filter off until the sky looks like a deep version of what you saw.
Reflections on water, glass and foliage
Reflected glare is most strongly polarized when you look at the surface at a low, slanting angle: about 37 degrees above the surface for water, and about 34 degrees for glass. You do not need to measure it. Roughly a third of the way up from the surface is the zone where the filter can remove a reflection almost completely. Looking straight down at water, or square-on through a window, the reflection is barely polarized and the filter has little effect, so change your position before blaming the filter. Unlike the sky effect, this needs no sun and works just as well under cloud.

| Subject | What the polarizer does | How to get the most from it |
|---|---|---|
| Lakes, rivers, rock pools | Removes sky glare so that you see stones, weed and fish below the surface; water color deepens | Shoot at a slant of roughly 30 to 40 degrees to the surface |
| Waterfalls and wet rock | Takes the white sheen off wet stone and adds 1 to 2 stops of exposure time | Ease off from maximum so that the rocks still look wet |
| Leaves and grass | Removes the pale sky reflection from waxy or wet leaves, so greens and autumn colors look richer | Works best on damp, overcast days; watch one shiny leaf as you turn |
| Windows and display cases | Fades reflections of the room or street so that you can see through the glass | Stand at an angle of about 30 to 40 degrees to the glass, not square-on |
| Painted cars | Clears reflections from paint and from the windshield | Each panel faces a different way, so choose which panel matters most |
| Bare metal, chrome, mirrors | Almost nothing: reflections from bare metal are not polarized | Move the camera or the light instead |
Related guides go further on each of these: waterfalls, forest photography, fall color, cars, and photographing through glass. Leaves gain so much because their true color sits under a thin layer of reflected sky. Take the reflection away and the saturation that was always there becomes visible.
Rainbows, and when to leave some reflection in
A rainbow is made of light that has been reflected inside raindrops, and it is strongly polarized. Turn the filter one way and the bow fades out completely; turn it a quarter turn and the bow stands out more vividly against the cloud, because the filter is passing the bow and holding back some of the background. Always rotate while watching the rainbow itself. The rainbow editing guide covers what to do with the file afterward.

The same caution applies to reflections you want. Maximum polarization is not automatically the best setting:
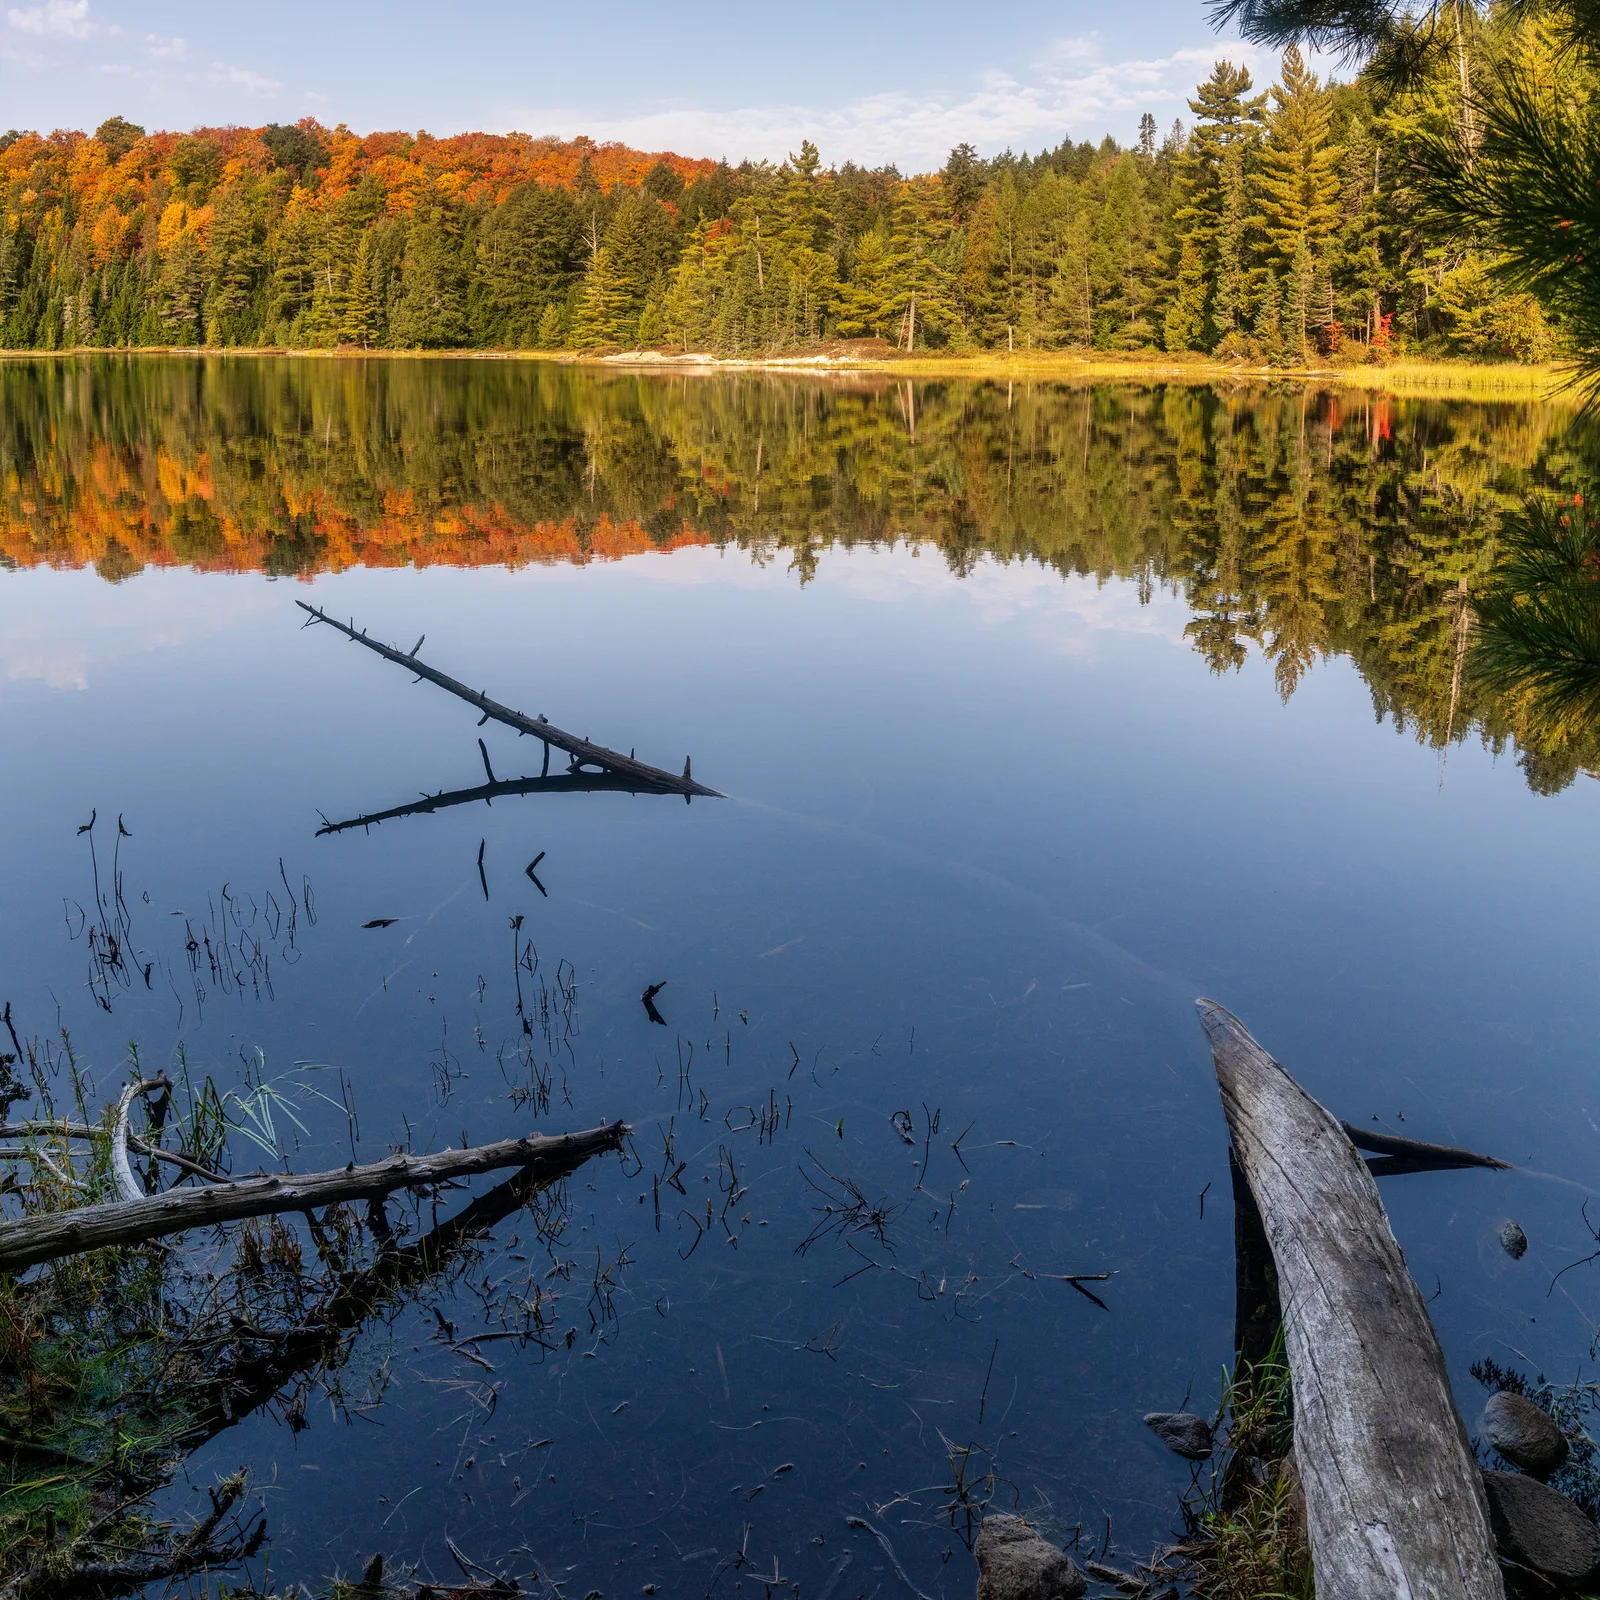
- Mirror reflections in still water. If the reflected mountains or trees are the subject, removing them removes the picture. Use the minimum position, or take the filter off. More on this in reflection photography.
- The wet look. Wet rock, wet streets and dewy leaves read as wet because of their shine. Strip all of it and they look dry and dull.
The light cost: 1 to 2 stops
A polarizer blocks roughly half to three quarters of the light at any setting, which is 1 to 2 stops; about 1.5 stops is typical. The camera meters through the filter, so exposure stays correct automatically. What changes is the setting that has to give way:
- 1/500 second without the filter becomes about 1/160 with it, at the same aperture and ISO.
- To keep 1/500 for moving subjects, raise the ISO from 100 to about 300, or open the aperture by a stop and a half.
- On a tripod the loss is free, and for moving water it is useful: the polarizer acts as a weak ND filter.
Circular versus linear polarizers
Both kinds polarize the scene in exactly the same way, and “circular” has nothing to do with the round shape. A linear polarizer is the polarizing layer alone. A circular polarizer adds a second layer behind it, a quarter-wave plate, which converts the light leaving the filter into a form that behaves like unpolarized light inside the camera.
That matters because many cameras with a reflex mirror split off part of the light to their autofocus and metering sensors using partly reflecting surfaces, and those surfaces respond differently to polarized light. A linear polarizer can make such a camera misjudge exposure or focus. A circular polarizer avoids the problem. Mirrorless cameras, which focus and meter from the main sensor, are generally unaffected by either type, but circular is the safe choice for any camera.
A circular polarizer only works one way round. To check which type you have, or whether a filter is fitted correctly, hold it up to a phone or computer screen, most of which give off polarized light. Looking through it the same way the camera does, with the threaded side toward your eye, the screen should go dark at some point as you rotate. Flip a circular polarizer over and the screen no longer goes dark; a linear polarizer darkens it from both sides.
When to take the polarizer off
| Situation | Why it hurts |
|---|---|
| Night and low light | Nothing useful to polarize, 1 to 2 stops lost, and two extra glass layers add ghosts around lamps |
| Stitched panoramas | Each frame points at a different angle to the sun, so the sky darkens unevenly and the joins show as bands |
| Sun in or near the frame | No sky effect near the sun, and the extra glass increases flare |
| Wide lens with a large area of clear blue sky | Dark patch in part of the sky |
| Aircraft windows and other clear plastic | Stress in the plastic shows as rainbow-colored bands and blotches |
| Phone, monitor and dashboard screens | The screen may turn dark or change color, since its light is already polarized |
| Action and wildlife in modest light | The lost stops cost shutter speed you cannot spare |
Panoramas deserve the strongest warning, because the damage is only obvious after stitching. If you have already shot one with the filter on, fixing a panorama shot with a polarizing filter explains the repair. For the general mechanics of ghosts and veiling glare from extra glass, see lens flare.
Stacking a polarizer with ND filters
A polarizer and a neutral density filter do different jobs and combine well for water: the polarizer clears the glare, the ND lengthens the exposure. The stops add. A 1.5-stop polarizer on a 6-stop ND gives 7.5 stops; use that total when you convert the exposure time, as set out in the ND filter guide.
- Set the polarizer before it gets dark. Fit the polarizer to the lens, rotate it while you can still see the effect, then screw the ND onto the front of it. Hold the polarizer’s rotating ring still while you thread the ND, or its setting will move.
- Take the UV filter off first. Three layers of glass invite reflections and dark corners. See UV filter for when that filter is worth using at all.
- Watch the corners on wide lenses. Two filter rings stand well forward of the front element and can cause vignetting. Slim-ring filters or a single larger filter on a step-up ring reduce it.
- Do not stack a polarizer with a variable ND. A variable ND is itself a pair of polarizers. Adding a third produces uneven darkening and color shifts that change as you turn any of the rings.
Common mistakes
Fitting the filter and never rotating it. At a random setting it may be doing nothing except losing light. Fix: rotate through a quarter turn for every new composition.
Forgetting to readjust after turning the camera vertical. The effect flips from maximum to minimum. Fix: rotate again whenever you change orientation or direction.
Using full strength on a wide lens under clear sky. One part of the sky goes dark. Fix: ease off, include less sky, or remove the filter.
Expecting it to work square-on to a window. Reflections seen straight on are hardly polarized. Fix: move so that you view the glass at about 30 to 40 degrees to its surface.
Leaving it on as lens protection. You lose 1 to 2 stops in every picture and gain uneven skies and flare. Fix: fit it for a reason and take it off afterward.
Try this
You need a polarizer and a sunny day with some blue sky. Allow 15 minutes.
- Use the finger-and-thumb method to find the band of sky at 90 degrees to the sun. Point the camera there at about 50 mm and take two frames: filter at minimum, filter at maximum. Compare the sky.
- Turn to face away from the sun, with it directly behind you, and repeat. The two frames should look almost the same.
- Go back to the first direction, switch to your widest focal length with plenty of sky in the frame, and shoot at maximum. Look for the dark patch.
- Find a window, a car or a puddle. Stand square-on and rotate the filter: little happens. Move round until you are looking at about a third of the way up from the surface and rotate again: the reflection fades.
- Note the shutter speed with and without the filter in one scene. The difference in stops is your own filter’s light cost.
Frequently asked questions
Should I leave a polarizer on all the time?
No. It costs 1 to 2 stops of light in every frame, adds a risk of flare, and can produce uneven skies on wide lenses. Fit it when there is glare or sky to control, and remove it at night, indoors, for panoramas and for fast action.
Does a polarizer work on a cloudy day?
Yes, for reflections. Overcast skies have no blue to darken, but glare on water, wet rock and foliage is still polarized, and removing it is often the best use of the filter. Woodland and waterfalls on damp, gray days benefit most.
Why is my sky dark in one corner with a polarizer?
The lens is wide enough to see parts of the sky at very different angles from the sun, and the filter darkens only the part near 90 degrees. Turn the filter back toward minimum, use a longer focal length, or include less sky.
Can the polarizer effect be added in editing?
Partly. Darkening a blue sky is easy to imitate. Removing a reflection is not, because the glare has replaced the detail underneath it in the file. For water, glass and foliage, the filter has to be on the lens when the picture is taken.
Related guides
- How to use a circular polarizing filter: the short introduction, with ideas for subjects.
- ND filter guide: strengths and exposure times when you stack an ND on the polarizer.
- UV filter: whether a protective filter is worth fitting, and when to remove it.
- Fixing a panorama shot with a polarizing filter: repairing banded skies after the fact.
- Reflection photography: scenes where you keep the reflection instead of removing it.
- Lens hood: shading the lens while still reaching the filter ring.