An ND (neutral density) filter is dark glass that cuts the light entering the lens without changing its colour, so you can use a slower shutter speed or a wider aperture than the scene would otherwise allow. Strength is counted in stops, and each stop doubles the exposure time: a 3-stop filter (ND8) multiplies it by 8, a 6-stop (ND64) by 64, and a 10-stop (ND1000) by about 1,000, turning 1/60 second into roughly 15 seconds.
Want to try a 3, 6 or 10 stop filter before buying one? The camera simulator has all three on its Seascape scene, and shows the water smooth out as the shutter lengthens.
This guide covers the whole subject: the three naming systems in one table, how to convert exposure times, which strength suits which job, fixed against variable filters, colour casts, light leaks, the order of work with a filter too dark to see through, graduated filters and video. For the shooting technique itself, read long exposure photography; to skip the arithmetic, use the ND filter exposure calculator. This page explains the reasoning behind both.
What an ND filter does, and the three reasons to use one
Exposure is set by aperture, shutter speed and ISO. In bright light you run out of room: at base ISO, a sunny scene needs about 1/125 second at f/16, and there is nothing left to turn down. An ND filter adds a fourth control. It removes a known amount of light in front of the lens, which lets you choose the shutter speed or aperture you want for the look of the picture and still expose correctly.
- Longer shutter speeds for motion. Water, cloud, crowds and traffic blur into smooth shapes when the shutter stays open for seconds or minutes. In daylight that is only possible with a filter.
- Wider apertures in bright light. A sunny scene at f/1.4 and ISO 100 needs about 1/12,800 second, faster than many shutters can go. A 3-stop filter brings that to about 1/1,600, so you can keep the shallow depth of field. With flash the limit is tighter still: to stay at a sync speed of 1/200 at f/1.4 in sun you need about 6 stops, the alternative to high-speed sync.
- A fixed shutter speed for video. Video shutter speed is tied to the frame rate, so the filter becomes the main exposure control outdoors. This is covered below.
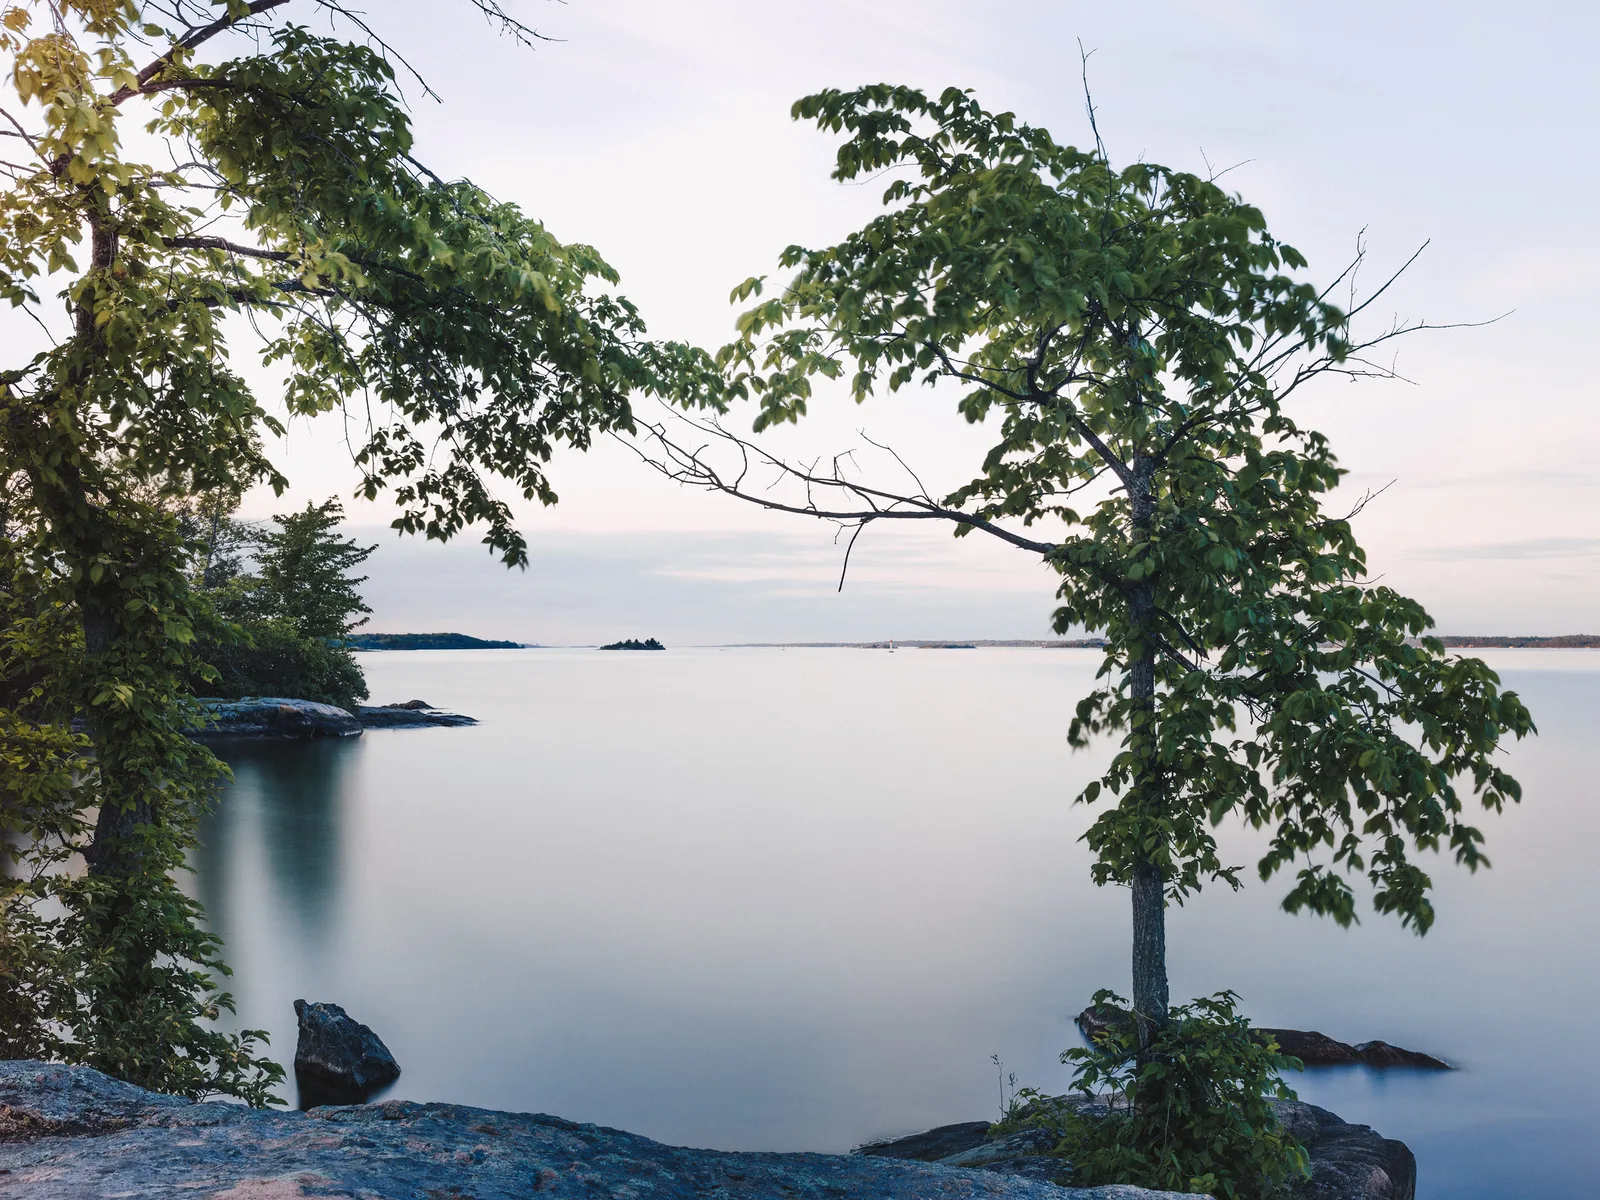
ND filter strengths: stops, ND numbers and optical density
The same filter can carry three different labels, which is the main source of confusion when buying or reading about them.
- Stops. The number of times the light is halved. This is the figure you use in the field.
- ND number (filter factor). How many times longer the exposure becomes: 2 multiplied by itself once for each stop. ND8 means the light is cut to one eighth, which is 3 stops.
- Optical density. A logarithmic scale used in optics, where each stop adds 0.3. A density of 0.9 is 3 stops.
| Stops | ND number | Optical density | Light transmitted | Exposure time multiplied by |
|---|---|---|---|---|
| 1 | ND2 | 0.3 | 50% | 2 |
| 2 | ND4 | 0.6 | 25% | 4 |
| 3 | ND8 | 0.9 | 12.5% | 8 |
| 4 | ND16 | 1.2 | 6.25% | 16 |
| 5 | ND32 | 1.5 | About 3% | 32 |
| 6 | ND64 | 1.8 | About 1.6% | 64 |
| 8 | ND256 | 2.4 | About 0.4% | 256 |
| 10 | ND1000 (strictly ND1024) | 3.0 | About 0.1% | 1,024 |
| 15 | ND32000 (strictly ND32768) | 4.5 | About 0.003% | 32,768 |
Two cautions. First, do not mix the scales: “ND 0.9” and “ND8” are the same 3-stop filter, while “ND 1.8” is 6 stops and “ND16” is only 4. Second, the printed strength is nominal. A filter sold as 10 stops may measure a third of a stop either side, so treat your first frame as a test and adjust.
Stacking filters adds the stops and the densities, and multiplies the ND numbers. A 3-stop on a 10-stop gives 13 stops: 0.9 + 3.0 = 3.9, or ND8 x ND1000 = ND8000.
Which strength for which job
| Strength | Typical use | What it gives |
|---|---|---|
| 2 to 3 stops | Wide apertures in sun; waterfalls in shade or under cloud; video in soft light | 1/4 to 1 second in dull light, where a polariser alone is not quite enough |
| 6 stops | Waterfalls and streams in daylight; sea and lakes around sunrise and sunset; video at wide apertures in full sun | 1 to 30 seconds near the ends of the day |
| 10 stops | Smooth water and streaked cloud in full daylight; emptying a busy scene of moving people | 4 seconds to several minutes in daylight |
| 13 to 15 stops | Multi-minute exposures at midday | 1 to 5 minutes in full sun |
If you own only one, a 6-stop is the most broadly useful for stills: it reaches worthwhile times at the ends of the day and can still be focused through on many cameras.
Converting exposure times: each stop doubles
The method never changes. Meter the scene without the filter at the aperture and ISO you intend to use, note the shutter speed, then double it once for every stop of filter. Three stops is three doublings: multiply by 8.
| Metered time without filter | With 3 stops (ND8) | With 6 stops (ND64) | With 10 stops (ND1000) |
|---|---|---|---|
| 1/500 | 1/60 | 1/8 | 2 seconds |
| 1/250 | 1/30 | 1/4 | 4 seconds |
| 1/125 | 1/15 | 1/2 | 8 seconds |
| 1/60 | 1/8 | 1 second | 15 seconds |
| 1/30 | 1/4 | 2 seconds | 30 seconds |
| 1/15 | 1/2 | 4 seconds | 1 minute |
| 1/8 | 1 second | 8 seconds | 2 minutes |
| 1/4 | 2 seconds | 15 seconds | 4 minutes |
| 1/2 | 4 seconds | 30 seconds | 8 minutes |
| 1 second | 8 seconds | 1 minute | 16 minutes |
The figures are rounded to the standard shutter-speed series, as camera dials are. Two shortcuts are worth remembering:
- 10 stops: multiply by 1,000. Read the bottom number of the metered fraction and divide 1,000 by it. 1/250 becomes 1,000 / 250 = 4 seconds. 1/30 becomes about 30 seconds.
- 6 stops: multiply by about 60. 1/60 becomes 1 second, 1/15 becomes 4 seconds, 1/4 becomes 15 seconds.
Most cameras time exposures up to 30 seconds themselves. Beyond that, switch to bulb mode and time the exposure with a remote release or the camera’s bulb timer. For any combination not in the table, the exposure calculator does the conversion for filters from 1 to 15 stops.
Light is rarely constant over a long exposure. After sunset it fades quickly, so add time, up to double, when the light is falling, and subtract when it is rising at dawn. Then check the histogram and correct by whole doublings or halvings: an image one stop too dark needs twice the time, not a few seconds more.
Fixed versus variable ND filters
A fixed ND has one strength. A variable ND is two polarising layers in a rotating mount: as you turn the front ring, the layers move toward being crossed and pass less light, giving a continuous range that is typically marked from about 1 or 2 stops up to 5 to 9 stops.
| Fixed ND | Variable ND | |
|---|---|---|
| Strength | One known value | Adjustable, with approximate markings |
| Exposure calculation | Exact and repeatable | Uncertain, so meter through the filter |
| Evenness | Even across the frame | Dark cross pattern near maximum, worst on wide lenses |
| Colour | A constant cast, easy to correct | Cast can change as you rotate |
| Side effects | None | Acts as a polariser: alters reflections and can make blue sky uneven |
| Best for | Long-exposure stills, 6 stops and beyond | Video and wide-aperture stills, where the light keeps changing |
The cross pattern
Turn a variable ND toward its darkest setting and a broad, dark X or a pair of dark bands appears across the frame. That is how crossed polarisers behave. They block light most completely for rays arriving straight on, and less evenly for rays arriving at an angle, so a lens with a wide angle of view sees different densities across the picture. The fixes are all about staying inside the usable range:
- Back the ring off from the maximum until the pattern goes. On most filters the last stop or two of the marked range is the problem area.
- Use a longer focal length. The pattern shows earliest on wide-angle lenses and may never appear on a short telephoto.
- If you need more density than the clean range gives, use a fixed filter of the right strength. Do not push the variable one harder.
Colour casts and how to correct them
“Neutral” is an aim, and many filters miss it slightly, the dense ones most of all. The common results are a cool blue shift, a warm brown shift, or magenta. One cause is infrared: a very dark filter can block visible light more thoroughly than it blocks the near infrared just beyond red, so the infrared makes up a larger share of what reaches the sensor and tints dark tones and foliage reddish brown or magenta.
- Shoot raw. A uniform cast is then a white balance adjustment with no loss.
- Do not rely on auto white balance through a dense filter. It can drift from frame to frame. Set a fixed white balance, or make a custom setting through the filter from a grey or white surface.
- Watch for uneven casts. If the corners are a different colour from the centre, a single white balance value cannot fix it. That usually comes from stacking filters or from a variable ND near its limit, and the cure is to remove a layer. More on diagnosing tints is in colour cast.
Light leaks in long exposures
With 10 stops in front of the lens, the light coming through it is a thousand times weaker than normal. Any other path into the camera, however small, now matters. Leaks show as a magenta or purple glow, a pale band along one edge, or streaks that sit in the same place in every frame.
- The viewfinder eyepiece. On a camera with an optical viewfinder, light entering the eyepiece from behind can reach the sensor during a long exposure, and it also upsets the meter. Close the eyepiece shutter if the camera has one, or fit the small eyepiece cover that often comes on the strap. A piece of dark cloth works too. Mirrorless cameras have no optical path from the eyepiece to the sensor, so this leak does not apply to them.
- The gap behind a square filter. A slot-in filter that does not sit flush against its holder lets light in around the edge, which reflects off the back of the filter into the lens. Filters made for long exposures have a foam gasket on the back; use the slot nearest the lens and press the gasket flat.
To test your set-up, fit the filter, cover the front of it with something opaque, and make a 2-minute exposure in bright daylight with the eyepiece uncovered. The frame should be black. If it is not, repeat with the eyepiece covered to find where the light got in.
Compose and focus first, then fit the filter
Through a 10-stop filter, an optical viewfinder shows almost nothing and autofocus usually fails. Many mirrorless cameras can brighten the live view enough to compose and even focus through 6 stops, sometimes more, but the dependable routine does not rely on that:
- Set up on a tripod and compose without the filter.
- Focus, then switch to manual focus so the camera cannot hunt once the filter is on.
- Set the aperture and ISO you want, and meter. Note the shutter speed.
- Switch to manual exposure or bulb so the settings cannot change.
- Fit the filter gently, without turning the focus or zoom ring. On a screw-in filter, hold the lens barrel still while you thread it.
- Work out the new time from the table and set it.
- Cover the eyepiece, turn off image stabilisation, and release the shutter with a remote or the self-timer.
- Check the histogram and adjust by doubling or halving.
For screw-in filters, buy the size of your largest lens thread and use step-up rings on smaller lenses. Remove any UV filter first: stacking adds reflections and can darken the corners on wide lenses (see vignetting). An ND can be combined with a polarising filter, which itself costs 1 to 2 stops; add those to the total. One safety point: an ordinary photographic ND is not a solar filter, and is not safe for looking at the sun through an optical viewfinder.
The two mounting styles suit different habits. A screw-in filter threads straight onto the front of the lens: it is compact and quick to fit, but every lens thread size needs its own filter or a step-up ring. A square or rectangular system mounts a holder on the lens and you slide the filter into it, so one filter serves lenses of any thread size, filters can be stacked or swapped for a graduated one, and the holder is the part you match to each lens.
Graduated ND filters in brief
A graduated ND is dark at the top and clear at the bottom, with a soft or hard transition between. It does not lengthen the whole exposure; it holds back a bright sky so that sky and land fit in one frame. The usual strengths are 2 and 3 stops (0.6 and 0.9), and the rectangular kind slides in a holder so that the transition can be placed on the horizon. The graduated ND filter page explains the types, and how to use graduated neutral density filters covers placement and the alternative of blending exposures.
ND filters for video: the 180-degree shutter
Natural-looking motion in video comes from a shutter speed of about one over twice the frame rate, a convention known as the 180-degree shutter: 1/50 at 24 or 25 frames per second, 1/60 at 30, 1/125 at 60. Faster speeds make movement look choppy. That fixes the shutter, so outdoors the only ways left to control exposure are the aperture, which you may want wide, and an ND filter.
The arithmetic is the same as for stills. In full sun at ISO 100, correct exposure at 1/50 second is about f/22. To shoot at f/2.8 instead you have opened up 6 stops, so you need a 6-stop filter; at f/4, 5 stops; at f/5.6, 4 stops. Because the light changes from shot to shot and the shutter cannot move, this is where a variable ND is most useful, within its clean range. The full set-up is in camera settings for video.
Common mistakes
Mixing up the labels. Buying an “ND16” expecting 16 stops gives you 4. Fix: convert every label to stops using the table before you buy or calculate.
Focusing after the filter is on. The camera hunts or locks on nothing, and the frame is soft. Fix: focus first, switch to manual focus, then fit the filter.
Leaving the eyepiece open on a camera with an optical viewfinder. A magenta glow or band appears in long exposures. Fix: close or cover the eyepiece every time.
Turning a variable ND to its maximum on a wide lens. A dark X crosses the frame. Fix: back off the ring, zoom in, or use a fixed filter.
Correcting a dark frame by adding a few seconds. Ten more seconds on a two-minute exposure changes almost nothing. Fix: think in stops; double the time for one stop brighter.
Try this
You can practise the conversion without owning a filter. In about 15 minutes, in daylight:
- Set ISO 100 and f/8 in aperture priority, point the camera at an evenly lit outdoor scene, and note the shutter speed.
- Without looking at the table, work out the time for 3, 6 and 10 stops. Then check yourself against the table or the calculator.
- Repeat for a scene in open shade, and again indoors by a window. Notice how quickly 10 stops reaches minutes once the light drops.
- If you have a filter, fit it using the eight-step routine above, shoot at your calculated time, and read the histogram. If the frame is off, your filter is stronger or weaker than its label: note the difference in thirds of a stop and write it on the filter case.
Frequently asked questions
How many stops is an ND1000 filter?
About 10 stops. Ten stops is strictly a factor of 1,024, which makers round to ND1000; in optical density it is 3.0. It lets through roughly one thousandth of the light, so 1/125 second becomes about 8 seconds.
What ND filter do I need for waterfalls?
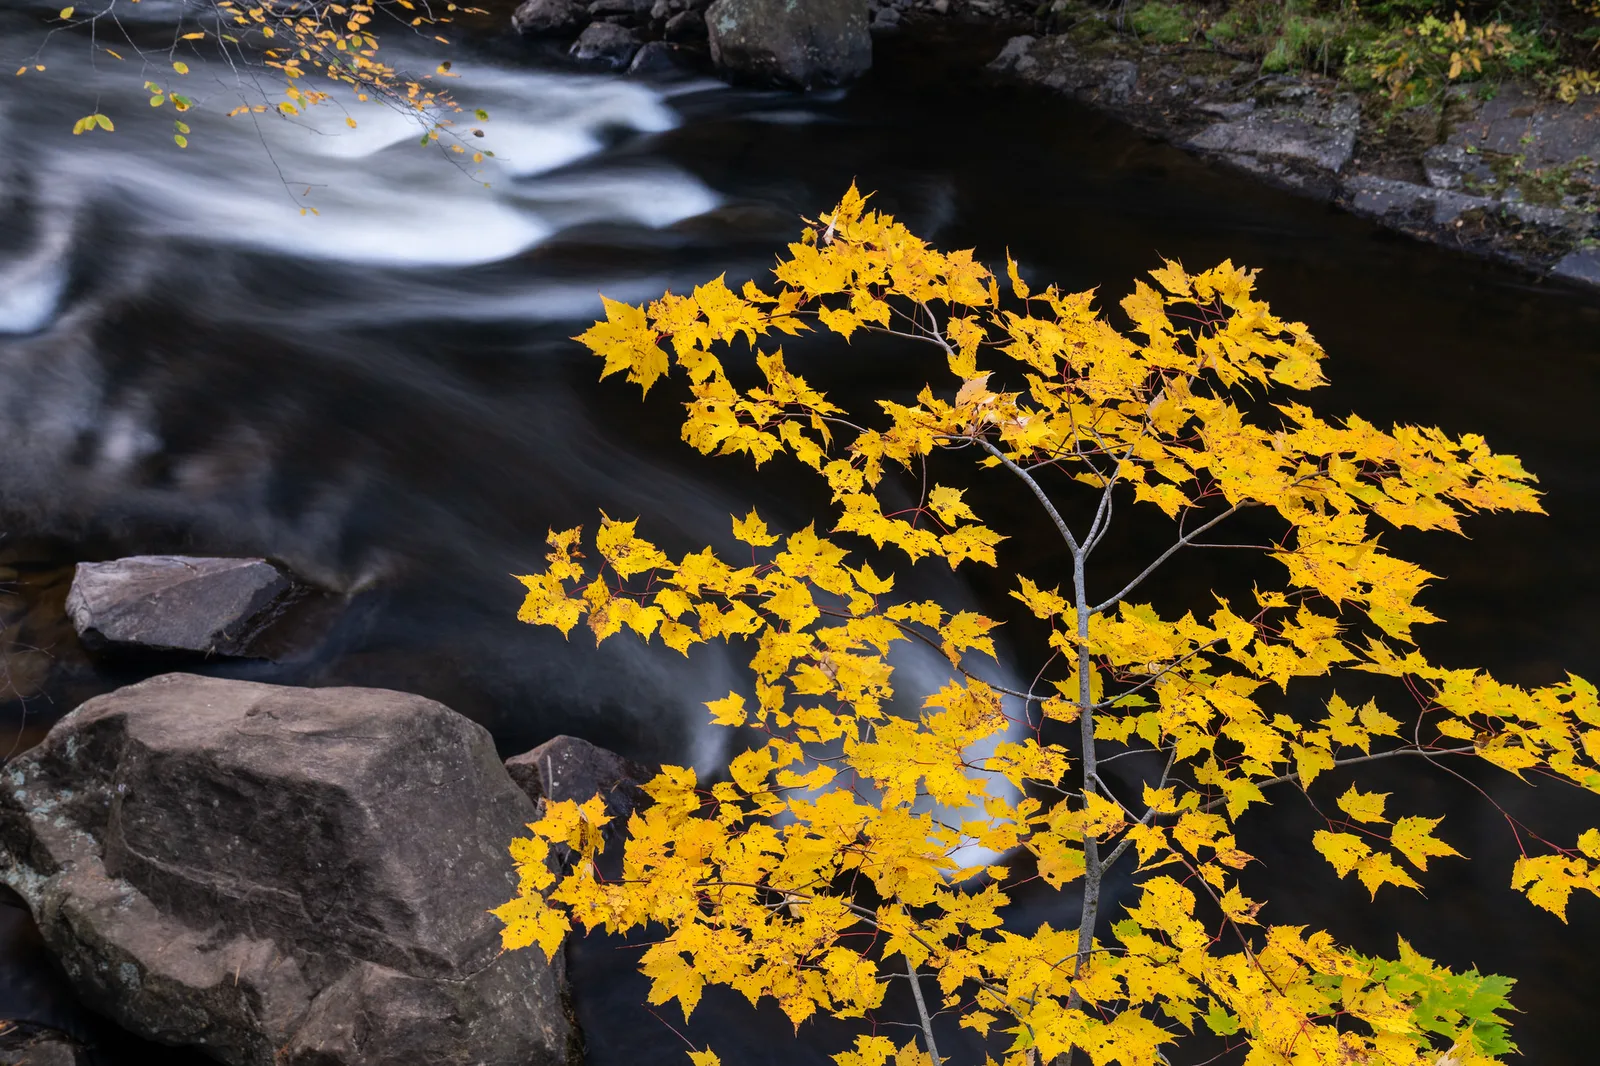
Usually 3 to 6 stops. Moving water starts to look silky at around half a second to 2 seconds, and waterfalls are often in shade, where a 3-stop filter or a polariser is enough. In brighter light use 6 stops. The waterfall guide covers shutter speeds for different flows.
Is a variable ND filter good for long exposures?
Not ideal. Its strength is only roughly marked, so the exposure time cannot be calculated precisely, and at the dark end of its range it produces a cross pattern, especially on wide lenses. Variable filters suit video and wide-aperture shooting; fixed 6-stop and 10-stop filters suit long-exposure stills.
Can I stack two ND filters?
Yes. The stops add: a 6-stop and a 10-stop give 16. Expect a stronger colour cast, more risk of dark corners on wide lenses, and more reflections between the surfaces, so stack only when a single filter cannot give the time you need.
Related guides
- Long exposure photography: settings, subjects and technique once the filter is on.
- ND filter exposure calculator: converts any base shutter speed for filters of 1 to 15 stops.
- How to photograph waterfalls: matching blur to the flow of the water.
- Polarising filter: the other essential landscape filter, and how it stacks with an ND.
- Graduated ND filter: darkening the sky only.
- Bulb mode: timing exposures longer than 30 seconds.