Getting your photos published in a magazine, online publication or blog is one of the most exciting milestones for a new photographer. It puts your work in front of a large audience, builds credibility and can lead to paid assignments. The process is less mysterious than it seems: find the right publication, follow its rules, and send a clear, polite submission.
Publications need a steady flow of good images. Editors, the people who decide what goes into a publication, are always looking for fresh work that suits their readers. Your job is to make it easy for them to say yes.
This guide explains in plain words the different kinds of publication, how to research where to submit, how to prepare your images and files, how to write a short pitch, what rights you are giving, how to handle rejection and how to follow up. There are step by step checklists, two worked examples, common mistakes, a 10-minute exercise and answers to common questions.
Key words to know
- Editorial. Photos used to tell a story or illustrate an article, rather than to sell a product. Magazine features are editorial.
- Submission. The images and information you send to a publication for consideration.
- Pitch. A short message proposing a story or photo set to an editor.
- Submission guidelines. The publication’s rules about what they accept and how to send it.
- Exclusivity. A promise that the images have not been, and will not be, published elsewhere for a set time.
- Byline or credit. Your name printed with the photo.
- Tear sheet. A copy of the published page, which you can show in your portfolio.
Types of publication
Publications range from large print magazines to small niche blogs. Each has different needs and different chances of acceptance.
Niche and community publications
Small publications focused on one topic, such as a local region, a hobby or a style of wedding, are the best place for beginners. They receive fewer submissions, editors often reply personally, and they value enthusiasm and local knowledge.
Submission based publications
Some publications, especially in wedding, fashion and portrait photography, publish mostly reader submissions. They often have an online form and clear guidelines. Many feature styled shoots and real weddings. These are a common first step for portrait and wedding photographers.
Photography magazines
Magazines about photography itself often run reader galleries, competitions and technique features. They like images with a story behind them, such as how you made the shot and the settings you used.
General interest and news publications
Travel, lifestyle, local news and culture publications use photography to support articles. Here you are often pitching a story with images, or offering your images to a writer. This is closer to photojournalism and usually needs strong storytelling and accurate captions.
Step 1: research the right publication
The biggest reason submissions are rejected is that they do not fit the publication. Spend time reading before you send anything.
- Read several issues or posts. Notice the style of photography, the subjects and the tone.
- Look at who they feature. Do they publish beginners, local photographers or only well known names?
- Find the submission guidelines. Usually on a page called “submit”, “contribute” or “write for us”, or at the bottom of the site.
- Note the editor’s name. Addressing a real person shows you did your homework.
- Check timing. Print magazines plan months ahead. A summer feature may be chosen in winter.
Make a short list of three to five publications that suit your work, from easiest to most ambitious. Start at the easiest end.
Step 2: choose the right images
Editors want a set of images that work together and tell a story. A random collection of your favorite photos is far less appealing than a tight, consistent set on one theme.
- Tell a story. A beginning, middle and end, or a clear theme that links every image.
- Show variety. Wide establishing shots, medium shots, close up details and people where relevant.
- Keep the editing consistent. The set should look like it belongs together. The consistent editing guide explains how.
- Include both orientations. Horizontal images fit across pages, and vertical images often suit a single page or cover.
- Leave space. Some images with calm areas of sky or background give designers room for headlines and text.
- Be ruthless. Ten excellent images beat forty average ones.
Step 3: prepare your files
Follow the publication’s file requirements exactly. If they do not say, these defaults are safe:
- Preview images. For a first submission, send small JPEG files, around one to two thousand pixels on the long edge, or a link to an online gallery. Never attach huge files to a first email.
- Print ready files. If they accept your images, they will ask for high resolution files. For print, that usually means enough pixels to reach 300 pixels per inch at the printed size. The resolution guide explains this.
- Color space. Export in sRGB unless they ask for something else.
- File names. Use your name and a short description, such as “lee-autumn-elopement-01.jpg”.
- Metadata. Add your name, contact details and copyright notice to the file information. The metadata guide shows how.
Step 4: write captions and credits
Captions help editors understand each image quickly. For each photo, write one or two sentences covering who or what is in it, where it was taken and anything important about the moment. For travel and news, accuracy matters: names must be spelled correctly and facts must be true.
For styled or wedding submissions, include a full credit list for the team, such as the venue, florist, makeup artist and models. Many submission based publications require this.
Step 5: write a short pitch
A pitch is your introduction to the editor. Keep it short, friendly and focused on what the publication’s readers will get.
A good pitch includes:
- A clear subject line, such as “Submission: autumn hillside elopement, 12 images”.
- The editor’s name.
- One sentence about who you are.
- Two or three sentences about the story or set and why it suits their readers.
- The number of images and a link to a preview gallery.
- Whether the images are exclusive or have been shared elsewhere.
- Your contact details and a thank you.
Example pitch
“Hello Sam, I am a portrait and wedding photographer based near the coast. I photographed a small autumn elopement on a hillside at sunset, with wildflowers, a handwritten vow book and soft backlit portraits. I think it would suit your readers who are planning small outdoor weddings. There are twelve images in the set, which you can preview at the link below. The images have not been published anywhere else. A full credit list is included. Thank you for your time, and I look forward to hearing from you.”
For bigger story ideas, some photographers prepare a short visual proposal. The treatments and pitch decks guide explains how to build one.
Rights, fees and what you are agreeing to
Before you submit, understand what you are giving the publication. In most places you keep the copyright to your photos. The publication receives a license, which is permission to use the images in specific ways.
Read the guidelines and any agreement for these points:
- Exclusivity. Many publications want images that have not appeared elsewhere, and may ask you not to share them for a set period.
- Where they can be used. Print only, online only, social media or all of these.
- How long. A one time use or ongoing use.
- Payment. Some publications pay, many smaller ones do not. Know which before you submit.
- Credit. Check your name will appear with the images.
Be careful with any agreement that asks you to transfer copyright or grant unlimited use for free. Unpaid features can be worthwhile for exposure early on, but giving away all rights rarely is. The creative fees and usage fees guide explains how paid editorial work is usually priced.
If the images show people, especially in a styled shoot, make sure you have signed model releases. Some publications require them for any recognizable person.
Step 6: send, track and follow up
Send one submission at a time to one publication, unless the guidelines say simultaneous submissions are fine. Sending the same exclusive set to several editors at once can damage relationships if two say yes.
Keep a simple tracking sheet with:
- The publication and editor.
- The date you sent the submission.
- The set you sent.
- Their stated response time.
- The outcome.
If you hear nothing after their stated response time, or after three to four weeks if none is given, send one short, polite follow up. “Hello Sam, I wanted to follow up on the autumn elopement set I sent on the fifth. I would be happy to send anything else you need.” If there is still no reply after another couple of weeks, it is fine to assume a no and submit elsewhere, ideally letting the first editor know.
Building relationships with editors
Publishing is a people business. Editors remember photographers who are easy to work with, and they often go back to the same people when they need images for a new story. One accepted submission can turn into a regular relationship if you handle it well.
A few simple habits make a big difference. Reply quickly when an editor asks for something. Meet every deadline, or warn them early if you cannot. Send exactly what they asked for, in the format they asked for, with nothing missing. Keep messages short and friendly, and never pester them with frequent check ins.
Once you have worked together, it is fine to send an occasional short note when you have a new set that you think suits them, perhaps a few times a year. Mention the earlier feature so they remember you. Over time, some editors may start commissioning you, which means asking you to photograph a specific story for them, often with payment.
Follow the publication on social media and share their posts when they feature your work. Simple, genuine support builds goodwill and keeps your name in front of the people who decide what gets published.
Handling rejection
Rejection is a normal part of submitting work, even for experienced photographers. Editors turn down good images every day because of space, timing or fit. A no is rarely a judgment on your talent.
When you get a rejection:
- Thank the editor. A short, gracious reply leaves the door open for next time.
- Look for feedback. If they explain why, take it seriously.
- Review the fit. Ask whether the set truly matched their style.
- Move on quickly. Submit to the next publication on your list.
Many photographers send the same set to several publications in turn before it finds a home. Persistence matters more than any single result.
When your work is accepted
Congratulations. Now make the most of it.
- Send files promptly. Deliver the high resolution files and any extra information quickly.
- Respect exclusivity. Do not post the images until the agreed date.
- Share the feature. Once it is live, share it on your website and social channels, tagging the publication and the team.
- Save a tear sheet. Keep a copy or screenshot of the feature for your portfolio.
- Thank the editor. A thank you after publication builds a relationship for future submissions.
Worked example: a travel story for a regional publication
Imagine you spent a weekend photographing a small coastal town during its annual boat festival. You have three hundred images.
Research. You find a regional lifestyle publication that runs short photo stories about local events. Their guidelines ask for a pitch with up to fifteen low resolution images and accurate captions.
Selection. You choose fourteen images: a wide harbor view at dawn, boats being decorated, close ups of hands painting, two portraits of organizers (with signed releases), the parade, a crowd scene, details of food and flags, and a calm sunset to end the story.
Files. You export them at two thousand pixels on the long edge in sRGB, name them clearly and add your copyright details to the metadata.
Captions. You write a short caption for each, checking names and spelling with the organizers.
Pitch. You write a short email to the features editor by name, explaining the story and why it suits their readers, with a link to the preview gallery.
Follow up. After four weeks with no reply, you send one short follow up. The editor replies, asks for eight high resolution files and runs the story with your byline. You add the feature to your website and send a thank you note.
Worked example: a landscape photo for a photography magazine
Imagine you have one strong landscape image of a mountain at sunrise and want to submit it to a reader gallery in a photography magazine.
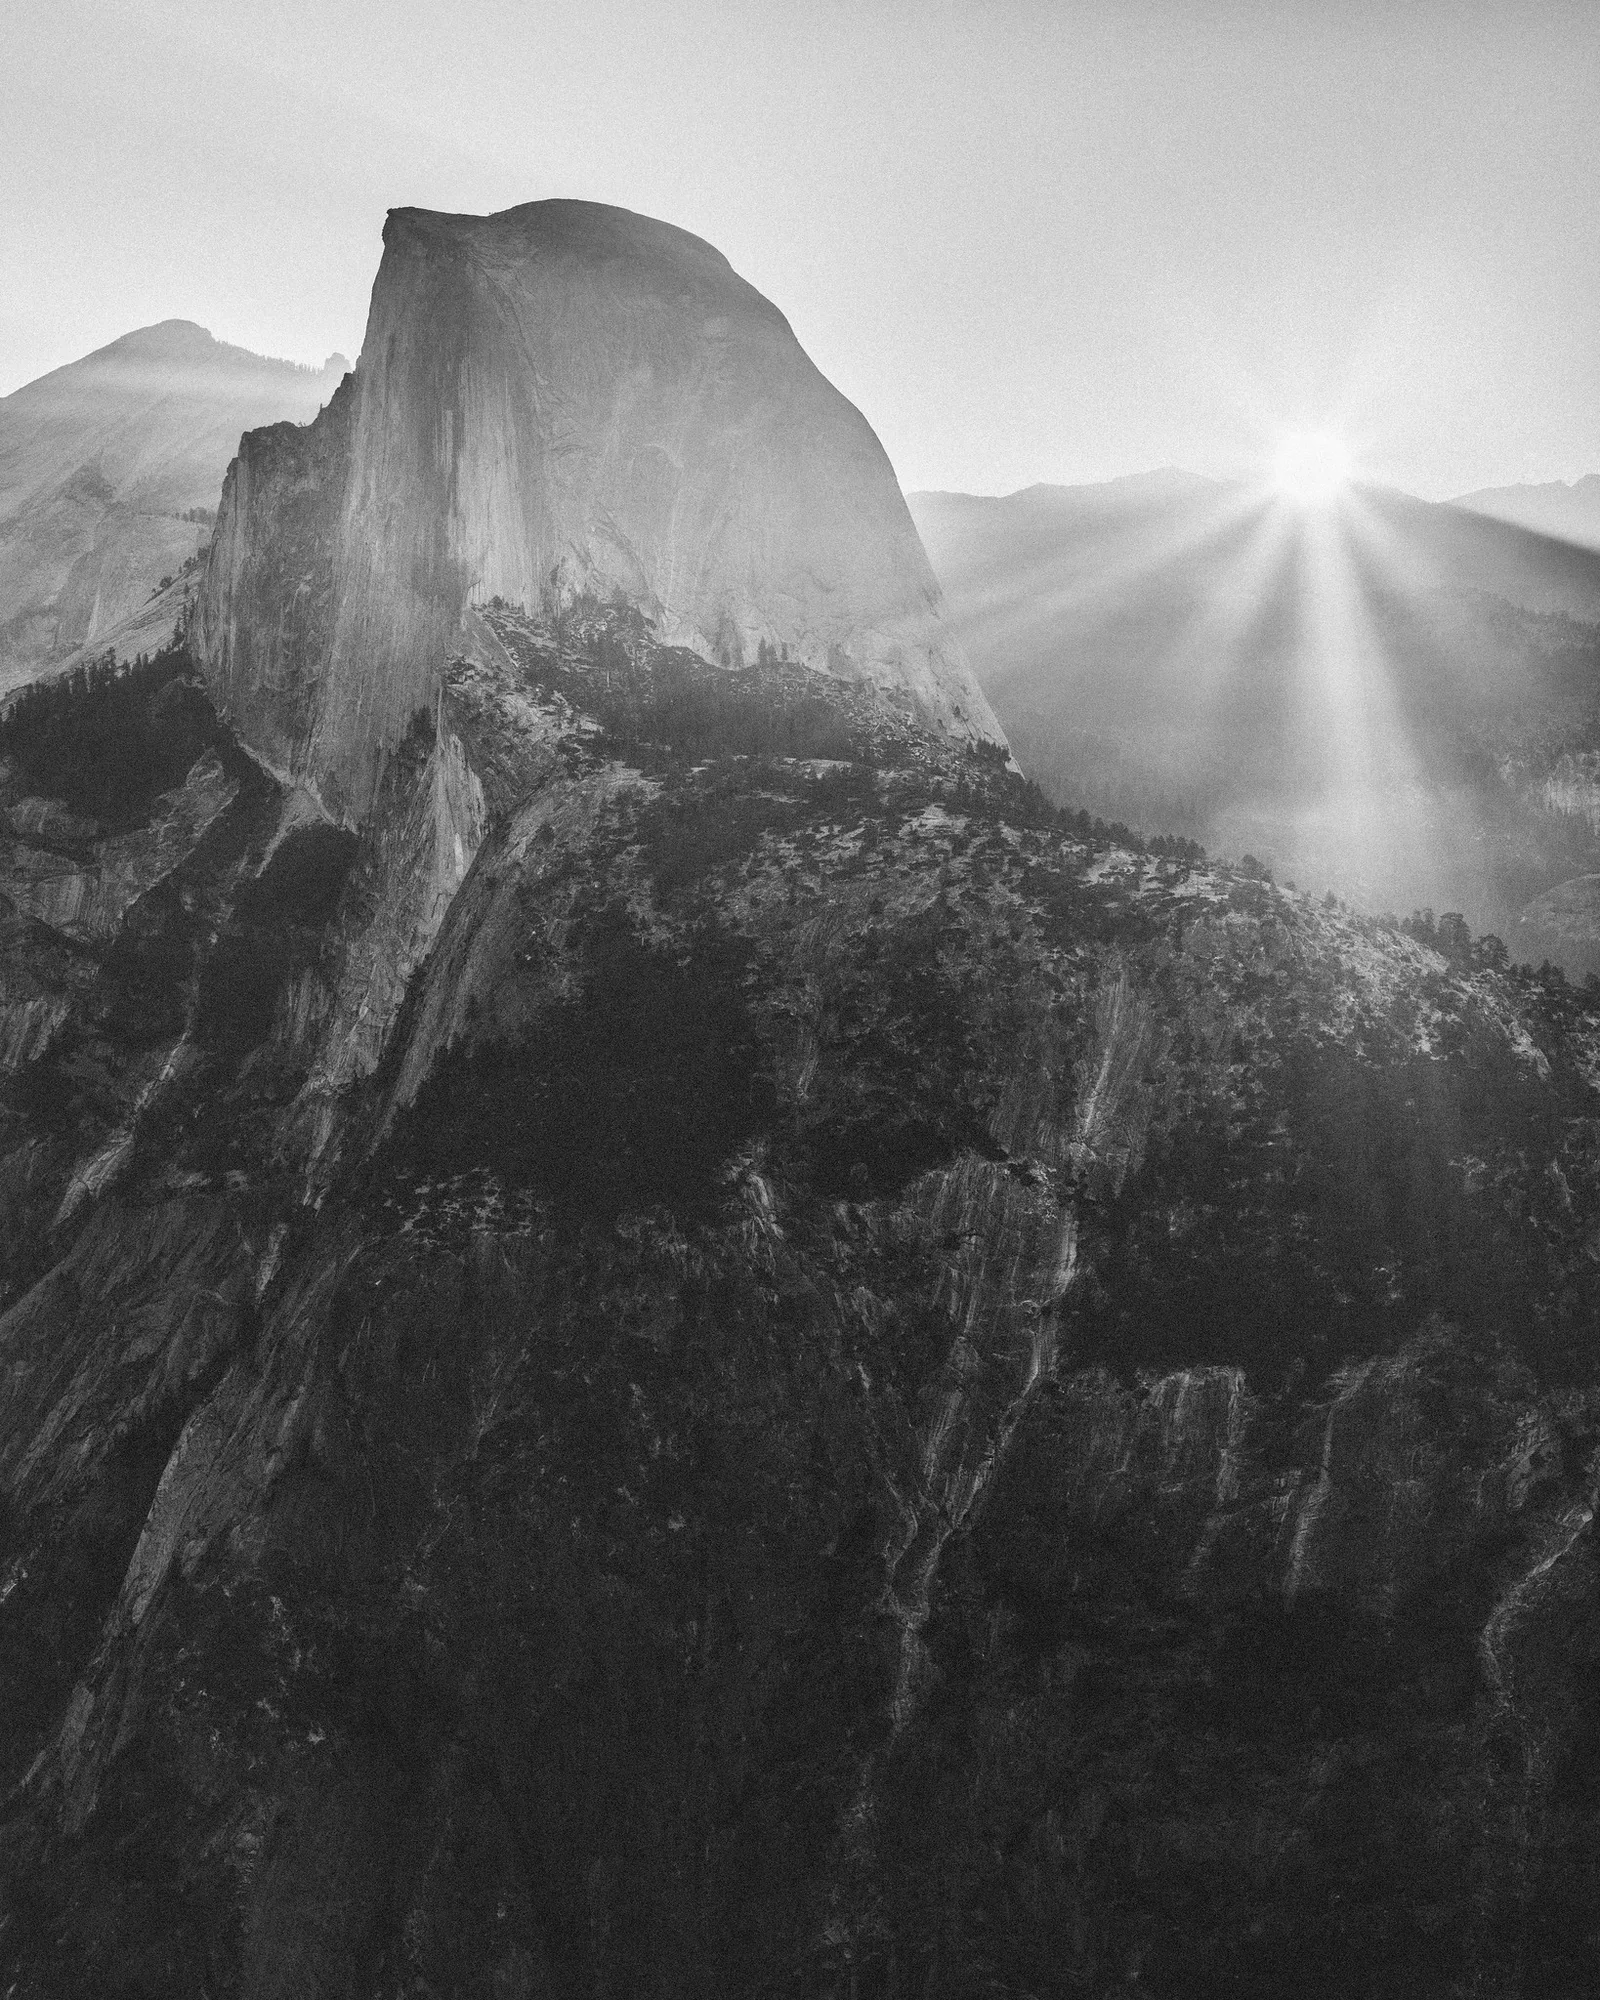
You read the guidelines: one image, a short description, the camera settings and the story behind the shot. You write three sentences about waking early, the changing light and why you chose a black and white edit. You list the settings, for example a focal length of 80mm, an aperture of f/11, a shutter speed of 1/250 second and ISO 100. You send it through their online form and note the date in your tracker.
Single image submissions like this are a gentle way to start. They teach you to follow guidelines and describe your work clearly, skills that help with bigger submissions later.
Common mistakes
- Ignoring the guidelines. Editors often delete submissions that do not follow the rules.
- Poor fit. Sending wedding photos to a wildlife publication wastes everyone’s time.
- Too many images. A tight, strong set is easier to say yes to.
- Huge attachments. Send previews or a link first.
- Breaking exclusivity. Posting images publicly before the feature runs can cancel it.
- Missing credits or releases. These can stop an otherwise accepted feature.
- Giving away all rights. Read agreements carefully before signing.
- Taking rejection personally. Keep submitting.
Try this: a 10-minute submission plan
- Minutes 1 to 3: List three publications that feature work like yours, from easiest to most ambitious.
- Minutes 4 to 5: Find the submission guidelines for the easiest one and note the key rules.
- Minutes 6 to 8: Pick eight to twelve images from one shoot that tell a clear story.
- Minutes 9 to 10: Draft a five sentence pitch using the example above.
Tomorrow, export the previews, add captions and send it. Then add the next publication to your tracker.
Frequently asked questions
How do I get my photos published in a magazine?
Research publications that fit your work, follow their submission guidelines, send a tight set of images with captions and a short pitch, and follow up politely.
Do magazines pay for photos?
Some do and many smaller publications do not. Check before you submit so you know what to expect.
What does exclusive mean?
That the images have not been published elsewhere and you will not share them for an agreed time.
Can I submit to several publications at once?
Only if their guidelines allow simultaneous submissions. Otherwise send to one at a time.
What file size should I send?
Small previews or a gallery link first. Send high resolution files only after acceptance, following their requirements.
How long should I wait before following up?
Wait for their stated response time, or three to four weeks, then send one short, polite follow up.
Need images worth submitting? Learn how to plan styled shoots.
Want to understand the rights you are licensing? Read about photography copyright.