To watermark photos, make a simple text or logo mark, save it as a preset in your editor, and apply it only to exported web copies, never to the original. A typical credit mark is small (about 3 to 5 percent of the image height), 30 to 50 percent opaque and set in a corner with a clear margin. It credits you and discourages casual reuse. It does not create copyright, and it can be cropped or edited out.
This guide covers what a watermark can and cannot do, visible and invisible marks, how to design one, how to add it on export in any editor, in batches and on a phone, when to leave it off, and the measures that protect pictures better. For the law behind ownership, read copyright basics for photographers and the legal basics for photographers; this page deals with the practical side and is not legal advice.
What a watermark does and does not do
A watermark is a name, logo or symbol placed over a photograph. It is the photographic version of a painter’s signature, and it does three useful things:
- It credits the maker. When a picture is reposted without a caption, the mark is often the only route back to you.
- It deters casual reuse. Someone looking for a quick picture for a blog post or an advert will usually pass over a marked one and take an unmarked one.
- It shows the picture is not free to take. A person who removes a mark cannot easily claim they thought the image had no owner.
It also has clear limits:
- It does not create copyright. In most countries copyright exists from the moment you make the photograph, with or without a mark. An unmarked picture is not free to use, and a marked one gains no extra legal status from the mark alone.
- It can be removed. A corner mark disappears with a crop. A mark over plain sky or a smooth wall can be painted out in seconds with the retouching tools in any editor. Only a large mark across detailed parts of the picture is hard to remove, and that kind of mark also spoils the picture.
- It does not stop copying. Anyone can still save the file or take a screenshot.
Treat a watermark as a label, not a lock. In some countries removing or altering ownership information on someone else’s picture is itself unlawful, but rules and remedies vary by country, so check the copyright pages above and local advice before relying on that.
Visible marks, invisible marks and embedded metadata
There are three ways to attach your name to a picture file, and they fail in different ways. Using more than one covers more cases.
| Method | What it is | Strength | Weakness |
|---|---|---|---|
| Visible watermark | Text or a logo drawn into the pixels | Anyone can read it, on any platform, in a screenshot or a print | Alters the picture; can be cropped or retouched out |
| Invisible (digital) watermark | A code hidden in the pixel values, read back by matching software | Does not change how the picture looks; can survive moderate resizing and recompression | Needs a specific tool or service to embed and detect; heavy cropping or editing can destroy it; a viewer cannot see who made the picture |
| Embedded metadata | Text fields stored in the file beside the pixels: creator, copyright notice, contact details, usage terms | Free, invisible, holds far more information than a mark, read by photo software and some search engines | Many social platforms and messaging apps strip it on upload; anyone can delete or rewrite it |
Metadata is the one to set up first, because it costs nothing and rides along with every file you export. Many cameras let you enter a name and copyright line that is written into each picture as it is taken, and every catalogue program can apply a metadata preset on import. How to modify metadata on your pictures explains the fields, and what EXIF data is covers the camera-written part. A visible mark then does the one job metadata cannot: it stays attached when a platform has thrown the metadata away.
Designing a watermark: text or logo, size, opacity and placement
Text or logo
Text is enough for most photographers. Your name, or your name and web address, in one plain typeface is readable at small sizes and takes two minutes to set up. Use the name people would type into a search box. A copyright symbol and year are optional and add clutter; a year also dates the picture.
A logo makes sense if you already have one and it stays legible when tiny. Thin script lettering and fine detail turn to mush at 40 pixels high. Whichever you choose, prepare the file properly:
- Save a logo as a PNG with a transparent background. A JPEG has no transparency and will show as a box. Image file formats explained covers the difference.
- Make it large, at least 1,000 pixels wide, so the editor shrinks it. An enlarged small logo looks soft and jagged.
- Make two versions, one white and one dark grey or black, so you have one for dark corners and one for light corners.
Size, opacity and placement by purpose
| Purpose | Size | Opacity | Placement |
|---|---|---|---|
| Credit on social media and blog posts | Text height about 3 to 5 percent of the image height | 30 to 50 percent | A lower corner, inset from both edges by 2 to 3 percent of the image width |
| Credit that is harder to crop off | Same | 30 to 50 percent | Moved in from the corner toward the subject, over an area with some detail |
| Client proofs and previews for sale | Spanning half to two thirds of the image width | 15 to 30 percent | Centred, across the subject |
| Stock style preview | Repeated across the whole frame | 10 to 25 percent | A tiled or diagonal pattern |
These are starting points. Judge the result at the size it will be seen, which usually means a phone screen: the mark should be readable when you look for it and ignorable when you do not.
Three design rules save trouble later:
- Size the mark in proportion to the image, not in fixed pixels. A mark set to 60 pixels looks right on a 1,600 pixel export and microscopic on a 6,000 pixel one. Most editors offer a proportional or percentage setting. Use it.
- Keep it clear of the subject and the edges. A mark pressed into the very corner looks like an accident. A mark across a face ruins a credit copy, although it is exactly right for a proof.
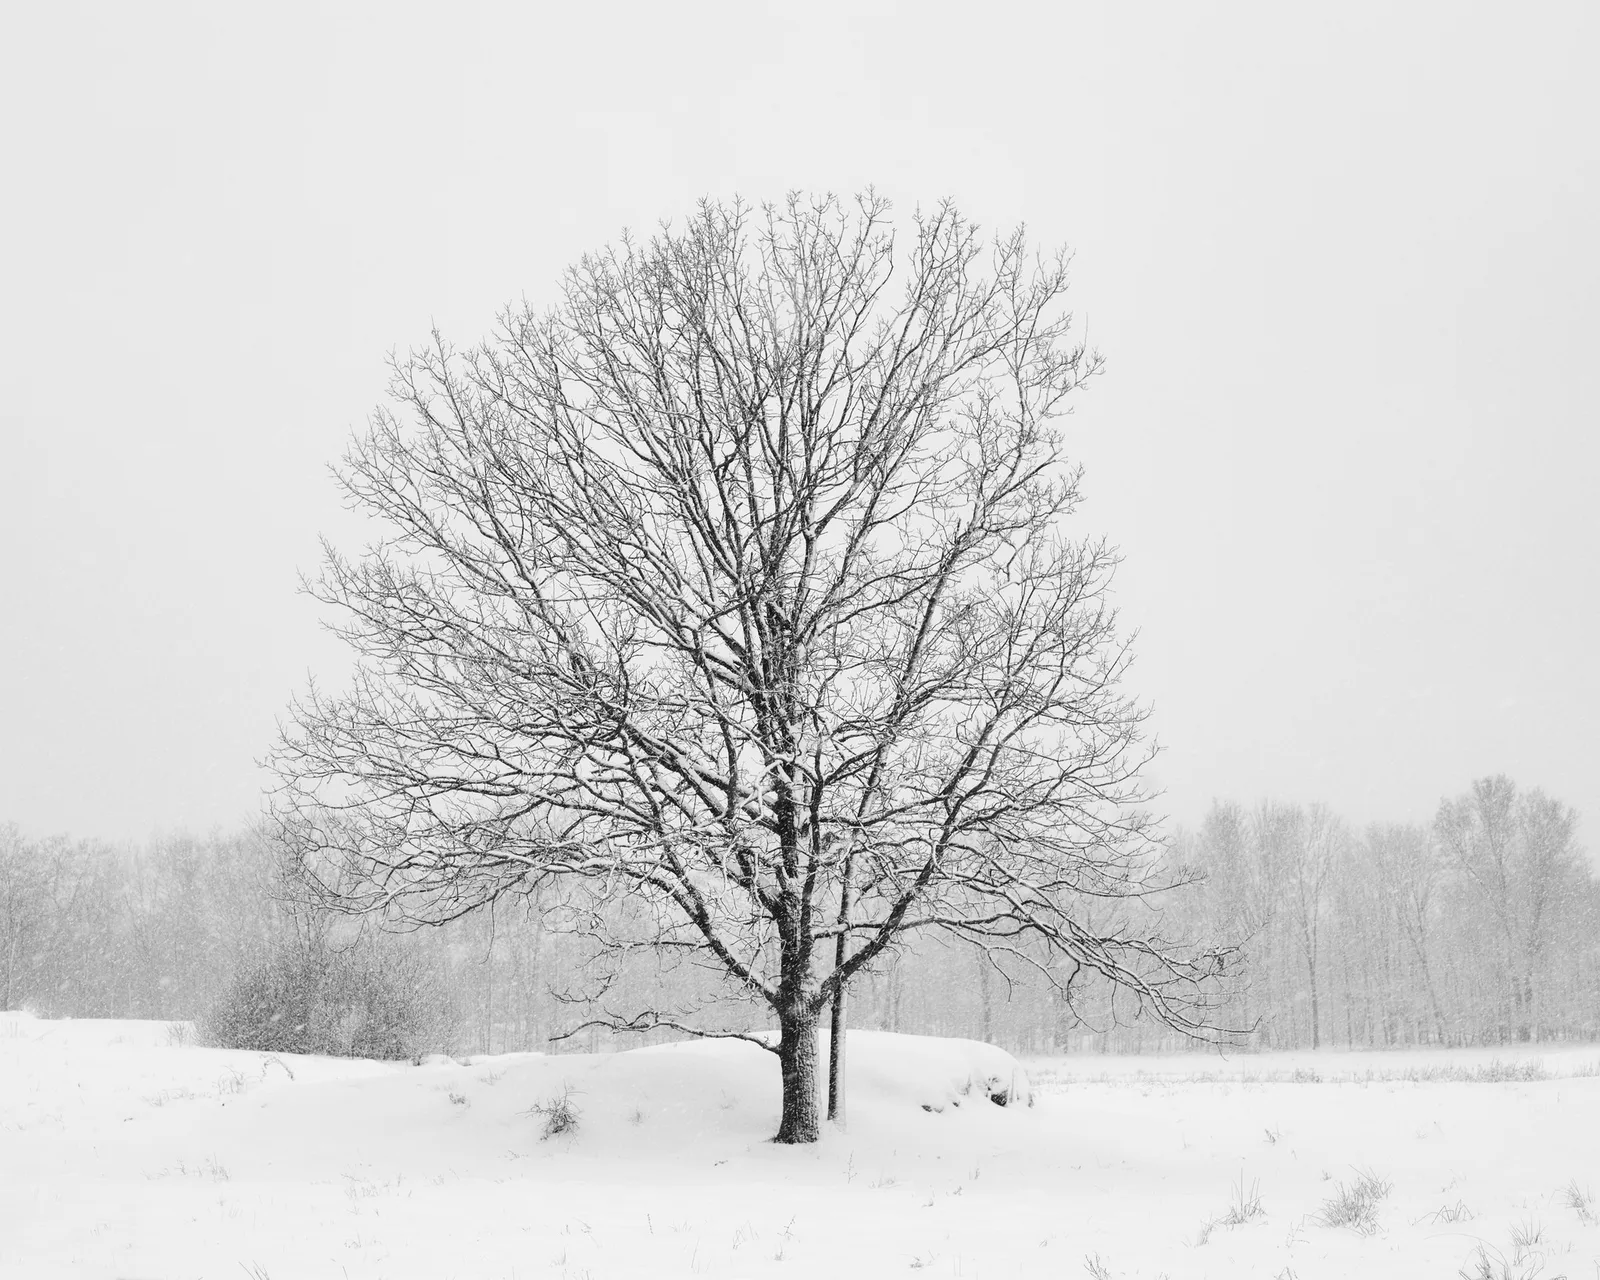
- Match the mark to the tones underneath. White at low opacity reads well on dark and mid tones. On snow, bright sky or a white backdrop it vanishes, so switch to the dark version. A soft drop shadow or thin outline helps one mark survive on mixed backgrounds, at the cost of looking heavier.
Adding a watermark on export in any editor
The rule that matters most: never put a watermark on your original or your edited master. Apply it as the last step when you export a copy for a specific destination. The clean master then stays available for prints, clients and licensing, and you can change the mark’s design later without re-editing anything. The full export sequence (resize, sharpen, colour space, metadata) is in exporting photos; the watermark is one more setting in the same dialog.
Menu names and layouts shift between programs and versions, but the steps are the same in nearly every catalogue editor and raw converter:
- Open the export or output dialog and find the watermark section.
- Choose text or graphic. For text, type your name and pick a typeface and colour. For a graphic, load the PNG.
- Set the size to proportional and adjust it while watching the preview.
- Set opacity, then the anchor point (for example bottom right) and the horizontal and vertical inset.
- Save the settings as a named watermark preset, such as “Credit white, bottom right” and “Proof centre”.
- Save the whole export as an export preset for the destination, so size, sharpening, metadata and watermark are chosen with one click. How to use export presets in Lightroom shows this in one program.
- Export one test picture, look at it on a phone, and adjust before running a batch.
In a layer-based editor with no export watermark, place the logo as a new layer, scale it, lower the layer opacity, position it, and save a flattened copy under a new name. That is fine for one picture and tedious for fifty, which is where batch methods come in.
Watermarking many photos at once
Once a watermark is part of an export preset, batch work needs no extra effort: select every picture, choose the preset and export. Each copy gets the same mark in the same proportion, whatever its pixel dimensions. Batch editing in Lightroom covers selecting and exporting large sets.
Other routes to the same result:
- A recorded action. In a layer-based editor, record the steps once (place logo, scale, set opacity, position, save copy) and run the recording on a folder. See Photoshop actions and automation. Record the scale and position as percentages so the action works on both orientations.
- A dedicated batch utility. Free and paid tools exist that only resize, rename and watermark folders of files. Check that the tool writes new files to a separate output folder and does not overwrite the sources.
- The gallery platform. Many client gallery and portfolio services apply a watermark to the displayed image on the server while storing your clean upload. This is the tidiest option for proofs, because the mark can be switched off per gallery once a client has paid.
Two batch problems come up often. Mixed orientations: a mark positioned in pixels lands in the wrong place on verticals, so anchor it to a corner with a percentage inset. Mixed backgrounds: a white mark disappears on the bright frames, so either add a faint shadow or split the set and export the bright frames with the dark version.

Watermarking on a phone
You have three options on a phone, in order of convenience:
- An editing app with a watermark setting. Some mobile editors include a text watermark switch in their export or share settings. Turn it on once and every shared copy carries the mark, while the picture in your library stays clean.
- A text or sticker layer. Any app that can add text can make a watermark: type your name, reduce the size, lower the opacity and drag it to a corner. To use a logo, keep the transparent PNG in your photo library and add it as an overlay or second image layer. Save as a copy.
- An automation. The shortcut and automation tools built into phones can overlay a saved logo on selected pictures and save the results to an album, which gives you a one-tap batch method.
Whichever you use, check that the app saves a new file and leaves the original alone, and that it does not shrink the picture more than you intend. Mobile photo editing apps compares what the main kinds of app can do.
When not to watermark
- Final client deliveries. The client has paid for finished pictures. A logo on a family’s wall print or a company’s website banner is not what they bought. Mark the proofs if you wish and deliver clean files, with the permitted uses set out in your agreement (see photography contracts).
- Your portfolio. On your own site the address bar and page header already say whose work it is. Marks over portfolio pictures distract editors and clients who are trying to judge the work. How to build a photography portfolio covers presentation.
- Competitions. Many competitions judge entries anonymously and disqualify pictures carrying names, logos or borders. Read the rules for each one; the photography competition guide lists what to check.
- Stock and print-on-demand submissions. Agencies and print services need clean files, and stock agencies add their own preview marks.
- Prints. A print is signed by hand, on the front margin or the back, not stamped with a digital mark.
- Pictures where the mark would cost more than it saves. If a picture’s value is in being shared widely with your name in the caption, a clean image with good metadata may serve you better.
Where a watermark does earn its place: proofs and previews awaiting payment, pictures posted to platforms that strip metadata and where reposting without credit is routine, and event or news pictures likely to be passed around quickly.
Better protection than a watermark
None of these is complete on its own. Together they do more than any mark.
- Fill in the metadata. Creator, copyright notice, contact email or website and usage terms, applied by preset to every file on import and kept on export.
- Upload smaller files. A copy that is 1,600 to 2,048 pixels on the long side fills most screens. Printed at 300 pixels per inch, 2,048 pixels covers under 7 inches (about 17 cm), so the file has little value for large prints or advertising. Keep full resolution for paying clients. Image resolution and file sizes explains the arithmetic.
- Keep your originals. The raw file, the unedited sequence around it and the full-resolution master are strong evidence that you made the picture. Store them safely; see the photo backup guide.
- Register where a system exists. Some countries run a copyright registration system, and in some of them registering affects what you can claim if a picture is misused. Other countries have none. The copyright pages linked at the top describe the general idea; the rules are local, so check them for your own country.
- Search for copies. Reverse image search lets you upload a picture, or paste its address, and see where the same image appears online. Check your most valuable and most shared pictures every few months.
- State your terms. A line on your site or profile saying how to license a picture turns some would-be copiers into customers. How to sell photography online covers licensing routes.
Blocking right-click on a website is not on this list, because a screenshot gets around it. If you find a copy used without permission, save evidence (the page address, a dated screenshot) before contacting anyone, and get advice that fits your country.
Common mistakes
- Watermarking the master file. The mark is now in every future print and delivery. Fix: apply marks only in the export step, to copies.
- A mark so large it becomes the subject. Viewers remember the logo and not the picture. Fix: for credit copies, keep text to about 3 to 5 percent of the image height and under 50 percent opacity.
- Fixed pixel size. The mark is huge on small exports and invisible on large ones. Fix: use the proportional setting.
- White on white. The mark disappears on snow, sky and studio backdrops. Fix: keep a dark version and choose per picture or per batch.
- Relying on the mark as protection. It is cropped off and the file carries no other trace of you. Fix: embed metadata, upload reduced sizes and keep the originals.
- A JPEG logo. A white or black box appears around it. Fix: use a PNG with transparency.
- Marking delivered work. Clients receive pictures they cannot print or use cleanly. Fix: mark proofs only.
Try this
Build and test a credit mark in 15 minutes. In your editor’s export dialog, create a text watermark with your name, set to proportional size, anchored bottom right with a small inset. Pick two pictures: one with dark corners and one with bright corners. Export each at 2,048 pixels on the long side three times, at 20, 40 and 60 percent opacity, in white for the dark picture and dark grey for the bright one. Send all six to your phone and view them at normal size. Choose the lowest opacity at which you can still read the name without hunting for it, and save that as your preset.
Frequently asked questions
Does a watermark copyright my photo?
No. In most countries copyright arises automatically when the photograph is made, and a watermark neither creates nor extends it. The mark is a visible notice of who made the picture. Laws differ between countries, so read the site’s copyright pages and check local rules for anything that matters.
Where is the best place to put a watermark?
For a credit, a lower corner with a small inset from both edges, over an area where the mark is readable. For a proof that must not be usable, the centre of the frame across the subject at low opacity. Corner marks are easy to crop, so they are for attribution, not for security.
What opacity should a watermark be?
Between 30 and 50 percent for a small credit mark and 15 to 30 percent for a large centred proof mark. Test on a phone screen and use the lowest value at which the text can still be read.
Can a watermark be removed?
Yes. Cropping removes corner marks, and retouching tools can fill in a mark that sits over plain areas. A large mark over detailed parts of the picture is harder to remove cleanly, but it also damages the picture for honest viewers. This is why a mark should be combined with metadata, reduced upload sizes and kept originals.
Should I watermark photos on social media?
It is a reasonable choice there, because platforms often strip metadata and pictures are reposted without captions. Keep the mark small and plain. If your aim is reach and the caption carries your name, an unmarked picture is also defensible.
Related guides
- Copyright basics for photographers: ownership, registration, licensing and protecting images online.
- Legal basics for photographers: a map of copyright, contracts and releases.
- Exporting photos: size, format, sharpening and metadata for each destination.
- How to modify metadata on your pictures: adding creator and copyright fields to files.
- How to use export presets in Lightroom: saving a watermark inside a one-click export.
- Photoshop actions and automation: recording a watermark action and running it on a folder.
- Sharing photos online: what to remove from a file before it goes public.
- Social media photo sizes: pixel dimensions to export at for each platform.