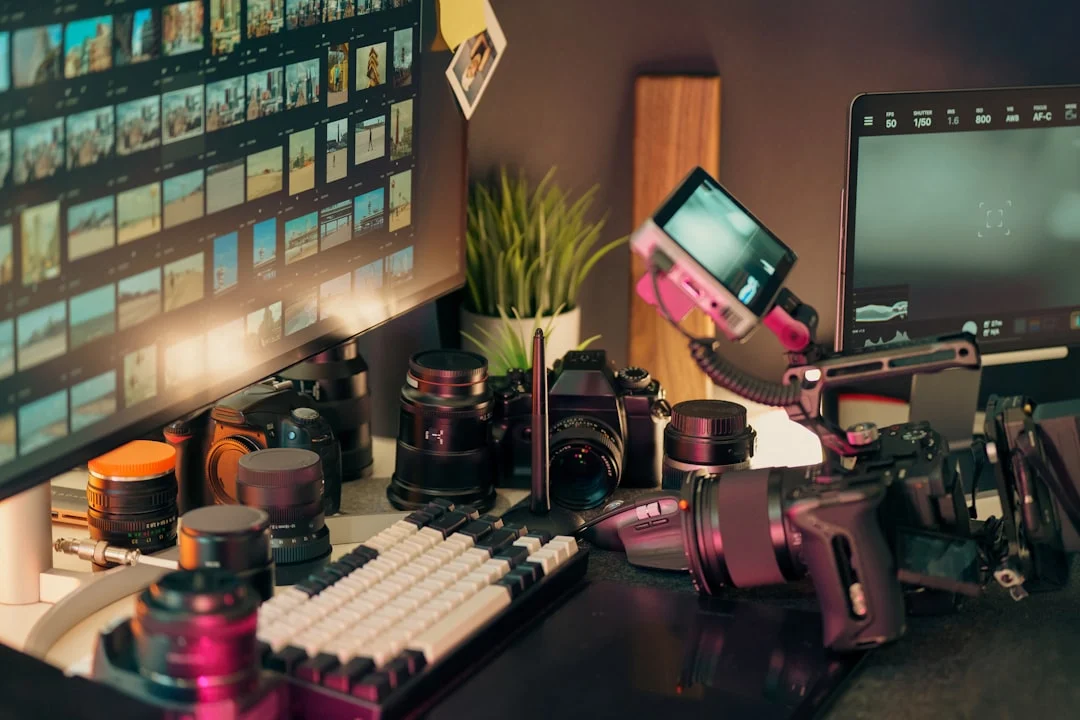
Every time you save, export, or share a photo, you choose a file format. That choice determines image quality, file size, compatibility, and what you can do with the file later. Choose the wrong format and you might lose detail, bloat your storage, or deliver files that clients cannot open. Yet many photographers default to JPEG for everything without understanding the tradeoffs.
Modern photography involves a growing number of image formats, each designed for different purposes. JPEG has been the default for decades, but newer formats like WebP and HEIF offer better compression. TIFF remains the standard for archival and print work. PNG serves a specific niche with transparency support. Understanding when and why to use each format is a fundamental part of any photographer’s Photography Workflow.
This guide breaks down every major image format you will encounter, explains the technical differences in plain language, and gives you clear guidelines for choosing the right format for every purpose.
How Image Compression Works
Before comparing formats, you need to understand the difference between lossy and lossless compression, because this is the fundamental divide in image formats.
Lossless compression reduces file size without discarding any image data. When you open a losslessly compressed file, every single pixel is exactly as it was before compression. It is like putting a book in a smaller box by removing the air. The book is unchanged. ZIP files work this way.
Lossy compression reduces file size by permanently discarding some image data. The algorithm decides which details are least noticeable to the human eye and removes them. At low compression levels, the differences are invisible. At high compression levels, you get visible artifacts like blurring, banding, and blockiness. Once removed, this data is gone forever. You cannot recover it.
The key concept is that lossy compression is a one-way street. Every time you open a JPEG, edit it, and save it again as a JPEG, you apply another round of lossy compression on top of the previous one. After multiple generations, quality degrades visibly. This is why editing workflows should use lossless formats or Raw Vs Jpeg RAW files until the final export.
JPEG: The Universal Format
JPEG (Joint Photographic Experts Group) has been the dominant photographic format since the 1990s. It uses lossy compression that excels at compressing continuous-tone images like photographs, offering dramatic file size reduction with minimal visible quality loss at moderate settings.
| Property | Details |
|---|---|
| Compression | Lossy |
| Bit depth | 8-bit per channel (24-bit total) |
| Transparency | Not supported |
| Color spaces | sRGB, Adobe RGB (with embedded profile) |
| Typical file size (24MP) | 5 to 15 MB at high quality |
| Best for | Web display, social media, email, client delivery, final output |
JPEG quality settings typically range from 0 to 100 (or 1 to 12 in Photoshop). At quality 80 to 90, most photographs show no visible difference from the uncompressed original. Below 60, compression artifacts become noticeable: blocky edges, color banding in gradients, and mushy detail in textures.
The biggest strength of JPEG is universal compatibility. Every device, application, browser, and operating system can open JPEG files. For final delivery of photographs, JPEG remains the safest default. Its biggest weakness is generational loss. Never use JPEG as your working format for editing. Edit in RAW or TIFF and export to JPEG only as the final step.
PNG: Lossless with Transparency
PNG (Portable Network Graphics) was created as a patent-free replacement for GIF. It uses lossless compression, meaning zero quality loss, and supports transparency (alpha channels). However, PNG is not designed for photographs and is rarely the right choice for photographic images.
| Property | Details |
|---|---|
| Compression | Lossless |
| Bit depth | 8-bit or 16-bit per channel |
| Transparency | Full alpha channel support |
| Color spaces | sRGB (limited profile support) |
| Typical file size (24MP) | 25 to 70 MB |
| Best for | Screenshots, graphics with text, logos, images requiring transparency |
PNG excels at compressing images with large areas of uniform color, sharp edges, and text. For these types of images, PNG files are small and perfectly sharp. For photographs, PNG files are enormous because the complex, continuous-tone nature of photos does not compress well with PNG’s algorithm. A photograph saved as PNG can be 5 to 10 times larger than a high-quality JPEG with no visible quality difference.
Use PNG when you need transparency (like placing a product photo on a custom background for a Photography Portfolio) or when saving screenshots, diagrams, or graphics with text. Do not use PNG for general photographic delivery.
TIFF: The Archival and Print Standard
TIFF (Tagged Image File Format) is the traditional standard for high-quality image storage, print production, and archival purposes. It supports both lossless compression and uncompressed storage, multiple color spaces, and high bit depth.
| Property | Details |
|---|---|
| Compression | Uncompressed, LZW (lossless), or ZIP (lossless) |
| Bit depth | 8-bit, 16-bit, or 32-bit per channel |
| Transparency | Supported |
| Color spaces | All major spaces (sRGB, Adobe RGB, ProPhoto RGB, CMYK) |
| Typical file size (24MP) | 70 to 140 MB (uncompressed), 40 to 80 MB (LZW) |
| Best for | Print production, archival master files, editing intermediates |
TIFF is the format professionals use when quality is paramount and file size is secondary. If you send files to a high-end print lab or gallery, TIFF is often the required format. When Preparing Photos For Print, TIFF preserves every detail and supports the wide color gamuts and high bit depths that print workflows demand.
For long-term archival storage of your best work, 16-bit TIFF in a wide color space preserves the maximum amount of image data. The files are large, but storage is cheap and the flexibility is worth it for images you may want to revisit years from now.
WebP: The Modern Web Format
WebP is a format developed by Google specifically for web use. It offers both lossy and lossless compression, and at equivalent visual quality, WebP files are typically 25% to 35% smaller than JPEG. Browser support is now essentially universal.
| Property | Details |
|---|---|
| Compression | Lossy or lossless |
| Bit depth | 8-bit per channel |
| Transparency | Supported (both lossy and lossless) |
| Color spaces | sRGB (limited support for wider gamuts) |
| Typical file size (24MP) | 3 to 10 MB at high quality (lossy) |
| Best for | Web images, blog posts, gallery pages where load speed matters |
If you run a photography website or blog, WebP can significantly improve page load times without visible quality loss. Many content management systems, including WordPress, can automatically convert uploaded JPEGs to WebP for delivery. For website performance, WebP is the better choice over JPEG.
The limitations of WebP are its lack of support for wide color gamuts and high bit depth. It is purely a delivery format for the web, not a working or archival format. It is also not universally supported by photo editing applications yet, so treat it as an export-only format.
HEIF and HEIC: The Efficient Newcomers
HEIF (High Efficiency Image Format) and its specific implementation HEIC (High Efficiency Image Container, used by Apple) represent the next generation of image compression. Based on the HEVC video codec, HEIF can store equivalent quality to JPEG at roughly half the file size.
| Property | Details |
|---|---|
| Compression | Lossy (with much better efficiency than JPEG) |
| Bit depth | Up to 10-bit per channel |
| Transparency | Supported |
| Color spaces | sRGB, P3, Rec. 2020 |
| Typical file size (24MP) | 2 to 6 MB at high quality |
| Best for | Phone photography, storage-efficient capture, Apple ecosystem |
If you shoot with a modern iPhone or iPad, your photos are likely captured in HEIC format by default. The quality is excellent, and the storage savings are significant. However, HEIF/HEIC support outside the Apple ecosystem is still inconsistent. Windows requires a codec extension, some editing applications do not support it natively, and web browser support varies.
For photographers using Smartphone Photography as part of their workflow, understanding HEIF is important. For professional camera workflows, HEIF has not yet gained meaningful adoption because RAW files already serve the capture format role, and JPEG/WebP/TIFF handle delivery and archival.
RAW: Not a Format, But a Category
RAW files are often discussed alongside image formats, but RAW is fundamentally different. A RAW file is the unprocessed sensor data from your camera, before any white balance, color space, sharpening, or tone curve has been applied. Each camera manufacturer uses a proprietary RAW format (CR3 for Canon, NEF for Nikon, ARW for Sony, and so on).
RAW files offer maximum editing flexibility because all the original sensor data is preserved. You can adjust White Balance, Exposure Compensation, and color with far more latitude than any other format. For a detailed comparison of RAW versus processed formats, see our Raw Vs Jpeg guide.
The key point for this discussion is that RAW is your capture and editing format. All the other formats discussed here (JPEG, PNG, TIFF, WebP, HEIF) are output formats that you export to from RAW for specific purposes.
Which Format Should You Use? A Decision Framework
| Purpose | Recommended Format | Why |
|---|---|---|
| Capturing photos | RAW | Maximum editing flexibility and quality |
| Editing working files | TIFF (16-bit) or RAW | Lossless, high bit depth, preserves all data |
| Sharing on web/social media | JPEG (sRGB, quality 80-90) or WebP | Universal compatibility, small file size |
| Sending to print labs | TIFF or JPEG (high quality) | Lab-specific; check with your lab |
| Archival master files | TIFF (16-bit, LZW) or DNG | Lossless, wide gamut, future-proof |
| Client delivery | JPEG (sRGB, quality 90+) | Universal compatibility, manageable size |
| Images needing transparency | PNG or WebP | Full alpha channel support |
| Phone storage optimization | HEIF/HEIC | Same quality at half the file size of JPEG |
Export Settings for Different Purposes
Getting the right export settings matters as much as choosing the right format. Here are recommended settings for common scenarios.
For web and social media
- Format: JPEG (sRGB) or WebP
- Quality: 80 to 85 (sweet spot for quality vs size)
- Resolution: 72 PPI (PPI is irrelevant for screen display, but some platforms expect it)
- Long edge: 2048 to 2400 pixels (balances quality and load speed)
- Sharpening: Apply output sharpening for screen
For print
- Format: TIFF (16-bit) or JPEG (quality 95-100)
- Color space: Adobe RGB or the printer’s required space
- Resolution: 300 PPI at the print’s physical dimensions
- No downscaling unless the print lab specifies a maximum file size
- Sharpening: Apply output sharpening for the specific print size and paper type
For archival
- Format: TIFF (16-bit, LZW compression) or DNG
- Color space: ProPhoto RGB or Adobe RGB
- Full resolution, no downscaling
- Embed the ICC profile
- Include metadata (EXIF, IPTC, keywords)
- Store alongside your original RAW files as part of your Photo Backup Guide
Understanding Quality vs File Size
Compression is always a tradeoff between quality and file size. The relationship is not linear. Going from JPEG quality 90 to 100 roughly doubles the file size while providing almost no visible quality improvement. Going from quality 70 to 80 provides a noticeable quality bump with only a modest size increase.
The sweet spot for most purposes is JPEG quality 80 to 90. In this range, compression artifacts are invisible at normal viewing sizes, and file sizes remain reasonable. Below quality 70, artifacts become visible, especially in gradients, fine textures, and areas with subtle color transitions. Quality 100 produces files far larger than necessary with no visible benefit.
For your Photography Portfolio website, quality 82 to 85 typically offers the best balance. For client delivery JPEGs, quality 92 to 95 ensures excellent quality while keeping files under 10 to 15 MB.
Common Mistakes
- Re-saving JPEGs repeatedly. Each save applies another round of lossy compression. Edit your original RAW or TIFF, then export to JPEG once as the final step.
- Using PNG for photographs. PNG creates enormous files for photographic images with no visual quality advantage over high-quality JPEG. Reserve PNG for graphics, screenshots, and images needing transparency.
- Ignoring file formats entirely. Defaulting to JPEG for everything means you miss opportunities. WebP is better for web performance. TIFF is better for print. RAW is essential for editing flexibility.
- Exporting at quality 100 for web. JPEG quality 100 produces enormous files with no visible improvement over quality 85 to 90 at screen viewing sizes. You waste bandwidth and slow down page loads.
- Not embedding color profiles. When exporting files, always embed the ICC color profile. Without it, applications may guess the wrong color space and display incorrect colors.
- Converting HEIC to JPEG for editing. If you shoot HEIC on your phone and want to edit the photos, convert to TIFF (lossless) rather than JPEG (lossy). Converting from one lossy format to another compounds quality loss.
Try This: Practical Exercises
- JPEG quality comparison. Export the same photo as JPEG at quality 60, 75, 85, 95, and 100. Compare file sizes and zoom to 100% to examine quality. Note where artifacts first become visible. This helps you find your personal sweet spot.
- Format size comparison. Save the same 24MP photo as uncompressed TIFF, LZW TIFF, PNG, JPEG quality 85, and WebP quality 85. Compare the file sizes. Understanding the size differences helps you choose wisely for different workflows.
- Generation loss test. Open a JPEG, make a minor edit, save as JPEG quality 80. Repeat 10 times. Compare the 10th-generation file to the original. The degradation demonstrates why you should never use JPEG as a working format.
- Transparency test. Export a photo with a transparent background as both PNG and WebP. Place it on different colored backgrounds in a web browser. This shows how transparency-capable formats differ from JPEG.
Frequently Asked Questions
Is JPEG going to be replaced by WebP or HEIF?
JPEG is deeply entrenched and will remain dominant for years. WebP is gaining ground on the web specifically, and HEIF is the default on Apple devices. But JPEG’s universal compatibility means it will not disappear. It may become less common for web delivery as WebP adoption grows, but it will remain the safe default for client delivery and general-purpose use.
Should I shoot JPEG or RAW in camera?
If you plan to edit your photos at all, shoot RAW. The editing flexibility is dramatically greater. For a full comparison, see our Raw Vs Jpeg guide. JPEG is acceptable for situations where speed, convenience, and immediate sharing outweigh editing flexibility.
What about AVIF format?
AVIF (AV1 Image File Format) is a newer format with even better compression than WebP. Browser support is growing but not yet universal. For photographers, it is worth watching but not worth adopting yet. When AVIF matures, it may become the preferred web format.
Can I convert a JPEG to RAW?
No. A JPEG has already been processed by the camera and had data permanently discarded through lossy compression. You cannot recover the discarded data or reverse the processing. You can open a JPEG in a RAW editor like Lightroom For Beginners, but it will not have the editing latitude of a true RAW file.
What is DNG, and should I use it?
DNG (Digital Negative) is Adobe’s open RAW format. It can store all the data from a proprietary RAW file in a standardized, well-documented format. Some photographers convert their RAW files to DNG for long-term archival to ensure they can still open the files decades from now, even if their camera manufacturer disappears. DNG is a solid archival choice but adds a conversion step to your workflow.
Does resolution (PPI/DPI) setting in the file matter?
For screen display, no. Monitors display pixels at their native resolution regardless of the PPI setting in the file metadata. For print, yes. PPI tells the printer how many pixels to place per inch. At 300 PPI, a 6000-pixel-wide image prints at 20 inches wide. At 150 PPI, the same file prints at 40 inches wide but with lower detail.