Bird photography is really several different disciplines sharing one name. A photographer working
a backyard feeder, one wading a marsh for herons, and one tracking raptors along a coastal cliff are
all doing “bird photography,” but the habitat, patience, and gear each one needs look different. This
page is the hub: the ethics, the habitat variety, the gear reality, and the editing choices specific
to birds. For the full walkthrough of camera settings, autofocus configuration, and fieldcraft
technique, the deep guide is How to Photograph Birds, and it
is worth reading start to finish once you have the basics below in place.
Start Where the Birds Already Are
The easiest entry point into bird photography is not a distant nature reserve, it is a backyard
feeder or a local park pond. A feeder gives you a predictable perch, repeat visits from the same
individuals, and the chance to learn a species’ behavior across many short sessions instead of one
long shot in the dark. Set up a natural-looking perch (a bare branch or weathered log) near, but not
on, the feeder itself, and photograph birds landing on the perch before or after they feed. This one
habit produces more usable images than chasing birds in the open ever will, and it is exactly how
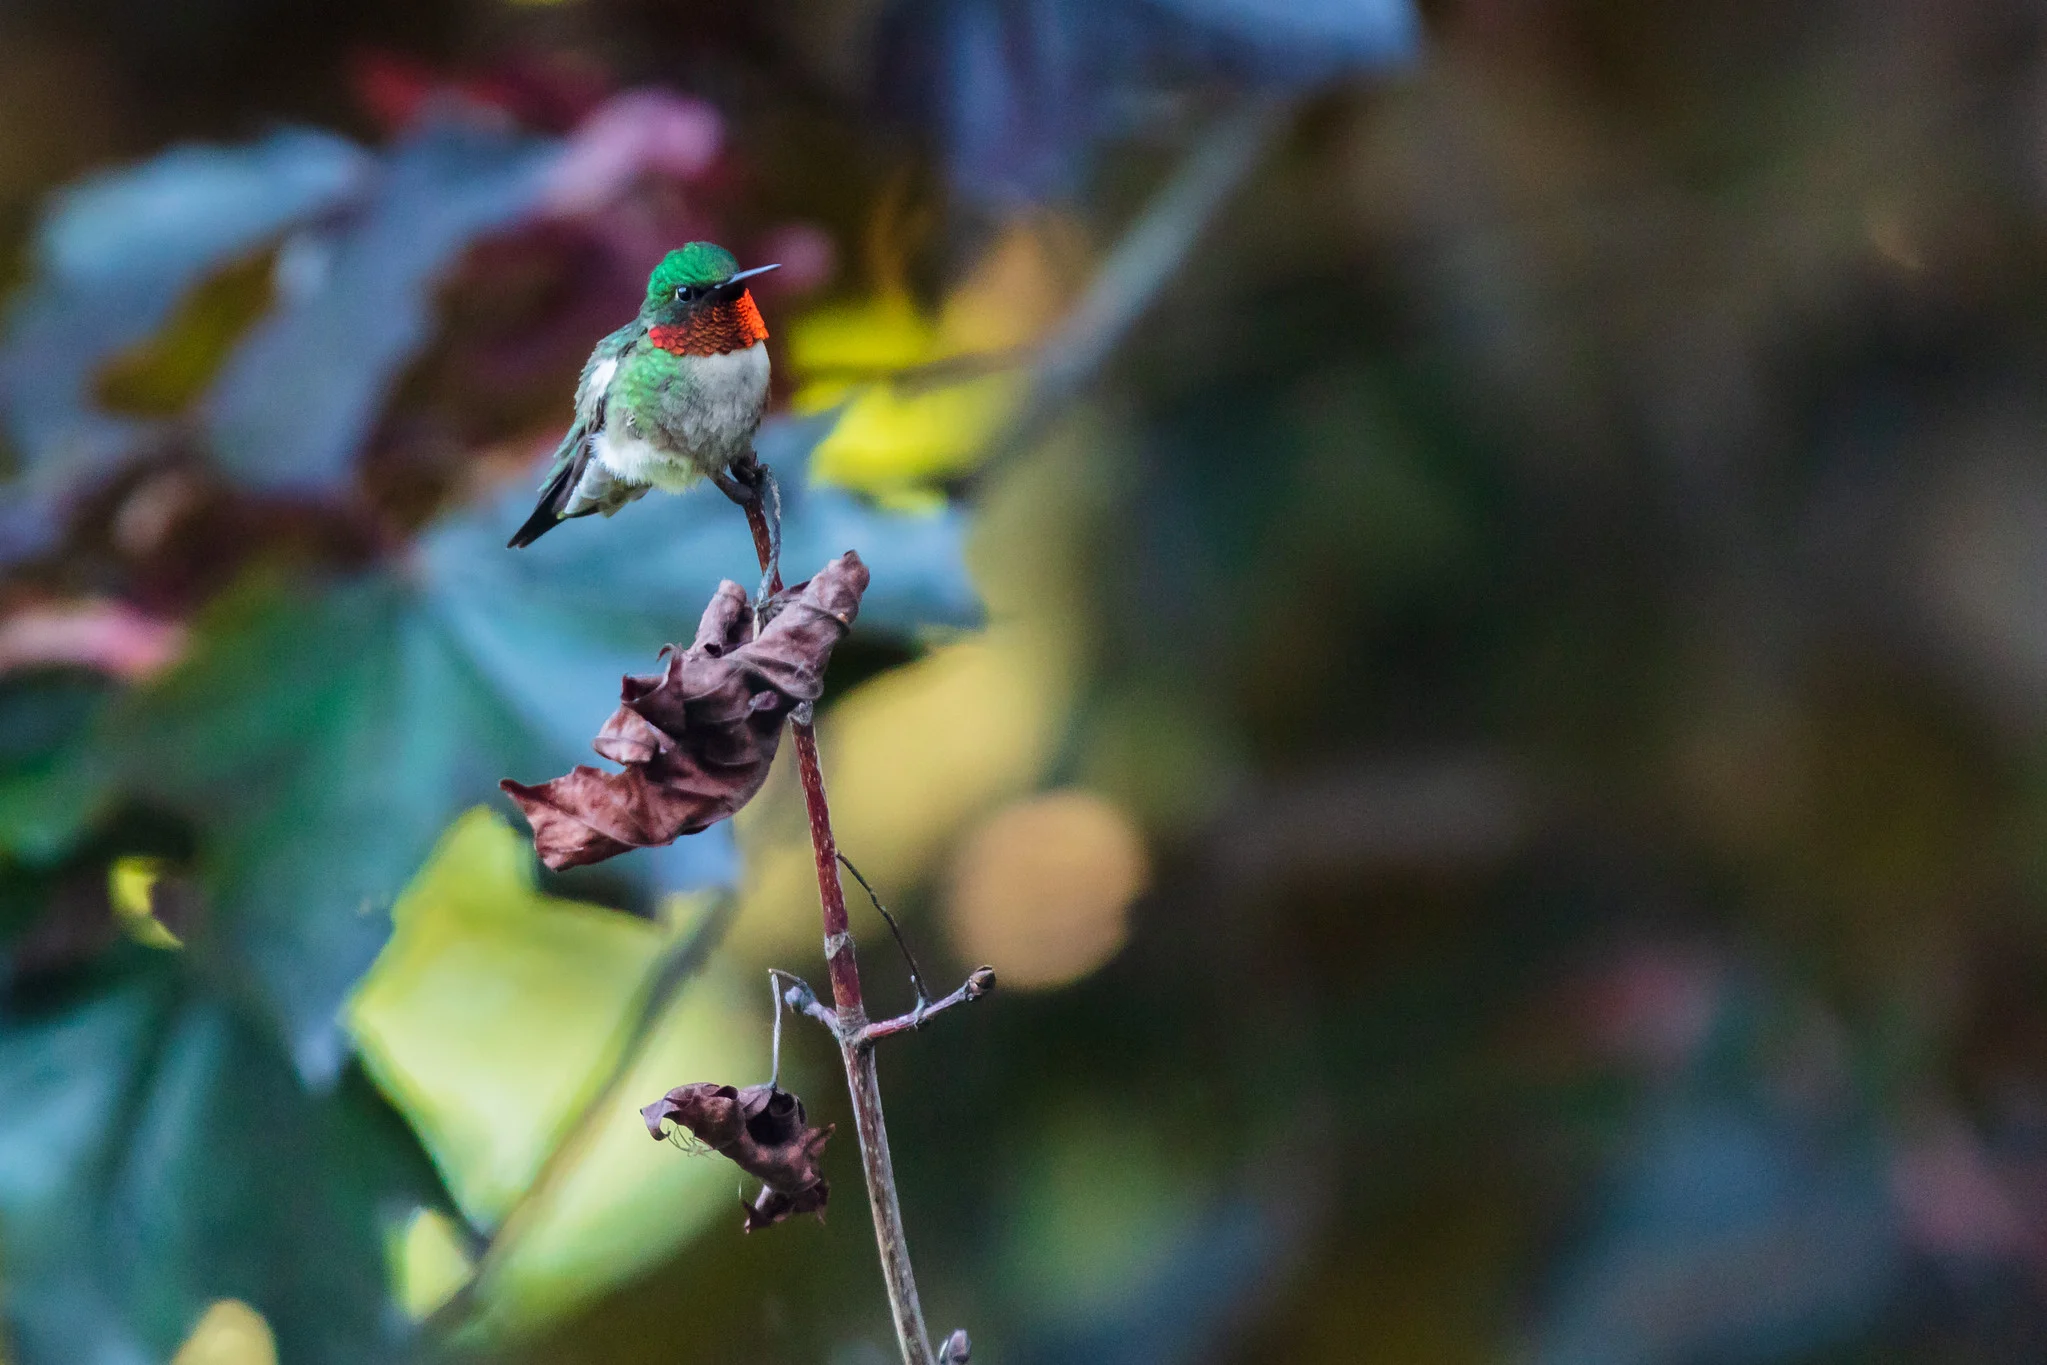
the hummingbird photo above was made: not stalked in flight, but waited for at a perch it kept
returning to.
Learning to identify species as you go is part of the discipline, not a separate hobby. Knowing
that a particular species nests in cavities rather than open branches, or forages on the ground
rather than in the canopy, tells you where to point the camera before a bird ever appears. A local
field guide, or a birding app that identifies species from a photo or a call, turns a session of
random shooting into a session of informed waiting.
Bird Photography Changes by Habitat and Species
Technique shifts noticeably depending on what and where you are shooting.
- Backyard and feeder birds (songbirds, finches, hummingbirds): close range, often
under ten meters, so a mid-range telephoto (200 to 400mm) is enough. The challenge is patience and a
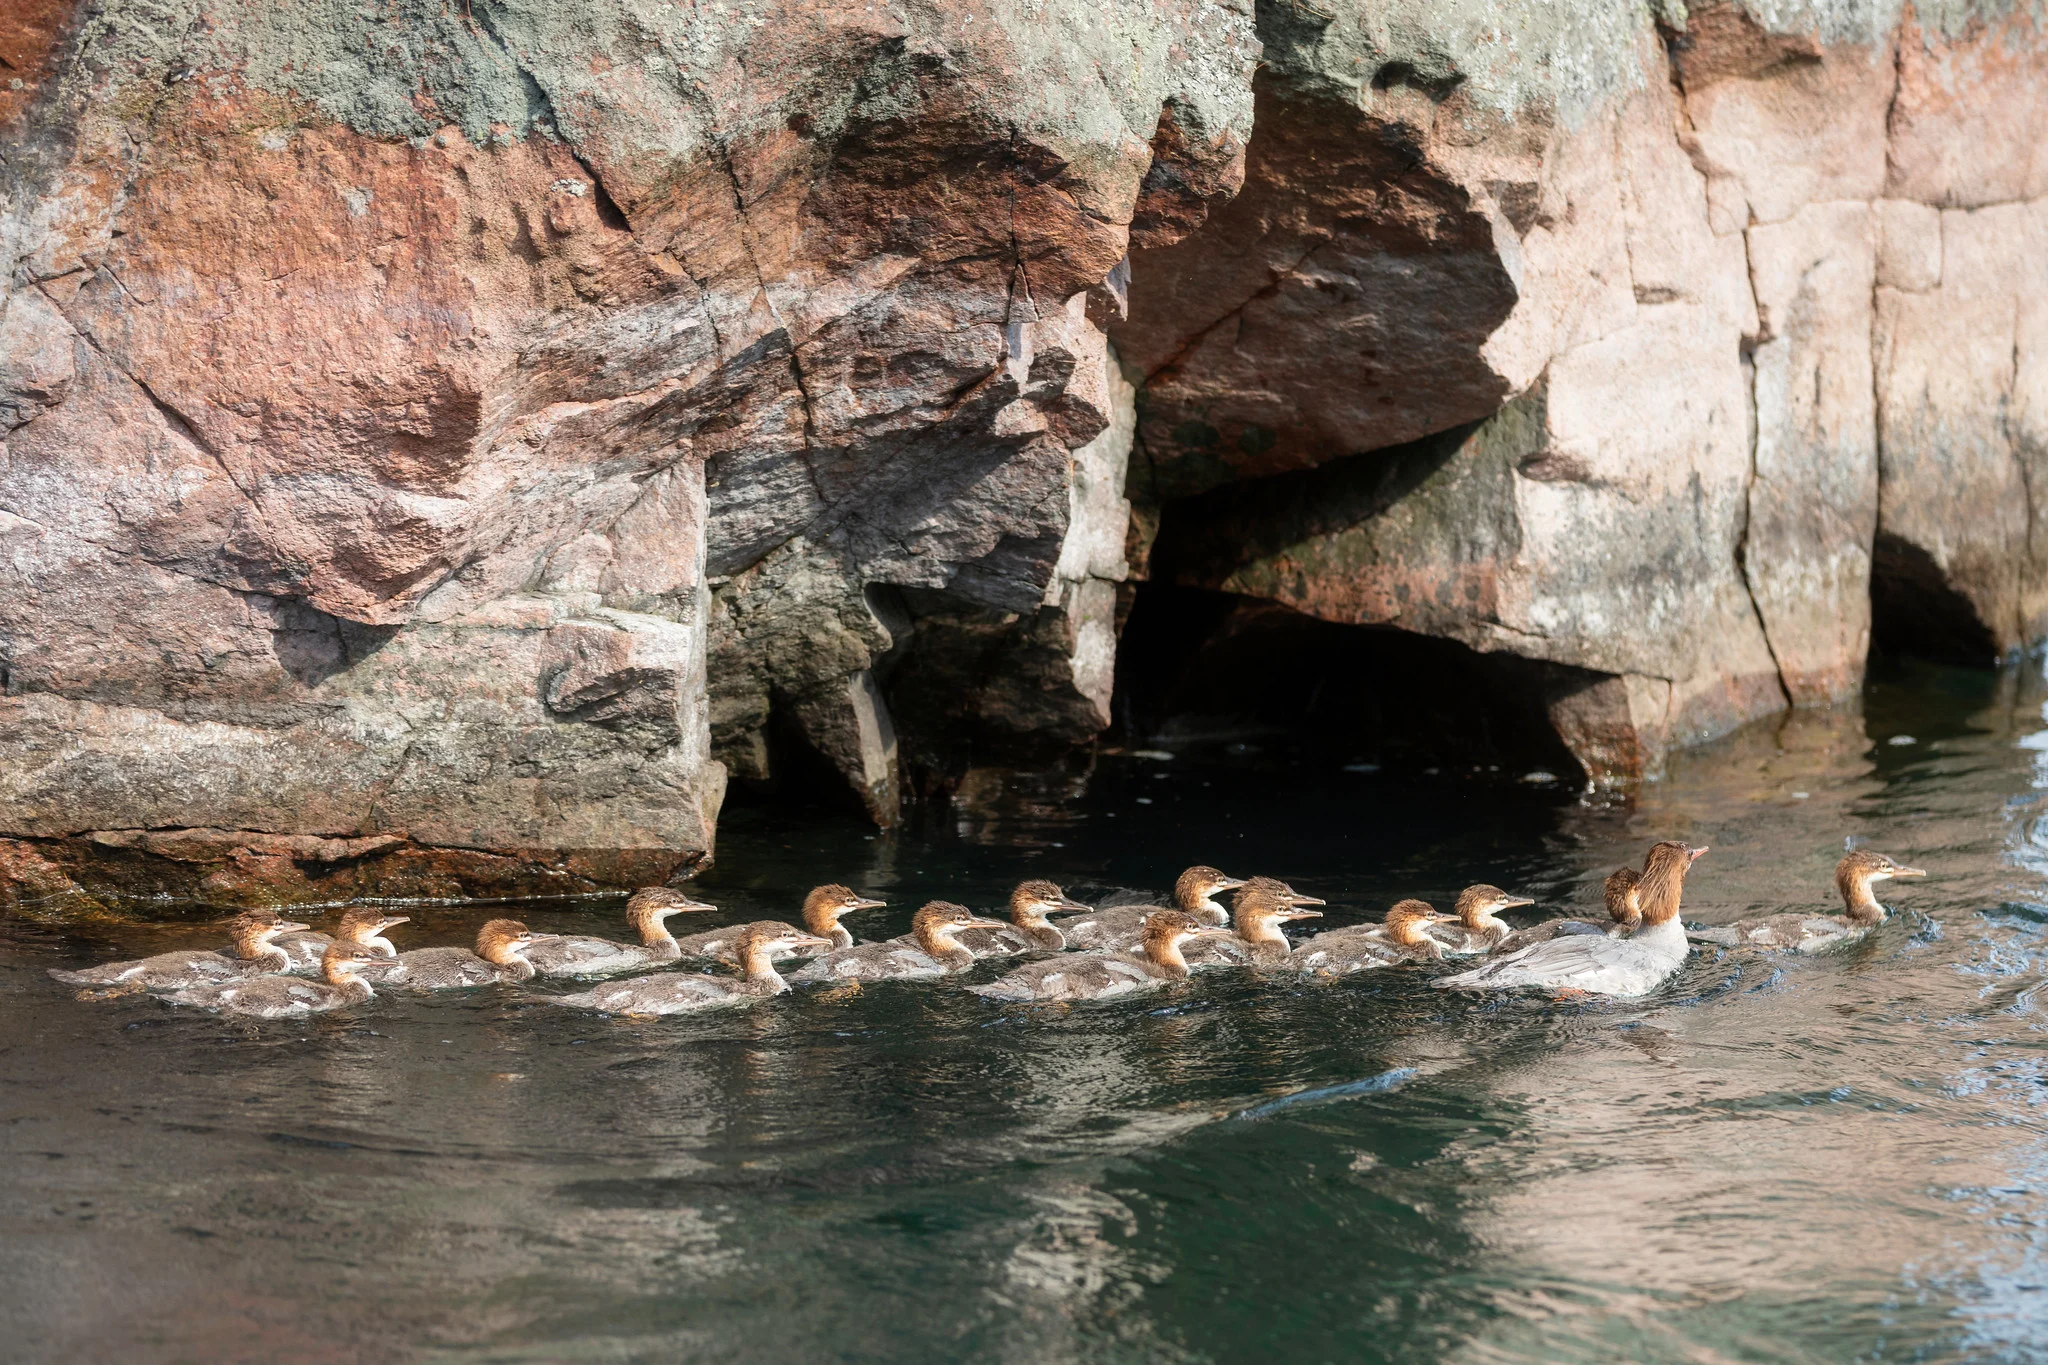
clean background, not reach. - Waterfowl (ducks, geese, swans, mergansers): found on predictable water bodies,
often approachable from a boat, dock, or shoreline at a steady, unthreatening pace. Behavior, not
just portraits, is the real prize here: feeding, preening, and parents leading young are far more
interesting than a single bird floating still. - Wading and shorebirds (herons, egrets, sandpipers): patient, methodical hunters
that reward a photographer willing to sit still at the water’s edge rather than walk the shoreline.
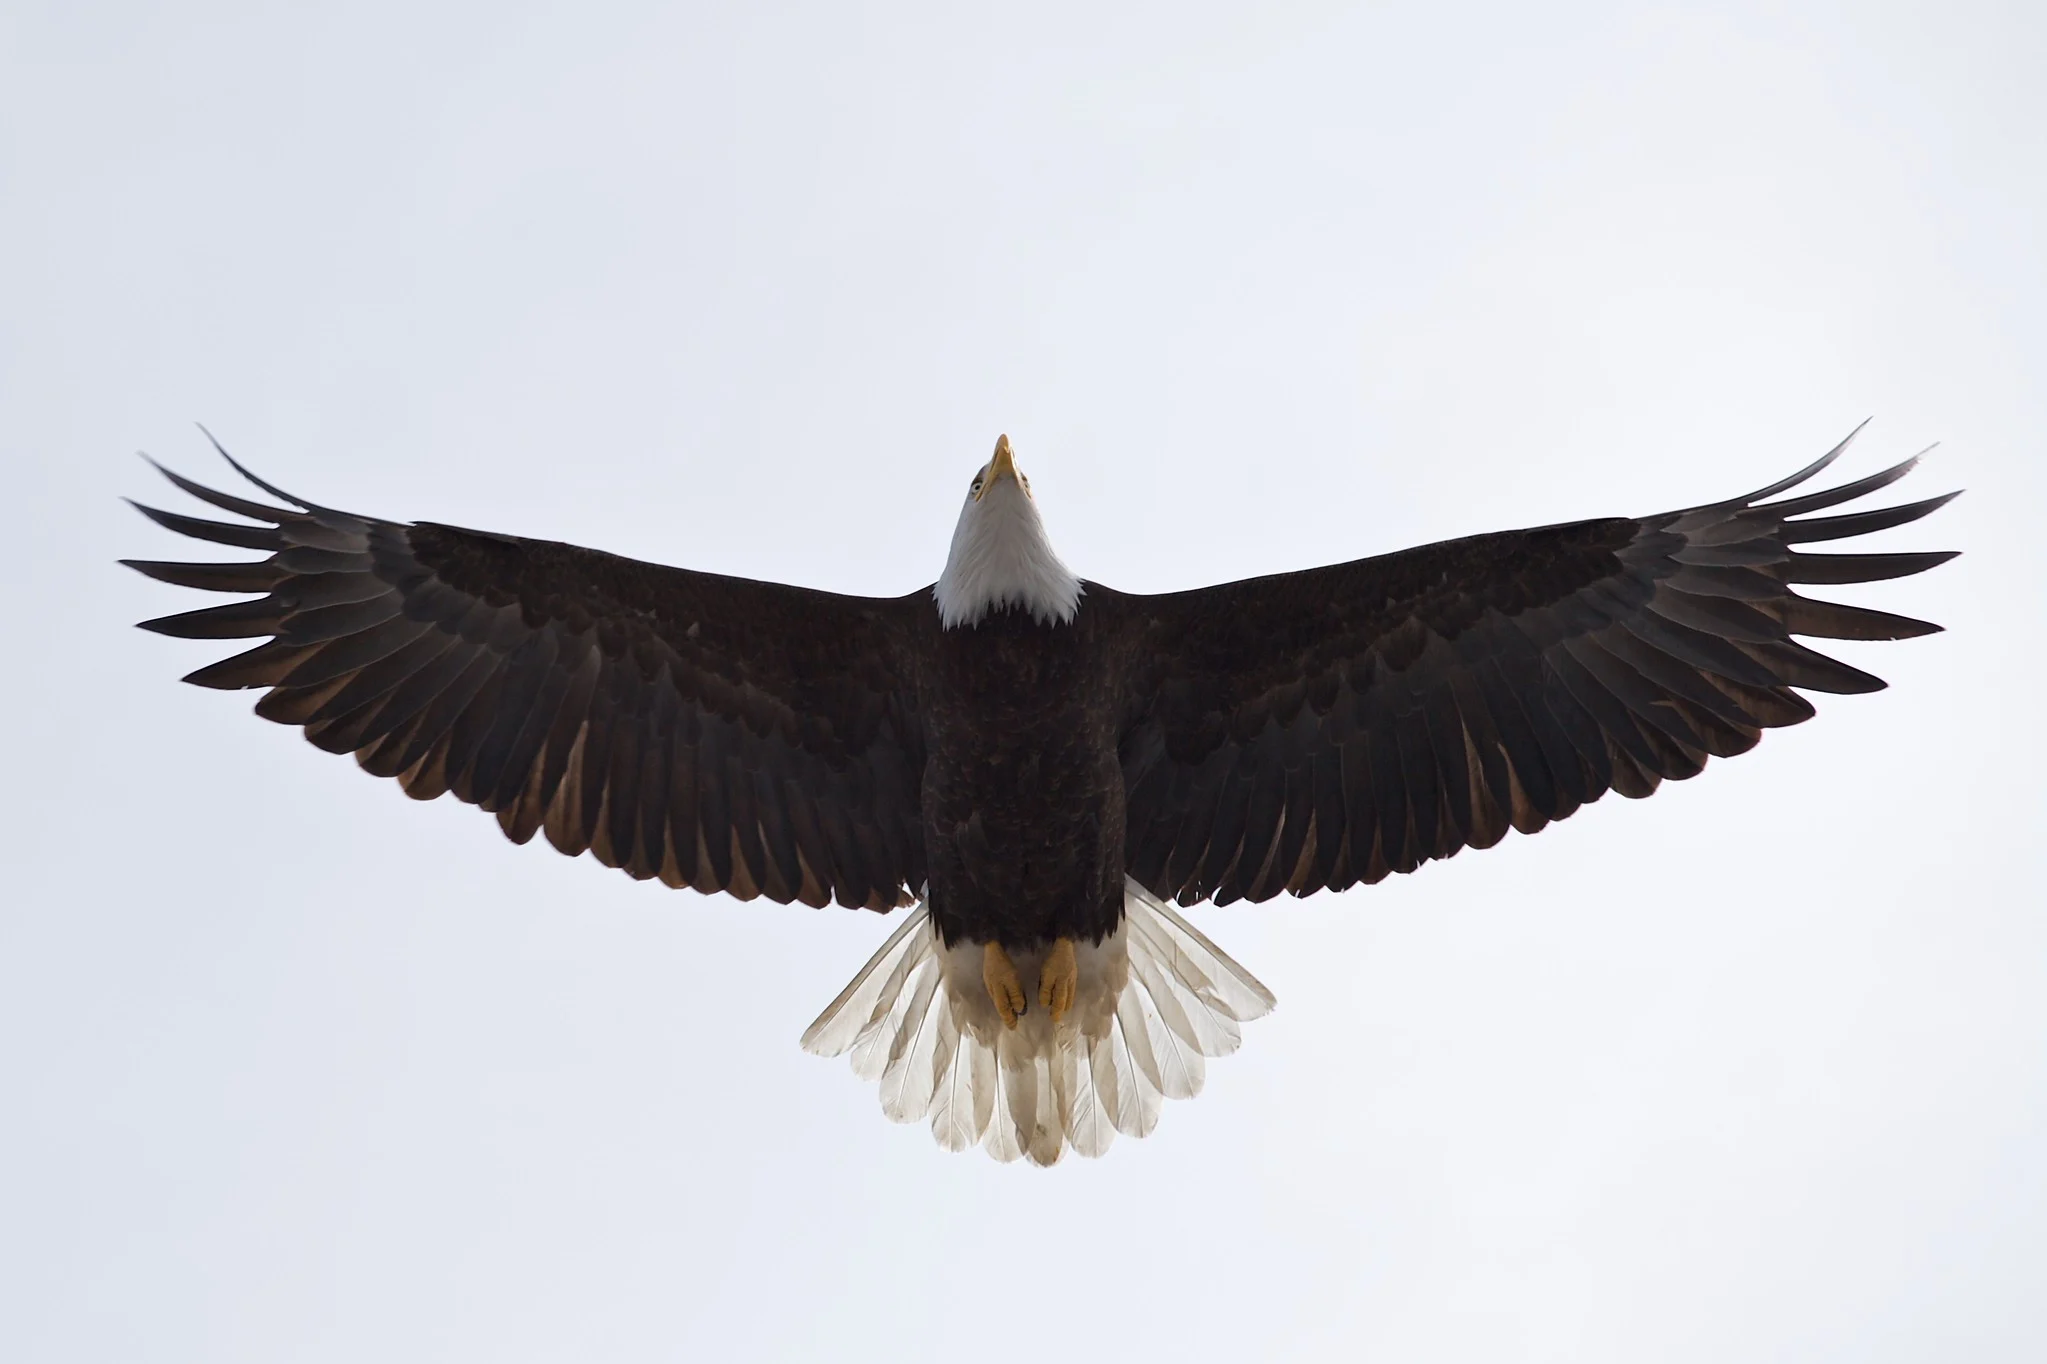
They often tolerate a slow, low approach far better than a fast one. - Raptors (hawks, eagles, falcons, owls): the hardest combination of distance,
speed, and unpredictability. Known perches near open hunting ground, or a rising thermal where a bird
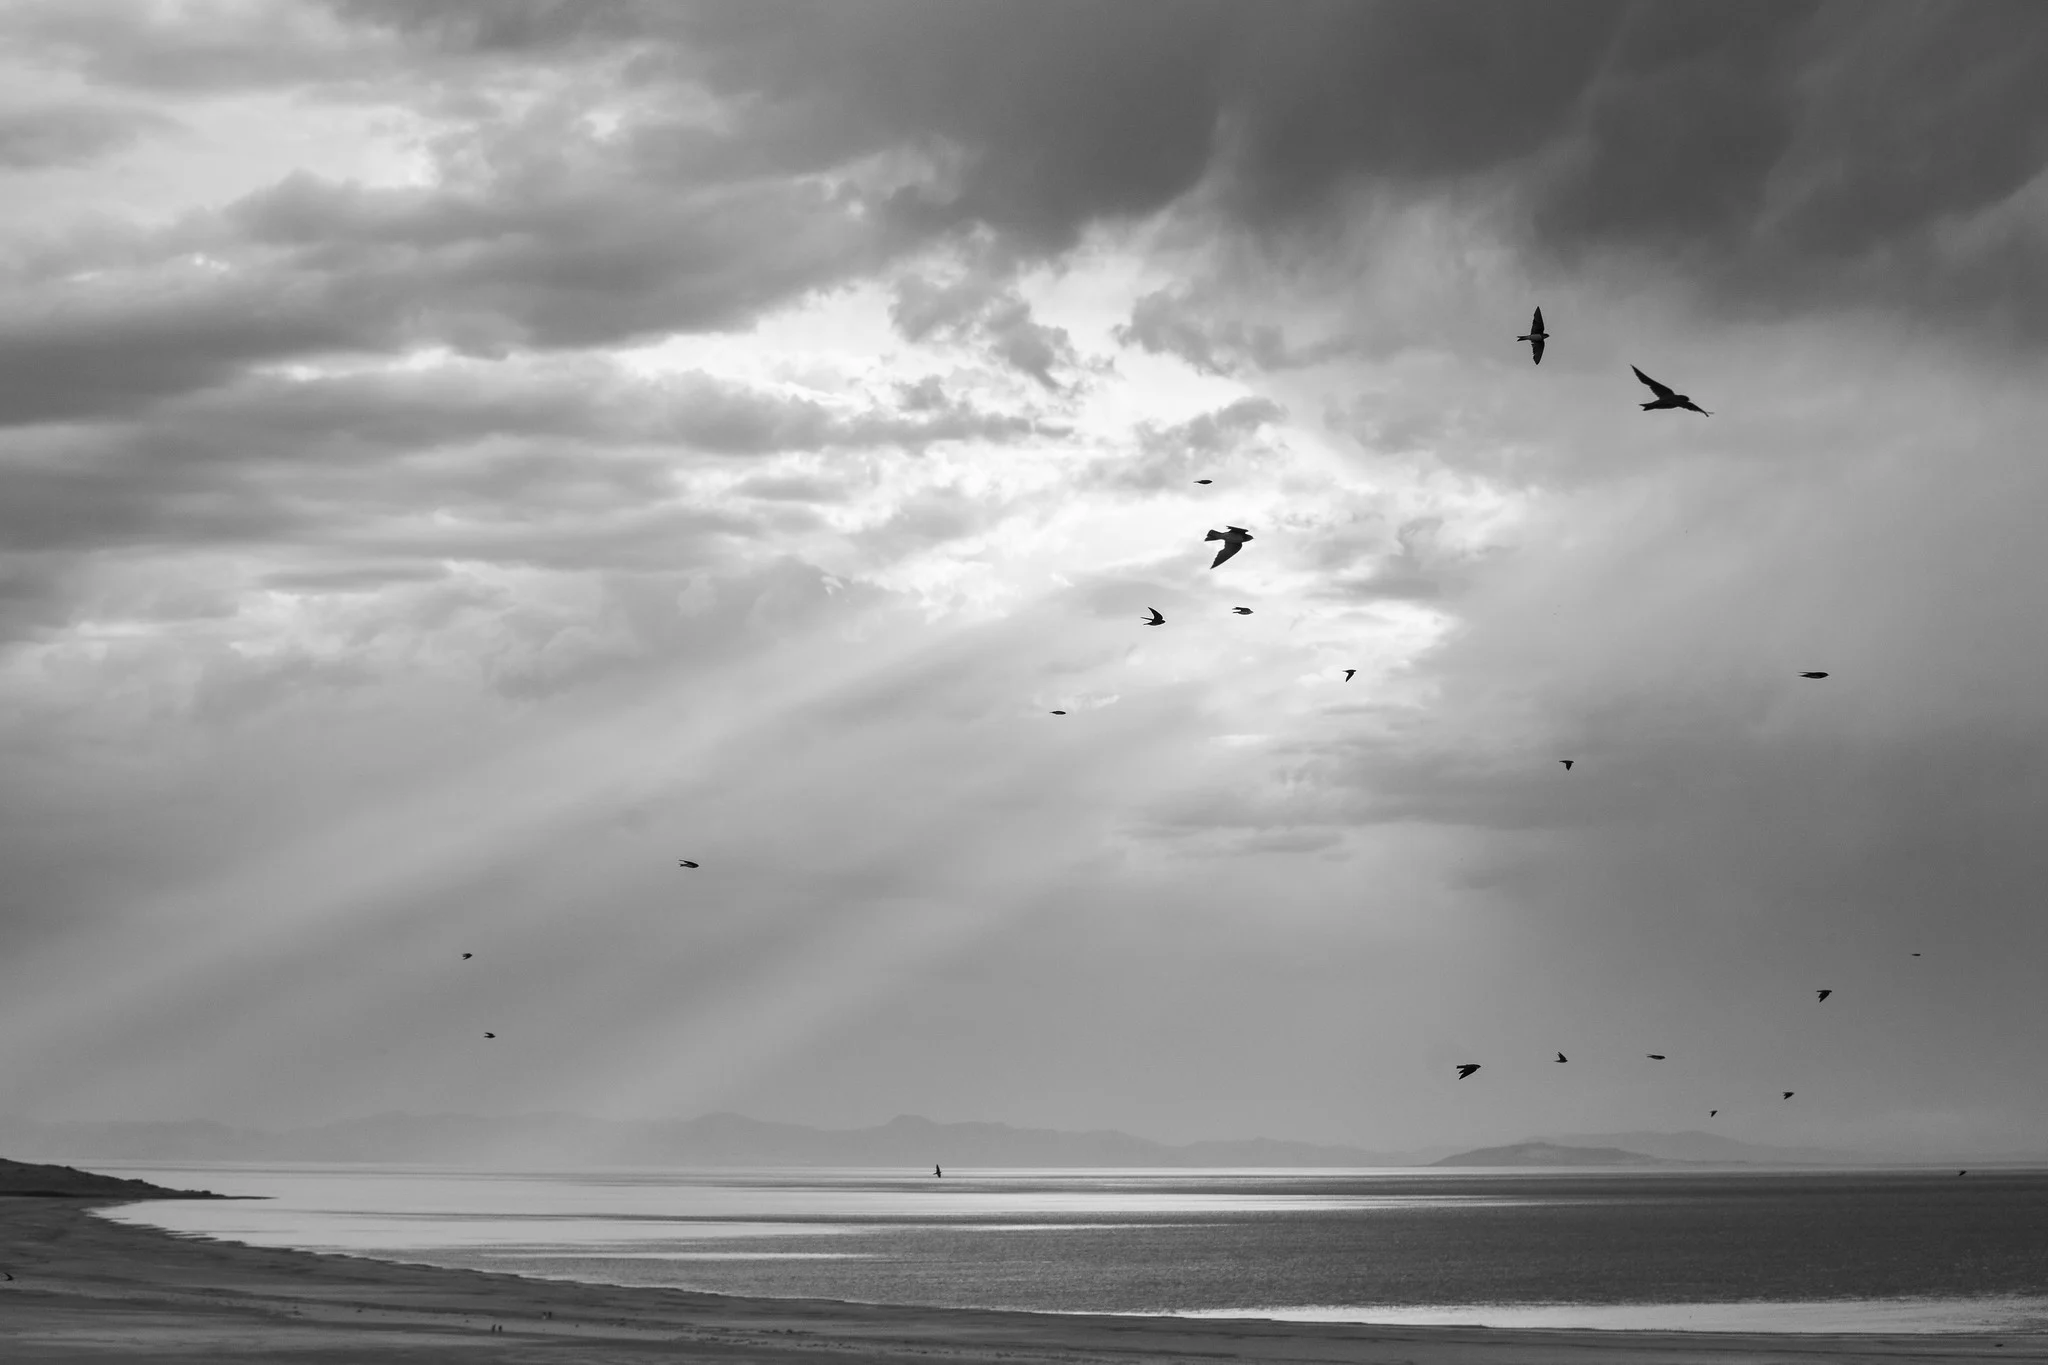
is soaring rather than flapping, are the most productive places to wait. - Migration corridors and roosts: at the right time of year, wetlands and
shorelines along migration routes concentrate huge numbers of birds in one place. A local birding
group or wildlife refuge calendar will tell you when a corridor near you is active, and volume alone
can compensate for the low odds of any single frame working out.
Realistic Gear for Getting Started
You do not need a 500mm or 600mm prime lens to begin. A superzoom bridge camera, or a crop-sensor
body paired with a mid-range telephoto zoom (100 to 400mm), is a completely legitimate starting
point, and a crop sensor’s smaller field of view acts as free extra reach at the same focal length. A
teleconverter can extend an existing lens further, at a real cost in maximum aperture and autofocus
speed, but it is a cheaper next step than a new supertelephoto. Reach matters, but fieldcraft and
knowing where to be at the right time matters more, and gear cannot substitute for either. See
How to Photograph Birds for the full settings cheat sheet
once your gear and position are sorted.
Worth understanding while you are choosing gear: a crop sensor does not zoom in more, it simply
records a narrower slice of what the lens already projects, so the same 400mm lens frames tighter on
a crop body than on a full-frame body at the same distance. Mount that identical lens at the
identical aperture and distance on both bodies and the crop body’s narrower view actually comes with
slightly shallower depth of field, not deeper, which surprises people who assume crop sensors always
put more of the scene in focus. That common assumption is really about matched framing: a shorter,
wider lens used on a crop body to match a longer lens’s field of view on full frame does produce
deeper depth of field, but that is a different comparison than simply mounting the same lens on both.
Building a Body of Work
A single sharp portrait of one species is a fine result. A body of work is something else: a
deliberate spread across habitats, behaviors, and seasons that shows range rather than repeating the
same shot with a different bird in the frame. As you build a portfolio, look consciously for gaps:
a flight shot to sit alongside your perched portraits, a behavior image (feeding, courtship,
interaction between two birds) to sit alongside a static pose, a wide habitat shot that places a
species in its environment rather than isolating it against a blurred background every time. That
variety is also what separates a photographer who happened to get one great shot from one who
understands bird photography as a practice.
Bird Photography Ethics
Birds are wild animals, and the pressure to get a shot has caused real harm in this genre, so a
few rules are worth internalizing before you go further.
- Never approach an active nest closely. Adults that flush from a nest can expose
eggs or chicks to predators and weather, and repeated disturbance can cause a parent to abandon a
nest entirely. Photograph nesting behavior from a distance with a longer lens rather than moving
closer. - Be very cautious with playback calls. Phone apps and recordings that mimic a
species’ call can lure a bird in for a shot, but overuse pulls birds away from feeding and defending
territory, and stresses them during breeding season specifically. Many parks and reserves ban
playback outright. If you are not certain it is allowed where you are, do not use it. - Do not bait in ways that alter natural behavior or put a bird at risk. Standard
backyard feeding is generally fine; leaving food to lure a raptor into an unsafe flight path, or
baiting near a road, is not. - Follow local park and reserve rules. Distance limits, closed nesting areas, and
drone restrictions exist because bird photography at scale has real cumulative impact. Rules that
feel overly cautious for one photographer exist because of the combined pressure of many.
Finding Birds: Where and When
Wetlands, shorelines, and any edge where water meets land concentrate more species than open
forest or field, because birds gather there to feed, drink, and rest during migration. Feeders bring
birds to you on a schedule you control. Dawn and the hour after it, and again in the last light
before dusk, are when birds are most active feeding after or before a long inactive night, and the
light is also at its best. Midday, especially in summer, is the quietest window for both bird
activity and light quality.
Editing Bird Photos
Post-processing has its own habits specific to this genre. Crop deliberately, not automatically:
birds are often small in the frame even with a long lens, but cropping too aggressively softens
detail, especially in feathers, so aim for the tightest crop that still holds sharp detail rather
than the tightest crop possible. Clean up distracting background clutter, stray twigs or blades of
grass crossing in front of the bird, carefully and honestly, since a straightforward spot-removal
pass reads as normal cleanup while reshaping the bird itself does not. Finally, sharpen the eye
specifically. A bird image lives or dies on the eye, and a small amount of targeted sharpening there,
even when the rest of the image needs none, makes the photograph read as sharp overall.
Common Mistakes
- Disturbing an active nest for a better angle. No photograph is worth risking a
brood. Use a longer lens and more distance instead of moving closer. - Overusing playback calls to summon a bird. It works in the short term and causes
real stress and habitat disruption over repeated use. Treat it as a last resort, not a default tool,
and never in a place that restricts it. - Only ever chasing large, showy species. Common backyard birds, sparrows,
chickadees, starlings, are excellent, patient practice subjects for fieldcraft and settings, and
skipping them in favor of rare species alone slows your progress. - Judging a session only by “keeper” photos. A session where you learned a bird’s
flight path or feeding schedule but came home with nothing sharp is not a failed session. That
knowledge is what makes the next visit productive.
Try This
Pick a single feeder, pond edge, or shoreline within walking distance and commit to one full hour
there without moving from your spot. Keep a simple log: which species you saw, what time, and what
they were doing (feeding, preening, calling, chasing another bird). Do not worry about getting a
great photograph during this session. The goal is to learn the rhythm of that one location, since
knowing where a bird is likely to be and when is worth more than any single piece of gear, and it is
the skill that “How to Photograph Birds” assumes you already have when it gets into settings and
technique.
Continue Learning
- How to Photograph Birds: The full gear, camera settings,
and fieldcraft guide - Wildlife Photography Guide: Broader techniques that apply
beyond birds - Focal Length: How reach and compression actually work
- Autofocus: Configure tracking for moving subjects
- Shutter Speed: Freeze wingbeats and fast flight
- Photography Glossary: Look up any term on this page