Lens corrections are editing tools that fix flaws every lens adds to a photo: barrel or pincushion distortion that bends straight lines, vignetting that darkens the corners, and chromatic aberration that adds colored fringes along high-contrast edges. Most editors can fix all three automatically with a lens profile, usually with a single checkbox. Turn profile corrections on early in your edit, remove fringing, then use perspective or transform tools to straighten leaning buildings if needed. Check the edges afterwards, because corrections can crop the frame slightly.
No lens is perfect, and that is nothing to worry about. Even expensive lenses bend lines a little, darken corners and add faint color fringes. Phone cameras correct many of these flaws automatically before you ever see the photo, but cameras that shoot RAW usually leave the fixing to you. The good news is that correcting them is one of the quickest and easiest edits there is.
This guide explains in plain words what each lens flaw is, how automatic lens profiles work, how to fix each problem by hand, when you might not want to correct them, and the common mistakes. There is a 10-minute exercise and an FAQ at the end.
The three common lens flaws
1. Distortion
Distortion means straight lines in the scene appear curved in the photo. There are two main kinds. The guide to barrel and pincushion distortion covers them in depth.
- Barrel distortion makes straight lines bow outward, as if the photo were wrapped around a barrel. It is common with wide-angle lenses and wide zoom settings.
- Pincushion distortion makes straight lines bend inward toward the center. It is common at the long end of zoom lenses.
Distortion is most noticeable near the edges of the frame and with straight lines, like horizons, door frames, walls and buildings.
2. Vignetting
Vignetting is the darkening of the corners compared with the center. It is strongest at wide apertures, with wide-angle lenses, and in plain areas like blue sky. A little can look pleasant, but unwanted dark corners can look like a mistake. See vignetting.
3. Chromatic aberration
Chromatic aberration means different colors of light do not focus at exactly the same point. The result is thin colored fringes, often purple, green, red or blue, along high-contrast edges, such as dark branches against a bright sky. The guide to chromatic aberration and purple fringing explains the causes.
A different problem: perspective
When you tilt a camera up to photograph a tall building, the vertical lines lean inward and the building appears to fall backward. This is not a lens flaw. It happens with any lens because of the angle of the camera. Photographers call it converging verticals or keystoning. It is related to the ideas in perspective distortion.
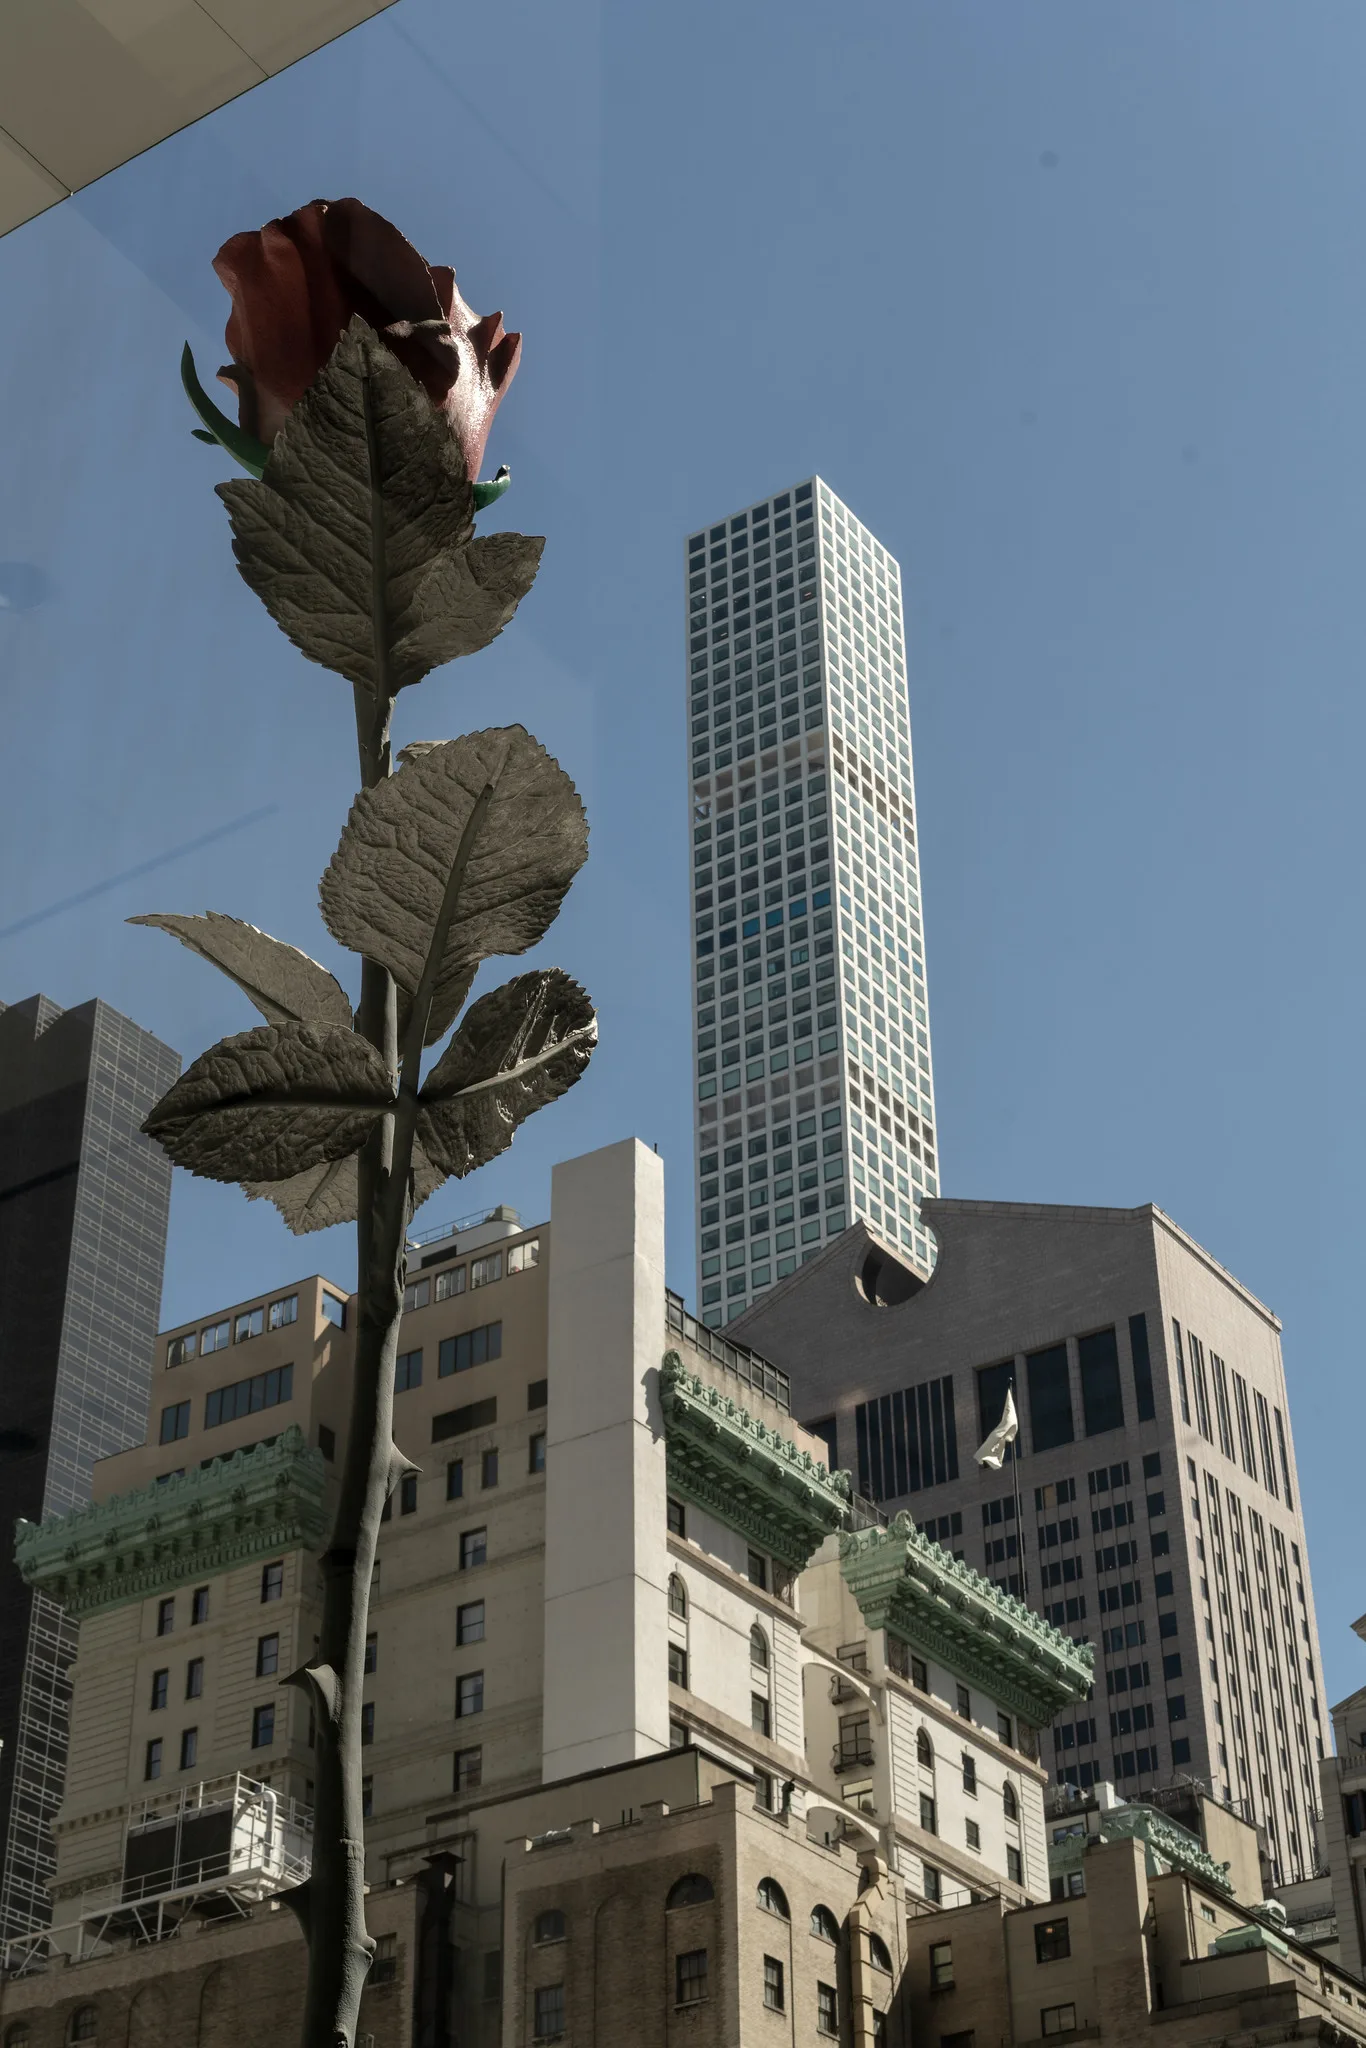
Lens profiles do not fix perspective, but most editors include separate perspective, transform or upright tools that can straighten leaning lines. The tall buildings in the photo at the top of this page show the kind of leaning lines that a perspective correction can straighten if you want a more formal, architectural look.
How lens profiles work
A lens profile is a set of measurements describing exactly how a particular lens distorts and darkens images. Editing software makers and lens makers measure lenses and build profiles for them. When you open a photo, the editor reads which lens was used from the hidden information stored in the file, called metadata, and applies the matching profile.
With one checkbox, often labeled “enable profile corrections” or similar, the editor can:
- Straighten barrel or pincushion distortion.
- Brighten dark corners to remove vignetting.
- Reduce some chromatic aberration.
Many editors also include a separate checkbox to remove chromatic aberration. Turn both on for most photos.
If the editor does not recognize your lens, you may be able to choose it from a list, or pick a similar lens. Some cameras also apply corrections to JPEG files automatically, and some lenses send correction data to the editor directly.
When to apply lens corrections
Apply lens corrections early in your edit, ideally right after opening the photo, before you touch any other slider. There are two reasons. First, correcting distortion changes the shape of the image slightly, which affects cropping and straightening. Second, removing vignetting changes the brightness of the corners, which affects your exposure decisions. Getting these fixes out of the way first means later edits are built on an accurate base. The guide to the photo editing workflow shows where this step fits.
Many photographers set their editor to apply profile corrections automatically to every imported photo. That saves a step and ensures consistency.
Fixing each problem by hand
Automatic profiles handle most cases, but manual controls help when a profile is missing or the result needs adjusting.
Distortion slider
A manual distortion slider bends the image to counteract barrel or pincushion distortion. Move it until straight lines near the edges look straight. Use the grid overlay, if your editor has one, to check.
Vignetting slider
A manual vignetting correction brightens or darkens the corners. Raise it until plain areas like sky look even from center to corner. Be careful not to overdo it, or the corners become brighter than the center.
Defringe tools
To remove stubborn color fringes, many editors include a defringe tool. You can pick the fringe color with an eyedropper and the editor will reduce it. Zoom in to check edges like branches, window frames and backlit hair.
Perspective and transform tools
For leaning buildings, use the vertical perspective slider or an automatic upright or level tool. Many editors also let you draw guide lines along edges that should be vertical or horizontal, and the software straightens them. Moderate corrections usually look best; fully straight verticals on a very tall building can make the top look stretched.
The cost of corrections: cropping
Correcting distortion and perspective bends and stretches the image, which can leave empty or curved areas at the edges. Editors usually crop these away automatically or offer a “constrain crop” option. That means you lose a little of the frame. When shooting buildings or anything you plan to correct, leave some extra space around the edges so nothing important gets cut. The guide to cropping covers how to crop without losing important detail.
Perspective corrections can also slightly stretch parts of the image, especially the top of a tall building. If it looks too stretched, reduce the correction or adjust the aspect slider some editors provide.
When not to correct
Corrections are not always an improvement.
- Fisheye lenses are designed to curve lines strongly. Correcting them removes the effect you chose. See fisheye lens.
- Creative vignettes can guide the eye toward the center. You may want to keep or even add some darkening.
- Dramatic perspective, like looking straight up at towering buildings, can be exciting. Correcting it may make the photo less dynamic.
- Natural scenes without straight lines, like forests and clouds, rarely show distortion, so correcting it makes little difference.
The aim is to remove flaws you did not intend, not every characteristic of the lens.
A good habit is to ask what the photo is about before correcting. If it is about straight, orderly architecture, correct carefully. If it is about energy, scale or a playful wide-angle look, leave some of the lens character in place. Many photographers apply the profile to remove fringing and harsh vignetting, then dial back the distortion correction slightly to keep a little of the wide-angle feel. There is no single right answer, only what suits the photo.
Lens corrections on a phone
Phone cameras usually apply lens corrections automatically, which is why phone photos rarely show strong distortion or color fringing. Ultra-wide phone lenses may still stretch faces or objects near the edges, because correcting their strong distortion has side effects. Keep people away from the edges of ultra-wide photos. Many phone editing apps also include perspective tools for straightening buildings and documents.
Shooting to reduce the need for corrections
- Keep the camera level when photographing buildings to avoid leaning lines. Step back or use a wider lens instead of tilting up.
- Keep straight lines away from the edges of very wide lenses when possible.
- Stop down a little. Using a slightly smaller aperture than the widest reduces vignetting and often reduces fringing.
- Leave room around the subject so corrections do not crop important details.
The guide to the wide-angle lens explains how to work with wide lenses, which show these flaws most.
Looking closely at the photos on this page
The city photo at the top shows tall buildings rising behind a sculpture. Because the camera tilted upward, the buildings lean slightly inward. A gentle perspective correction would make them stand more upright, giving a calmer, more architectural look. A strong correction would stretch the tops and might crop the sculpture, so this is a case for a light touch, or none at all if the upward energy is part of the appeal.
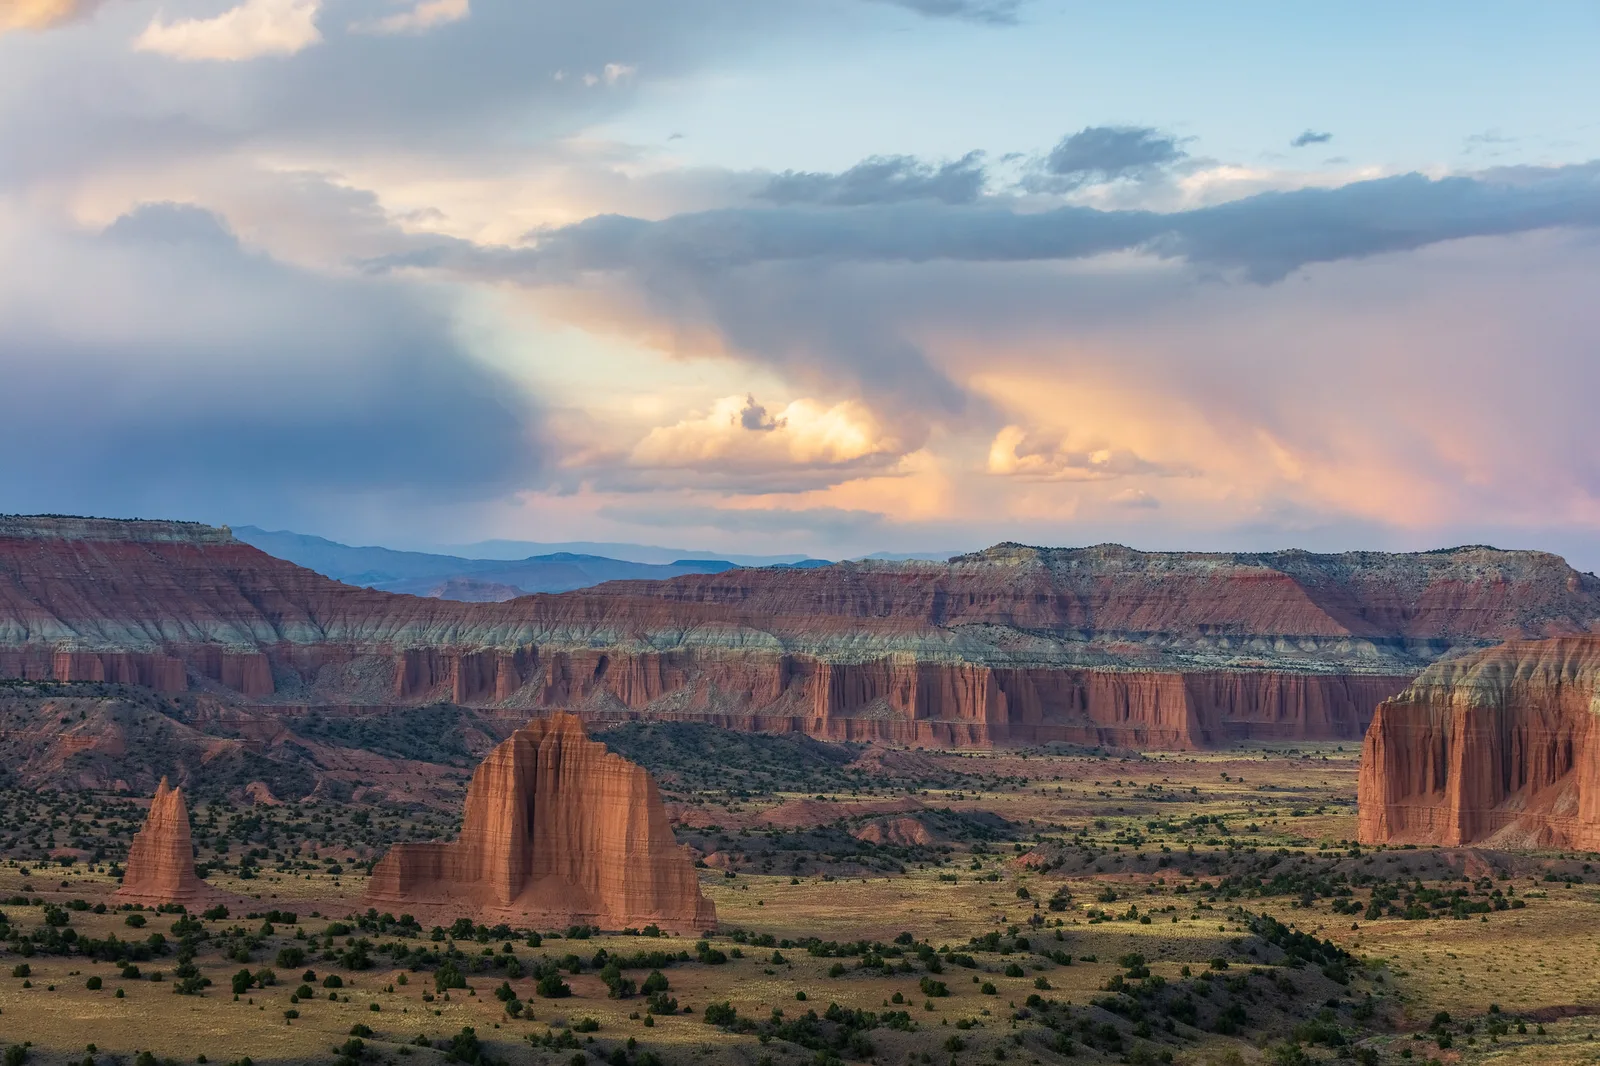
The desert valley shows where vignetting correction matters. Large areas of sky and pale ground make darkened corners easy to spot. A profile correction would even out the brightness from the center to the corners. Because the scene has no straight lines, distortion correction would change very little, which is typical for landscapes.
Why lenses have these flaws
It helps to understand why lenses are imperfect in the first place. A lens is made of several pieces of curved glass, called elements, that bend light so it lands sharply on the sensor. Designing a lens is a balancing act. Making it wider, smaller, lighter, brighter or cheaper usually means accepting a little more distortion, vignetting or fringing somewhere. The guide to lens distortion explains how these trade-offs shape the lenses you use.
Modern lens designers often rely on software to finish the job. Some lenses, especially compact ones, are designed knowing that the camera or editor will correct their distortion automatically. If you turned the corrections off on such a lens, you might be surprised how curved the original image is. This is completely normal and not a sign of a bad lens. It simply means the glass and the software work as a team.
Lens corrections for architecture and interiors
Architecture is where lens corrections matter most, because buildings are full of straight lines that viewers expect to stay straight. A slight curve in a horizon might go unnoticed, but a bent door frame or a bowed wall looks wrong straight away. Architectural photographers almost always use profile corrections and careful perspective adjustments. Many also shoot slightly wider than needed so they have room to correct and crop. The guide to architecture photography covers more techniques for photographing buildings.
Interiors are especially demanding, because wide lenses are often needed to fit a room in the frame. Straight walls near the edges show barrel distortion clearly, and tilting the camera makes the walls lean. Keep the camera level, use profile corrections, and adjust verticals gently. Small rooms may also show strong vignetting in the corners, which the profile will even out.
Finding the tools in your editor
Every editor names and places these tools a little differently. Look for a panel called lens corrections, optics, geometry or transform. Inside you will usually find a profile checkbox, a chromatic aberration checkbox, manual distortion and vignetting sliders, and perspective controls. If you are learning a popular desktop editor for the first time, the guide for beginners learning photo editing software walks through the main panels. Phone users can find perspective tools in many apps listed in the guide to mobile photo editing apps.
Once you have found the tools, spend a few minutes turning each one on and off on a handful of photos. Seeing the before and after side by side is the fastest way to understand what each correction does, and to recognize these flaws when you see them in other photos.
Common mistakes
- Forgetting to turn on profile corrections. RAW photos often need it. Make it a default.
- Correcting fisheye photos. This removes the effect you chose.
- Over-correcting perspective. Fully straight verticals can make buildings look stretched. Moderate corrections often look more natural.
- Losing edges to the crop. Leave space around the subject when shooting.
- Over-brightening corners. Too much vignette correction makes corners brighter than the center.
- Ignoring fringing. Zoom in on high-contrast edges and remove color fringes.
- Correcting after other edits. Apply lens corrections first so later edits rest on an accurate base.
Try this: a 10-minute lens correction check
- Minute 1: Choose a photo with straight lines near the edges and some plain sky, ideally taken with a wide lens.
- Minute 2 to 3: Turn on profile corrections. Toggle them on and off and watch lines straighten and corners brighten.
- Minute 4 to 5: Turn on chromatic aberration removal. Zoom in on a branch or window edge and compare.
- Minute 6 to 7: Find a photo of a building. Try the vertical perspective or upright tool and watch the lines straighten.
- Minute 8: Check the crop. Did anything important get cut?
- Minute 9: Reduce the perspective correction slightly and compare.
- Minute 10: Set profile corrections to apply automatically on import if your editor allows.
Frequently asked questions
What are lens corrections in photo editing?
Tools that fix distortion, vignetting and chromatic aberration caused by a lens, often automatically with a lens profile.
Should I always turn on lens profile corrections?
For most photos, yes. Skip them for fisheye images or when you want to keep a creative vignette or curve.
Do lens profiles fix leaning buildings?
No. Leaning buildings come from camera tilt. Use perspective or transform tools instead.
Why does my photo get cropped after correction?
Straightening lines bends the image, leaving curved edges that the editor crops away.
Do phones need lens corrections?
Phones usually apply them automatically. Ultra-wide phone lenses can still stretch things near the edges.
What is the purple outline around branches in my photo?
Chromatic aberration, also called purple fringing. Use the chromatic aberration or defringe tool to remove it.
Wondering why lines bow outward in wide photos? Read the guide to barrel and pincushion distortion.
Want to remove purple and green edges from your photos? Try the guide to chromatic aberration.