To track your photography progress, keep a small folder of your best photos and add to it regularly, compare old and new work side by side every few months, set one clear skill goal at a time, and keep simple notes about what you tried and learned. Progress in photography is slow and easy to miss day to day, so looking back on purpose is the only reliable way to see it. A best-of folder, a short shooting log and an honest review every season are all most beginners need.
Almost every beginner hits a moment where they feel stuck. The photos do not seem to be getting better, other people’s work looks far ahead, and it is hard to tell whether all the practice is paying off. Usually, the truth is that you are improving, but slowly enough that you cannot see it from one day to the next.
Tracking your progress fixes that. It turns a vague feeling into something you can actually see. It also shows you what to work on next, which makes practice more focused and more fun. This guide explains simple, practical ways to track how your photography is growing, how to review your own work honestly, how to set useful goals, and the common mistakes. There is a 10-minute exercise and an FAQ at the end.
Why tracking progress matters
Photography skills grow in small steps. You learn to hold the camera steadier, to notice light a little earlier, to wait a second longer for a better moment. None of these changes feels dramatic on its own. Together, over months, they add up to a big difference.
The problem is that your taste usually improves faster than your skill. As you look at more great photos, you start to see the flaws in your own work more clearly. That can feel like you are getting worse, when really your eye is getting better. Tracking progress gives you proof that your skills are catching up.
Tracking also helps you:
- Stay motivated, because you can see how far you have come.
- Find patterns, like which subjects and light you do best with, and which mistakes you keep repeating.
- Practise with purpose, focusing on one skill at a time instead of hoping things improve on their own.
- Build a portfolio naturally, because your best work is already collected.
Method 1: a best-of folder
The simplest and most powerful tool is a folder of your best photos. Keep it separate from everything else, on your computer, phone or a photo service.
Here is how it works:
- After each shoot or each week, choose your one to three best photos. Be strict.
- Copy them into the best-of folder. Put the month at the start of the file name so they stay in order, for example “month-03 sunset pier”.
- Every few months, scroll through the whole folder from oldest to newest.
Watching your best work change over time is the clearest view of your progress. You will see compositions get cleaner, exposure more confident, and subjects more interesting. The guide to organising photos has more ideas for keeping folders tidy.
Being strict matters. If you add twenty photos from every outing, the folder becomes just another pile. A tight selection forces you to judge your own work, which is itself a skill.
If choosing feels hard, ask a simple question about each photo: would I happily show this to someone whose opinion I respect? If the answer is yes, it belongs in the folder. If you hesitate, leave it out. Over time, the bar for what counts as your best will rise, and that rising bar is itself a sign of progress.
Method 2: side-by-side comparisons
Pick a photo you took when you started and a newer photo of a similar subject, like a portrait, a sunset, a street scene or a flower. Put them side by side and ask:
- Is the subject clearer?
- Is the light better chosen?
- Is the composition simpler and stronger?
- Is the exposure more accurate?
- Is the focus sharper where it matters?
- Is the editing more natural?
You can also re-shoot an old subject on purpose. Go back to a place you photographed months ago and try again. This is one of the most satisfying exercises in photography, because the improvement is often obvious.
Method 3: a simple shooting log
A shooting log is a short note after each outing. It can be a notebook, a phone note or a document. Keep it short, two to five lines. For example:
- Where and when you shot.
- What you were trying to practise.
- What worked.
- What did not work, and why you think so.
- One thing to try next time.
Writing even a few words helps you remember lessons that would otherwise disappear. Over months, the log becomes a record of your learning. Reading old entries is a surprisingly encouraging way to see progress. The guide to the photographer’s sketchbook has more ideas for creative journaling.
Method 4: let the camera keep notes
Every digital photo stores hidden information called metadata, including the date, the camera settings and often the lens. The guide to photo metadata explains what is recorded. You can use this to track technical progress without writing anything down.
For example, looking back at your settings can show whether you are using faster shutter speeds to avoid blur, choosing apertures more deliberately, or relying less on very high ISO. If you use an editor that lets you rate photos with stars, you can also filter by your highest-rated images over time.
Setting useful goals
Tracking works best when you know what you are aiming for. Vague goals like “get better at photography” are hard to measure. Specific goals give you something to track.
Pick one skill at a time
Choose a single skill for a few weeks. Examples:
- Getting sharp focus on the eyes in portraits.
- Keeping horizons straight.
- Using the rule of thirds deliberately.
- Shooting in a new mode, like aperture priority.
- Photographing in low light without blur.
- Editing with a lighter touch.
Focusing on one skill makes progress visible quickly, which keeps you motivated. When it starts to feel natural, pick the next one.
Make goals small and doable
A good beginner goal fits into ordinary life: “take ten photos with a straight horizon this week” is better than “become a landscape photographer”. Small wins add up.
Use projects
A project gives structure to practice. A 365 photography project, one photo a day for a year, or a 52 week challenge, one themed photo a week, both create a built-in record of your progress.
Reviewing your own work honestly
Tracking progress means looking at your photos with a critical but kind eye. A few habits help:
- Wait before judging. Right after a shoot, you remember how it felt to be there, which makes photos seem better than they are. A few days later, you see them more clearly.
- Look at small sizes. Viewing photos as thumbnails shows whether the composition and light are strong, without getting lost in detail.
- Ask specific questions. What is the subject? Where does the eye go first? Is anything distracting? Is the light helping?
- Name strengths too. Notice what you did well, not just mistakes.
The guide to how to critique photography gives a full step-by-step method for reviewing photos.
Getting feedback from others
Other people can see things you miss. Friends, photography clubs and online communities can all help. The most useful feedback is specific: “the background is distracting” is more helpful than “nice photo”. When asking, tell people what you are working on, for example “I am practising composition, does the subject stand out?” The guide to photography critique forums covers how to give and receive feedback well.
Keep notes on feedback in your log. If several people mention the same issue, that is a clear sign of what to work on next.
Seasonal reviews
Every three months or so, set aside an hour for a bigger review:
- Scroll through your best-of folder from the start.
- Pick your favourite five photos from the last three months.
- Compare them with your favourite five from the three months before.
- Write down two things that have improved and one thing to focus on next.
- Read your shooting log for repeated lessons.
This regular check-in is where tracking really pays off. It is also a natural moment to update a portfolio if you have one.
What progress usually looks like
It helps to know what to expect. Many beginners notice improvements in roughly this order, though everyone is different:
- Technical basics. Fewer blurry photos, better exposure, straighter horizons.
- Simpler composition. Clearer subjects, fewer distractions, more thoughtful framing.
- Noticing light. Choosing times and places because of the light.
- Timing and patience. Waiting for the right moment.
- Personal style. A recognisable way of seeing and editing. The guide to finding your photographic voice explores this stage.
Progress is rarely a straight line. You may improve quickly for a while, then feel stuck, then jump forward again. Plateaus are normal. They often come just before a breakthrough, when your eye is ahead of your skill.
Looking closely at the photos on this page
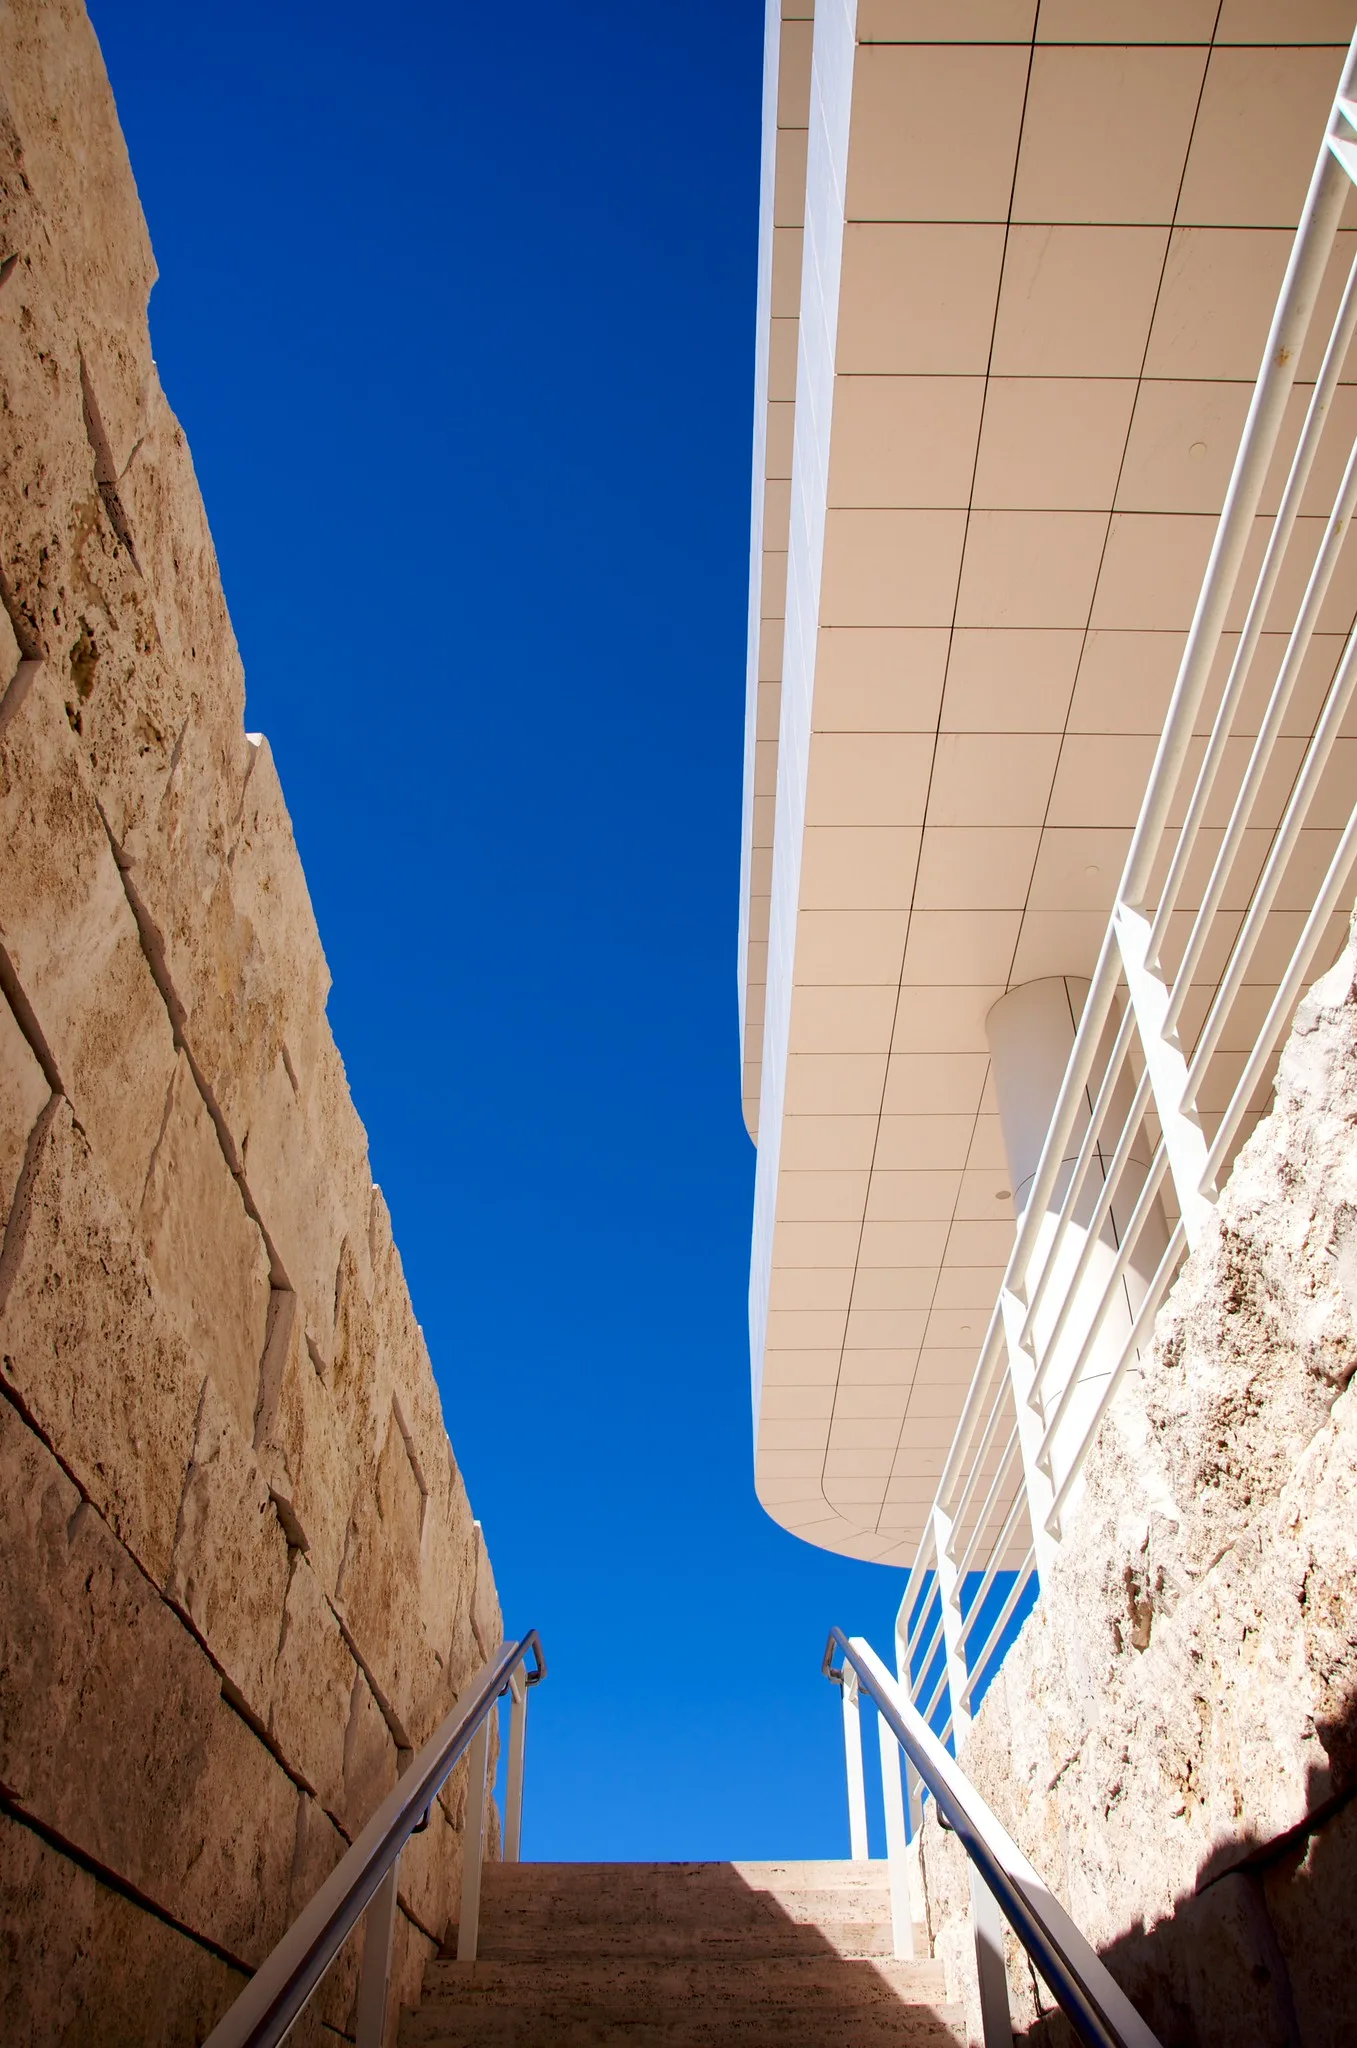
The staircase at the top of this page is a fitting picture for learning photography. Each step is small and ordinary on its own, but together they lead somewhere bright. Practice works the same way: no single photo makes you a photographer, but every one moves you a little higher.
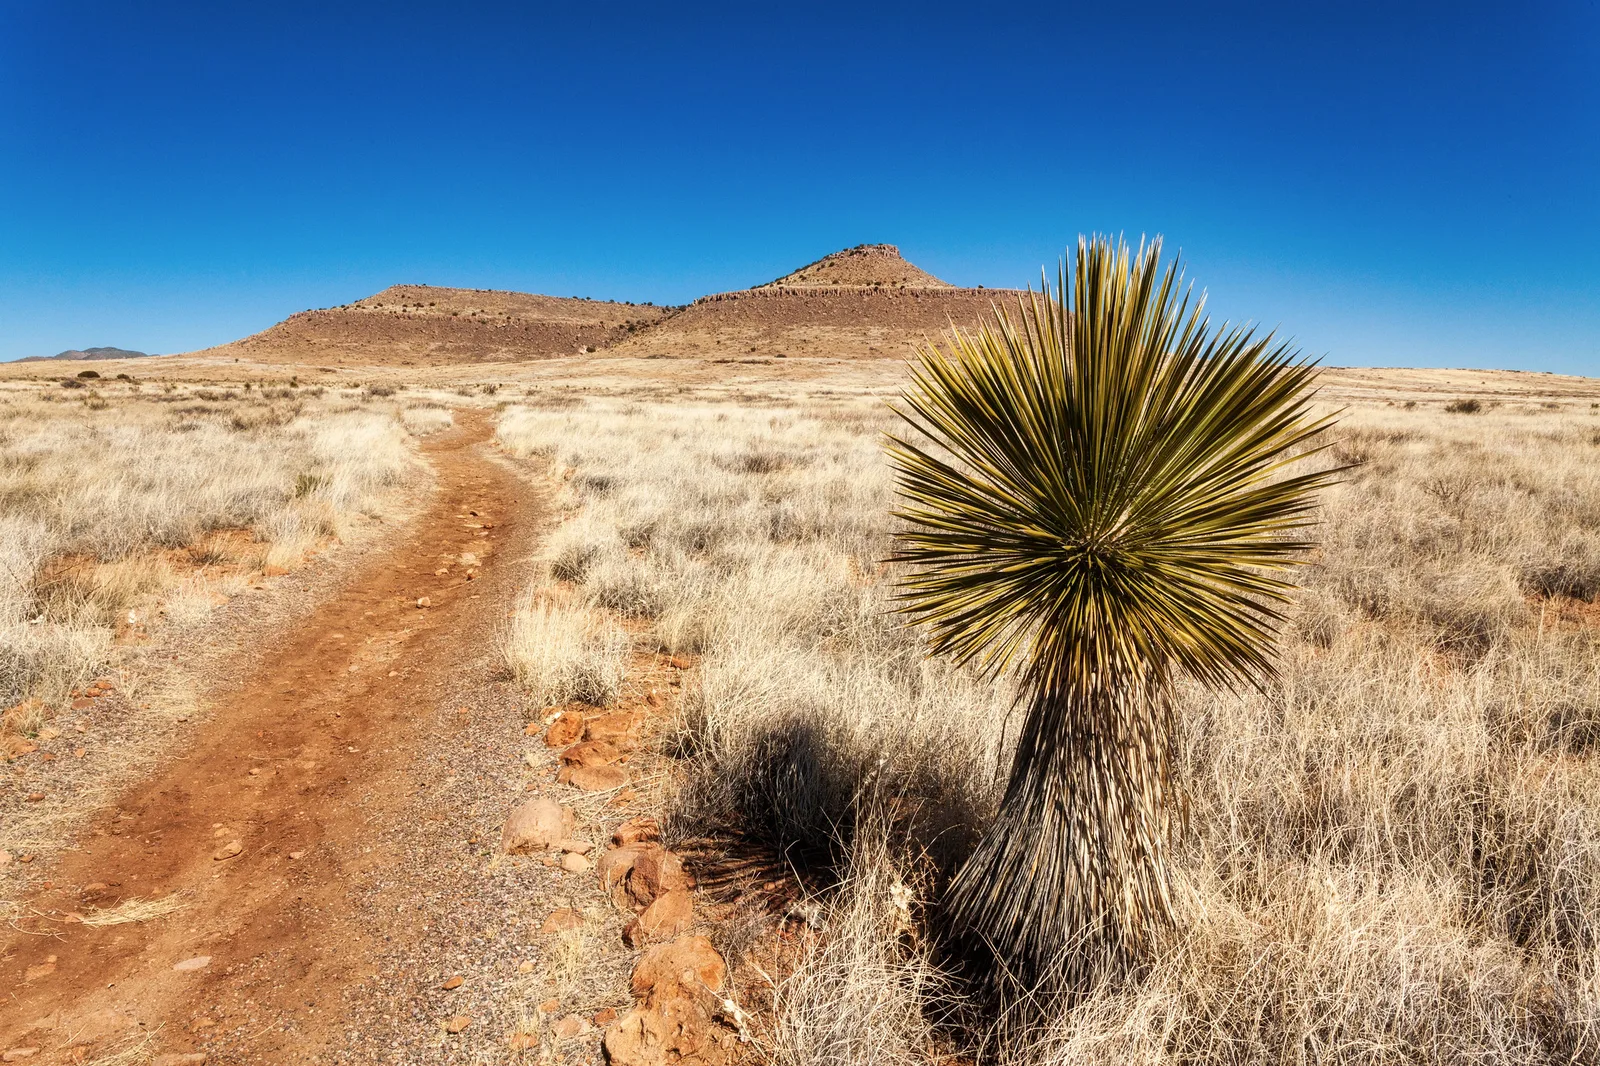
The desert trail shows the other side of progress. The path bends and disappears, so you cannot see the end from where you stand. That is how improvement often feels. Tracking your progress is like looking back down the trail and seeing how far you have already walked.
When you feel stuck
If your tracking shows little change for a while, try one of these:
- Change something. A new subject, a new time of day, or a single lens for a month can shake up your habits.
- Study great photographers. Looking closely at master work trains your eye. See learning from photography masters.
- Try a creative project. The guide to creative photography projects has many ideas.
- Revisit the basics. Sometimes a quick refresher on exposure or composition unlocks progress. The guide on how to learn photography lays out a clear learning path.
- Take a short break. A week off can bring fresh eyes.
Tracking progress on a phone
If you shoot mostly with a phone, tracking is even easier, because your photos are already in one place and sorted by date. Most phone galleries let you create albums. Make one album called “Best” and add only your strongest photos. Make another for your current skill goal, such as “Horizons” or “Window light”, so you can see every attempt together.
Many galleries also show photos from the same day in past years, or let you scroll by month. Use these features as a quick way to compare old and new work. Favouriting a photo with a heart is another simple way to mark your best, and most galleries let you filter to show only favourites.
Keep your shooting log in a notes app with a date at the top of each entry. Because your phone is always with you, it is easy to jot down a lesson right after taking a photo, while it is still fresh in your mind.
Celebrating progress
Tracking is not only about finding problems. It is also about noticing wins, and celebrating them keeps you going. When you see a clear improvement, mark it in some small way. Print your best photo of the season and put it on a wall. Share a before and after pair with a friend. Make a small photo book of your best work from the year.
These little moments matter. They remind you that the hours spent practising are adding up, and they give you something to look back on when you feel stuck. Many experienced photographers say that the photos they are proudest of are not always their best, but the ones that marked a turning point in their learning.
Common mistakes
- Comparing yourself with experts. Compare your new work with your old work instead. That is the comparison that matters.
- Keeping too many photos in the best-of folder. Be strict, or the folder stops showing progress.
- Deleting early work. Your first photos are your starting line. Keep a few, even if you do not love them.
- Vague goals. “Get better” cannot be tracked. Choose specific skills.
- Too many goals at once. Focus on one or two skills at a time.
- Judging photos immediately. Wait a few days before choosing your best.
- Giving up during plateaus. Slow periods are normal. Keep shooting and reviewing.
Try this: a 10-minute progress check
- Minute 1 to 3: Find three of your earliest photos and three of your newest. Put them side by side.
- Minute 4 to 5: For each pair, write one thing that has improved.
- Minute 6 to 7: Create a best-of folder and copy your three favourite newer photos into it.
- Minute 8: Choose one skill to focus on for the next month and write it down.
- Minute 9: Start a shooting log with the date and your chosen skill.
- Minute 10: Put a reminder in your calendar for a review in three months.
Frequently asked questions
How do I know if my photography is improving?
Compare old and new photos of similar subjects side by side, and keep a best-of folder you review every few months.
Why do I feel like my photos are getting worse?
Often your eye improves faster than your skill, so you notice more flaws. That is a sign of progress, not failure.
How often should I review my progress?
Choose your best photos weekly, and do a bigger review every three months or so.
Should I delete my old photos?
Keep at least a few early photos. They are the best way to see how far you have come.
What should a beginner focus on first?
Technical basics like sharp focus, good exposure and straight horizons, then simpler composition and noticing light.
Is a photo a day project good for tracking progress?
Yes. Daily or weekly projects build a natural record of your growth and keep you practising regularly.
Wondering how to judge your own photos fairly? Read the guide to how to critique photography.
Looking for a project that keeps you shooting every week? Try the 52 week photography challenge.