A single year of active photography can easily produce tens of thousands of images. Without a solid file management system, those images become increasingly difficult to find, organize, back up, and protect. Losing files to a hard drive failure, accidentally overwriting edits, or spending twenty minutes hunting for a specific image from three years ago are all symptoms of poor file management. This guide covers the principles and practical strategies that keep your photo library organized, safe, and accessible for years to come.
The 3-2-1 Backup Rule
The 3-2-1 backup rule is the foundation of data protection for photographers. It is simple, effective, and has been proven reliable across decades of computing:
- 3 copies of your data (the original plus two backups)
- 2 different types of storage media (for example, an internal hard drive and an external hard drive, or a hard drive and cloud storage)
- 1 copy offsite (in a different physical location from the other two, such as cloud storage or a drive stored at a friend’s house)
The reasoning behind each layer is straightforward. Two copies protect you against a single hardware failure. Two different media types protect you against a failure mode that affects one type (such as a manufacturing defect in a batch of drives). An offsite copy protects you against localized disasters like fire, flood, theft, or power surges that could destroy everything in one location.
Putting 3-2-1 Into Practice
A practical 3-2-1 setup for photographers might look like this:
- Primary storage: Your working photo library on an internal or directly connected external drive. This is where you edit and organize your images day to day.
- Local backup: An automated backup to a second external drive using backup software that runs on a schedule (nightly or continuously). This protects against failure of your primary drive.
- Offsite backup: Cloud backup that runs automatically in the background, or a rotated external drive that you periodically update and store at a different physical location.
The most important quality of any backup system is that it runs automatically. A backup strategy that relies on you remembering to manually copy files will eventually fail because you will forget, get busy, or postpone it. Automated backups are reliable backups.
Testing Your Backups
A backup you have never tested is a backup you cannot trust. Periodically verify your backups by navigating to the backup location and opening random files to confirm they are intact and accessible. Check that your backup software is actually running and completing successfully. Many photographers have discovered too late that their backup software had been failing silently for months.
Folder Structure Strategies
A consistent folder structure is the skeleton of your file management system. The best folder structure is one you can follow consistently without thinking. It should be intuitive enough that you can locate any image quickly and scalable enough to handle years of growing content.
Date-Based Structure
The most common approach organizes files by year, then month or date:
Photos/2026/2026-01-15_Wedding_Smith/Photos/2026/2026-02-03_Headshots_Johnson/Photos/2026/2026-02-14_Landscape_Yosemite/
Date-based structures work well because dates are objective, unambiguous, and automatically create a chronological organization. Using the YYYY-MM-DD format ensures folders sort correctly in any file browser. Adding a brief description after the date makes folders identifiable at a glance without relying on memory.
Project-Based Structure
Some photographers prefer organizing by client or project type:
Photos/Weddings/2026-01-15_Smith/Photos/Headshots/2026-02-03_Johnson/Photos/Landscapes/2026-02-14_Yosemite/
This approach makes it easy to browse all work of a specific type. If you frequently revisit past work of the same genre for portfolio purposes or client references, a project-based structure can be more intuitive. The downside is that categorization is subjective, and you may find yourself unsure where a shoot belongs. A wedding that also includes portrait-style shots of the couple creates an ambiguous classification.
Hybrid Approach
Many photographers use a hybrid that organizes by year at the top level and includes descriptive project names below:
Photos/2026/01-January/2026-01-15_Wedding_Smith/Photos/2026/02-February/2026-02-03_Headshots_Johnson/
The key is consistency. Whatever structure you choose, use it for every shoot without exception. The moment you start making ad hoc decisions about where to put files, your system breaks down.
Subfolder Organization Within a Shoot
Within each shoot folder, a consistent subfolder structure keeps things organized:
RAW/Original files straight from the cameraSelects/Culled selections (or use a catalog’s pick/reject system instead of copying files)Edits/Exported or processed filesDelivery/Final files sent to the client
Keep your original RAW files untouched in their own folder. Never edit or rename originals. Your editing software should create separate sidecar files or catalog entries that reference the originals without modifying them. For more on file formats, see our guide to RAW vs. JPEG.
File Naming Conventions
Good file names are descriptive, consistent, and sortable. Your camera assigns sequential numbers like IMG_4523.CR3 or DSC_0012.NEF, which tell you nothing about the content and can create duplicates when multiple cameras are used.
Renaming Best Practices
- Include the date. The YYYY-MM-DD format at the beginning of the filename ensures files sort chronologically:
2026-01-15_Smith-Wedding_001.CR3 - Include a project or client identifier. This makes the file identifiable even when viewed outside its folder context.
- Use sequential numbering. A three or four-digit sequence number preserves the shooting order:
_001,_002, etc. - Avoid spaces and special characters. Use hyphens or underscores instead of spaces. Avoid characters like &, #, %, and accented letters. These can cause problems with certain operating systems, backup software, and web servers.
- Keep names reasonable in length. Long filenames become unwieldy and may be truncated by some systems. Aim for clear but concise.
Batch renaming tools built into most photo management software make it easy to rename hundreds or thousands of files in seconds using a consistent template. Set up your rename template once and apply it on every import.
Digital Asset Management (DAM) Principles
Digital Asset Management is the discipline of organizing, cataloging, and retrieving digital files efficiently. For photographers, DAM is what transforms a chaotic collection of files into a searchable, navigable library.
Catalog-Based Workflow
Most professional photo management applications use a catalog (database) that stores information about your images without modifying the original files. The catalog tracks file locations, metadata, keywords, ratings, edit settings, and collections. This approach offers several advantages:
- Non-destructive. Your original files remain untouched. All edits, ratings, and organizational data live in the catalog.
- Searchable. Keywords, ratings, dates, camera data, and other metadata are all searchable through the catalog.
- Portable. You can work with a catalog of previews even when the original files are on a disconnected drive.
- Efficient. Browsing catalog previews is much faster than loading full-resolution files for every thumbnail.
Keywording
Keywords are searchable tags that describe the content of your images. Consistent keywording is the difference between finding a specific image in seconds and spending half an hour scrolling through folders.
- Be specific. “Dog” is useful; “golden retriever puppy beach sunset” is much more useful.
- Use a controlled vocabulary. Decide on standard terms and use them consistently. If you keyword one shoot with “sunset” and another with “golden hour,” you will miss results when searching for either term.
- Keyword at import. Apply broad keywords (location, event type, client name) to entire batches during import. Add specific keywords to individual images during culling.
- Use hierarchical keywords. Many catalog applications support keyword hierarchies (Animals > Dogs > Golden Retriever). This lets you search at any level of specificity.
Ratings and Flags
Star ratings (1-5) and color labels help you quickly identify your best work, images flagged for specific purposes, and files marked for deletion. A common system:
- 1 star: Technical pass (sharp, properly exposed, worth keeping)
- 2 stars: Good image, potential portfolio or delivery candidate
- 3 stars: Excellent image, strong portfolio candidate
- 4 stars: Exceptional, best of the shoot
- 5 stars: Career highlight, best of the year
The specific system matters less than using it consistently. Once ratings are applied, you can instantly filter any folder or collection to show only your best work.
The Culling Workflow
Culling is the process of reviewing images from a shoot and selecting the keepers. An efficient culling workflow saves enormous amounts of time and is one of the biggest productivity gains in a photographer’s post-processing pipeline.
First Pass: Reject Obvious Failures
Move through the images quickly, flagging clear rejects: out of focus, badly exposed, closed eyes, test shots, duplicates where a clearly better version exists. Do not spend time evaluating borderline images on this pass. Just remove the obvious misses. This typically eliminates 30-60% of images and makes subsequent passes much faster.
Second Pass: Select Candidates
Review the remaining images and flag your selects. For a portrait session, you might select the 2-3 best frames from each pose or setup. For an event, select the images that tell the story effectively. For a landscape session, select the best exposure from each composition. Apply 1-star ratings to selects.
Third Pass: Refine and Rate
Review your selects more carefully. Compare similar images side by side. Evaluate sharpness, expression, composition, and technical quality. Promote your strongest images to higher star ratings. This is the pass where you finalize which images you will edit and deliver.
Culling Tips
- Work at a steady pace. Do not agonize over each image. Spend 1-3 seconds per image on the first pass. Indecision is the enemy of efficient culling.
- Use keyboard shortcuts. Every second saved per image adds up across thousands of images. Learn the shortcut keys for flagging, rating, and advancing.
- Cull before editing. Never start editing before you have completed your culling passes. Editing images you later reject wastes time.
- Trust your first instinct. If an image does not grab you on first viewing, it is unlikely to improve with extended contemplation.
Archive Strategies for Long-Term Storage
Over years of shooting, your photo library will grow to occupy terabytes of storage. An archive strategy determines how you manage older work that you are not actively editing but still want to preserve and access when needed.
Active vs. Archive Storage
The simplest archival approach splits your library into two tiers:
- Active storage. Your current and recent work lives on fast, readily accessible storage (an internal SSD or a direct-attached external drive). This is where you do your editing and organizing.
- Archive storage. Completed projects that are fully edited and delivered move to archive storage. This can be a larger, slower external drive, a NAS (Network Attached Storage), or a combination of local and cloud storage. You still need backups of archived data following the 3-2-1 rule.
Storage Media Considerations
- Hard drives (HDD). Affordable per terabyte. Good for bulk storage and archives. Mechanical components mean they are more susceptible to shock damage and wear over time. Keep drives in a cool, dry environment and replace them every 3-5 years as a precaution.
- Solid state drives (SSD). Faster, more durable, and more reliable than HDDs. More expensive per terabyte. Excellent for active working storage. Prices continue to drop, making them increasingly viable for archives as well.
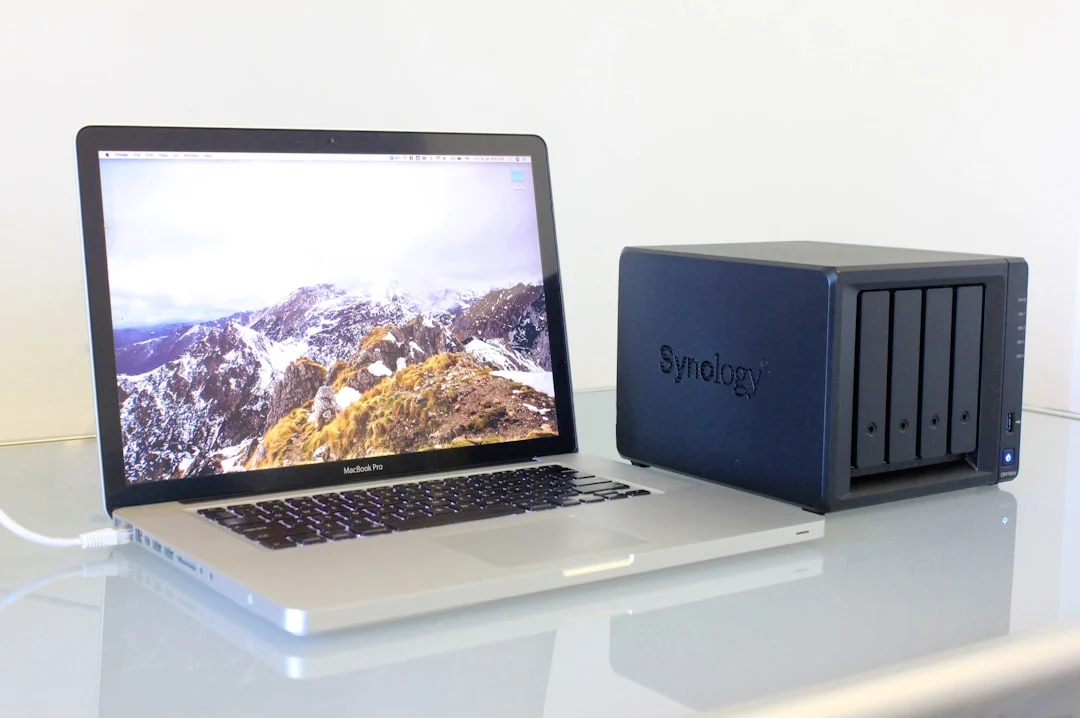
- NAS (Network Attached Storage). A NAS is a dedicated multi-drive enclosure connected to your network. It offers RAID configurations that protect against individual drive failures, remote access, and automatic backup features. A NAS is an excellent investment for photographers with large libraries and serves well as both active storage and a local backup target.
- Optical media (Blu-ray). Write-once optical discs are extremely durable and have long shelf lives (estimated 50+ years for quality archival-grade discs). They are slow to write, limited in capacity, and inconvenient to access, but they make excellent supplementary archival copies for your most important work.
File Format for Archiving
Always archive your original RAW files. RAW files contain the maximum amount of data captured by your sensor and allow you to re-edit with future software improvements. Also archive your master edited files (TIFF or PSD) if they contain layers or edits not captured in your catalog’s non-destructive adjustments. For more on the differences between file formats, see our file format guide.
Cloud Backup Considerations
Cloud backup serves as your offsite protection in a 3-2-1 strategy. It protects against the scenarios that destroy both your primary and local backup: house fire, natural disaster, theft, or simultaneous hardware failure.
Dedicated Backup vs. Sync Services
There is an important distinction between backup services and sync services:
- Backup services create a one-way copy of your files in the cloud. If you accidentally delete a file locally, the backup retains it. Most backup services offer versioning, allowing you to restore previous versions of files. This is true backup.
- Sync services keep files identical across multiple devices. If you delete a file locally, it is also deleted from the cloud. Sync is convenient for accessing files across devices, but it is not a reliable backup because destructive changes propagate automatically.
For your offsite backup, use a dedicated backup service rather than relying solely on sync. You can use both, but understand the difference and ensure at least one true backup exists.
Bandwidth and Initial Upload
Photo libraries are large. A 2TB library on a typical home internet connection with 10 Mbps upload speed would take over two weeks of continuous uploading to complete the initial backup. Plan accordingly:
- Start your cloud backup as early as possible in your photography career, before your library becomes massive
- Let the initial upload run continuously for as long as it takes; subsequent incremental backups will be much faster
- Some cloud backup services offer a seeding option where you mail them a hard drive for the initial upload, bypassing the bandwidth bottleneck
- Prioritize backing up your most important or irreplaceable work first
Cost Considerations
Cloud storage is an ongoing expense. Most services charge monthly or annually based on the amount of data stored. Factor this into your business expenses and plan for the cost to grow as your library grows. Compare pricing models carefully, and pay attention to retrieval fees that some providers charge when you need to download your data.
Maintaining Your System
A file management system only works if you maintain it consistently. Here are practices that keep your system healthy over time:
- Import and organize immediately. Process each shoot’s files (import, rename, keyword, cull) before starting the next shoot. Backlogs compound quickly.
- Review backups monthly. Check that all automated backups are running and completing successfully. Verify a random sample of files on each backup.
- Replace aging drives. Hard drives have a limited lifespan. Replace backup drives every 3-5 years, and migrate data before the old drive fails.
- Document your system. Write down your folder structure, naming conventions, keyword vocabulary, and backup procedures. If something happens to you, someone else should be able to navigate your archive. This documentation is also invaluable for your own reference when you return to the system after time away.
- Audit annually. Once a year, review your system. Is your storage adequate for the coming year’s output? Are your backup destinations still viable? Have your needs or workflow changed in ways that warrant adjustments?
Conclusion
File management is not the glamorous side of photography, but it is essential. The time you invest in a solid folder structure, consistent naming, thorough keywording, and reliable backups pays for itself many times over. It prevents the heartbreak of lost files, the frustration of wasted searches, and the chaos of a disorganized library. Start with the 3-2-1 backup rule, choose a folder structure and naming convention, and commit to following them on every shoot. Your future self will be grateful.
Frequently Asked Questions
Should I keep every photo I take, or delete the bad ones?
Storage is cheap, but clutter has a real cost in terms of time spent browsing and managing files. A reasonable middle ground is to delete obvious technical failures (out of focus, badly exposed, accidental shutter fires) during your initial culling pass but keep everything else. You never know when a “reject” might become useful for a composite, a texture, or a reference. The key is to use ratings and flags so your best work is always easy to surface, even if the rejects remain in the archive.
How often should I back up my photos?
Your local backup should run automatically at least once per day. Many photographers use continuous backup that copies new or changed files within minutes of creation. Cloud backups typically run continuously in the background. The goal is to minimize the window of time between creating new work and having it backed up. After a shoot, do not leave images on a memory card as the only copy any longer than necessary.
Can I use cloud storage as my primary photo library?
Technically yes, but it is generally not practical for a working photographer. Cloud storage is slower than local storage, and the latency makes editing workflows frustrating. Internet outages would prevent you from working entirely. Most photographers use fast local storage for their active library and cloud storage as a backup or archive tier. As internet speeds improve and cloud services evolve, this may change, but for now, local-first with cloud backup is the most practical approach.
What happens if my catalog file gets corrupted?
Your catalog file is a critical component of your system and should be included in your backup strategy. Most catalog applications support automatic backup of the catalog file at regular intervals. If a catalog becomes corrupted, you can restore from the most recent backup. Your original image files are separate from the catalog and remain safe on disk regardless of what happens to the catalog. You would lose any organizational work (keywords, ratings, collections, edit settings) done since the last catalog backup, so frequent catalog backups are important.