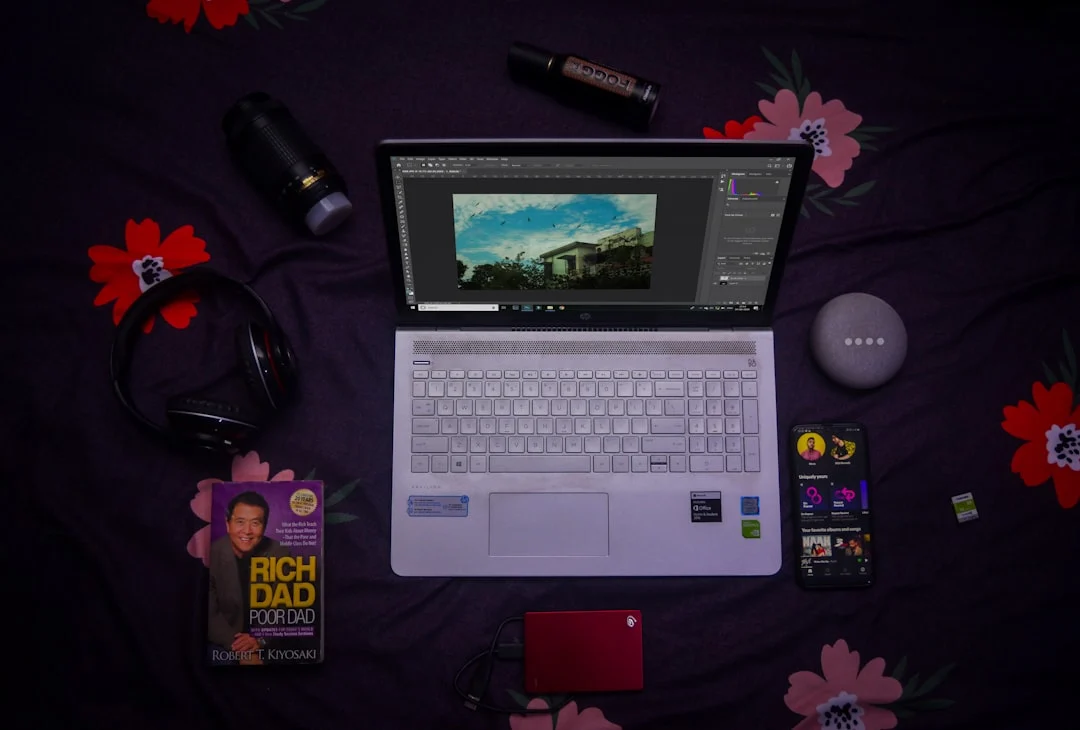
Affinity Photo has become one of the most popular alternatives to Adobe Photoshop for photographers who want professional-grade editing without an ongoing subscription. Available as a one-time purchase, it offers a comprehensive set of tools that handle everything from RAW development to advanced compositing and retouching.
This guide covers the features photographers use most in Affinity Photo. We will walk through its unique persona system, RAW development workflow, layer and mask tools, retouching techniques, HDR and panorama capabilities, and how its approach compares to the Photoshop For Photographers workflow you may already know.
Why Photographers Choose Affinity Photo
- One-time purchase. Pay once, own it. No monthly fees, no subscription, no worrying about losing access to your tools if you cancel a plan.
- Professional-grade tools. Layers, masks, curves, levels, frequency separation, HDR merge, panorama stitching, focus merge, batch processing, and more.
- Cross-platform. Available for Windows, macOS, and iPad. Your skills transfer across platforms.
- Performance. Affinity Photo is built for modern hardware and handles large files and complex layer stacks efficiently.
- PSD compatibility. Opens and saves Photoshop PSD files, making it easier to transition or work alongside Photoshop users.
Understanding Personas: The Five Workspaces
Affinity Photo uses a concept called Personas. Each Persona is a dedicated workspace optimized for a specific type of task. Switching between Personas changes the available tools and panels without leaving the application.
Photo Persona
The Photo Persona is the main editing workspace and where you will spend most of your time. It provides layers, masks, adjustment layers, painting tools, selection tools, retouching brushes, and everything else you need for general image editing. Think of it as the equivalent of Photoshop’s main workspace.
Develop Persona
The Develop Persona activates automatically when you open a RAW file. It provides non-destructive RAW processing with controls for exposure, white balance, shadows, highlights, clarity, and color adjustments. These tools are similar to what you find in Lightroom For Beginners or Camera Raw.
Within the Develop Persona, you can adjust White Balance, recover highlights and shadows across the full Dynamic Range, apply lens corrections, and reduce noise before moving to pixel-level editing. This means you can do your initial RAW development and your detailed editing in the same application.
Liquify Persona
The Liquify Persona provides tools for warping and distorting images. Photographers use it for subtle portrait retouching (adjusting facial proportions) and creative effects. It offers push, pull, twirl, pinch, and punch tools with adjustable brush sizes. Use it with restraint for natural-looking results.
Tone Mapping Persona
The Tone Mapping Persona is designed for processing Hdr Photography Guide images. After merging multiple exposures into an HDR file, this persona lets you control how the wide dynamic range is compressed into a displayable image. You can create anything from natural-looking results to dramatic, stylized HDR effects.
Export Persona
The Export Persona handles output. You can define multiple export slices (different sizes and formats from the same document), preview compression settings, and choose file formats and quality levels. This is particularly useful when you need to export the same image in multiple sizes for different purposes.
RAW Development Workflow
When you open a RAW file, Affinity Photo automatically enters the Develop Persona. The workflow is similar to any RAW processor: adjust exposure first, correct White Balance, recover highlights and shadows, adjust tone curve, fine-tune colors, apply lens corrections, and reduce noise.
The Develop Persona includes an overlay tool for applying adjustments to specific areas. You can paint, use gradients, or make selections to limit your adjustments. This means you can do targeted corrections (like darkening a sky or brightening a face) while still in the non-destructive RAW processing stage.
Once you are satisfied with the RAW development, click “Develop” to convert the processed image into a pixel layer in the Photo Persona. From there, you can continue with pixel-level editing, retouching, and compositing.
Layers and Masks for Photographers
If you are coming from Photoshop, Affinity Photo’s layer system will feel familiar. You get pixel layers, adjustment layers, live filter layers, and layer groups with blend modes and opacity controls.
Adjustment layers are non-destructive. They apply adjustments like curves, levels, HSL, and color balance without permanently changing the pixels below. You can stack multiple adjustment layers, reorder them, modify their settings at any time, and limit their effect with masks.
Masks control where effects are visible. Paint with white to reveal an effect and black to hide it. This is fundamental to techniques like Dodging And Burning, where you selectively brighten and darken areas of an image for emphasis and dimension.
Live filter layers are a powerful feature. These apply filters (like blur, sharpen, or noise reduction) as non-destructive layers that you can modify or remove at any time. You can mask live filter layers to apply effects selectively.
Frequency Separation for Portrait Retouching
Affinity Photo includes a dedicated frequency separation tool that automates the setup process. Frequency Separation splits an image into two layers: one containing texture detail (pores, fine lines, hair) and another containing color and tone information.
With the layers separated, you can smooth skin tones without destroying texture detail, or fix texture inconsistencies without altering color. In Affinity Photo, go to Filters > Frequency Separation, and the application creates the layers for you. Then use the clone tool or healing brush on each layer independently.
HDR Merge and Panorama Stitching
Affinity Photo handles both HDR merge and panorama stitching natively. For HDR, select your bracketed exposures and use File > New HDR Merge. The application aligns the images, merges them into a 32-bit HDR file, and opens the result in the Tone Mapping Persona. See our Hdr Photography Guide for more on when and how to shoot HDR brackets.
For panoramas, use File > New Panorama. Select your overlapping images, and Affinity Photo analyzes them, aligns them, and stitches them into a seamless panorama. It supports cylindrical, spherical, and perspective projection types. For tips on shooting panoramas, see our Panorama Photography guide.
Focus Merge (Focus Stacking)
For Macro Photography and landscape work where you need extreme depth of field, Affinity Photo offers focus merge. Shoot a series of images focused at different distances, then use File > New Focus Merge. The application analyzes each image, identifies the sharpest areas, and combines them into a single image with maximum sharpness throughout. This is an alternative to Focus Stacking done through other software.
Batch Processing
Affinity Photo includes a batch processing feature (File > New Batch Job) that lets you apply the same set of operations to multiple images. You can record a macro of your editing steps and apply it across a batch. This is useful for tasks like resizing a folder of images for web use, applying a watermark, or converting file formats.
Affinity Photo vs. Photoshop: Key Differences
| Feature | Affinity Photo | Photoshop |
|---|---|---|
| Pricing | One-time purchase | Monthly subscription |
| RAW Processing | Built-in Develop Persona | Camera Raw (separate module) |
| Non-destructive | Adjustment layers, live filters | Adjustment layers, smart objects |
| Content-Aware Fill | Inpainting brush (less advanced) | More advanced AI-powered fill |
| Actions/Macros | Macros (record and replay) | Actions (more mature ecosystem) |
| Plugins | Limited third-party support | Extensive plugin ecosystem |
| HDR/Panorama | Built-in | Built-in |
| 3D/Video | Not supported | Basic 3D and video editing |
For most photography tasks, both applications produce equivalent results. The main advantages Photoshop holds are in content-aware fill, a deeper plugin ecosystem, and certain AI-powered features. Affinity Photo’s advantages are the pricing model, integrated RAW processing, and live filter layers.
Common Mistakes
- Developing RAW too quickly. Spend time in the Develop Persona getting your image as close to final as possible before converting to pixel editing. RAW adjustments are non-destructive and flexible. Pixel edits are permanent.
- Not using adjustment layers. It is tempting to apply adjustments directly to pixel layers, but adjustment layers are non-destructive and allow endless revision.
- Ignoring masks. Masks are how you control where adjustments apply. Learning to mask well is the single most important skill for getting professional results.
- Exporting at the wrong color space. For web and social media, export in sRGB. For print, check with your lab but AdobeRGB or ProPhoto RGB may be preferred.
- Not saving the native .afphoto file. Always save your working file in Affinity Photo’s native format, which preserves all layers, masks, and adjustments. Export JPEGs or TIFFs separately for output.
Try This: A Complete Affinity Photo Workflow
- Open a RAW file. Affinity Photo enters the Develop Persona. Adjust exposure, white balance, and tone curve. Use an overlay to darken the sky.
- Click Develop to convert to the Photo Persona. Add a Curves adjustment layer to fine-tune contrast.
- Use the selection brush to select the main subject. Create a levels adjustment layer and brighten the selection.
- Try the Inpainting Brush (healing tool) to remove a small distraction from the background.
- Add a vignette using a live filter layer. Experiment with the amount until it subtly draws attention to the center.
- Export using the Export Persona. Create two export slices: a full-resolution TIFF and a web-sized JPEG.
Frequently Asked Questions
Can Affinity Photo fully replace Photoshop?
For the majority of photography work, yes. RAW development, layers, masks, retouching, HDR, panoramas, and batch processing are all covered. You may miss specific Photoshop features like advanced content-aware fill or certain third-party plugins, but most photographers find Affinity Photo handles their needs completely.
Does Affinity Photo work with Photoshop files?
Yes. Affinity Photo opens PSD files and preserves most layer information including adjustment layers, layer groups, and blend modes. Very complex PSDs with Photoshop-specific features like smart objects may not translate perfectly, but basic to intermediate PSD files open without issues.
Is there a Lightroom equivalent from Affinity?
Not currently. Affinity Photo handles RAW processing and editing but does not include library management or catalog features. You need a separate solution for organizing and browsing your photo library.
Does Affinity Photo support plugins?
Affinity Photo supports some Photoshop-compatible plugins but not all. The plugin ecosystem is smaller than Photoshop’s. Check with specific plugin developers for Affinity Photo compatibility.
How often does Affinity Photo update?
Serif (the developer) releases regular updates with bug fixes and feature additions within each major version at no extra cost. Major version upgrades (like v1 to v2) require a new purchase but are infrequent and priced reasonably.