Bounce flash means turning the flash head away from the subject and firing it at a ceiling or wall, so the lit patch on that surface becomes the light source. A patch a metre or two wide is far bigger than a flash head, so shadows turn soft. It works best with a white surface within about three metres, costs roughly two to three stops of flash power, and usually needs ISO 400 to 1600 and an aperture near f/4.
The outline of the technique is in flash photography for beginners, which introduces ceiling, wall and corner bounce. This guide goes further: why size makes light soft, how to choose the surface and the direction, what the longer path costs in power, when to add a bounce card or a flag, what to do with awkward ceilings and warm room light, and what to do when there is nothing to bounce off.
Why a bounced flash is softer
The hardness of a shadow depends on how big the light source looks from the subject’s position. A source that looks small throws a shadow with a sharp edge. A source that looks large lights the subject from many angles at once, so light from one part of it reaches into the shadow cast by another part, and the shadow edge becomes a gradual fade. The page on hard and soft light covers the principle in general.
The front of a hot-shoe flash is about the size of a matchbox turned sideways, roughly 4 by 7 centimetres. From three metres away it is almost a point. Aim the same flash at a ceiling a metre above it and the beam spreads into a patch that can easily be 1.5 metres across. Seen from the subject, that patch is more than twenty times wider than the flash head, and the light now behaves like light from a large softbox hanging in the room.
Two more things change at the same time:
- The direction moves off the lens axis. Direct flash flattens faces and throws a hard shadow onto the wall behind. Bounced light arrives from above or from the side, which gives a face shape and drops the shadow down behind the subject, out of sight.
- The room joins in. Light scattered off one surface goes on to hit other walls and the floor, and comes back as weak fill from everywhere. In a small pale room this is why bounce looks so even. In a huge or dark room that fill never returns.
A matte ceiling does not behave like a mirror. Paint scatters light in all directions, so there are no angles to match. What matters is where the bright patch sits relative to the subject, because the patch is the lamp.
Which surfaces work, and what colour they add
Whatever colour the surface is, the bounced light takes on. A surface also absorbs part of the light, and the darker it is, the more it keeps.
| Surface | Colour of the bounced light | Power cost | Verdict |
|---|---|---|---|
| Matte white ceiling or wall | Neutral | Lowest | Ideal |
| Cream or off-white paint | Slightly warm | Low | Good, and often kind to skin |
| Pale grey | Neutral | About a stop more than white | Fine if you have the power |
| Natural wood | Orange to brown | High | Only when it is the sole light on the subject, then correct the colour |
| Strong colours (red, green, blue) | The same strong colour | High | Avoid |
| Mirror or window glass | Neutral, but stays hard | Low | Avoid: it reflects the small source instead of spreading it |
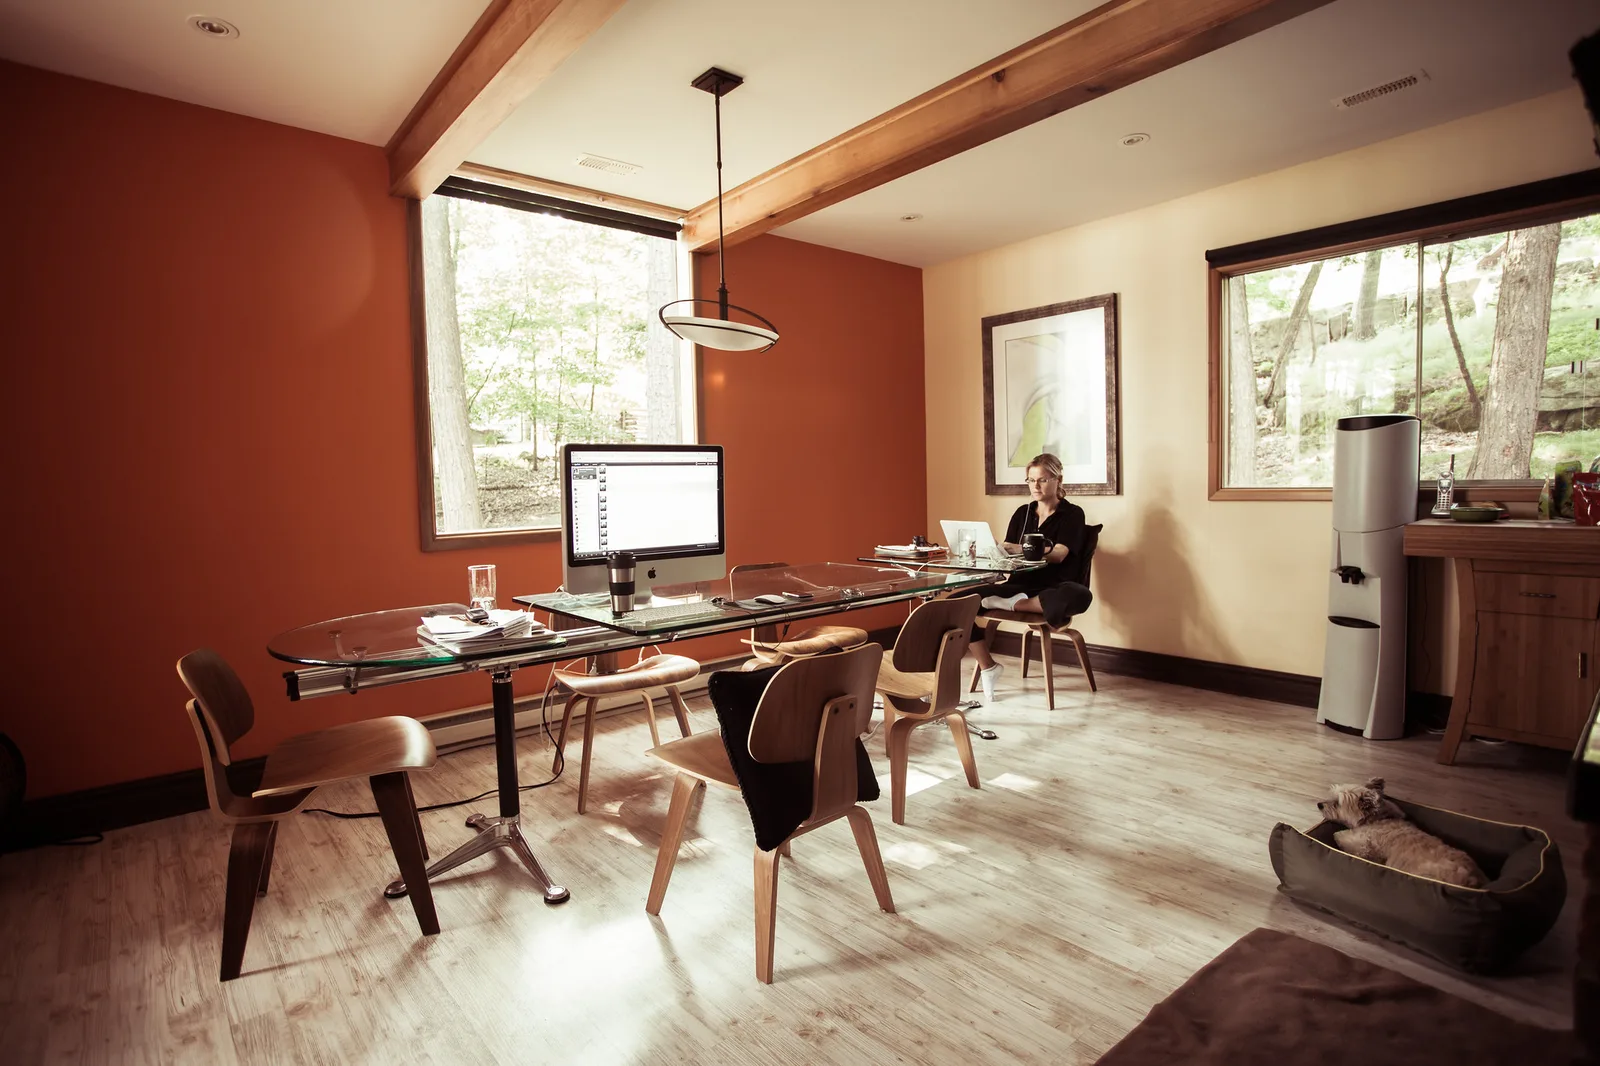
A tint from the bounce surface is easy to fix when the bounce is the only light on the subject, because the whole subject shares the same tint. Shoot raw and set white balance from something neutral in the frame. It is hard to fix when the tinted bounce mixes with a second light of another colour, such as a window, because then no single setting is right for both. The colour cast page covers repairs.
Choosing the bounce direction
The useful question is not “what angle?” but “where do I want my big light?” Point the flash head at the spot where you would hang a softbox if you had one. The light on the face will come from that spot.
| Where the head points | Light on the face | Best for | Watch for |
|---|---|---|---|
| Straight up | From directly overhead when the subject is close | Small rooms, groups, even coverage | Dark eye sockets and a shadow under the nose and chin |
| Up and forward, about 60 to 75 degrees | High and frontal | Subjects three metres or more away | Direct spill from the tilted head reaching the subject |
| Up and behind you, over your shoulder | High, frontal and very soft, like a wall of light behind the camera | Close portraits, couples | The longest path, so the highest power cost |
| Sideways at a wall | From one side, with shadow on the far cheek | Single portraits with shape | The wall’s colour, and a far side that goes dark in a big room |
The straight-up bounce fails at short range for a simple reason. When you stand a metre and a half from someone and fire at the ceiling above your own head, the patch is nearly above them. Light falls steeply, the brow shades the eyes, and you get the hollow look of noon sun. Moving the patch behind you lowers the angle at which light reaches the face, so it gets under the brow.
Side bounce gives a face the most shape. A patch on a wall to your left lights one cheek and lets the other fall into soft shadow, much like light from a window. Turn the subject’s nose slightly toward the lit wall and the result resembles the classic studio patterns described in portrait lighting patterns. If you turn the camera to a vertical grip, remember to swivel the head again: a head that pointed at the ceiling in horizontal format now points at a wall.
The power cost of the longer path
Bounce is expensive for three reasons that stack:
- Distance. The light travels up to the surface and then on to the subject, and it keeps spreading the whole way. A flash to subject distance of 3 metres can become a path of 5 metres or more.
- Absorption. Even fresh white paint keeps some of the light. Off-white, grey and wood keep much more.
- Scatter. The surface sends light in every direction, and only a share of it heads toward the subject. The rest lights the room.
As a working figure, a white ceiling of ordinary height costs about two to three stops compared with direct flash at the same subject distance. Bouncing behind you or off a distant wall costs more. A flash that could light a subject 9 metres away directly at f/4 and ISO 100 (a guide number of 36 in metres) loses three stops to the bounce and needs ISO 800 to cover the same distance.
That is why bounce settings look different from direct flash settings:
- Raise the ISO. ISO 400 to 1600 is normal. Each stop of ISO halves the power the flash must deliver.
- Open the aperture. f/2.8 to f/4 for one or two people. f/5.6 for a group, with more ISO to pay for it.
- Zoom the flash head. A longer zoom setting narrows the beam and puts more of the light onto a distant surface. A wider setting makes a bigger, softer patch on a near one. Many flashes pick a middle setting by themselves when the head is tilted, so set it by hand if you want something else.
- Watch the recycle time. A flash working near full power needs several seconds to recharge. If the ready light is slow, raise the ISO another stop.
The built-in pop-up flash cannot bounce at all. Its head is fixed and its output is too low to survive the trip. Bounce needs a hot-shoe flash with a head that both tilts and swivels.
Bounce cards and flagging the head
Two small accessories do opposite jobs, and they are often confused.
A bounce card adds a little direct light
A bounce card is a small white card standing up behind the flash head when the head points at the ceiling. Most of the flash still goes up. The card catches a small part and throws it forward. That forward light fills the eye sockets that an overhead bounce leaves dark and puts a catchlight in the eyes. Many flashes have a pull-out white card built into the head for this purpose. Use a card whenever the bounce comes from above and the subject is within a few metres.
A flag removes direct light
When the head is angled forward or sideways, some light leaves the front of it at a shallow angle and reaches the subject directly. That spill is hard, and it prints a faint sharp-edged shadow underneath the soft bounced one. A flag stops it: a piece of black card or thin black foam wrapped around the side of the head that faces the subject, standing a few centimetres proud of the front. Now the subject cannot see the flash tube, and every bit of light that reaches them has come off the wall or ceiling. Use a flag whenever you bounce to the side or forward at a low angle.
A clip-on dome diffuser sits between the two. It sprays light in all directions, so part goes up to bounce and part goes forward as direct fill. In a small white room it works. In a large or dark room, the light sent sideways and backward is simply lost, and you pay a stop or more for nothing.
Ceilings that are too high or too dark
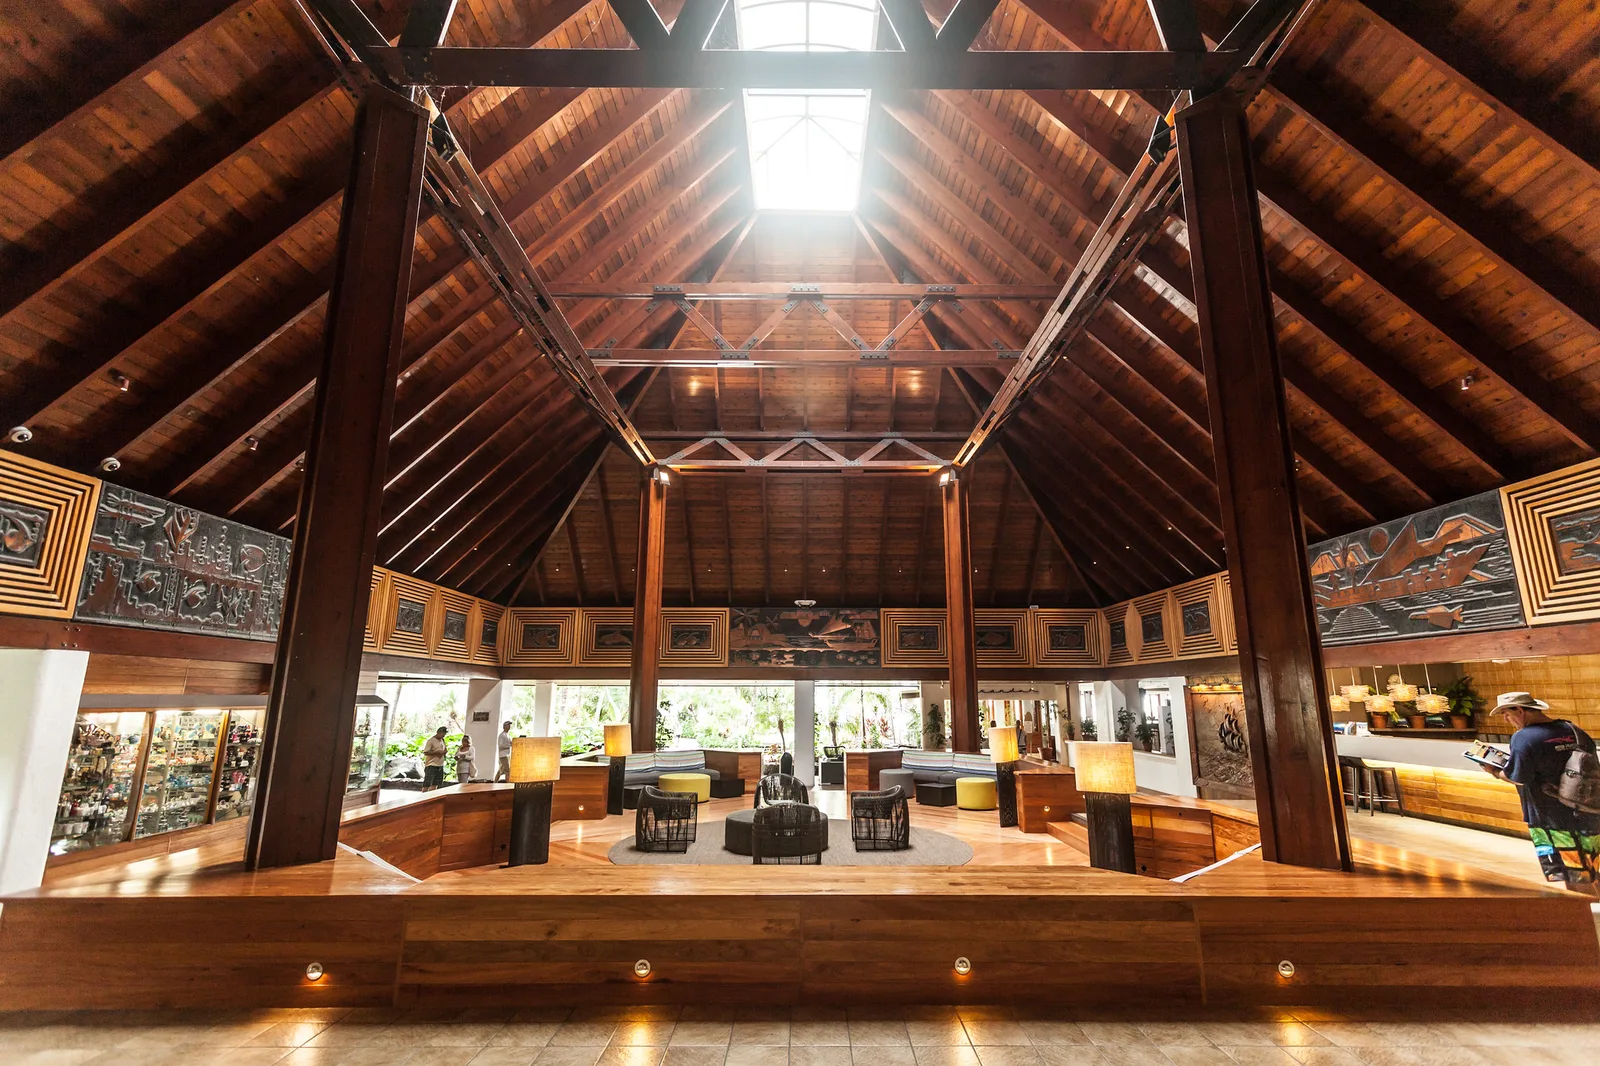
A white ceiling up to about 3 metres is easy. At 4 to 5 metres bounce still works with a strong flash, a wide aperture and a high ISO. Much beyond that, or with a dark surface at any height, the ceiling stops being an option. As a rough guide, doubling the total path costs about two stops, and a dark surface can take two more. Work through these in order:
- Look for a wall. A pale wall two metres to your side is a better bounce surface than a ceiling six metres up. Position yourself so the wall is beside or behind you.
- Buy stops with the camera. Go to ISO 1600 or 3200 and open to f/2.8.
- Zoom the head to its longest setting so less light misses the surface.
- Use something portable. A white card, a folding reflector held beside you, or a white tablecloth can be the bounce surface. Aim the head into it from about half a metre.
- Give up on bounce. Use direct flash at low power as fill and let the room light do most of the exposure, as described in the next section, or take the flash off the camera.
The signs that you have run out of power: frames come out dark and the flash takes a long time to recycle. Adding flash exposure compensation does nothing at that point, because the flash is already giving everything it has.
Mixing bounced flash with the room light
Bounce lights the subject well but, used alone at 1/200 second and a low ISO, leaves the far end of a large room dark. The cure is to let the ambient light record too. Bounce already pushes you toward a high ISO and a wide aperture, which helps. Add a slower shutter speed, somewhere from 1/30 to 1/80 second, and aim for a background that reads about one to two stops under a normal exposure. The flash then lights the people and the room lights itself. The method is laid out step by step in balancing flash and ambient light.
Colour is the catch. Most room lighting is much warmer than flash. If you set white balance for the flash, lamps and walls lit by them glow orange. If you set it for the lamps, the flash-lit faces turn blue.
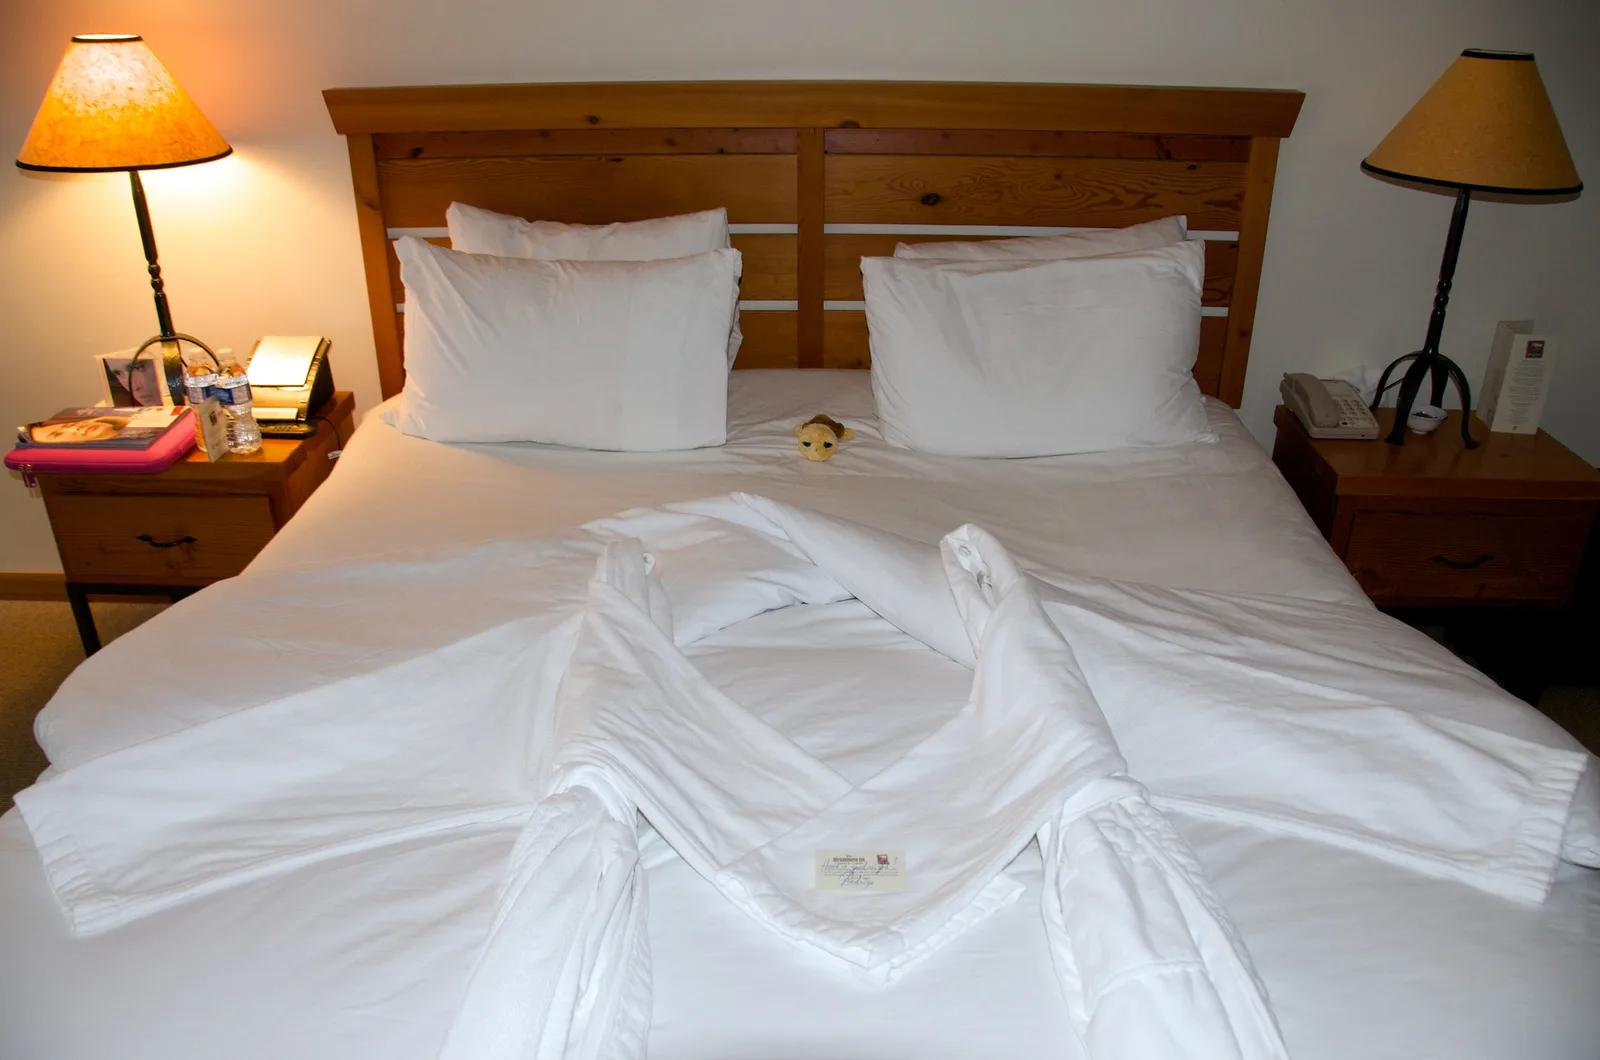
A little warmth in the background looks natural and often pleasant. When the difference is too strong, put an orange correction gel on the flash (half strength is a sensible first try, full strength under very warm bulbs) and set white balance to match the room. The bounced light and the room light now agree. The gel goes on the head before the bounce, and it costs up to a stop, which adds to the bounce loss.
Daytime rooms with windows are simpler. Window light and flash are close in colour, so a bounce off the ceiling or the wall opposite the window blends in as fill without any gel.
TTL or manual when bouncing
TTL metering suits bounce well. The camera fires a pre-flash, measures what comes back through the lens after the bounce, and sets the power for the real burst. Because it measures the result and not the distance, it accounts for the surface and the path without any input from you, and it adapts each time you turn toward a different wall.
TTL has three habits to watch when bouncing:
- It cannot exceed full power. If the frames are dark and compensation does nothing, the bounce is too far. Raise the ISO.
- It is fooled by tone. A frame filled with a white dress comes out too dark, and a frame of dark suits too bright. Use flash exposure compensation of plus 2/3 to plus 1 for mostly white subjects and minus 2/3 for mostly dark ones.
- It varies from frame to frame as the composition changes.
Manual power is better when you and the subject stay put: formal groups, a row of portraits against one wall, a speaker at a lectern. The path is fixed, so one power setting gives identical frames. A reasonable starting point under a white ceiling of ordinary height is 1/8 power at ISO 800 and f/4. Take a test frame, check the histogram, and adjust the power in full stops until it is right. If you move to another room, test again.
When there is nothing to bounce off
Outdoors at night, in a marquee with a black lining, or in a very large hall, there is no bounce surface, and tilting the head up just throws the light away. The options, from least to most equipment:
- Direct flash, used gently. Point the head at the subject, bring the flash down with compensation of minus 1 or so, and raise the ambient exposure with ISO and a slower shutter so the flash is a helper and not the only light. Outdoors in daylight this is fill flash.
- A bounce card alone. With the head pointing up and a large card behind it, the card becomes the source. It is only a little bigger than the bare head, so it softens shadows slightly at close range and not at all across a room.
- A portable surface. A helper holding a white reflector or card a metre to your side gives you a real bounce, with a direction you choose.
- A bigger modifier. A small softbox or an umbrella on a stand does what a wall does. Softness still depends on size compared with distance: a 60 centimetre source is soft at one metre and hard at five.
- The flash off the camera. One flash held at arm’s length or on a stand, aimed from 45 degrees to the side, gives direction even without softness. See off-camera flash.
Common mistakes
- Bouncing straight up at close range. Dark eye sockets and a shadow under the chin. Fix: aim the head behind you, or add a bounce card.
- Staying at ISO 100. The flash runs at full power, recycles slowly and misses frames. Fix: ISO 400 to 1600 and a wider aperture.
- Bouncing off a coloured wall next to a window. Two colours on one face that no white balance setting can fix. Fix: choose a white surface, or block one of the two lights.
- Letting direct spill reach the subject. A faint hard shadow under the soft one. Fix: flag the side of the head that faces the subject.
- Adding compensation when the flash is already at full power. Nothing changes. Fix: raise the ISO, open the aperture or move nearer to the surface.
Try this
Find a room with a white ceiling and at least one pale wall. Sit a person, or stand a large stuffed toy or a mannequin head, two metres from you and at least a metre in front of a wall. Set manual mode, 1/125 second, f/4, ISO 800, and the flash on TTL. Shoot these seven frames without moving:
- Head pointing straight at the subject.
- Head straight up.
- Head straight up with a white card behind it.
- Head tilted up and forward at about 60 degrees.
- Head up and behind you, over one shoulder.
- Head turned sideways at the nearest wall.
- The same, with a piece of black card held against the subject side of the head.
Compare three things in each frame: the shadow on the wall behind the subject, the shadow under the nose, and whether the eyes are lit.
Frequently asked questions
What angle should the flash be for bounce flash?
There is no single correct angle. Aim the head so the bright patch on the ceiling or wall sits where you would want a large light: above and slightly in front of a distant subject, or above and behind you for a close one. Straight up is the least flattering choice at short range.
How high can a ceiling be for bounce flash?
A white ceiling up to about 3 metres is easy at moderate ISO. At 4 to 5 metres you need a strong flash, a wide aperture and ISO 1600 or more. Above that, bounce off a wall or a portable surface instead.
Can you bounce flash off a coloured wall?
You can, but the light takes on the wall’s colour. If the bounce is the only light on the subject, white balance can correct it in a raw file. If other light is mixed in, the colours will not match, so pick a white or neutral surface.
Does bounce flash work outside?
Only if there is a pale surface close by, such as a white wall, an awning or a reflector held by a helper. With open sky above, an upward-pointing flash lights nothing.
Related guides
- Flash Photography for Beginners: flash modes and the first steps with a flash on the camera.
- Balancing Flash and Ambient Light: setting the room exposure and the flash exposure separately.
- Fill Flash: the outdoor counterpart, where direct flash at low power is the right tool.
- Off-Camera Flash: what to do when the room gives you no surface.
- Softbox: the studio tool a bounced flash imitates.
- Event Photography: where bounce flash earns its keep, in rooms you do not control.
- Inverse Square Law: why the longer path costs so much light.