Every interchangeable-lens camera ships with dozens of menu pages, most of which you will never need to touch. A small handful of settings, though, decide whether your camera is actually working for the kind of photo you are trying to take. This guide is brand neutral on purpose: menu layouts change between manufacturers and between camera generations, but the seven settings below matter on every one of them, and once you know what each one does, finding it in an unfamiliar menu takes minutes, not hours.
Image Quality: Shoot RAW
This is the setting to check first, because it decides how much of every other setting you can fix later. A RAW file records the sensor’s data with minimal in-camera processing, which means far more recoverable highlight and shadow detail and much wider latitude for white balance and exposure correction after the fact. A JPEG is processed and compressed in camera and throws that extra data away permanently. Set image quality to RAW, or RAW plus a JPEG if you want an instant preview to share, and treat “small JPEG only” as a setting you should never leave switched on by accident.
Autofocus Mode and AF Area Mode
These are two separate menu choices that get confused constantly. Autofocus mode decides whether the camera focuses once and locks (single-shot AF) or keeps refocusing continuously as long as the shutter button is held (continuous AF, with subject tracking on modern cameras). AF area mode decides how much of the frame the camera is allowed to search: a single point, a small zone, or the entire frame with tracking. For a still subject, single-shot AF with a single point gives you the most precise control over exactly what’s sharp. For anything moving unpredictably, continuous AF with a wider zone or tracking area lets the camera follow the subject as it moves through the frame. Getting these two settings backward, continuous AF on a static subject or a single, narrow point on fast, erratic action, is one of the most common reasons a camera “won’t focus right” when nothing is actually broken.
Drive Mode
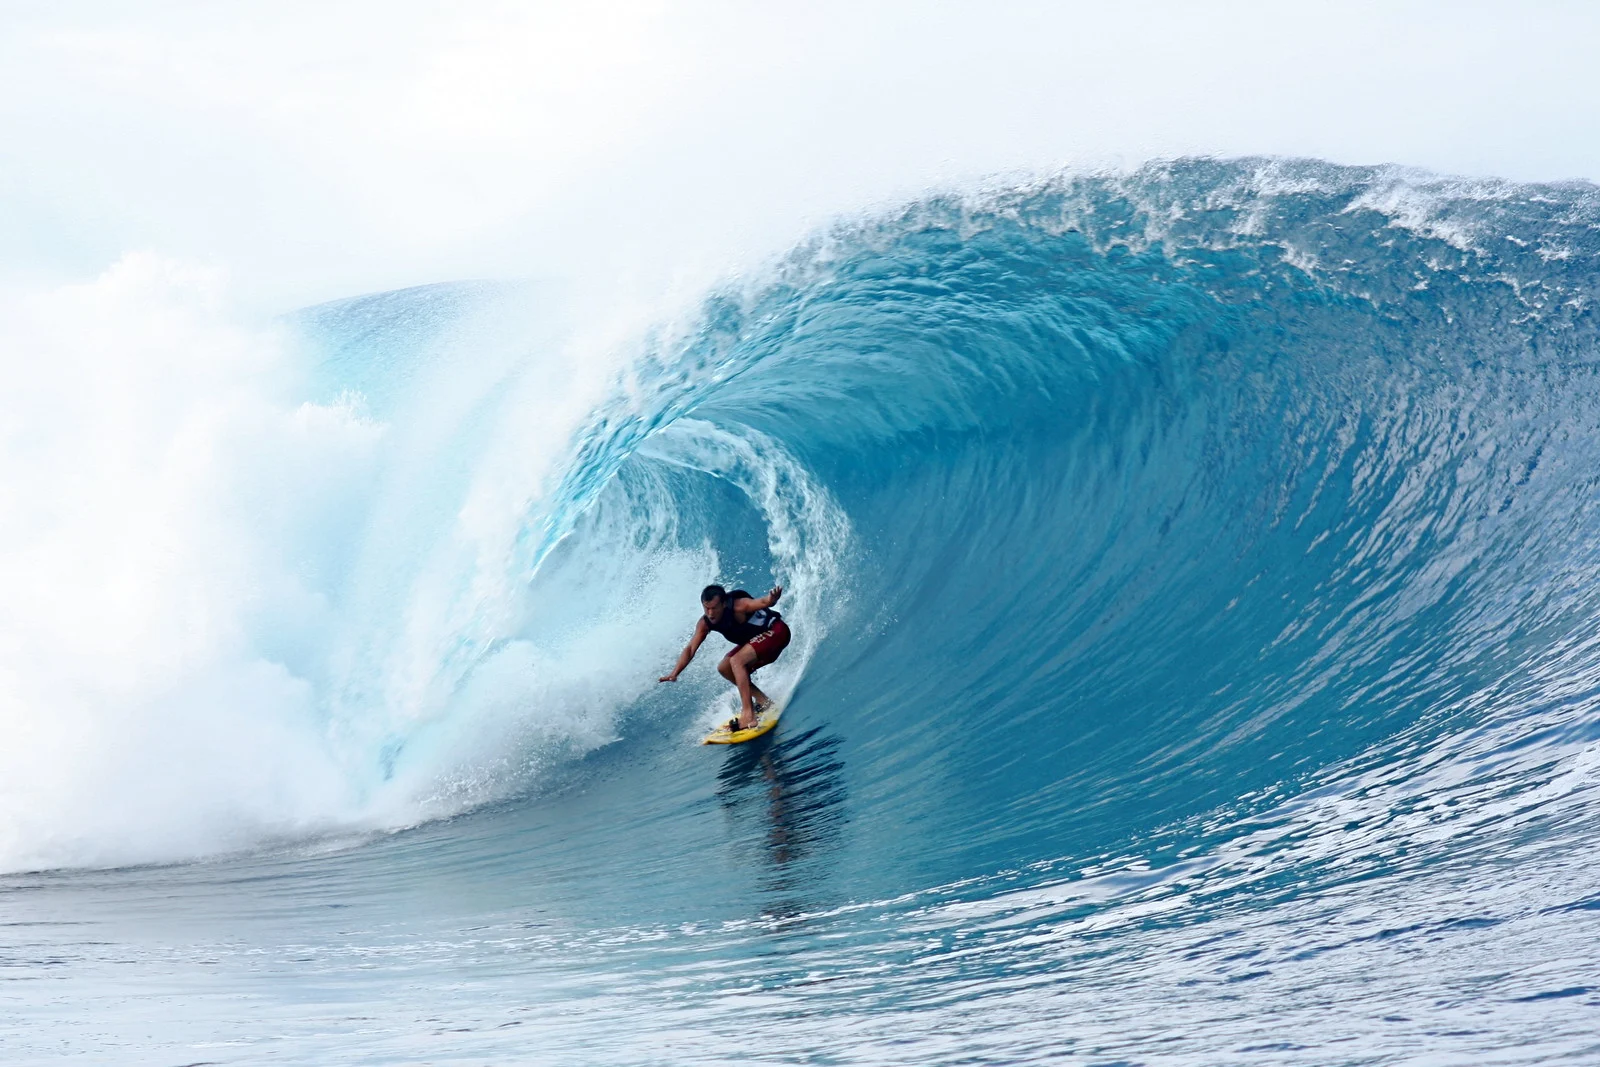
Drive mode decides how many frames the camera captures per press of the shutter: a single frame, a continuous burst at some number of frames per second, or a self-timer delay. Leave the camera on single-shot by default for deliberate, composed work, since a burst of near-identical frames just means more culling later. Switch to a high-speed burst the moment the subject’s exact position or expression matters and you cannot control the timing yourself: sports, wildlife, kids, anything moving. Combine burst with continuous autofocus and tracking, since a fast frame rate with focus locked on the wrong point just gives you many sharp frames of the wrong thing.
Metering Mode
The metering mode decides which part of the frame the camera’s exposure meter actually looks at. Matrix or evaluative metering, the default on most cameras, reads the whole frame and tries to balance it, and works well for evenly lit scenes. Center-weighted metering biases the reading toward the middle of the frame, useful when your subject is centered against a background you don’t want influencing exposure. Spot metering reads a tiny circle, usually tied to your active focus point, and is the setting to reach for whenever the frame has a small subject against a much brighter or much darker background: a backlit subject, a performer under a single stage light, a subject against snow or a dark stage.

Auto ISO: Set Your Ceiling and Floor
Auto ISO lets the camera raise or lower ISO automatically to hit a target exposure while you control aperture and shutter speed yourself, but the setting only works well once you’ve set its limits. The maximum ISO ceiling caps how much noise you’re willing to accept: set it to the highest value your camera still produces an image you’re happy printing or sharing at, and no higher. The minimum shutter speed floor tells the camera not to let shutter speed drop below a value you choose before it starts raising ISO instead, which matters enormously for handheld shooting since a camera left to its own defaults will often pick a shutter speed too slow to hand-hold sharply before it starts pushing ISO up. Set the floor faster than you think you need for a moving subject, and slower for a static one on a stabilized lens or body.

Back-Button Focus
By default, most cameras trigger autofocus with a half-press of the shutter button, the same button that takes the photo. Back-button focus moves autofocus to a separate button on the back of the camera, usually reached with your thumb, and stops the shutter button from focusing at all. Once separated, you can focus once, release the back button, and recompose or reshoot multiple frames with focus locked exactly where you left it, or hold continuous autofocus on the back button only while you actually want the camera tracking, and let go the instant you don’t. Every camera brand supports this in some form, usually as a menu option to reassign what the “AF-ON” or equivalent back button does and to remove autofocus from the shutter button. It takes a session or two to build the habit, and most photographers who switch never go back.
Custom Buttons and a Personal Menu
Most cameras let you assign a handful of physical buttons to whatever setting you change most often, and many also offer a personal or favorites menu you build yourself from items scattered across the full menu system. Both exist to solve the same problem: the full menu is deep, and digging through several pages of it to change ISO ceiling or metering mode mid-shoot costs you the moment. Spend ten minutes deciding which two or three settings you change constantly, assign them to buttons or your personal menu, and the rest of the menu system stops mattering day to day.
Finding These Settings on Any Camera
Menu layouts differ by brand and change between camera generations, so exact screen names and paths are not something a general guide can promise will match your specific model. What stays consistent across brands is the logic of how menus are grouped. Look for a shooting or camera icon (often a camera body silhouette) for image quality, drive mode, and metering. Look for a focus or AF icon, sometimes a small square-brackets or crosshair symbol, for autofocus mode, AF area mode, and back-button assignment. Look for a wrench, gear, or toolbox icon for the setup menu, where ISO limits inside Auto ISO settings and custom button assignments usually live. When in doubt, your camera’s own manual (a PDF search for the setting’s name is often faster than browsing the physical menu) will point you to the exact screen for your specific model.
Common Mistakes
- Leaving image quality on JPEG only. You cannot get RAW-level recovery back after the fact if you never captured RAW data in the first place.
- Wide-area autofocus left on by default. The camera picks whatever is highest contrast in a wide area, which is often not your intended subject.
- Never setting Auto ISO limits. Left uncapped, a camera will often choose a shutter speed too slow to hand-hold sharply before it raises ISO at all.
- Focusing and shooting from the same button. This makes it impossible to lock focus and recompose without either refocusing or switching to manual focus entirely.
- Digging through the full menu mid-shoot. If you’re changing the same two or three settings every session, they belong on a custom button or personal menu, not three screens deep.
Try This
Before your next time out with the camera, go through all seven settings above in your own menu system once, deliberately: confirm RAW is on, set your autofocus mode and area for the kind of shooting you’re planning, check your drive mode, pick a metering mode on purpose rather than leaving the default, set a real Auto ISO ceiling and shutter floor, set up back-button focus if you haven’t already, and assign your two most-used settings to a custom button or personal menu. Do this once properly and most of it never needs revisiting.
Continue Learning
- Parts of a Camera: Understand every physical control these menu settings connect to
- Autofocus: A deeper look at how autofocus systems actually work
- Back-Button Focus: Setting up and using separated focus and shutter buttons
- ISO: What ISO does and why it’s gain, not sensitivity
- Metering Modes: Matrix, center-weighted, and spot metering in detail
- RAW vs JPEG: Why the image quality setting matters so much
- How to Choose Focus Points: Using AF area selection deliberately