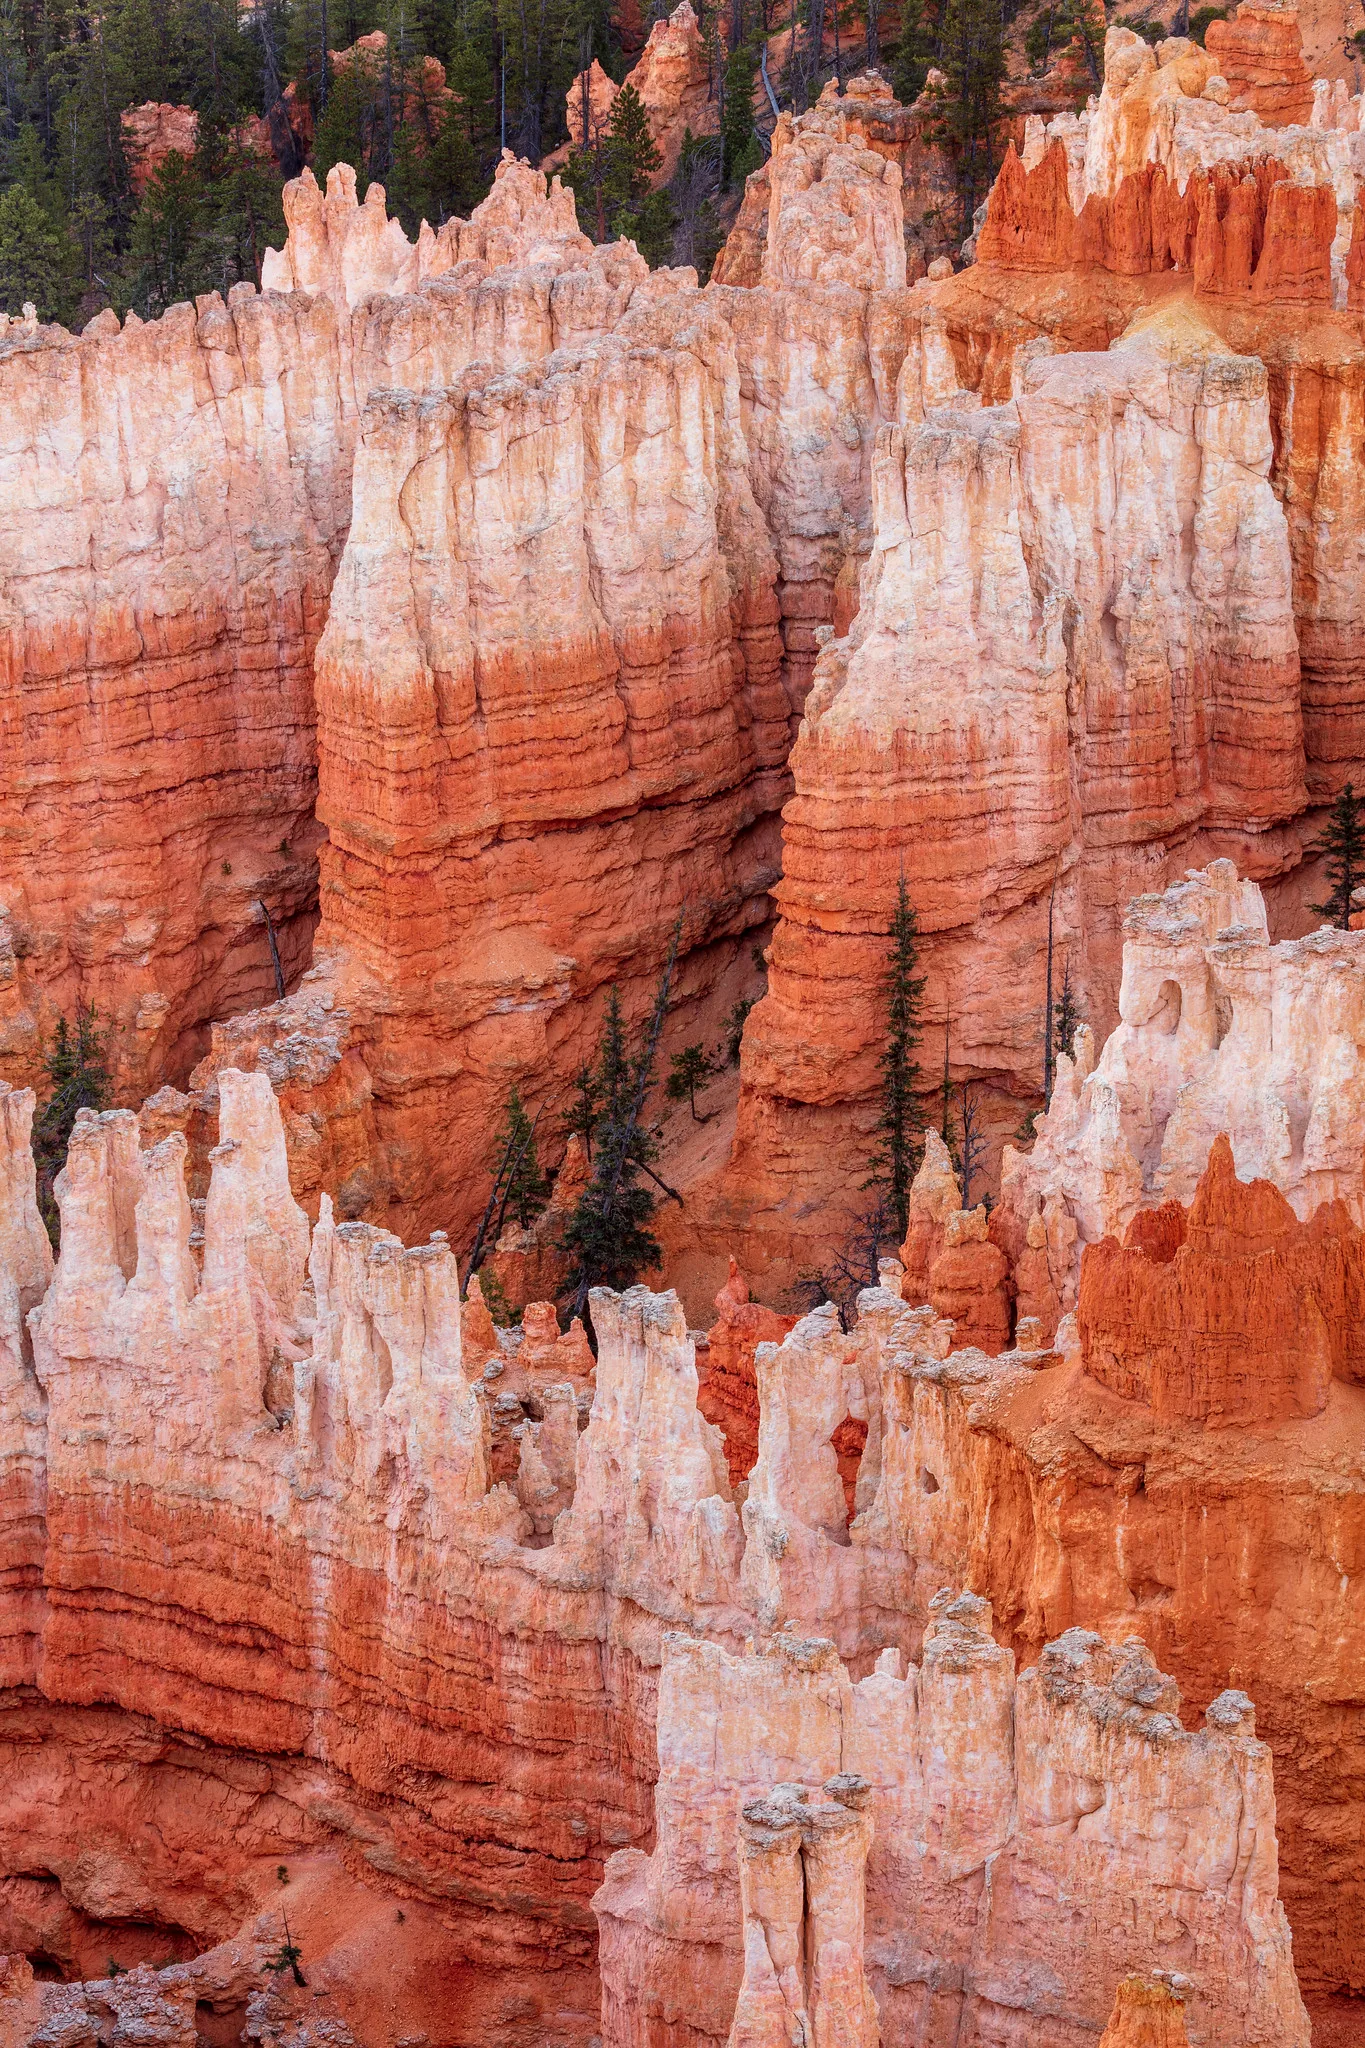
Your editing style is the recognizable way your photos look after you edit them: their brightness, contrast, color and mood. A style is not something you pick in a day. It grows from noticing what you love, making a few deliberate choices, and repeating them until they become your own.
Many beginners worry that they do not have a style. They scroll through other photographers’ work, see a strong, consistent look, and feel that their own photos are all over the place. That is completely normal. Almost every photographer starts that way. Style is the result of practice and choices, not a talent you either have or lack.
This guide explains in plain words what an editing style is made of, how to discover what you like, how to build a simple starting look, how to stay flexible, and the common mistakes beginners make. There is a 10-minute exercise at the end and answers to common questions.
What an editing style is made of
An editing style sounds mysterious, but it comes down to a handful of choices you make again and again. Here are the main ingredients:
- Brightness. Do your photos tend to be bright and airy, or darker and moodier?
- Contrast. Do you like strong differences between lights and darks, or soft, gentle tones?
- Color temperature. Warm and golden, cool and blue, or neutral?
- Saturation. Rich, bold color, or muted and soft?
- Color palette. Do certain colors keep appearing, such as teal shadows or warm highlights? Shifting colors in shadows and highlights is called color grading.
- Black and white or color. Some photographers work mostly in monochrome.
- Texture and detail. Crisp and detailed, or soft and dreamy?
- Shadows and blacks. Deep, rich blacks, or lifted, faded shadows that feel like film?
Your style is simply the combination of your usual answers to these questions. Once you see it that way, it becomes much easier to shape.
Style starts with what you shoot
Editing style is closely tied to what you photograph and how. A soft, bright style suits flowers, food and family moments in window light. A dark, moody style suits storms, city nights and quiet portraits. Strong contrast and black and white suit graphic architecture and street scenes. The light you choose when shooting matters as much as any slider.
That is why style cannot be bolted on with a filter alone. The most consistent photographers shoot in similar light, at similar times of day, and with similar subjects, then edit in a similar way. Editing reinforces a look that begins with the camera. For a wider view of how your vision develops, see finding your photographic voice.
Step 1: notice what you love
The first step to finding your style is paying attention to your own taste. Collect twenty to thirty photos by other photographers that you really love. Save them in a folder or a private board. Do not overthink the choices. Pick whatever makes you stop and stare.
Then look at the collection as a whole and ask:
- Are most of these bright or dark?
- Warm, cool or neutral?
- Bold color or muted color?
- High contrast or soft?
- Color or black and white?
- What subjects and light keep appearing?
You will usually find clear patterns. Those patterns are a map of your taste, and they point toward the style you are likely to enjoy editing.
Step 2: look at your own favorites
Next, pick ten of your own favorite edited photos. Look at them side by side. Which ones feel most like you? Which edits are you proudest of? Often, your favorite edits already share a few traits. Perhaps they are all a little warm, or all have deep shadows. These shared traits are the beginnings of your style, even if you did not notice them before.
Also notice the outliers. A photo that looks completely different from the rest might be a sign of a direction you want to explore, or a look that does not suit you after all.
Step 3: build a simple starting look
Once you have an idea of what you like, build a simple starting look. Choose one of your photos that represents your taste well. Edit it carefully, making clear decisions about brightness, contrast, warmth, saturation and shadows. Keep it simple. A good starting look usually uses only a few adjustments.
Then save those settings as a preset, which is a saved group of settings you can apply to other photos with one click. Apply it to other photos from similar light and adjust exposure and white balance for each one. A preset is a starting point, not a finished edit, because every photo is a little different.
For the basic edits that make up most looks, see photo editing for beginners.
Step 4: edit consistently for a while
A style only shows when you repeat it. Use your starting look on your next few shoots. Edit a set of photos in the same way, and look at them together. Do they feel like a family? If one photo stands out, adjust it until it fits.
This is where consistent photo editing comes in. Consistency means similar brightness, color and mood across a set, so your work feels connected. It is the practical side of having a style.
Step 5: refine over time
Style is never finished. Every few months, look back at your newest batch of edited photos. Ask what you still love and what feels tired. Perhaps your shadows are too faded, or your colors too strong. Adjust your starting look a little at a time. Small changes over months build a style that feels natural and personal rather than borrowed.
Many photographers find that their style becomes simpler over time. Early edits tend to be heavy and dramatic. Later edits tend to be lighter and more confident, because the photographer has learned which few adjustments really matter.
Common style directions to explore
If you are not sure where to start, try a few broad directions and see which ones feel right:
- Light and airy: bright, soft and gentle, with pastel colors. Popular for food, flowers and lifestyle photos.
- Dark and moody: deep shadows, rich color and drama. Popular for landscapes, portraits and still life. See light and airy vs dark and moody.
- Natural and true to life: realistic colors and gentle contrast. A safe and timeless choice for travel and nature.
- Film inspired: faded blacks, soft contrast, warm tones and grain. See the vintage photography look.
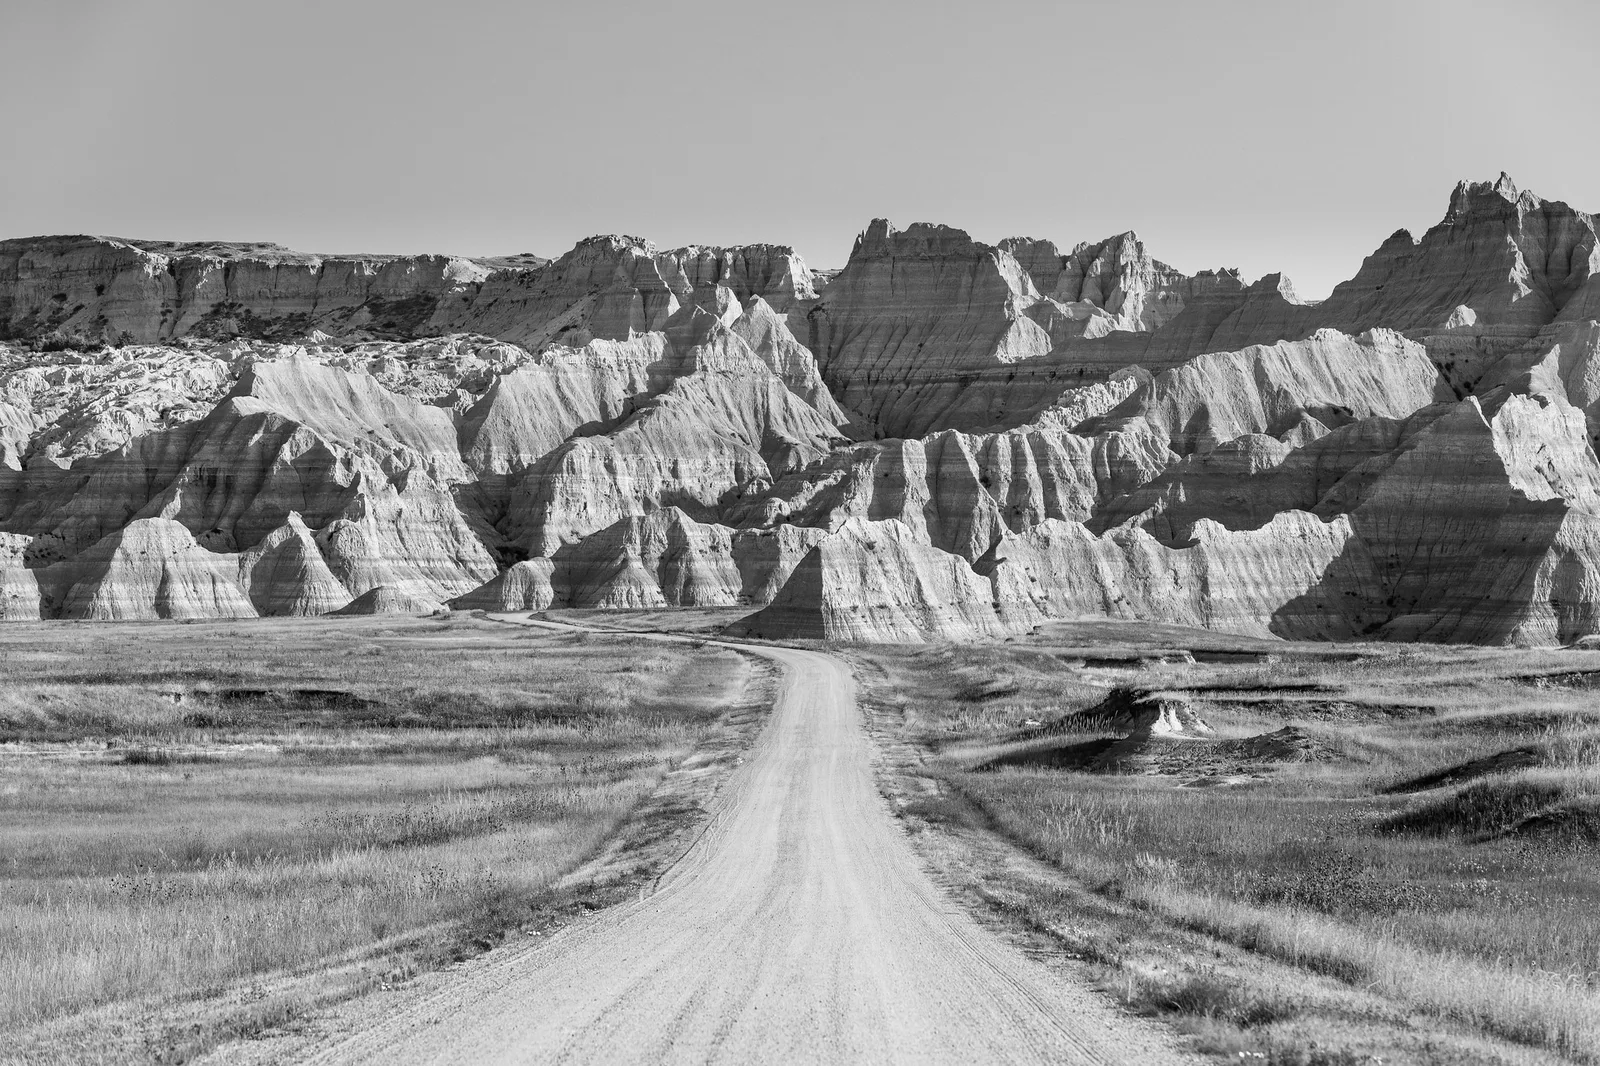
- Black and white: shape, light and texture without color. See the black and white photography guide.
- Bold and vivid: strong color and contrast. Great for festivals, cities and bright travel scenes, but easy to overdo.
Try editing the same photo in two or three of these directions. Seeing them side by side often makes your preference obvious.
Learning from others without copying
It is natural and healthy to learn from photographers you admire. Studying how they handle color and light teaches you a lot. Some photographers sell presets that reproduce their look, and trying one can show you how a style is built.
The danger is stopping there. If you only copy one photographer’s look, your work will always feel like theirs. A better approach is to borrow ideas from several people, mix them with your own taste, and adjust until the result feels like you. Ask what you like about their style, then find your own way of getting there.
Style versus trends
Editing trends come and go. A particular color grade or faded look can be everywhere for a while, then suddenly feel dated. Following trends is fun, and it is a fine way to experiment, but a style built only on trends ages quickly.
A good test is to ask whether you would still love the look in several years. Styles built on good light, clean exposure, natural skin and thoughtful color tend to last. Heavy, trendy effects tend to fade. Keep the trendy experiments light and the core of your style simple.
Staying flexible
Having a style does not mean every photo must look identical. A good style is flexible enough to suit different subjects and light. A warm style might be gently warm for a portrait and more strongly warm for a sunset. A dark style might lift a little for a happy family moment.
The best rule is to let the photo lead. If your usual look fights the light or the mood of a scene, adjust it or choose a different approach. A style should serve your photos, not trap them.
Why style matters
A clear style makes your work recognizable. When people see one of your photos, they begin to know it is yours. That helps if you share work online, build a portfolio or hope to photograph for others, because people can see what to expect.
Style also makes editing faster and calmer. With a starting look and a clear idea of your taste, you spend less time trying random sliders and more time making small, confident decisions. Many beginners find that editing becomes far more enjoyable once they stop searching for a look with every photo.
Most importantly, a style reflects how you see the world. It is a quiet way of saying “this is what I notice and care about”. That is worth developing slowly and patiently, because it grows into something nobody else can copy.
How style changes across genres
The same photographer often edits different kinds of photos in slightly different ways while keeping a common thread. Thinking about genre helps you apply your style sensibly.
Landscapes. In landscape photography, style often shows in how you treat skies, greens and the warmth of the light. Some photographers keep greens natural and skies deep. Others push golden tones for a warm, glowing feel.
Portraits. In portrait photography, skin tones come first. Your style shows mostly in the background colors, contrast and shadows, while skin stays healthy and believable.
Street. In street photography, many photographers favor strong contrast or black and white, because shape, light and gesture matter more than color.
Food. In food photography, bright, clean styles and dark, rich styles are both popular, but colors must still look appetizing.
Your common thread might be a certain warmth, a way of handling shadows, or a love of soft light. That thread is what ties your work together, even across very different subjects.
Keep a simple style journal
A style journal is just a note, on paper or on your phone, where you record what you learn about your editing. After each editing session, write one or two lines. For example: “warm highlights work well for evening portraits” or “too much clarity makes skies look harsh”. Over months, these notes become a personal rulebook.
Your journal can also record the settings of looks you like, such as how much you warm the white balance or lift the shadows. When a photo feels off, reading your notes often shows you why. It is a simple habit that speeds up the slow process of finding a style.
Try to review the journal every month or two. Circle the notes that keep coming up, because repeated lessons are the strongest clues to your taste. Cross out the ones that no longer feel true. In a year, that short list of circled notes will describe your editing style more clearly than any preset name ever could, and it will be entirely yours.
Adding grain is a good example of a small, deliberate choice worth recording. A touch of film grain can give a whole body of work a gentle, textured feel. If you like it, note how much you use, so every set gets the same amount.
Common mistakes
- Rushing it. Style develops over months and years, not days. Be patient.
- Copying one photographer exactly. Learn from many, then make it your own.
- Relying only on presets. Presets are a starting point. Always adjust exposure and white balance for each photo.
- Chasing trends. Trendy looks date quickly. Keep the core of your style simple.
- Changing your look every shoot. Give a style time to settle before judging it.
- Forcing one look on every photo. Let the light and subject guide how strongly you apply it.
- Heavy edits to hide weak photos. Style cannot rescue poor light or focus. Shoot well first.
- Ignoring skin tones. Whatever your style, skin should still look healthy and natural.
Try this: a 10-minute style experiment
- Minutes 1 to 2: Pick five photos you love by other photographers and note one word each for brightness, color and mood.
- Minute 3: Choose one of your own photos with good light.
- Minute 4: Make a virtual copy or duplicate, so you have two versions.
- Minutes 5 to 6: Edit one version bright and soft.
- Minutes 7 to 8: Edit the other version darker and richer.
- Minute 9: Compare them side by side with your five inspiration notes.
- Minute 10: Pick the version that feels most like you, and save its settings as a preset to try on your next shoot.
Frequently asked questions
How do I find my editing style?
Collect photos you love, notice the patterns in brightness, color and mood, build a simple starting look from your own favorite photo, and use it consistently for a while. Refine it over time.
How long does it take to develop a style?
It usually takes months or years of shooting and editing. Most photographers notice their style only when they look back at a large body of work.
Should I buy presets to get a style?
Presets can teach you how a look is built, but your style will feel stronger if you adjust and combine ideas until they are your own.
Can I have more than one style?
Yes. Many photographers use one look for portraits and another for landscapes, for example. Just keep each set of photos consistent within itself.
Is it bad to change my style?
No. Styles naturally evolve. Change gradually and with intention, rather than every shoot.
Does style come from editing or shooting?
Both. The light, subjects and composition you choose shape your style as much as editing does.
Want to make a whole set of photos look like they belong together? Read consistent photo editing.
Deciding between bright and soft or deep and dramatic? Compare light and airy vs dark and moody.