Foreground, midground and background are the three distance zones of a scene: what is near the camera, what sits in the middle distance, and what lies far away. Layering means deliberately putting something worth seeing in more than one of those zones, and arranging them so each stays readable. Done well, it turns a flat record into a picture the eye can travel through, whether the layers are rocks and mountains or people at a festival.
What each layer is for
The three layers are defined by distance from the camera, not by position in the frame. In a typical eye-level landscape the foreground happens to sit at the bottom of the picture and the background at the top, but from a rooftop, through a long lens or in a crowd, near and far can occupy any part of the rectangle. Think in distances first, then check where they land.
Each layer does a different job:
- The foreground sets the viewer’s position. It says “you are standing here” and gives the eye an entry point. It is also the layer that changes most when you move, because halving your distance to it doubles its size in the frame.
- The midground usually holds the subject or the action. It is the layer the picture is about, and the other two exist to support it. Without it, a strong foreground and a strong background can feel like two separate pictures glued together.
- The background sets context: where this is, what the weather is, what kind of event is going on. It changes least as you move, which is why you usually choose it first.
Not every photograph needs all three. A good layered image has at least two distinct layers that each contribute something, and a clear sense of which one matters most. The broader principles of making a flat picture feel deep, from atmospheric haze to leading lines, are covered in the guide to depth in photography. This page is about building and controlling the layers themselves.
Building layers in a landscape
In landscape work the background is often fixed: a mountain, a coastline, a skyline. The work is finding a foreground and midground that belong with it.
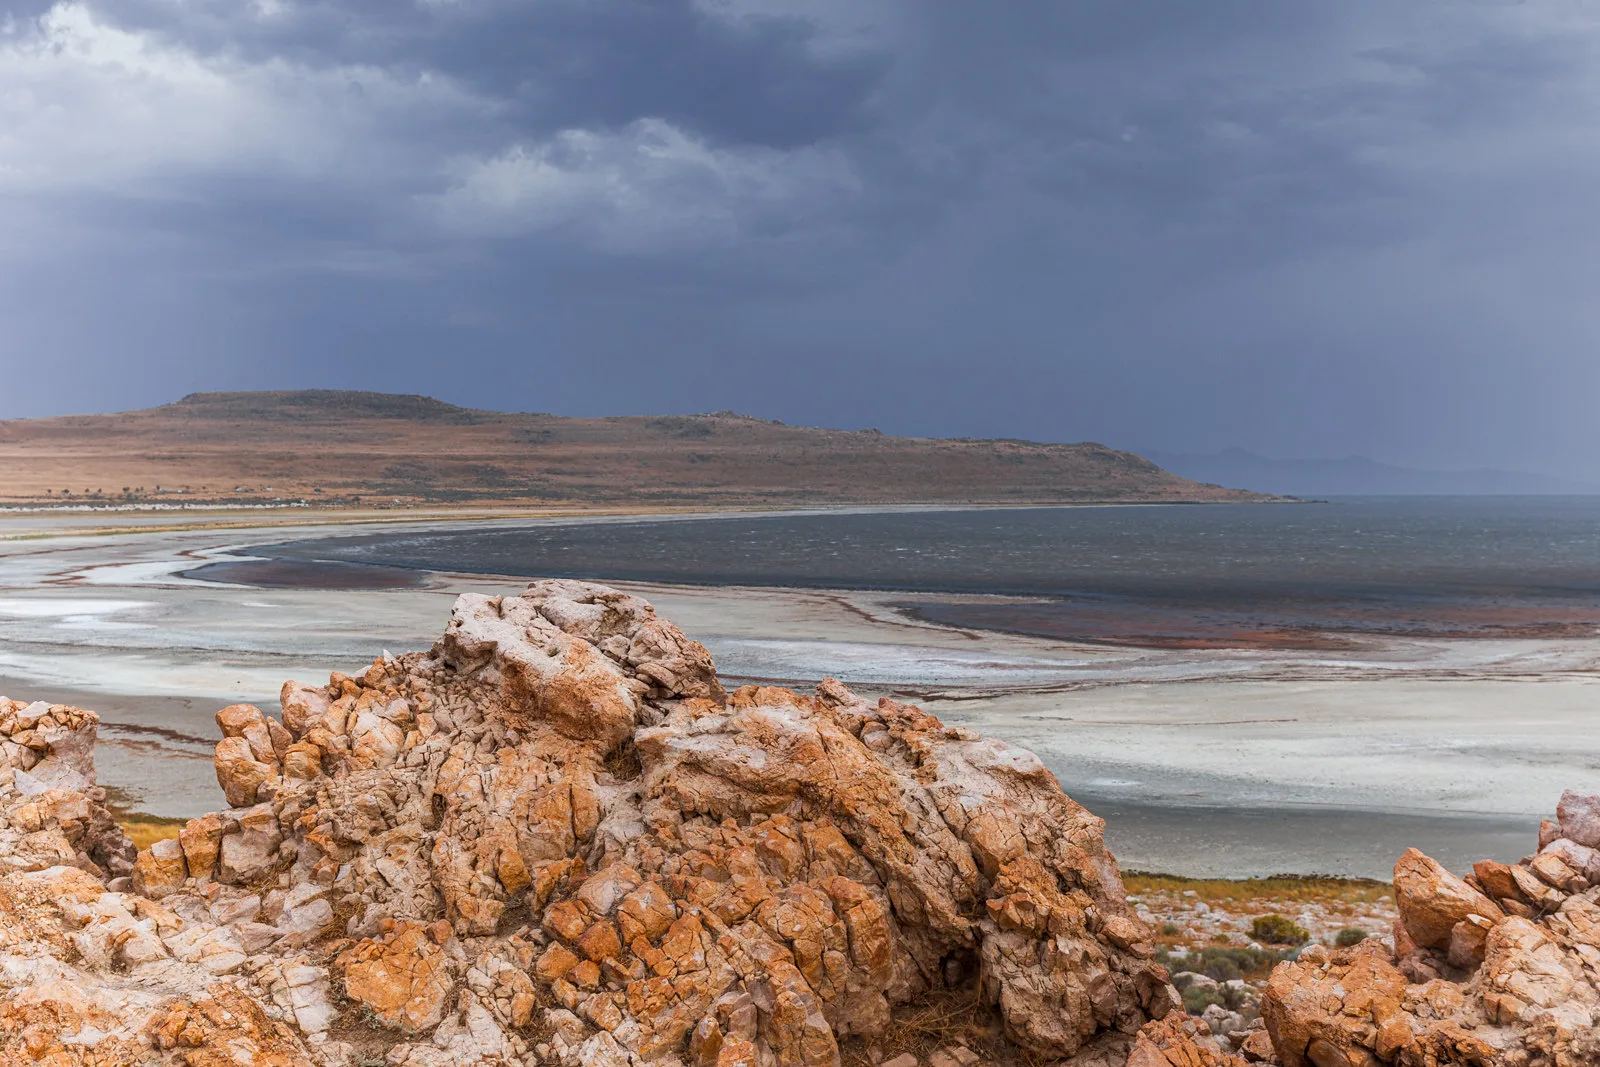
Choose a foreground that relates to the subject. A random rock is filler. A foreground earns its place when it echoes the subject (a small boulder shaped like the peak behind it), points toward it (a crack in the ice aimed at the far shore), or contrasts with it (soft grass below hard granite). If you cannot say in a few words why the foreground belongs, keep looking. The page on foreground interest lists the kinds of near elements that work best.
Give each layer its own tone. Layers read as separate when each has a different brightness or colour from the one behind it. Dark rocks against a pale lake against a mid-toned hill will separate easily. A mid-toned rock against a mid-toned hill will merge, even though they are kilometres apart. Low side light helps a great deal, because the shadow side of each ridge or boulder draws a dark line along the boundary between layers. The guide to direction of light explains why.
Mind the middle. A frequent landscape failure is the “dumbbell” frame: a big foreground rock, a distant mountain, and nothing in between but a gap of featureless ground. The eye jumps from near to far and has nowhere to land. Either find something for the middle (water, a tree line, a path, a building) or change the viewpoint so the foreground leads directly into the subject.
Balance the sizes. The foreground should be large enough to be clearly recognisable and small enough not to be the whole story. A useful starting point is to let the foreground fill somewhere around a quarter to a third of the frame, then adjust by eye. If the foreground is more interesting than the subject, make it the subject and let the rest become background.
Layering people in street, festival and travel scenes
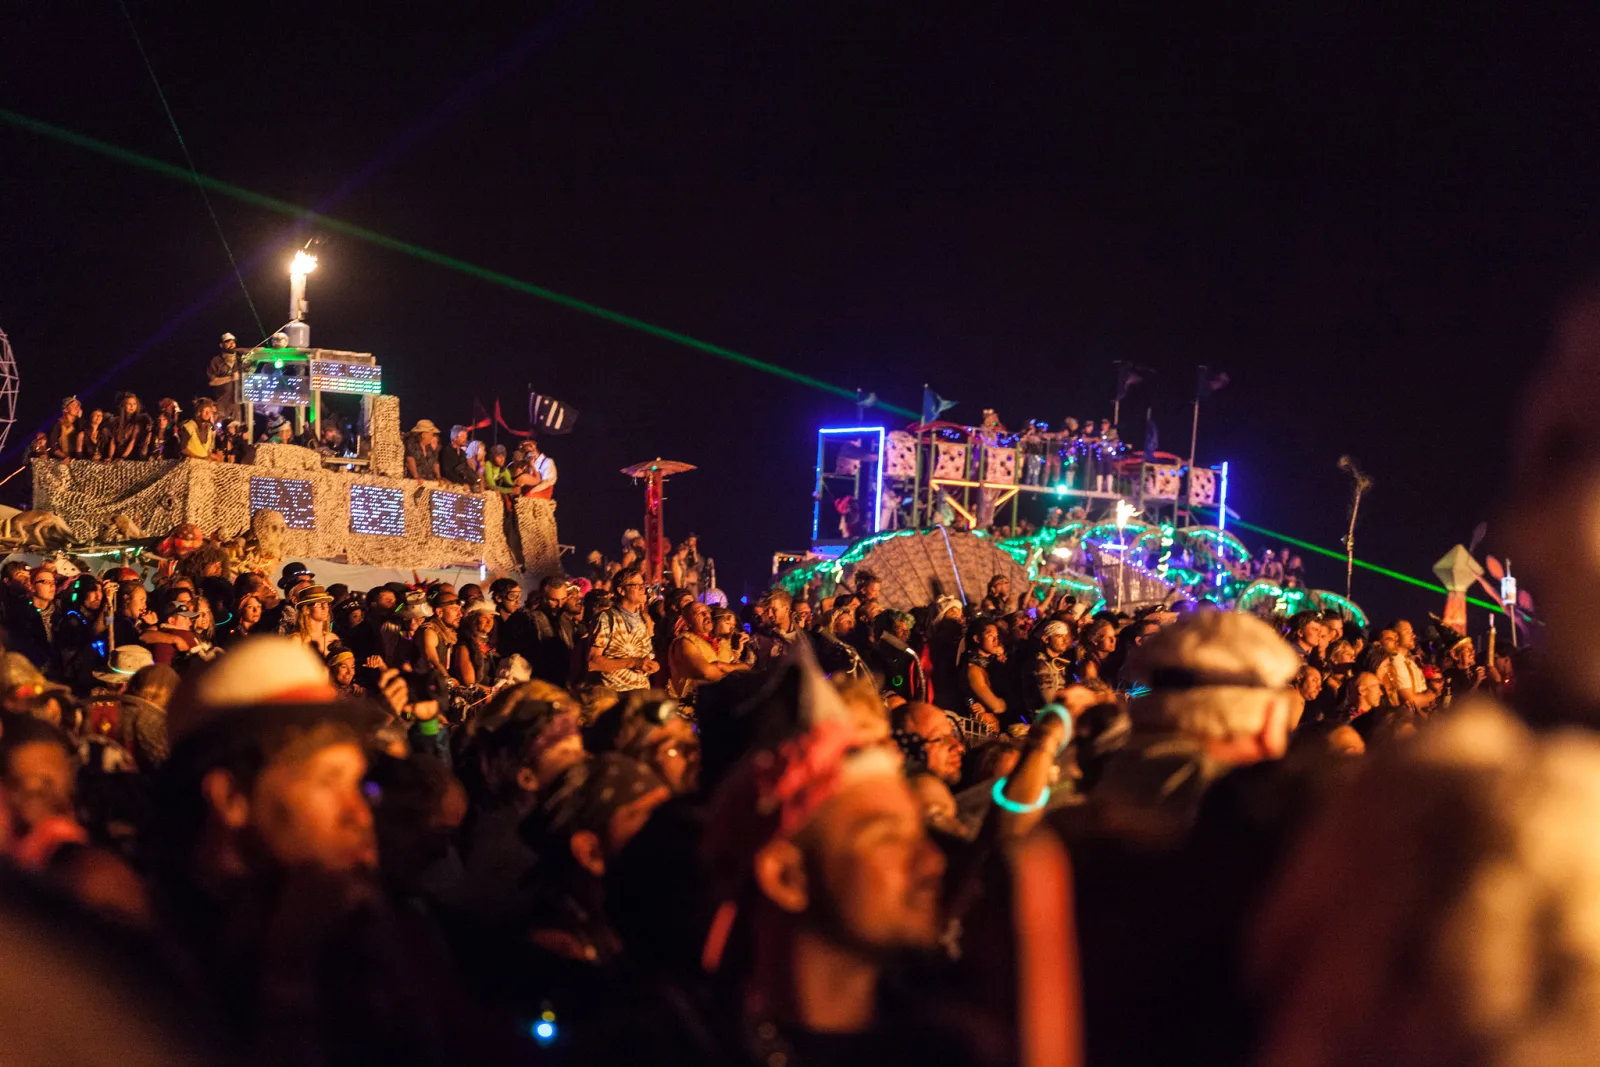
With people, layering stops being about rocks and ridges and becomes about several subjects at several distances, each doing something. It is one of the hardest things in street photography, because every layer is moving independently, and one of the most rewarding, because a frame with two or three separate stories reads like a small novel.
The approach that works most reliably is to build the frame from the back:
- Pick the background first. A lit stage, a busy market, a mural, a doorway. It moves least and sets the context.
- Find the midground. This is often where people pass or gather: a crossing, a queue, a ring of dancers. Frame so this band sits clearly in front of the background.
- Wait for the foreground. Stand where people will pass close to you, and let someone enter the near layer. A face, a hand, a hat or a partly visible figure at the edge of the frame gives the picture its “you are here” layer.
Two problems decide whether these frames work: overlaps and gaps.
Overlaps. A little overlap tells the viewer who is in front, which is useful. Too much, and heads stack on heads until nobody is readable. The worst case is a merge, where a near and a far figure line up so that they fuse into one odd shape, such as a distant pole appearing to grow out of a nearby head. The guide to tangents and mergers covers these collisions in detail. The fix is usually a small step sideways, which slides the layers across one another.
Gaps. Each important figure needs a sliver of clean background around it so its shape reads: the space between one person’s arm and the next person’s back, the patch of sky beside a raised hand. In a dense festival crowd you often have to raise the camera, change height, or wait for a gap to open rather than accept a solid wall of people.
Timing layers. Layers of people are also layers of time. The foreground figure’s step, the midground gesture and the background event all have to peak together, which rarely happens on the first try. Photographers who do this well stay in one spot and shoot a sequence as the scene evolves, then pick the single frame where every layer is doing something at once. Expect a low hit rate; that is the nature of the genre, not a sign you are doing it wrong. The guide to festival photography covers the practical side of working in crowds.
Keep the number of layers honest. Two well-separated layers beat four muddled ones. Add a third only when it adds a separate story or a clear sense of place.
How focal length and distance change the size of each layer
The relative size of the layers is set by where you stand, not by the lens. Apparent size falls in proportion to distance: an object twice as far away looks half as big. So the size ratio between two layers depends on how far each one is from the camera.
| Camera to foreground | Camera to background | Background shrunk by |
|---|---|---|
| 1 m | 100 m | 100 times, relative to an identical object in the foreground |
| 5 m | 104 m | about 21 times |
| 20 m | 119 m | about 6 times |
| 50 m | 149 m | about 3 times |
The same two objects, 99 metres apart, go from wildly different sizes to much closer in size simply because you backed away. This is the real mechanism behind the “wide lenses exaggerate distance, long lenses compress it” rule of thumb. A wide lens does not stretch anything; it lets you stand close to the foreground and still fit the background in, and standing close is what makes the foreground huge. A long lens does not squash anything; it lets you stand far back and still fill the frame, and standing far back is what makes the layers similar in size.
That leads to two practical recipes:
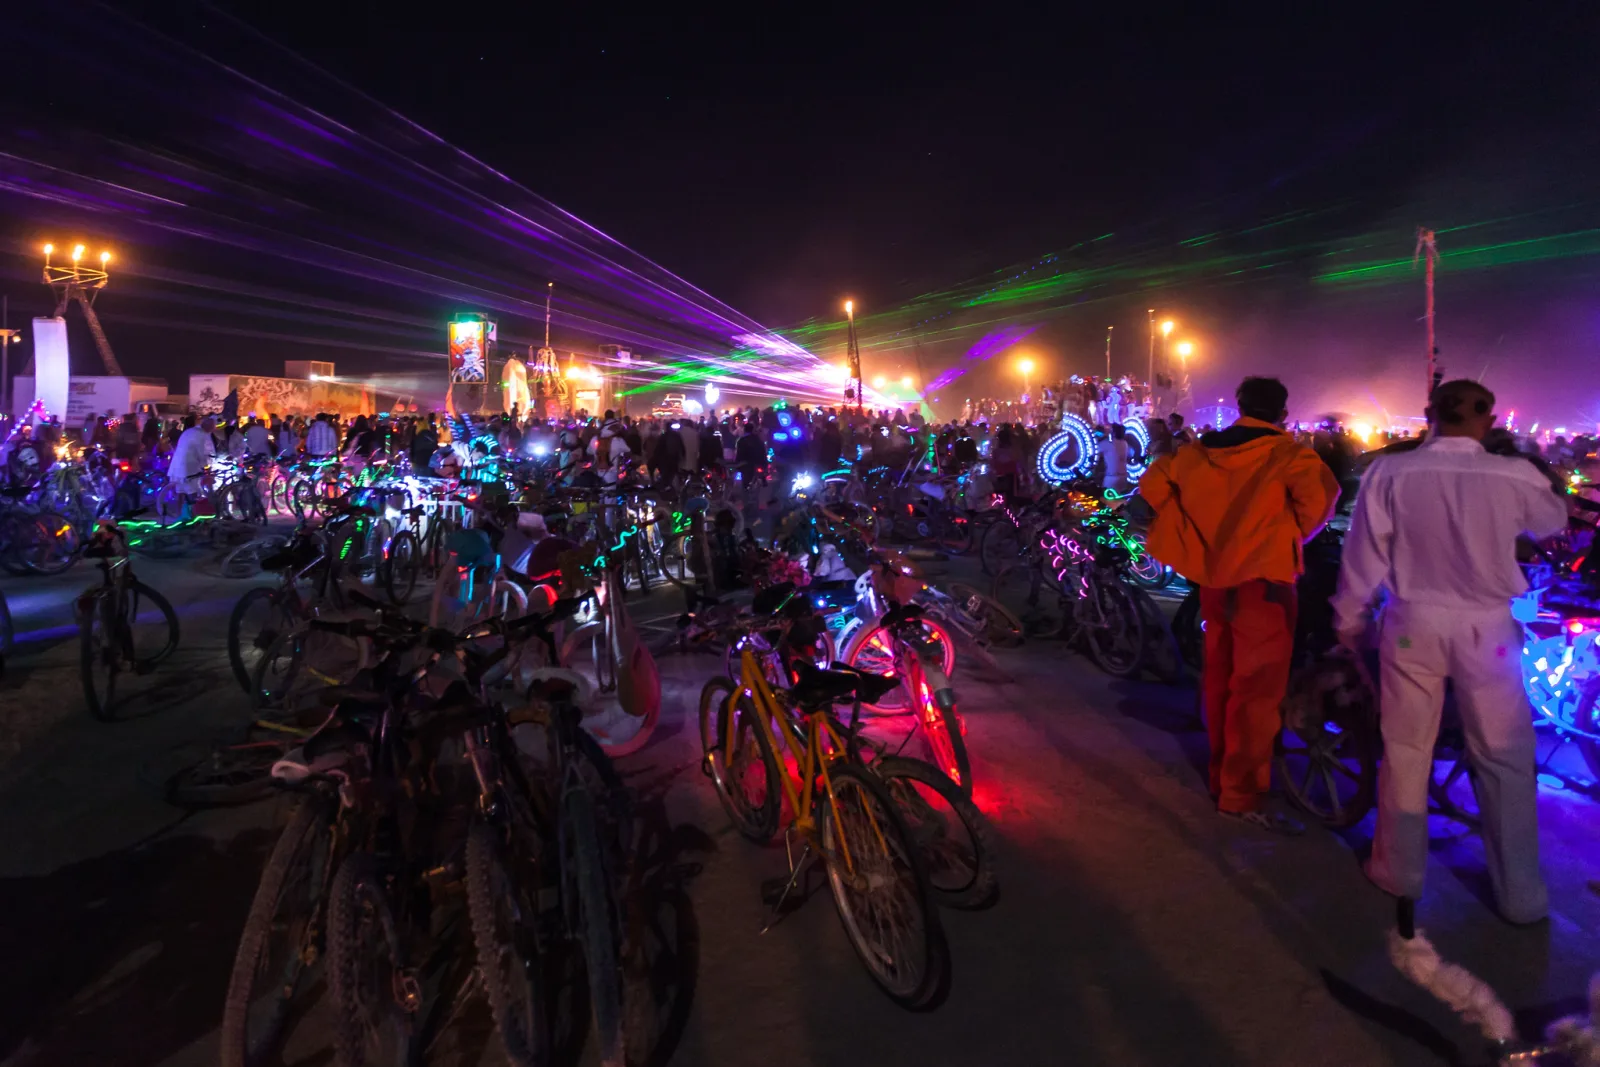
- Dominant foreground, receding background. Get very close to the near element with a wide focal length. The foreground becomes large and the background small and distant. Good for landscapes with strong near texture and for placing the viewer inside a crowd.
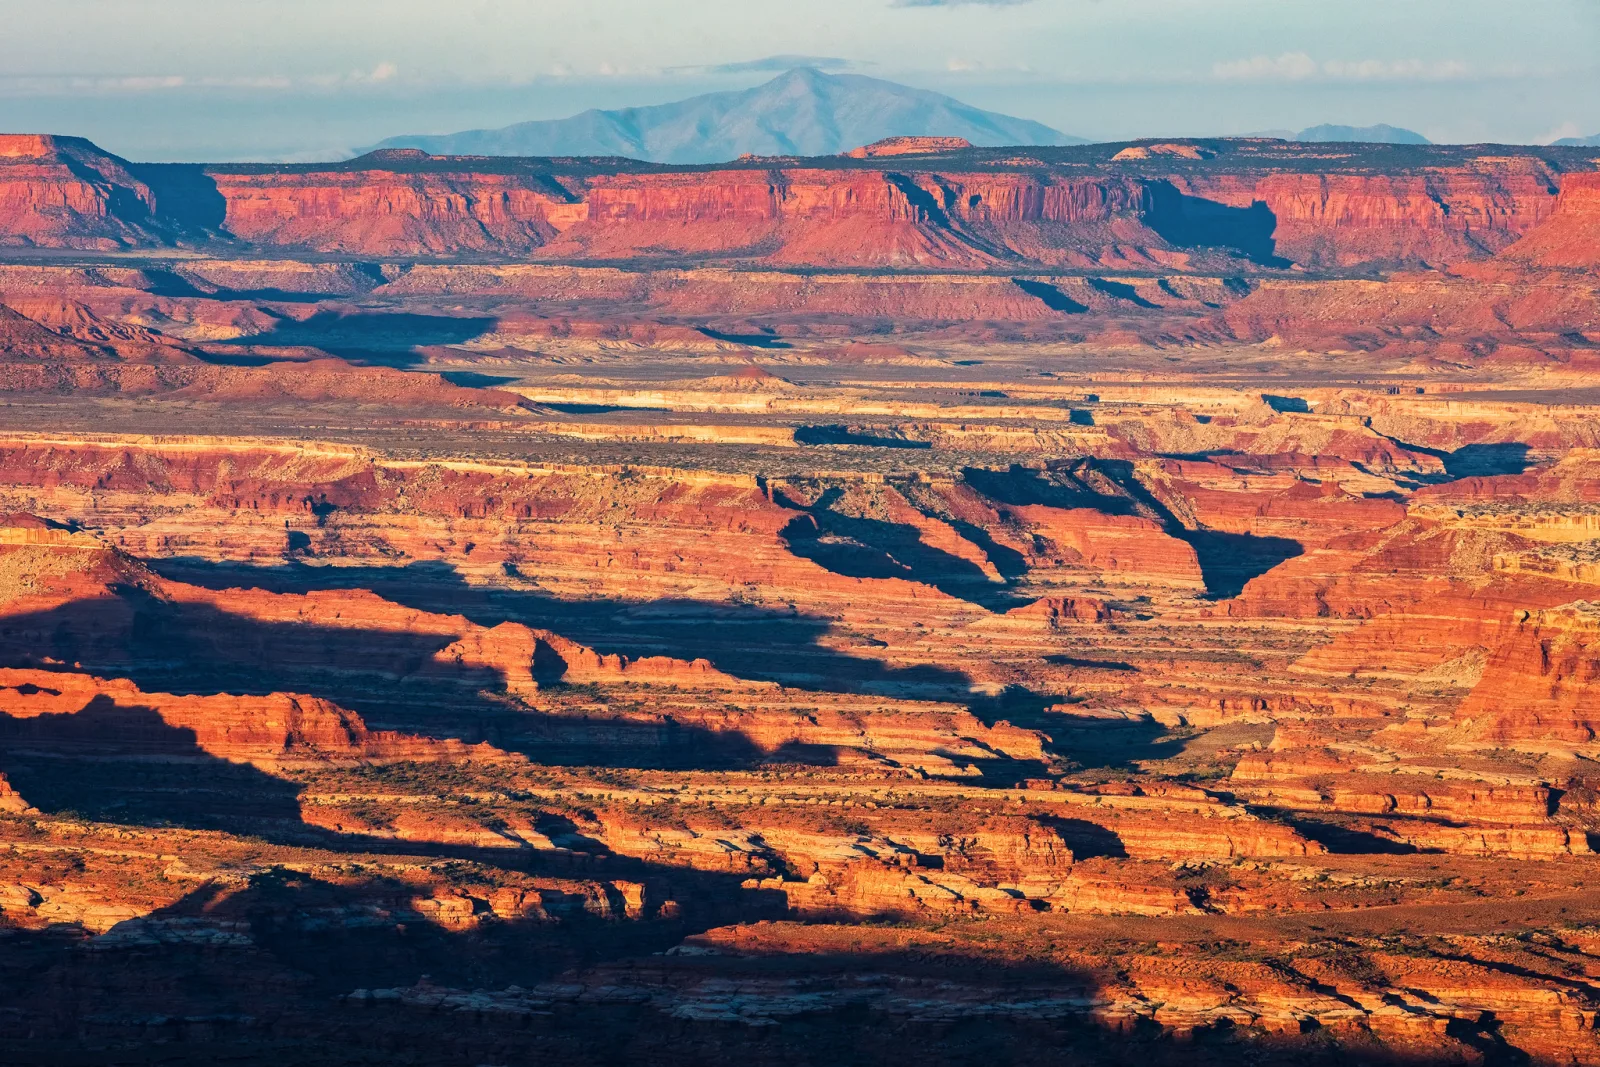
- Stacked, compressed layers. Step well back and use a long lens. Layers pile up like theatre flats, and a distant mountain looms right behind a nearby building. Good for ridgelines, city layers and festival scenes where you want the backdrop to feel huge. The telephoto guide goes deeper.
Between those extremes, move your feet before you touch the zoom. Set your distance for the size relationship you want, then choose the focal length that frames it.
Choosing which layers are sharp
Every layered picture forces a depth of field decision, and there are three sensible answers.
Everything sharp. Usual in landscapes, where the viewer expects to explore every plane. With a wide lens this is easy. On a full-frame camera at 24mm and f/11, the hyperfocal distance is roughly 1.7 metres, so focusing there keeps everything from about 0.9 metres to infinity acceptably sharp at normal viewing sizes. If your foreground is closer than that, either stop down a little more, accept a softer horizon, or take several frames focused at different distances and combine them with focus stacking. With a long lens, deep focus across layers only works when every layer is far away: at 200mm and f/11 the hyperfocal distance is well over 100 metres.
Sharp middle, soft foreground. The standard approach in people pictures: focus on the subject in the midground and let near figures, leaves or railings blur into soft shapes. The soft foreground still says “you are here” and adds depth, but it does not compete. The key is that the soft shape should still be recognisable, or at least not ugly. A blurred face at the frame edge works; a bright featureless smear across the subject does not.
Sharp foreground, soft background. Useful when the near element is the real subject and the background only needs to hint at place: a hand holding a ticket with the festival stage blurred behind, a flower in front of a soft mountain. Make sure the background is still recognisable as a place, or the layering collapses into a simple portrait.
The decision rule is simple: the sharpest layer should be the layer that carries the story. If you cannot decide which that is, the picture probably has too many competing layers.
Keeping layers from merging
Layers only work if the viewer can see where one ends and the next begins. When they merge, the picture flattens no matter how far apart the objects really are. Four tools keep them apart:
- Tone. Put a light layer against a dark one. Backlight is especially useful with people, because it draws a bright rim around heads and shoulders that lifts them off whatever is behind.
- Colour. A warm foreground against a cool background, or a saturated midground against a muted backdrop, separates layers even when their brightness is similar.
- Focus. A difference in sharpness between layers makes the boundary obvious, as described above.
- Position. Small shifts in your height and left-right position change which parts of each layer line up. Before you press the shutter, scan the edges of every important shape and ask what is touching it from behind.
The same ideas apply to any subject that has to stand out from its surroundings; the guide to subject separation covers them in full.
When fewer layers is the better choice
Layering is a tool, not a rule. Some pictures are stronger with one or two planes.
- Graphic and minimal images rely on flat shapes and empty space. A single tree against a white sky is not improved by adding foreground grass.
- Patterns seen straight on, such as a wall of windows, work because there is no depth at all.
- Intimate portraits often need only a subject and a quiet background. A near layer can feel like an intrusion.
- Fast moments sometimes leave no time. A strong single subject caught at the right instant beats a carefully layered frame that missed the moment.
Ask what each layer adds. If the answer for any of them is “nothing, it is just there”, remove it by moving, cropping or changing focus.
Common mistakes
- An empty foreground. A wide lens pointed at a distant view with blank ground at the bottom of the frame. Fix: get closer to something interesting, or switch to a longer lens and leave the foreground out.
- A foreground with no connection to the subject. The eye stops on the near object and never moves on. Fix: choose a foreground that echoes, points toward or contrasts with the subject.
- A missing midground. Near and far with nothing between. Fix: find a middle element, or move so the foreground leads straight into the subject.
- Merged layers. A near shape and a far shape of similar tone overlap and read as one. Fix: change height or step sideways, or find light that makes one layer brighter than the other.
- Too many layers. Four or five bands of equal interest compete for attention. Fix: decide which layer is the subject and simplify or soften the rest.
- Sharpness in the wrong layer. A crisp foreground and a soft subject. Fix: focus on the layer that carries the story, and check focus at full magnification before you leave.
- Cropped heads and limbs at layer edges. In crowds, near figures often enter the frame as half a head. Fix: either include enough of the person to read them, or let them fall fully out of focus so they become shape rather than person.
Try this
Build a street layer from the back (about 20 minutes). Go somewhere with steady foot traffic and a clear backdrop: a market, a station entrance, a busy square, a festival stage.
- Choose your background and stand still. Do not move from this spot for the whole exercise.
- Frame so a midground band, where people walk or gather, sits clearly in front of the background.
- Leave space near one edge for a foreground layer and wait for someone to pass close to you.
- Shoot a short burst each time a foreground figure enters, aiming for at least 30 frames in total.
Afterwards, sort the frames into three piles: those where all layers are readable, those spoiled by a merge or an overlap, and those where one layer was empty. Count each pile. Then look closely at the spoiled frames and note what small change in your position or timing would have fixed each one. That list is the most useful thing the exercise produces, because it shows you exactly what to watch for next time.
Frequently asked questions
Do I always need a foreground, midground and background?
No. Two clear, well-separated layers are often enough, and some subjects are better with one. What matters is that every layer you include adds something and does not merge with its neighbours.
How close should the foreground be?
Close enough to be recognisable and to feel near, not so close it becomes an unreadable blur or overwhelms the subject. With a wide lens in landscapes that often means under a metre or two. In street scenes it may be just an arm’s length.
Is layering the same as depth?
Layering is one way of creating depth. Depth also comes from light, haze, lines and focus. Layering is specifically about placing distinct elements at distinct distances and keeping them apart.
Can I layer with a telephoto lens?
Yes, and it is one of the best ways to show stacked hills, city blocks or crowds in front of a big backdrop. The layers look closer together and more similar in size because you are standing far away from all of them.
Related guides
- Depth in photography: every visual cue that makes a flat picture feel three-dimensional.
- Foreground interest in landscape photography: choosing and composing the near layer.
- Subject separation: making one element stand clear of everything behind it.
- Tangents and mergers: spotting the collisions that spoil layered frames.
- Hyperfocal distance: keeping near and far layers sharp together.
- Telephoto photography: stacking layers from a distance.
- Festival photography: working crowds, light and timing at events.
- Street photography: the wider craft of photographing people in public.