Hang a photo so its centre is 57 to 60 inches (145 to 152 cm) from the floor, which is average eye level and the height galleries use. Above a sofa or sideboard, leave 6 to 10 inches (15 to 25 cm) between the furniture and the frame. In a group, keep gaps of 2 to 3 inches (5 to 8 cm) and put the centre of the whole group at that same 57 inch height.
The frame itself, with its mat and glass, is covered in matting and framing photos, and the special case of very big pieces in displaying large photo prints. This page deals with the wall: which pictures to group, the measurements and the arithmetic for hook height, the main layouts, a paper-template method that avoids extra holes, hardware for different walls, light, and options that need no nails.
Choosing which photographs belong together
A single picture only has to suit the room. A group has to look like one decision. The reliable way to get there is to hold one or two things constant and let the rest vary.
- Constant treatment. All black and white, or all colour with a shared palette. Mixing one colour print into a black and white group makes it the focal point, so do it on purpose or not at all.
- Constant frame. The same frame colour and mat colour will unify pictures of very different subjects. Different frames need a strongly shared subject to compensate.
- Constant subject or place. One trip, one family, one coastline, one type of building.
- Constant shape. Prints that share an aspect ratio make grids and rows easy. Mixed shapes push you toward a looser salon layout.
Then edit hard. Lay the candidates on the floor and remove any picture that repeats another or that is there only because you like it on its own. Order matters too: put pictures in which people look or move to the right on the left side of the group, so the attention flows inward. Ordering a set is its own skill, covered in photo sequencing, and two or three frames designed as one piece are covered in diptych and triptych photography.
Hanging height and the centre-line rule
The centre-line rule says the middle of the picture, not the top and not the hook, sits at a fixed height from the floor. Galleries commonly use 57 inches (145 cm), and anything up to 60 inches (152 cm) is normal. Pick one number and use it for every piece in the room, so that pictures of different sizes line up through their centres and the room feels ordered.
Most people hang too high because they judge by the top of the frame. Use the arithmetic instead:
- Measure the height of the frame and halve it.
- Pull the wire or hanger taut toward the top of the frame, as it will sit on the hook, and measure from that point to the top edge. Call this the drop.
- Hook height = centre height + half the frame height, minus the drop.
Example: a frame 24 inches (61 cm) tall with a drop of 3 inches (7.5 cm), hung at a 57 inch centre. 57 + 12, minus 3, puts the hook at 66 inches. In metric: 145 + 30.5, minus 7.5, gives 168 cm.
When to break the rule
| Situation | Adjustment |
|---|---|
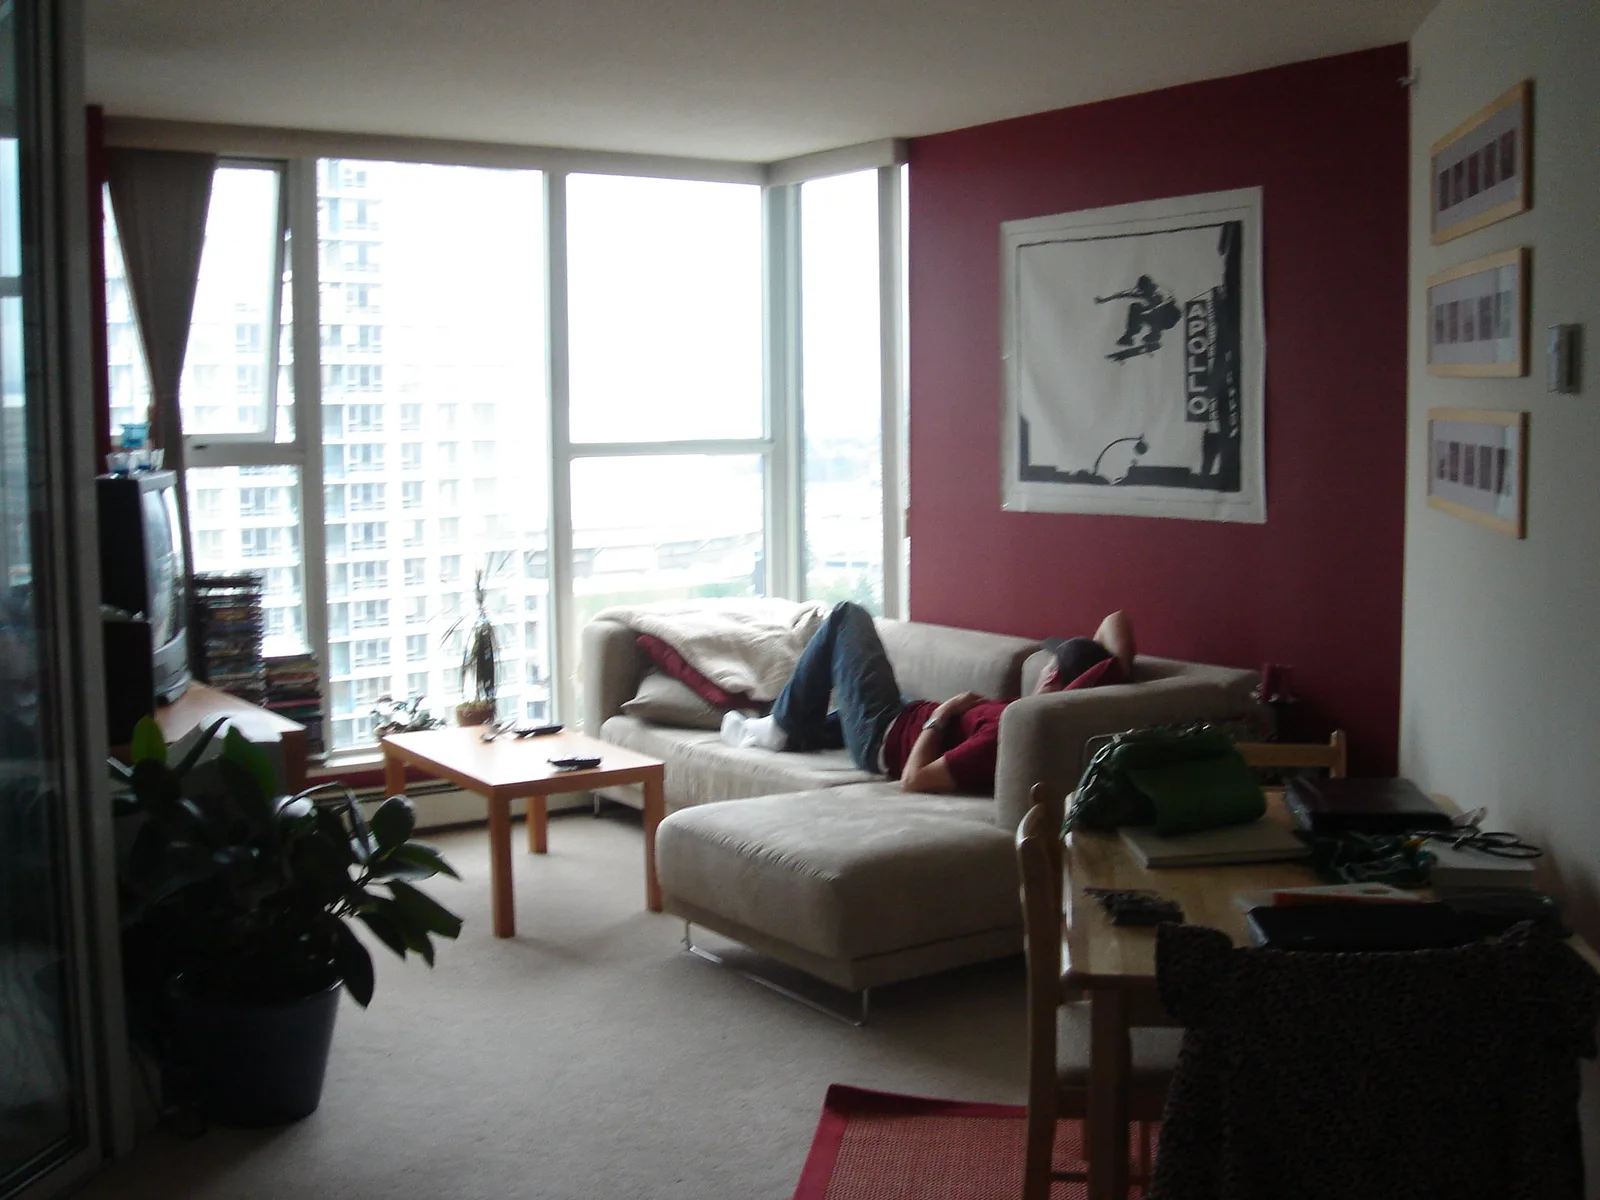
| Above a sofa, bed head, console or sideboard | Bottom of the frame 6 to 10 inches (15 to 25 cm) above the furniture, even if the centre ends up higher than 57 inches. Aim for a picture or group about two thirds to three quarters as wide as the furniture. |
| Rooms where people mostly sit (dining room, home office) | Lower the centre by a few inches or centimetres so it suits seated eyes. |
| Staircase | Measure 57 inches (145 cm) straight up from the step directly beneath each frame, so the centres climb in a line parallel to the stairs. |
| Very tall piece | Keep the bottom edge at least 8 to 12 inches (20 to 30 cm) off the floor and accept a higher centre. |
| A group of frames | Treat the whole group, gaps included, as one picture and put its centre at 57 inches. |
Layouts: row, grid, column, salon and ledge
Row
Two to five frames in a horizontal line. If the frames are the same size, everything aligns by itself. If they differ, align them through their centres at 57 inches, which looks calmer than aligning the tops. A row suits corridors and the wall above a long sofa.
Grid
Identical frames in rows and columns with identical gaps: two by two, three by three, two rows of four. The grid is the most formal layout and the least forgiving, because the eye spots an error of a few millimetres. Use a level and a tape for every hook, and keep the gaps tight, about 2 inches (5 cm), so the set reads as one large block.
Column
Two or three frames stacked vertically fill a narrow wall between two doors or beside a window. Centre the whole stack at 57 inches.
Salon
A salon hang mixes sizes and orientations in a dense cluster. It looks casual and needs the most planning. Start with the largest piece slightly off centre, at eye level. Add the next largest on the opposite side to balance it, then fill outward with smaller pieces. Keep every gap the same, 2 to 3 inches (5 to 8 cm), and keep the outer edge of the cluster roughly rectangular or oval, so that it has a shape. Spread any dark, heavy frames around instead of bunching them on one side.
Ledge
A picture ledge is a shallow shelf with a lip. Frames lean on it and can overlap, with larger pieces at the back. It costs a few screw holes once, and after that you can change the pictures without tools. It suits people who print often and want to rotate work. Mount the ledge so the centre of the tallest frame lands near eye level.
Spacing, and planning with paper templates first
Gaps should be consistent and smaller than you expect. For most groups use 2 to 3 inches (5 to 8 cm). Frames larger than about 24 inches (60 cm) on a side can take 4 to 6 inches (10 to 15 cm). Gaps wider than the width of the smallest frame make the group fall apart into separate pictures. Leave more space around the group than inside it: at least 6 inches (15 cm) to a corner, door frame or light switch.
Plan on the floor and on paper before you make a hole:
- Measure the wall space and mark the same rectangle on the floor with tape.
- Arrange the frames inside it until the layout works. Take a photo from above so you can compare versions.
- Trace each frame onto kraft paper or newspaper and cut it out. Write on the template which picture it stands for.
- Mark the hanging point on each template. Lay the template on the back of the frame, pull the wire taut, and mark where the hook will sit. For frames with two fixed hangers, mark both.
- Tape the templates to the wall with low-tack painter’s tape, starting with the centre piece at the right height. Check the gaps with a ruler and the edges with a level.
- Step back and live with it for a day if you can. Moving paper is free.
- Fix the hooks straight through the marks, then tear the paper away and hang the frames.
Print and frame sizes for the wall and the viewing distance
Size is judged against two things: the wall and the place people stand or sit. A picture that is too small for its wall is the most common sizing error. As a starting point, a single picture or a group looks settled when it covers roughly half to three quarters of the free width of the wall or of the furniture beneath it.
For viewing distance, a useful rule of thumb is that a picture is comfortable to take in whole from about 1.5 to 2 times its diagonal. Closer than that, people scan it in parts. Much farther, it loses its hold on the room. Measure to the outside of the frame when a wide mat is part of the piece.
| Picture size | Diagonal | Comfortable viewing distance | Typical place |
|---|---|---|---|
| 8 x 10 in (20 x 25 cm) | 13 in (33 cm) | 1.5 to 2 ft (50 to 65 cm) | Hallway, desk, part of a cluster |
| 11 x 14 in (28 x 36 cm) | 18 in (45 cm) | 2 to 3 ft (70 to 90 cm) | Corridor, stair wall, grid |
| 16 x 20 in (40 x 50 cm) | 26 in (65 cm) | 3 to 4 ft (1 to 1.3 m) | Bedroom, study, small living room |
| 20 x 30 in (50 x 76 cm) | 36 in (92 cm) | 4.5 to 6 ft (1.4 to 1.8 m) | Above a sideboard or bed |
| 24 x 36 in (61 x 91 cm) | 43 in (110 cm) | 5.5 to 7 ft (1.7 to 2.2 m) | Above a sofa |
| 40 x 60 in (102 x 152 cm) | 72 in (183 cm) | 9 to 12 ft (2.7 to 3.7 m) | Large living room, open stairwell |
Read the table from the room outward. If the sofa faces a wall 10 feet (3 m) away, a single 8 x 10 will look lost there, and either one large print or a tight group with the same overall footprint will hold the wall. In a corridor where nobody can stand more than 3 feet (1 m) back, small prints are right and a very large one cannot be seen properly. Whether your file has enough pixels for the size you want is a separate question, answered by the print size calculator and the guide to DPI and PPI. The choice of surface is compared in canvas prints vs photo paper.
Hardware for different walls and frame weights
Weigh the framed piece on a bathroom scale, then choose hardware rated for at least twice that weight. The rating is printed on the packaging. Before you drill or nail, check for pipes and cables: they often run straight up, down or sideways from switches, sockets and radiators, and an inexpensive detector will find most of them.
| Wall | Light frames | Heavy frames |
|---|---|---|
| Plasterboard (drywall) | Picture hooks with a thin nail driven in at a downward angle | Screw into a wooden stud, or use hollow-wall anchors such as toggle bolts rated for the load |
| Old plaster over lath | Picture hooks with hardened pins. Put a piece of tape over the spot first to limit chipping | Drill a pilot hole and screw into the lath or a stud, or hang from a picture rail |
| Brick, block or concrete | Hardened masonry picture hooks | Drill with a masonry bit, insert a wall plug and use a screw |
On the frame itself, the fittings matter as much as the wall fixing. A sawtooth hanger is for small, light frames only. D-rings and picture wire suit most medium frames: fix the rings about a third of the way down the sides and leave enough slack for the wire to peak 2 to 3 inches (5 to 8 cm) below the top edge. For large or heavy work, hang the two D-rings directly on two hooks with no wire, or use a cleat, a pair of interlocking angled strips, one on the wall and one on the frame.
Two hooks set apart are better than one for anything wider than about 16 inches (40 cm). They share the load and the frame stays level instead of tipping every time a door slams. Stick small rubber bumpers on the bottom corners of the back so the frame sits parallel to the wall, grips it, and lets air circulate behind.
Light, glare and fading
Light decides both how a print looks today and how long it lasts. Before choosing a wall, watch where direct sun falls through the day and across the seasons. Any wall the sun lands on is a poor place for a print you care about, because fading from light adds up and cannot be reversed. A copy can be reprinted, but an original family photograph cannot, which is why storing old photos safely and displaying a copy is the better plan for those.
- Glare. A wall directly opposite a window turns glass into a mirror. A wall at right angles to the window gets soft, raking light and far fewer reflections. If the only wall faces a window, choose anti-reflective glazing, a matte paper with no glass, or tilt the top of the frame forward slightly.
- Lamps. Check for reflections from ceiling lights and lamps from where people sit, not from where you stand to hang. Picture lighting angles are covered in the guide to large prints linked above.
- Heat and damp. Avoid the wall above a radiator or a working fireplace, and keep paper prints out of bathrooms and away from the steam side of a kitchen. Humidity makes paper ripple and encourages mould behind glass.
- Glazing. UV-filtering glass or acrylic slows fading. It does not stop it, so placement still matters.
Hanging without nails, and hanging in a rented home
If you rent, read your agreement or ask the owner before making holes: rules differ, and some allow small picture-hook holes while others allow none. There are four ways to show pictures with little or no damage.
- Adhesive hanging strips. These hold light to medium frames on smooth, painted walls. Stay inside the weight rating on the pack, clean the wall first, press firmly, and follow the stated waiting time before loading them. They fail on textured walls, wallpaper, freshly painted surfaces and in humid rooms. To remove one, pull the tab slowly down along the wall, never outward.
- Leaning. Stand frames on a mantel, a sideboard, a shelf or the floor. Overlap two or three of different heights. Add a strip of non-slip material under the bottom edge.
- A picture rail. Many older homes have a moulding near the ceiling made for hooks and cords. Rail hooks take real weight and leave the wall untouched, and you adjust the height by sliding the cord fitting.
- One ledge instead of many hooks. A few screw holes are easier to fill than twelve, and may be acceptable where a gallery wall is not.
Common mistakes
- Hanging too high. The top of the frame was lined up with a door or with standing eye level. Fix: put the centre at 57 to 60 inches (145 to 152 cm) and work out the hook height from there.
- A picture too small for the wall. One small frame floats in the middle of a large empty surface. Fix: go larger, add a wide mat, or build a group with a bigger overall footprint.
- Gaps that are too wide or uneven. The group reads as scattered singles. Fix: cut a spacer from card at 2.5 inches (6 cm) and use it between every pair of frames.
- Floating above furniture. A gap of a foot or more disconnects the picture from the sofa. Fix: lower it to 6 to 10 inches (15 to 25 cm) above the furniture.
- Measuring from the ceiling. Ceilings and floors are rarely parallel. Fix: measure every height from the floor and check each frame with a level.
- One hook for a wide frame. It tilts within days. Fix: use two hooks and corner bumpers.
- Trusting an anchor of unknown rating. Fix: weigh the piece and use hardware rated for at least double.
- Hanging in direct sun. Fix: move it to a side wall and keep the sunny wall for a mirror or nothing.
Try this
Pick one wall and one picture you already have framed. Measure the frame height and the drop from the taut wire to the top edge, and calculate the hook height for a 57 inch (145 cm) centre. Cut a paper template of the frame and tape it to the wall at that height. Now walk to where you would normally stand or sit to look at it, and check three things: whether the centre feels level with your eyes, whether a window or lamp reflects where the glass will be, and whether the picture is wide enough for the wall or the furniture below. Move the paper until all three are right, then fix the hook. Fifteen minutes with paper tells you more than any amount of holding a frame against the wall at arm’s length.
Frequently asked questions
How high should I hang pictures?
Put the centre of the picture 57 to 60 inches (145 to 152 cm) above the floor. Above furniture, set the bottom of the frame 6 to 10 inches (15 to 25 cm) above it instead.
How far apart should pictures be on a gallery wall?
Keep 2 to 3 inches (5 to 8 cm) between frames and use the same gap throughout. Large frames can take 4 to 6 inches (10 to 15 cm). Consistency matters more than the exact figure.
Should pictures line up at the top, the bottom or the centre?
In a row of different sizes, align the centres: it follows the eye-level rule and looks balanced. Aligning tops or bottoms works when the frames sit under a strong horizontal line such as a shelf or a picture rail.
How do I hang a heavy frame on plasterboard?
Find a stud and screw into it, or use hollow-wall anchors whose rating is at least twice the weight of the frame, with two fixing points. An ordinary nail in bare plasterboard is not enough for heavy glass.
Do the frames in a gallery wall have to match?
No, but something has to. Matching frames unify mixed pictures, and a shared subject or colour treatment unifies mixed frames. Limit yourself to two or three frame finishes.
Related guides
- Matting and framing photos: mats, frame profiles, glazing and archival materials.
- Displaying large photo prints: file size, substrates and lighting for very big pieces.
- Photo sequencing: choosing and ordering the pictures in a set.
- Canvas prints vs photo paper: which surface suits which room.
- Printing photos at home: making the prints yourself.
- Photography exhibition guide: the same principles applied to a public show.
- Aspect ratio: matching picture shapes to standard frame sizes.