A lighting ratio compares how bright the lit side of your subject is with how bright the shadow side is. A low ratio, like 2:1, gives soft, gentle shadows. A high ratio, like 8:1, gives deep, dramatic shadows. Once you understand ratios, you can choose the mood of a portrait on purpose instead of by accident.
When you first light a portrait with one lamp, a flash or a window, you will notice that one side of the face is bright and the other side falls into shadow. Sometimes the shadow looks soft and flattering. Sometimes it looks almost black. The difference between those two results is the lighting ratio. It sounds technical, but the idea is simple, and you can control it with nothing more than a reflector or a second light.
This guide explains in plain words what lighting ratios are, how they relate to stops of light, what common ratios look like, how to set them with flash power, distance or a reflector, how to measure them with your camera or a light meter, and the common mistakes beginners make. There are worked examples, a 10-minute exercise and answers to common questions.
The key light and the fill light
Two words come up again and again when talking about ratios.
The key light is your main light. It is the brightest light on your subject and it creates the shape and the main shadows. It might be a window, a flash in a softbox, or the sun.
The fill light is a weaker light that brightens, or “fills in”, the shadows the key light creates. It might be a second flash at lower power, a lamp, or simply light bounced back from a reflector or a white wall.
The lighting ratio is the relationship between these two. A strong key light and very little fill gives a high ratio and deep shadows. A key light and a strong fill give a low ratio and soft, open shadows.
Ratios and stops: the simple maths
Photographers measure light in stops. A stop is a doubling or halving of light. If one area receives twice as much light as another, it is one stop brighter. Four times as much light is two stops brighter. Eight times as much is three stops.
Lighting ratios follow the same pattern:
- 1:1 means both sides are equally bright. No difference. Very flat light.
- 2:1 means the bright side has twice the light of the shadow side. That is a 1 stop difference.
- 4:1 means four times the light. A 2 stop difference.
- 8:1 means eight times the light. A 3 stop difference.
- 16:1 means sixteen times the light. A 4 stop difference, very dramatic.
You do not need to do any maths beyond this. Just remember: every time the ratio doubles, the shadows get one stop darker compared with the lit side.
A small note: some books calculate ratios slightly differently, counting the key light and fill light together on the bright side. The numbers shift a little, but the idea is the same. What matters is the stop difference between the lit side and the shadow side, which you can always measure and see.
What common ratios look like
1:1, flat and even
Both sides of the face are equally bright. There is almost no shadow shaping. This look is clean and simple, and it hides skin texture well, but faces can look flat and wide. It is common in beauty photos, some product photos and passport style photos.
2:1, soft and flattering
The shadow side is one stop darker. You can clearly see shape, but shadows are light and open. This is a friendly, flattering ratio for most portraits, family photos, corporate headshots and school photos. It is the safest starting point for beginners.
3:1 to 4:1, shaped and natural
The shadow side is about one and a half to two stops darker. Faces look more three dimensional, with noticeable shape in the cheeks and jaw. This looks natural and a little more serious, and suits many portraits of adults, especially men, actors and musicians.
8:1 and higher, dramatic and moody
The shadow side is three or more stops darker and may fall almost to black. The mood is strong, mysterious or intense. This suits dramatic portraits, film style images and low key photography, where most of the frame is dark. It is less forgiving, because it shows every bump and shape.
How a ratio changes the mood
The ratio is one of the quickest ways to change how a photo feels. Low ratios feel open, honest and cheerful. High ratios feel serious, mysterious and intense. The same person, in the same pose, can look like a friendly colleague at 2:1 and a film character at 8:1.
The ratio also changes how the face looks. Low ratios make a face look wider and smoother. Higher ratios make it look narrower and more sculpted, because the shadow side recedes. Many photographers use a slightly higher ratio for a round face and a lower ratio for an angular one.
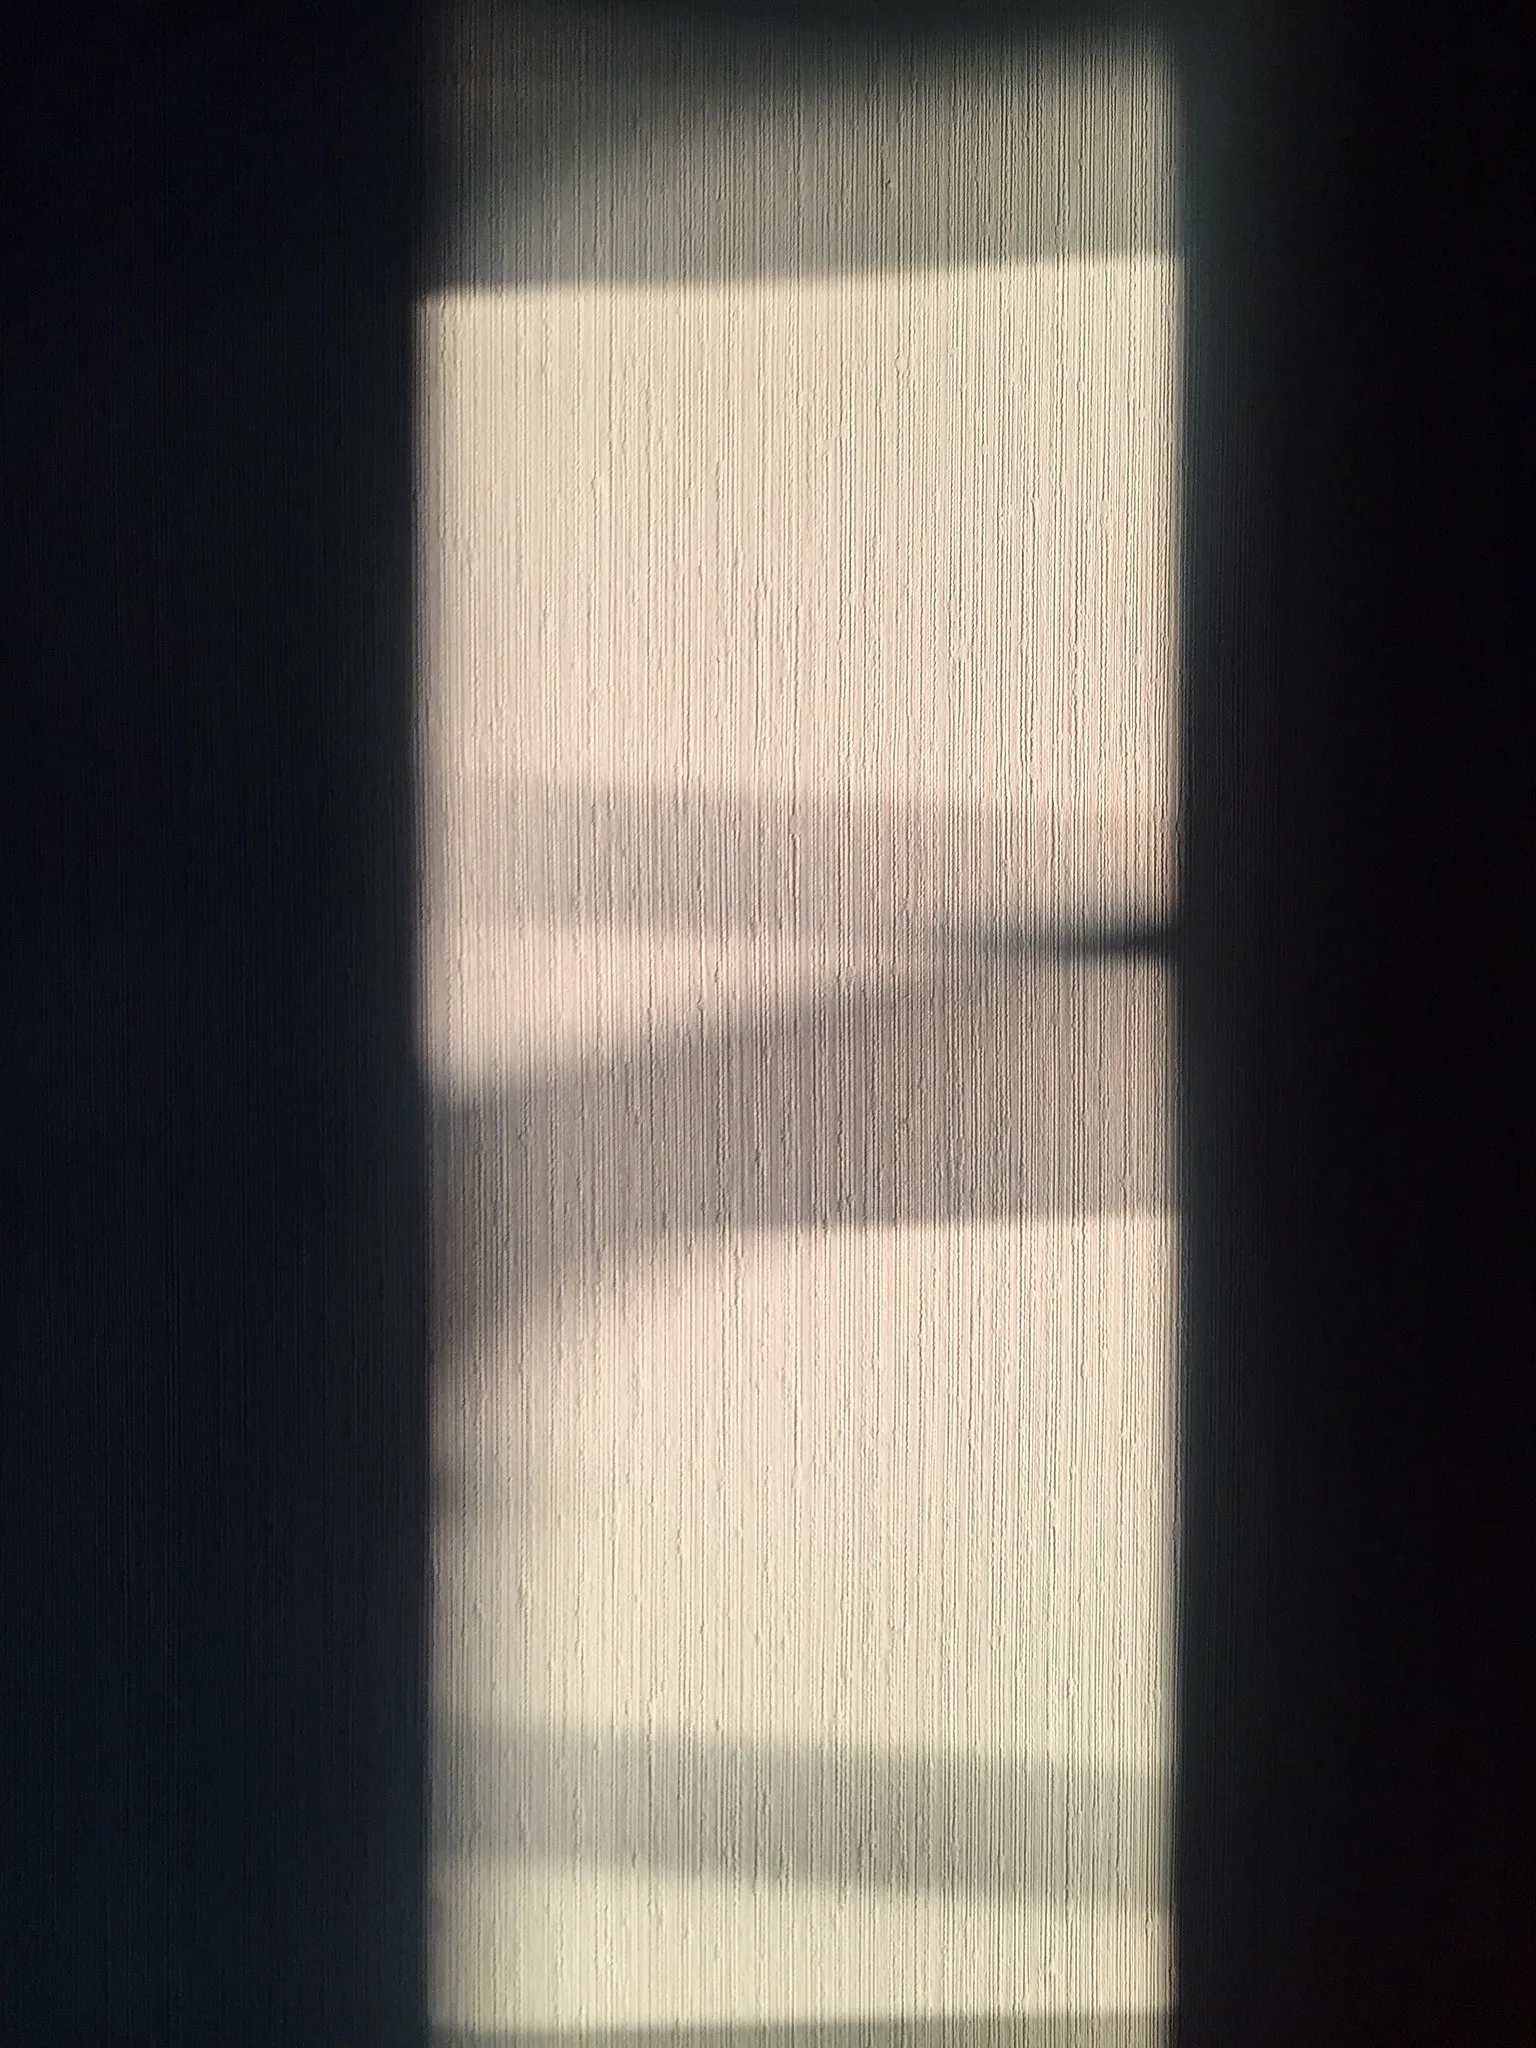
The band of light on the wall above shows the same idea in a single frame. The lit area is several stops brighter than the deep shadow around it, which is what gives the image its graphic, moody feel.
Three ways to control the ratio
You can change the lighting ratio in three main ways. You will often use more than one.
1. Change the fill light’s power
With two flashes, the easiest control is power. Most flashes set power in fractions: full power (1/1), half (1/2), quarter (1/4), eighth (1/8) and so on. Each step down halves the light, which is one stop. So if your key light is at 1/2 power and your fill is at 1/4, the fill is one stop weaker. Drop the fill to 1/8 and it is two stops weaker. Many flashes also offer thirds of a stop between these steps, like 1/4 +0.3, for fine adjustments.
The same idea works with continuous lights that have a brightness dial. Turn the fill down and the ratio rises.
2. Change the fill light’s distance
Light gets weaker quickly as it travels. This is described by the inverse square law: double the distance and the light falls to a quarter, which is two stops. Move it one and a half times further away and you lose about one stop. So moving a fill light or reflector further from your subject raises the ratio, and moving it closer lowers it. This is the easiest control when you only have a reflector.
3. Change the fill source itself
Different reflectors bounce different amounts of light. A silver reflector bounces a lot. A white reflector bounces a moderate amount. A grey or translucent surface bounces less. No reflector at all, in a dark room, gives the highest ratio. You can also use a black card to soak up light on the shadow side and make the ratio even higher. This is called negative fill.
Measuring the ratio with your camera
You do not need special tools to measure a ratio. Your camera’s meter and a little patience are enough.
- Switch to manual mode and set an aperture, shutter speed and ISO that expose the lit side of the face well.
- Turn off the fill light (or remove the reflector) and take a photo. Look at how dark the shadow side is.
- Turn the fill back on. Use spot metering, if your camera has it, to read the lit cheek and then the shadow cheek. The difference in stops is your ratio: 1 stop is 2:1, 2 stops is 4:1, and so on.
- Alternatively, take test shots and compare the two cheeks on the histogram or by eye.
For flash, the camera meter cannot see the flash before it fires, so test shots are the practical method. Take a shot, look, adjust the fill power, and shoot again.
Measuring with a light meter
A handheld incident light meter measures the light falling on the subject, rather than the light reflecting off it. That makes ratio measurement very precise. Hold the meter at the subject’s face, pointing toward the key light, and take a reading with only the key light on. Then point it toward the fill side with only the fill light on, and take a second reading. The difference in stops gives you the ratio.
Many meters can read flash and continuous light, and some show the difference automatically. A meter is not essential for beginners, but it speeds up studio work and makes results easy to repeat. See the guide to the light meter for more.
Worked example: a window light portrait
Imagine your friend sits beside a large window, turned slightly toward it. The window is the key light. The room is fairly dark, so the shadow side of the face is very dark: you measure about a 3 stop difference, roughly 8:1. The photo looks moody, but you want a friendly portrait.
- Hold a white reflector about two meters away on the shadow side, angled to catch window light. Measure again: now about 2 stops, roughly 4:1. Better, but still serious.
- Move the reflector to about one meter. The fill gets much stronger. Now the difference is about 1 stop, 2:1. Soft and friendly.
- If you want a touch more shape, slide the reflector back a little until it looks right.
No extra lights, no maths, just distance. For more on this setup, see window light portraits.
Worked example: a two flash setup
Now imagine a simple studio with two flashes. The key light is in a softbox at 45 degrees to the subject. The fill is in an umbrella near the camera.
- Set the camera to manual: ISO 100, 1/160 second and f/8 is a good studio starting point.
- Turn off the fill. Adjust the key light’s power until the lit side of the face is well exposed. Say this happens at 1/4 power.
- Turn on the fill and set it to 1/8 power, one stop below the key. Take a test shot. This gives roughly 2:1, a soft portrait.
- For more drama, drop the fill to 1/16 power (about 4:1) or 1/32 (about 8:1).
- Keep the key light unchanged while you adjust the fill, so the exposure on the lit side stays the same.
This assumes both lights are at a similar distance from the subject. If the fill is further away, it will be weaker than its power setting suggests, so always judge with a test shot. For more on studio setups, see studio lighting setup.
Worked example: outdoors in the sun
Outdoors, the sun is your key light. On a clear day, the shadow side of a face can easily be 3 or 4 stops darker than the lit side, which looks harsh. You can lower the ratio by:
- Holding a reflector close to the shadow side.
- Adding a little fill flash, set one or two stops below the sunlight.
- Moving into open shade, where light comes from the whole sky and the ratio is naturally lower.
Ratios and soft versus hard light
The lighting ratio tells you how dark the shadows are. The quality of the light tells you how sharp their edges are. They are separate ideas. A big softbox gives soft shadow edges, but the shadow can still be dark if there is no fill. A small bare flash gives hard edges, but with plenty of fill the shadow can still be light.
Think of it this way: the size of the light controls the edge, and the fill controls the depth. For more on edges, see hard vs soft light.
Ratios and lighting patterns
Lighting patterns describe where the shadows fall on the face, such as loop, Rembrandt or split lighting. Ratios describe how dark those shadows are. You can combine any pattern with any ratio. Rembrandt lighting at 2:1 looks gentle and painterly. Rembrandt lighting at 8:1 looks dark and dramatic. See portrait lighting patterns to learn the shapes.
Why ratios matter for consistency
Once you know which ratio you like, you can repeat it. If a client loves the soft look from one session, you can set the same 2:1 ratio next time and get the same result. If you are shooting a series of portraits for a team, keeping the ratio identical makes everyone look like part of the same set.
Writing down your ratio, light positions and power settings after a shoot you love is one of the best habits you can build. Next time, you start where you left off instead of from scratch.
Common mistakes
- Too much fill. Pushing the fill to match the key creates flat, shapeless light. Keep the fill at least one stop below the key for most portraits.
- Changing the key while adjusting fill. Set the key first and leave it alone, then adjust only the fill.
- Forgetting distance. A fill light at the same power but further away is much weaker. Always test.
- Fill casting its own shadows. A strong fill from the side creates a second set of shadows. Place fill near the camera or use a large, soft fill source.
- Judging only on the camera screen. Small bright screens make shadows look lighter. Check the histogram or zoom in.
- Using a high ratio without enough exposure. Very dark shadows can become noisy if you brighten them later. Get the ratio right in the camera.
- Ignoring mood. Pick the ratio for the story, not out of habit.
Try this: a 10-minute ratio test
- Minute 1: Sit a friend, or a mannequin head or even a ball, beside a window or a single lamp.
- Minute 2: Set your camera to manual and expose the lit side well.
- Minute 3: Take a photo with no fill at all.
- Minute 4: Add a white card or reflector about two meters away on the shadow side. Take a photo.
- Minute 5: Move the card to one meter. Take a photo.
- Minute 6: Move it as close as you can without it showing in the frame. Take a photo.
- Minute 7: Swap to a black card in the same spot. Take a photo.
- Minutes 8 to 9: Line up the five photos and compare the shadow side of each.
- Minute 10: Pick your favorite and note the distance. That is your go to ratio.
Frequently asked questions
What is a lighting ratio in photography?
It is the difference in brightness between the lit side and the shadow side of a subject. A 2:1 ratio means the lit side receives twice as much light, a 1 stop difference.
What is the best lighting ratio for portraits?
There is no single best ratio. 2:1 is a soft, flattering starting point. 3:1 to 4:1 adds shape. 8:1 and above is dramatic.
How do I change the lighting ratio?
Change the fill light’s power, its distance from the subject, or the type of reflector. Moving a reflector closer lowers the ratio; moving it away raises it.
Do I need a light meter to set ratios?
No. Test shots, the histogram and your eyes work well. A light meter makes measuring faster and more precise.
How do flash power settings relate to ratios?
Each halving of flash power, such as 1/4 to 1/8, is one stop less light. If both lights are at the same distance, setting the fill one step lower than the key gives roughly 2:1.
Can I use lighting ratios with natural light?
Yes. A window or the sun acts as the key, and a reflector, a wall or open shade provides the fill.
Want to know why moving a light a little changes its brightness so much? Read the guide to the inverse square law.
Ready to place your main light for different face shapes? Learn the portrait lighting patterns.
Looking for the cheapest way to fill shadows? Start with a reflector.