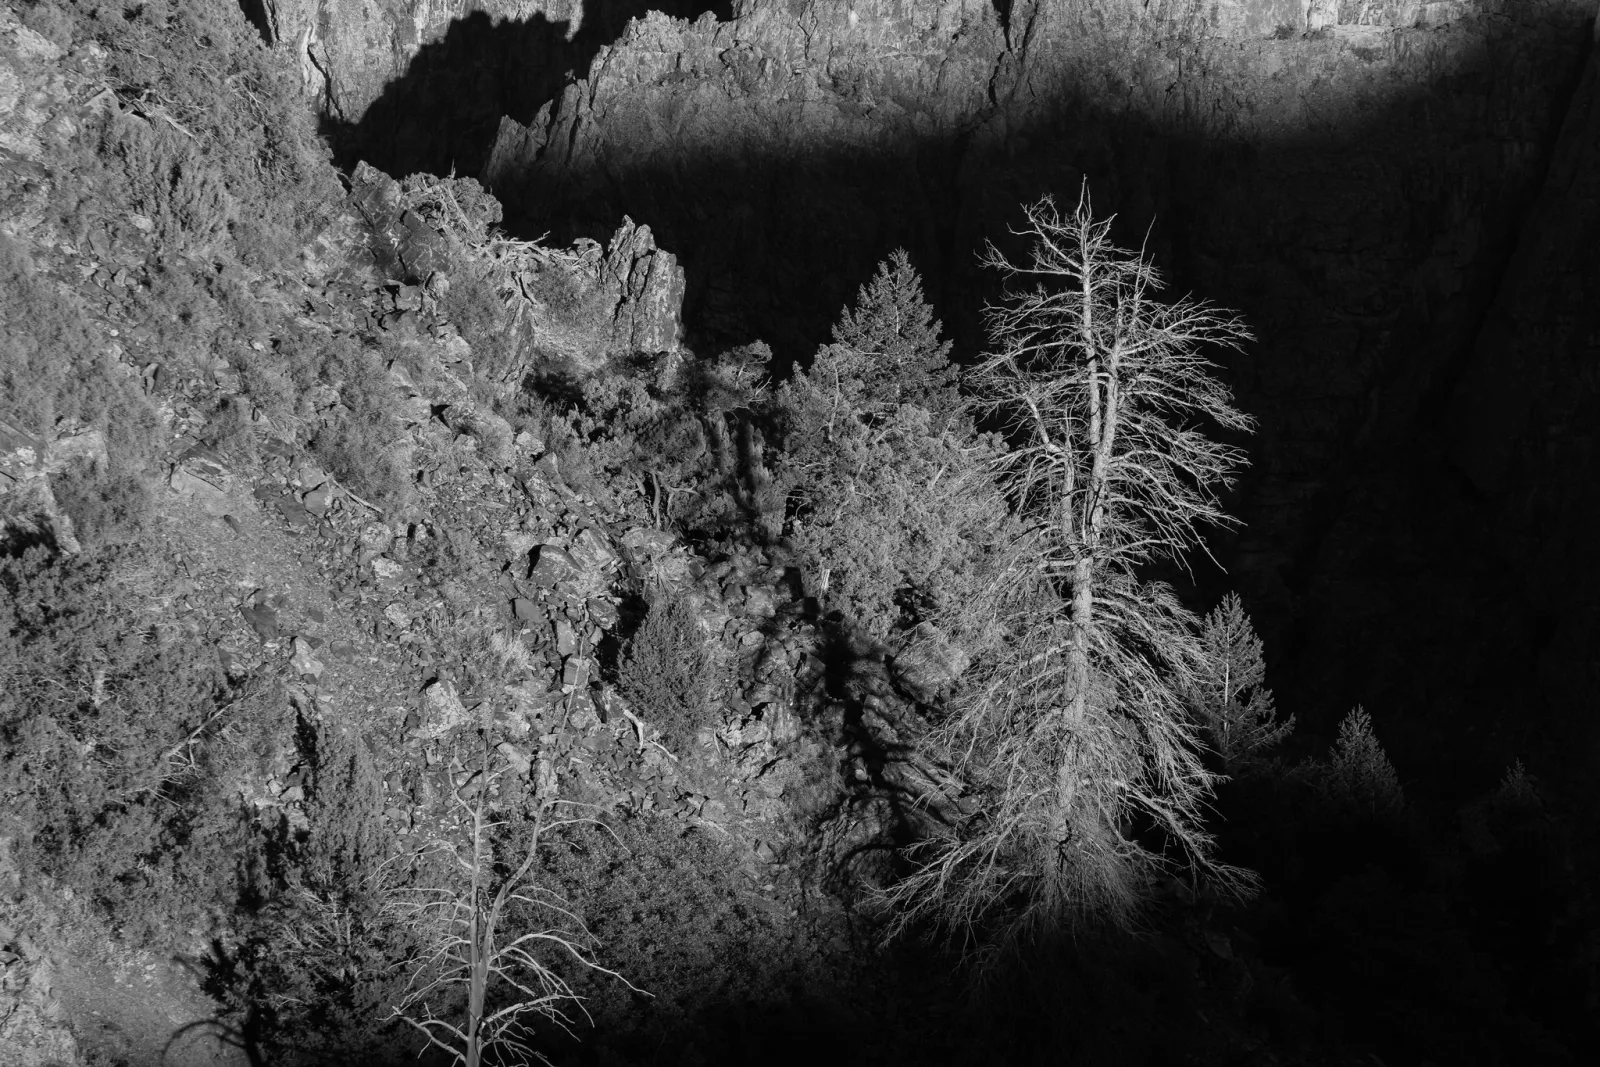
Fixing dark shadows in Photoshop means brightening only the darkest parts of a photo, a face under a hat, a backlit subject, a shaded foreground, while leaving the midtones and highlights where they are. You do it with three tools: the Shadows/Highlights command, a Curves adjustment layer limited to the dark tones, or the Shadows slider in the Camera Raw Filter.
It matters because a camera records far less of a contrasty scene than your eye saw. Expose for the bright sky and the shadows go dark; expose for the shadows and the sky turns white. Lifting shadows afterwards is how you get back what you saw, but lift too far and the picture turns grainy, gray and flat. This page shows each method step by step, what each slider does, and how to tell when to stop.
First, find out what is in the shadows
Before you touch a slider, check whether there is anything there to bring back. Open the Histogram panel (Window, then Histogram). If the graph is piled against the left wall, some pixels are pure black, and no tool can find detail in them: they will turn into flat gray patches when you lift them. If the graph stops just short of the left edge, the detail is there, only dark. The histogram page explains the graph, and clipping explains why a black that has clipped stays empty.
For a pixel by pixel check, open the Info panel (Window, then Info) and hover over the darkest area you care about. Values of 10 to 40 in RGB are dark but usually hold texture. Values at or very near 0 are clipped.
The second question is what kind of file you have. A raw file keeps more shadow information than the JPEG the camera makes from it, and it stores tones at 12 or 14 bits instead of 8. Lifting the shadows of a JPEG two stops often shows blocky steps of tone, called banding, and color blotches; the same lift on a raw file usually holds together. If you have the raw, open it in Camera Raw and do the lift there. The raw vs JPEG comparison covers why, and bit depth explains the numbers and the banding.
Not sure why the camera made the shadows so dark in the first place? Dynamic range explained shows how much of a scene a sensor can hold at once.
What lifting a shadow by one stop means in numbers
Editors talk in stops: one stop brighter means twice as much light. Pixel values in an ordinary 8-bit photo are not linear, so one stop does not mean doubling the number. The table converts typical shadow values (sRGB, 0 is black, 255 is white) to what they become when brightened by one, two and three stops. Middle gray sits at about 118.
| Shadow value now | Stops below middle gray | +1 stop | +2 stops | +3 stops |
|---|---|---|---|---|
| 10 | 5.9 | 18 | 29 | 43 |
| 20 | 4.7 | 31 | 47 | 67 |
| 30 | 3.8 | 45 | 64 | 91 |
| 40 | 3.1 | 58 | 82 | 114 |
| 60 | 2.0 | 85 | 118 | 162 |
Two things follow from it. A one stop lift is a modest move in numbers (30 to 45), which is why a small Curves bend does so much. And a shadow at 30 lifted three stops lands at 91, close to a midtone. That is the point where a photo starts to look flat: the shadows have caught up with the middle of the picture, and the difference between them, which is what made the light look like light, is gone.
To see this happen to a real scene, the tool below lets you change the exposure of a high contrast frame, see which end clips, and lift the shadows afterwards to watch noise rise as they brighten.
Method 1: Shadows/Highlights on a Smart Object
Shadows/Highlights is the quickest fix and the one most people reach for. It looks at each pixel’s neighborhood, decides which areas are dark, and brightens those areas more than the rest. It is not available as an adjustment layer, so make it editable this way:
- In the Layers panel, right-click the photo layer and choose Convert to Smart Object (or choose Filter, then Convert for Smart Filters).
- Choose Image, then Adjustments, then Shadows/Highlights. On a Smart Object it is applied as a Smart Filter, so you can double-click it later to change the settings, and it comes with its own mask.
- Tick Show More Options. The short version of the dialog hides the two sliders that matter most.
- Set the Highlights Amount to 0 if you only want to fix shadows.
- Work the three Shadows sliders as described below, watching the darkest area you care about and the edges where dark meets light.
Amount, Tone and Radius
- Amount is how much the shadows are brightened. The default is 35 percent. Most photos need 15 to 50; beyond that, check the result at 100 percent zoom for noise.
- Tone (called Tonal Width in older versions) sets how far up the tonal scale counts as shadow. Low values touch only the darkest tones; the default of 50 percent reaches into the darker midtones; above that the whole lower half of the picture brightens and the photo flattens. For a deep shadow next to a bright area, start low, around 20 to 35.
- Radius sets the size of the neighborhood Photoshop looks at to decide whether a pixel sits in a shadow area. Too small and it treats every dark detail as its own shadow, so fine textures go gray and mushy. Too large and it brightens whole regions evenly, more like a simple brightness change. Somewhere in between gives the bright glowing outline called a halo where a dark object meets a bright one. Sweep the slider slowly from low to high while watching an edge; settle where the halo is smallest.
Under Adjustments in the expanded dialog, Color adds back the saturation that lifted shadows lose (raise it a little if the shadows look gray and washed out, lower it if they turn garish), and Midtone adds contrast to the middle tones to fight the flat look. Leave Black Clip and White Clip at their small defaults.
Because it is a Smart Filter, you can paint black on its filter mask to keep the effect off areas that should stay dark, such as a night sky or a black dress.
New to Smart Objects, filter masks and adjustment layers? Layers and masks in Photoshop explains how they stack and why they keep an edit reversible.
Method 2: a Curves adjustment layer limited to the dark tones
Curves gives you the most control, and it is fully non-destructive. The idea is simple: raise the lower part of the curve, pin the middle so the rest of the picture does not move, then limit the layer to where it is needed.
- Choose Layer, then New Adjustment Layer, then Curves.
- In the Properties panel, click the hand icon (the targeted adjustment tool) and press on the darkest area you want to open up, then drag upward. Photoshop places a point at exactly that tone and raises it.
- Click on the curve around three quarters of the way up and drag that point back onto the diagonal. This anchor stops the bright tones from moving.
- Leave the bottom left point where it is. If the curve leaves the corner raised, the blacks turn gray; pulling the corner point right a little restores a true black if you need it.
- Set the Curves layer’s blend mode to Luminosity (at the top of the Layers panel). A curve raised in RGB also raises saturation in the shadows; in Luminosity mode it changes only brightness, so skin and foliage keep their color.
Now limit the layer to the dark tones. Three ways, from quickest to most precise:
- Blend If. Double-click the Curves layer (to the right of its name) to open Layer Style. Under Blend If, drag the white slider of Underlying Layer to the left, then hold Alt (Option on a Mac) and drag one half of that slider apart from the other to make a soft transition, for example 60 and 140. The curve now applies fully below 60, fades out by 140, and leaves brighter tones untouched.
- A luminosity mask. In the Channels panel, Ctrl-click (Cmd-click on a Mac) the RGB thumbnail to load the brightness of the image as a selection, invert it with Shift+Ctrl+I (Shift+Cmd+I), then add the Curves layer while the selection is active, and the selection becomes its mask. The darker a pixel, the more of the lift it gets. Luminosity masks covers darker and narrower versions of this selection.
- A painted mask. Fill the layer mask with black (Ctrl+I or Cmd+I inverts a white mask), then paint white with a soft brush at 20 to 30 percent opacity over the shadows you want to open. This is the right choice for one subject, such as a face under a cap, rather than every shadow in the frame.
Select, then Color Range, set to Shadows, is a fourth route: it makes a selection of the dark tones with Fuzziness and Range sliders to widen or narrow it. Make the selection first, then add the Curves layer and it becomes the mask.
Want the full picture of what a curve does to every tone, not just the shadows? Curves and Levels explains reading and shaping the curve.
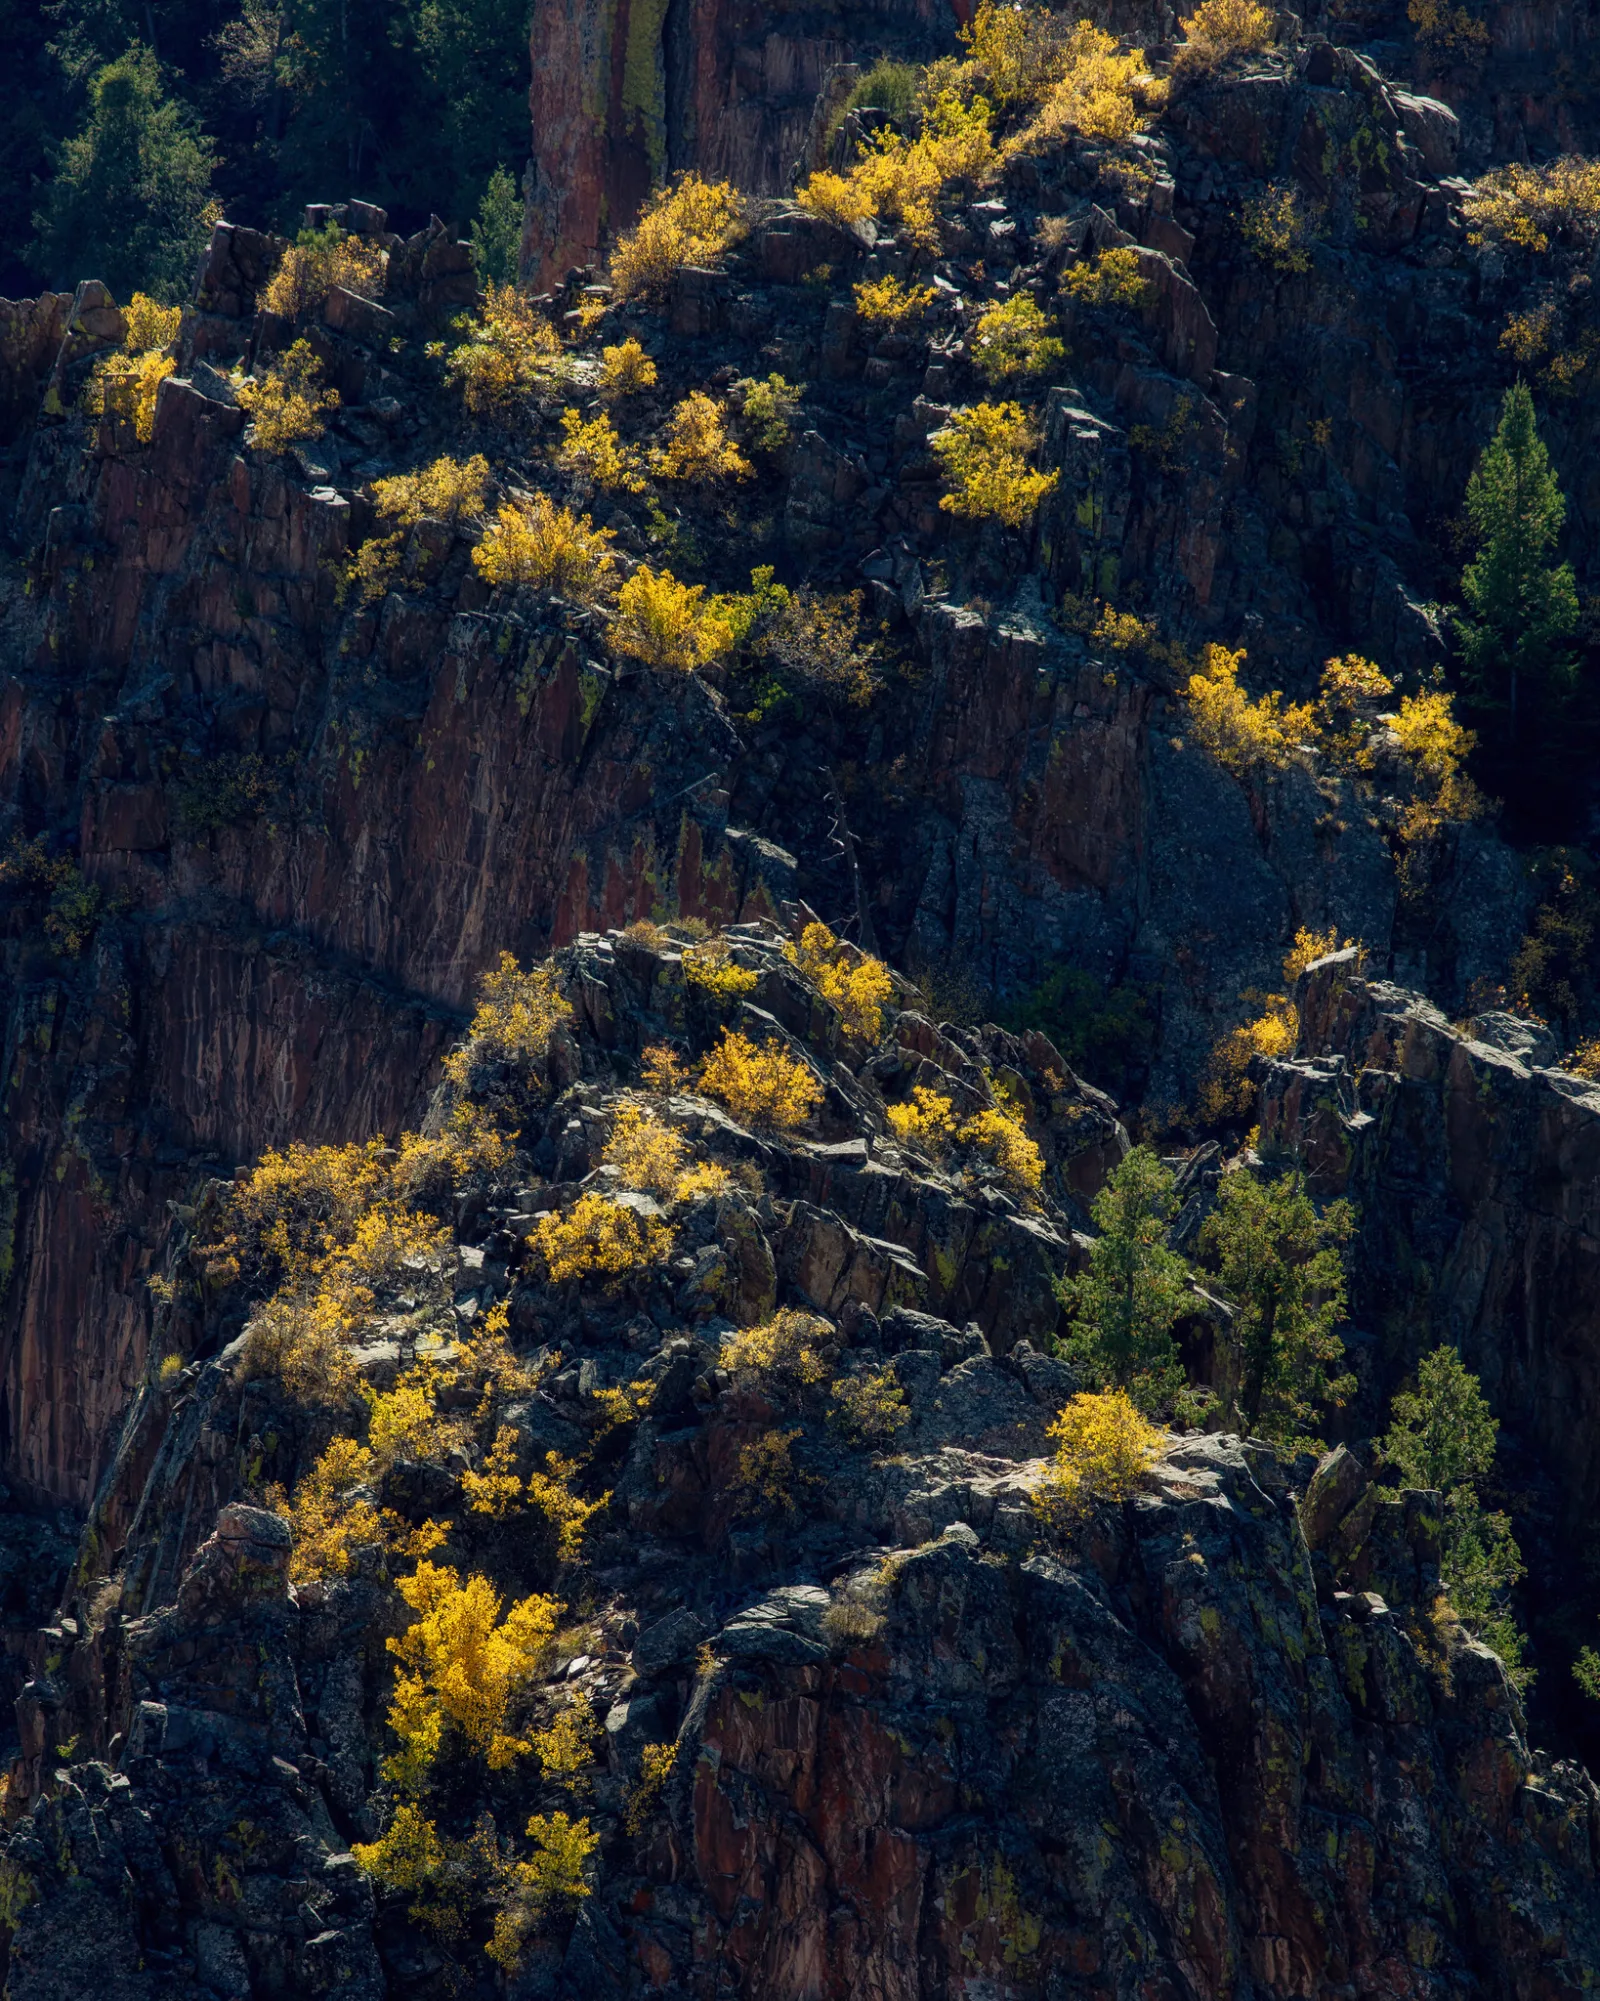
The canyon wall above is the kind of shadow that rewards restraint. The rock in shade is dark, but its cracks and red color are still there. A small lift masked to the rock, with Blend If keeping it off the yellow shrubs, would open the texture a little. Lift it to match the sunlit shrubs and the shrubs would lose the glow that makes the picture.
Method 3: the Shadows slider in the Camera Raw Filter
If the whole frame’s shadows need opening, the Shadows slider in Camera Raw is often the cleanest single move. It is tuned to lift shadows while protecting midtones, and in a raw file it works on the full sensor data.
- If you shot raw, open the file straight into Camera Raw and do this there, before Photoshop. Otherwise, convert the layer to a Smart Object first.
- Choose Filter, then Camera Raw Filter (Shift+Ctrl+A, or Shift+Cmd+A).
- In the Basic panel, raise Shadows. Somewhere around +30 to +60 is common for a backlit scene; past +70, look hard at noise.
- Lower Blacks a little (about -5 to -20) to give the picture back its deepest tones. This one pair of moves, Shadows up and Blacks down, opens the shadows and keeps the photo from looking washed out.
- If only part of the frame needs it, use a mask in Camera Raw (a brush, a subject mask or a luminance range mask) and raise Shadows or Exposure inside that mask only.
Opening a raw file in Camera Raw from Photoshop and sending it back as a Smart Object keeps every setting editable; Camera Raw and Bridge walks through that handoff.
Which method for which shadow
| The problem | Start with | Why |
|---|---|---|
| Whole scene too contrasty, shadows dark everywhere (raw file) | Camera Raw Shadows up, Blacks down | Works on the full raw data; one move, protects midtones |
| Whole scene, JPEG or already processed | Shadows/Highlights as a Smart Filter | Fast, adapts to each area, editable later |
| One backlit subject, such as a face against a bright window | Curves layer with a painted mask | Brightens the subject only; background stays as it is |
| Every dark tone, but a gentle lift | Curves layer in Luminosity mode with Blend If | Smooth falloff by brightness; no color shift |
| A small pocket of shadow, such as eye sockets | Dodging on a separate layer | Hand control over a tiny area |
Only a few small areas need lifting, and you want to shape the light by hand? Dodging and burning covers painting light into a photo, in Photoshop and Lightroom.
Why lifted shadows turn grainy, and how to limit it
The shadows are where a sensor recorded the least light, so they hold the least signal and the most noise relative to it. Lifting them does not add information; it brightens the signal and the noise together. A two stop lift makes both four times brighter in linear terms, and noise that was hidden in near black becomes speckle you can see.
To keep it under control:
- Lift from the raw file, not the JPEG, and lift once. Two tools stacked on the same shadows (Shadows/Highlights on top of a Camera Raw lift) add up quickly.
- Zoom to 100 percent on the darkest area you lifted before you call it done. Noise is invisible in a full screen view and obvious in a print.
- Apply noise reduction to the lifted areas only, with a mask, so the rest of the photo keeps its fine detail. In Camera Raw the Noise Reduction slider sits in the Detail panel; noise reduction explains how far to take it before skin turns plastic.
- Accept a little grain. A lifted shadow with fine, even grain looks like a photograph; one smeared smooth looks like paint.
Next time, you can give yourself cleaner shadows at the camera: expose as bright as you can without clipping the highlights you care about. That is expose to the right, and it moves the shadows up the sensor’s range where noise matters less.
When to stop: the flat, fake HDR look
Shadows that are too dark are easy to notice. Shadows lifted too far are harder to see while you are editing, because your eye adjusts to the picture as you go. Look for these signs:
- Nothing is black any more. The histogram no longer reaches the left side. Restore a true black with the Blacks slider or the bottom point of a curve.
- Shadows and midtones are the same brightness. A shaded face is as bright as the sunlit wall behind it. Light no longer looks like it comes from somewhere.
- Halos. A pale glow around a dark subject against a bright sky, from Shadows/Highlights at the wrong Radius or a hard-edged mask.
- Gray, muddy color in the lifted areas, or the opposite, over-saturated shadows from a Curves layer left in Normal mode.
A practical check: turn the adjustment off and on (click the eye icon of the layer or Smart Filter). If the lifted version looks better for a second and then looks wrong, back it off by a third. Then leave the photo and look again later with fresh eyes. Most good shadow fixes look as if the scene simply had a little more light in it.
Some shadows should stay dark. In the opening photo the canyon wall is close to black, and that is what makes the sunlit trees stand out; lifting it would give you detail nobody needs and lose the picture. Light and shadow is about using darkness on purpose.
Is the gap between bright and dark too big for any amount of shadow lifting? HDR photography explains merging several exposures, and bracketing how to shoot them.
Common mistakes when fixing dark shadows
- Using Brightness or Exposure for the whole photo. It brightens the highlights too, and they clip. Fix the shadows on their own.
- Running Shadows/Highlights on the original layer. It cannot be changed later. Convert to a Smart Object first.
- Leaving the Tone slider high. A high Tone value pulls the midtones up with the shadows, and the whole photo goes flat. Bring Tone down before raising Amount further.
- Lifting clipped black. Pure black has no detail; lifting it makes a gray patch. Check the histogram and Info panel first, and leave those areas dark.
- Fixing in post what was cheaper to fix with light. For people in hard sun or against a bright window, a reflector or fill flash puts real light into the shadows, with no noise.
- Editing on a monitor set too bright. Shadows look open on screen and print almost black. Edit at a moderate screen brightness and check the darkest values in the Info panel.
Try this: one photo, three ways, ten minutes
Pick a photo with a clear shadow problem: a person backlit by a window, or a landscape with a shaded foreground and a bright sky. A raw file is best.
- Duplicate the document twice (Image, then Duplicate) so you have three copies.
- On the first, use Shadows/Highlights on a Smart Object. Highlights Amount at 0, Shadows Amount 35, then adjust Tone and Radius until the shadow area looks open with no halo.
- On the second, add a Curves layer, lift the shadow point, anchor the upper curve, set the layer to Luminosity and limit it with Blend If.
- On the third, use the Camera Raw Filter: Shadows up, Blacks down a little.
- Put the three windows side by side (Window, then Arrange) and zoom all three to 100 percent on the darkest area you lifted.
Judge each one on four questions. Is there still a true black somewhere? Is the edge where dark meets bright free of a glow? Is the noise in the lifted area acceptable at 100 percent? Does the light still look like it comes from one direction? The version that answers yes to all four is your method for this kind of photo. Often it is not the one that shows the most shadow detail.
Want to test what you know about shadow detail, highlight recovery and HDR? Try the dynamic range quiz.
Fixing dark shadows: questions people ask
Why is Shadows/Highlights grayed out or not an adjustment layer?
Shadows/Highlights needs the actual pixels of a layer, so it is only offered as an image adjustment, never as an adjustment layer. It is grayed out when an adjustment layer is selected. Convert the photo layer to a Smart Object and it works as an editable Smart Filter instead.
Can I fix shadows that are completely black?
No. Pixels at 0 hold no detail, so brightening them gives flat gray. If a little of the area is above about 5, a careful lift can show something, but with heavy noise. For future shots, expose brighter, use fill light, or bracket.
Should I fix shadows in Lightroom or Photoshop?
For a raw file, the Shadows slider and masks in Lightroom or Camera Raw do the same job as Camera Raw inside Photoshop, on the same data. Photoshop adds Shadows/Highlights, Curves with Blend If and painted masks, which help when one subject needs a lift and its surroundings must not move. Lightroom masking covers the Lightroom side.
Why do my shadows turn gray and lose color when I lift them?
Lifting brightness without adding saturation makes dark colors look washed out. In Shadows/Highlights, raise the Color slider a little. With Curves, the opposite tends to happen in Normal mode (more saturation), which is why Luminosity mode plus a touch of Vibrance is a cleaner pair.
How do I fix shadows on a face without changing the background?
Use a Curves layer with a black mask and paint white over the face with a soft brush at low opacity, building it up in a few strokes. Keep the eyes and the side of the face away from the light a little darker than the lit side, so the face keeps its shape.