A luminosity mask is a mask made from the brightness of the photograph itself: each pixel is selected in proportion to how light (or how dark) it is. Because the mask is a greyscale copy of the picture, it follows every edge and gradient exactly, so an adjustment applied through it fades in and out with no visible boundary. You build one from the image’s channels in a layer editor, or with a luminance range slider in a raw editor.
The basic keystrokes are in layers and masks in Photoshop, and the range sliders inside one raw editor are covered in Lightroom masking and selective adjustments. This guide explains the idea underneath both: how the family of lights, darks and midtones masks is calculated, how to make and refine them in any editor, and how to use them on skies, shadows, bracketed exposures and colour without leaving halos or flat, grey results.
What a luminosity mask selects, and why it feathers itself
A layer mask is a greyscale image: white shows the layer, black hides it, grey shows it partially. A hand-painted mask has an edge wherever you put one. A luminosity mask has no edge of its own. It is the photograph, converted to greyscale and used as the mask.
That has two consequences. First, selection is proportional. A pixel at 80% brightness is 80% selected by a basic lights mask, a pixel at 30% is 30% selected, and black is not selected at all. An adjustment applied through the mask is strong in the brightest tones and tapers smoothly through everything darker. Second, the mask already contains every boundary in the scene at full resolution. Where a dark branch crosses a bright sky, the mask is white right up to the branch and dark on it, pixel for pixel. No brush or gradient can match that.
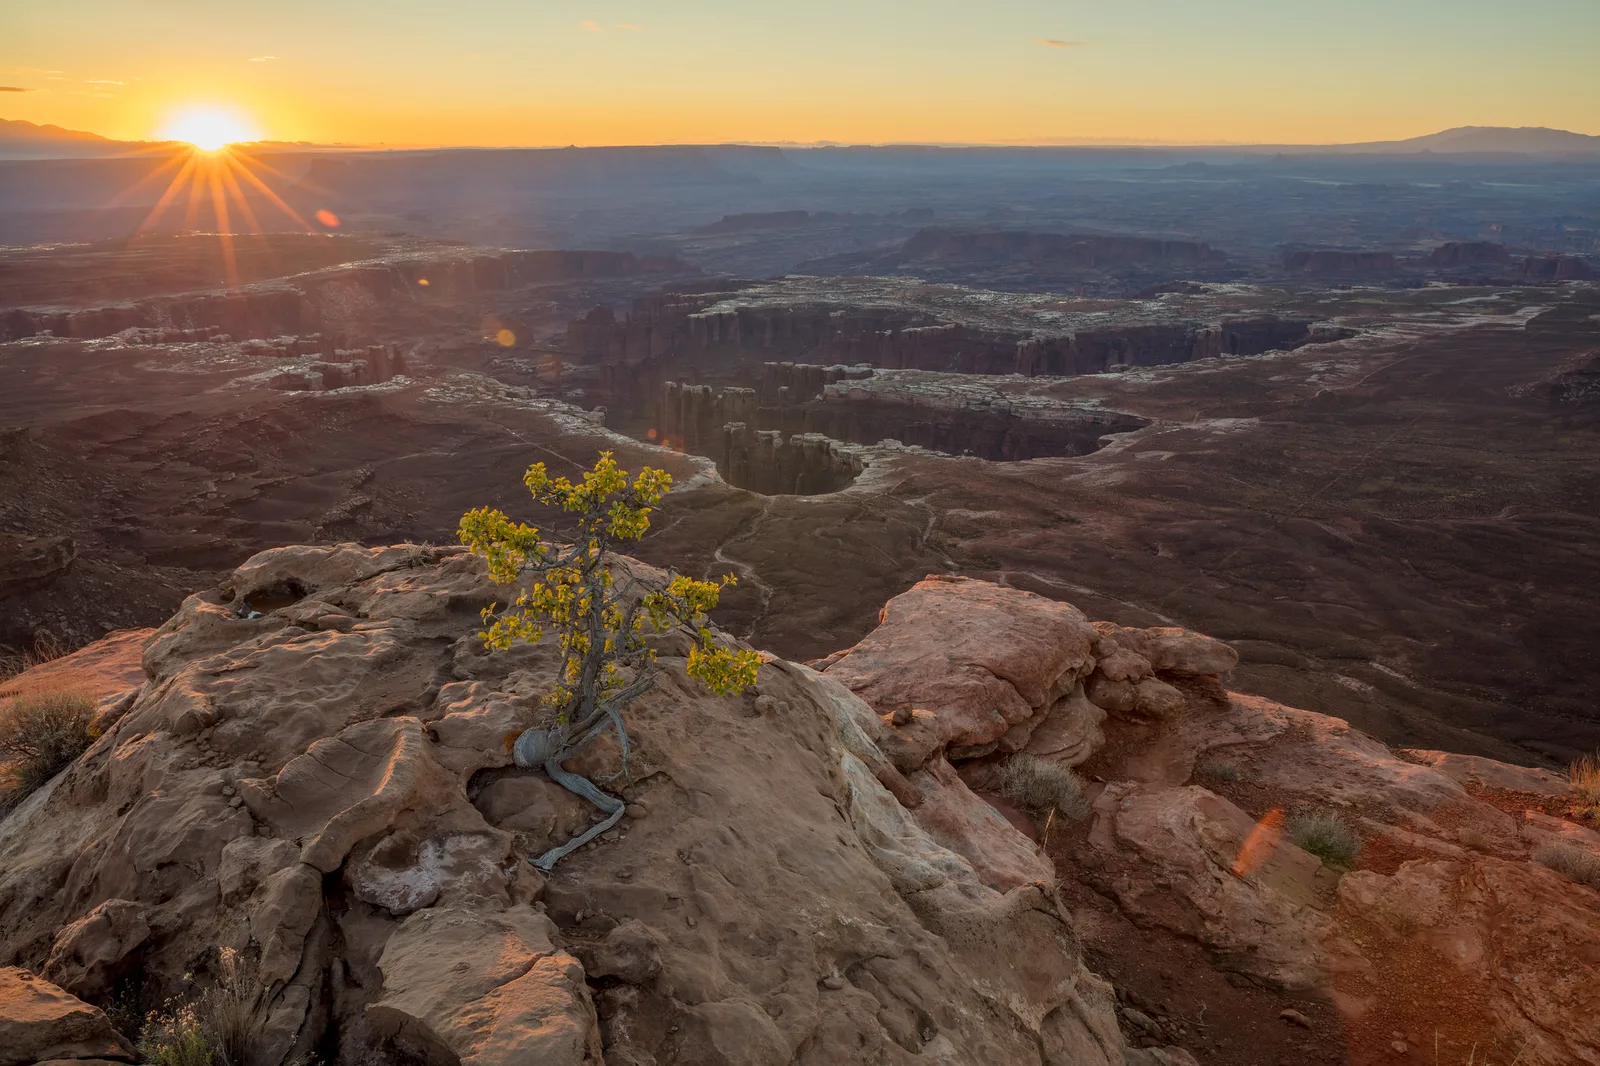
This is why the technique matters most in scenes with a wide dynamic range and complicated boundaries: trees against a sunset, a skyline at dusk, sunlit peaks above a shaded valley.
One limit follows from the same logic. A luminosity mask knows nothing about objects. A white boat, a patch of snow and a bright cloud all have the same brightness and all land in the same mask. When that is a problem, you combine the luminosity mask with a rough painted one, as described below.
Lights, darks and midtones: the family of masks
Think of brightness as a number from 0 (black) to 1 (white), and call it L. The whole family comes from three operations on that number.
- Lights. The basic lights mask is L itself: the greyscale image.
- Darks. The basic darks mask is the inverse, 1 − L. Black becomes white, white becomes black.
- Narrower versions. Intersecting a mask with itself multiplies it by itself. Lights 2 is L × L, Lights 3 is L × L × L, and so on. Each step pushes the midtones toward black and leaves only brighter and brighter tones selected. Darks 2 and Darks 3 do the same from the other end.
- Midtones. Start with everything selected, then subtract a lights mask and a darks mask. What is left is strongest in the middle and fades toward both ends.
Worked numbers show how quickly the masks narrow. The table gives how strongly each mask selects a pixel of a given brightness.
| Pixel brightness | Lights 1 | Lights 2 | Lights 3 | Darks 1 | Darks 2 |
|---|---|---|---|---|---|
| 90% (bright cloud) | 90% | 81% | 73% | 10% | 1% |
| 70% (light sky) | 70% | 49% | 34% | 30% | 9% |
| 50% (mid grey) | 50% | 25% | 13% | 50% | 25% |
| 30% (shaded rock) | 30% | 9% | 3% | 70% | 49% |
| 10% (deep shadow) | 10% | 1% | 0.1% | 90% | 81% |
Read across the mid grey row: a basic lights mask still applies half of any adjustment to the midtones, while Lights 3 applies about an eighth and touches little but the brightest highlights.
Midtone masks are weaker than they sound. Subtracting Lights 1 and Darks 1 from a full selection leaves at most 25% selection, at mid grey, so the editor may warn that no pixels are more than 50% selected and show no selection outline. The selection is still there and still works. Subtracting the narrower Lights 2 and Darks 2 instead leaves a wider, stronger midtones mask, which is usually the more useful one.
Building a mask from channels in a layer editor
Every method does the same thing: copy the image’s brightness into a mask. Menus and shortcuts move between versions and differ between programs, so learn the steps by what they do.
Loading the composite channel as a selection
In Photoshop, the Channels panel lists the composite channel (RGB) above the red, green and blue channels. Loading the composite channel as a selection gives you Lights 1. Inverting the selection gives Darks 1. Intersecting the selection with the same channel again gives Lights 2. With a selection active, adding an adjustment layer turns the selection into that layer’s mask. The step-by-step version is in using channels to create layer masks.
Saving the family as channels
Selections vanish when you deselect. Save each one as an extra (alpha) channel and name it: Lights 1, Lights 2, Darks 1, and so on. Saved channels can be viewed full screen as greyscale pictures, which is the best way to choose between them, and reloaded as selections at any time.
Pasting a greyscale copy straight into a mask
Any editor that lets you put image content into a layer mask can make a luminosity mask, including the free ones. In GIMP, the Add Layer Mask dialog offers a greyscale copy of the layer as the starting content, with an option to invert it. That is Lights 1 or Darks 1 in one step. In Photoshop the Apply Image command does the same job on a selected mask. From there, you narrow the mask with Levels or Curves instead of intersecting selections.
Shaping the mask with Levels or Curves
A mask is an image, so tonal tools work on it. Select the mask and open Levels. Moving the black point to the right removes the darker tones from a lights mask, exactly like stepping from Lights 1 to Lights 3 but continuously adjustable. Moving the white point to the left makes the selected tones fully selected instead of partially. Keep some slope between the two points: push them together and the mask turns into a hard-edged black and white shape, and the self-feathering that made it worth using is gone. Curves and levels explains the controls.
Using one colour channel instead of the composite is a useful variation. A blue sky is brightest in the blue channel and darkest in the red, so a mask built from the red channel separates blue sky from white cloud and from pale buildings far better than overall brightness does.
Luminance range masks in raw editors
Raw editors reach the same result with sliders. The control is usually called a luminance range or luma range, and it appears either as a mask type of its own or as a way to refine a brush, gradient or automatic sky mask.
Two settings define it. The range sets the darkest and lightest tones included. The falloff (sometimes smoothness or feather) sets how gradually the mask fades outside that range. A range of 70 to 100 with a wide falloff is close to a Lights 2 mask. A range of 0 to 25 with a narrow falloff is a tight shadows mask.
- Turn on the mask overlay and drag the range ends while watching the picture. Stop when the overlay covers the tones you mean and nothing else.
- Keep the falloff generous. A narrow falloff gives a hard mask edge in smooth gradients such as a clear sky, and the adjustment shows as a band.
- Combine range with location. A linear gradient over the sky, restricted by luminance range to the bright tones, darkens the sky and skips the dark trees and buildings that poke into it. That is the most useful single application in a raw editor.
A raw editor’s range mask has one advantage over a channel-based mask: it is recalculated whenever you change the image, so it never goes stale. Its disadvantage is that you cannot paint on it tone by tone or shape it with a curve.
Controlling a bright sky without halos
A halo is a light or dark fringe along a boundary, and it comes from a mask that is softer than the edge it crosses. Paint a sky darker with a soft brush and the brush spills onto the treetops, or stops short and leaves a bright rim above them. A luminosity mask has no softness to spill.
- View the saved lights masks as greyscale images and pick the one where the sky is light grey to white and the land is close to black. For a bright sky over dark land that is often Lights 2 or 3.
- Load it and add a Curves adjustment layer. Pull the upper part of the curve down to darken the sky. Leave the lower third of the curve on the diagonal.
- Look at the land. Bright foreground objects (water, pale rock, snow) are in the mask too. Put the adjustment layer in a group, add a mask to the group, and paint the foreground out with a large soft brush. The group mask handles location, the luminosity mask handles the edge.
- Zoom to 100% along the horizon and around fine branches. The edge should look untouched.
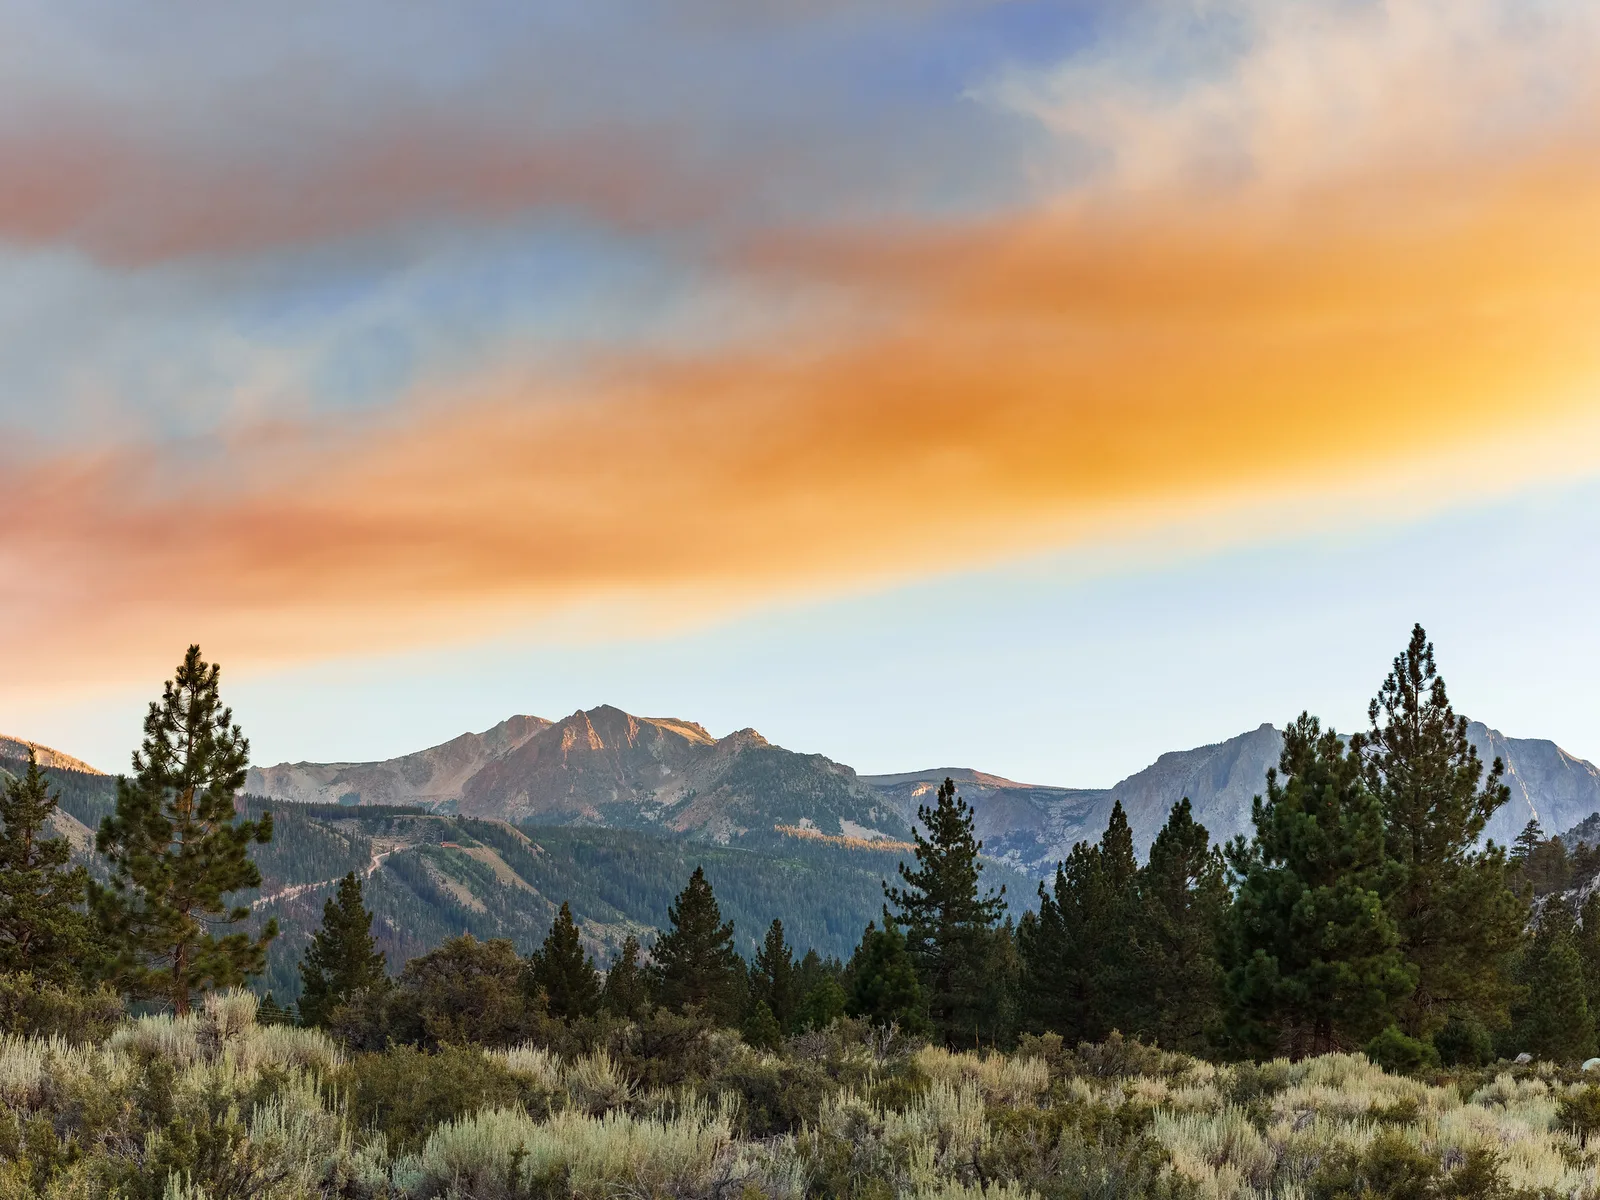
Darkening through a lights mask has a side effect worth understanding. The brightest pixels are darkened most and the less bright ones least, so the tones inside the sky are pushed closer together. That is tonal compression, and too much of it turns clouds flat and grey. Two fixes: darken less than you think you need, and give the curve an S-shape inside the masked range so the clouds keep their internal contrast.
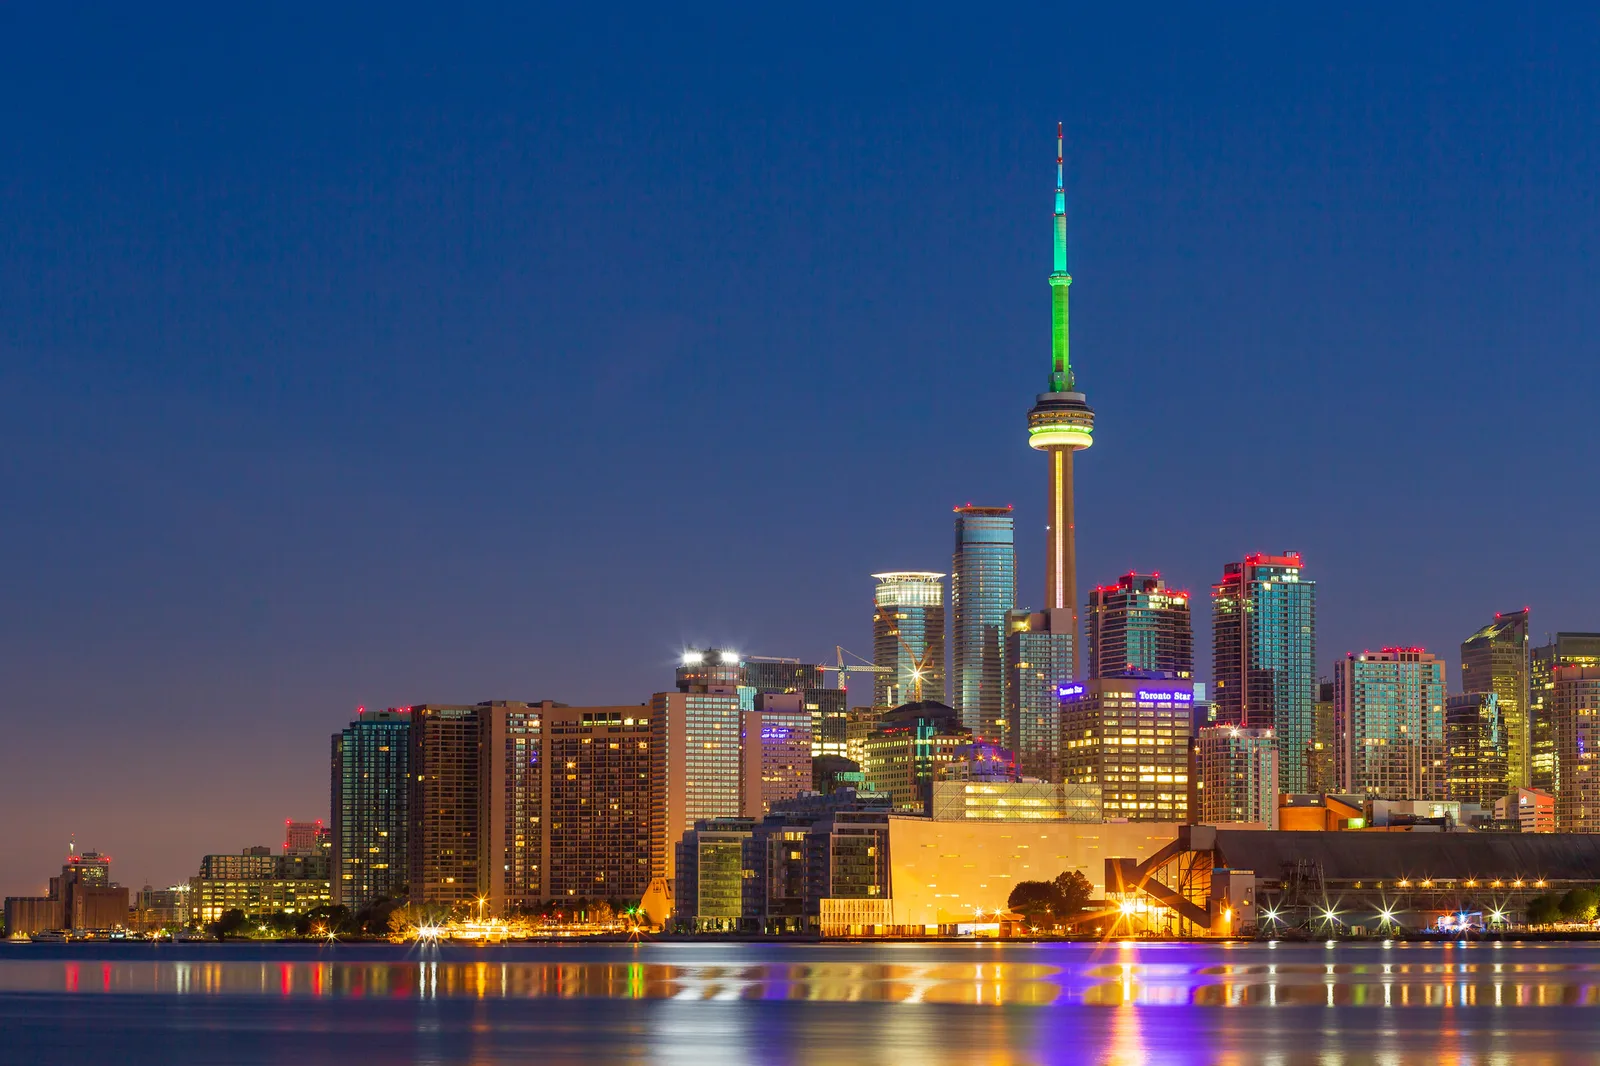
City scenes at dusk reverse the usual pattern. Once the sky has dimmed, the brightest tones are windows, signs and street lamps. A narrow lights mask selects only those, which lets you pull back glaring lights or reduce their saturation without dimming the sky. The shooting side is covered in blue hour photography.
Opening shadows without flattening them
A global shadows slider lifts every dark tone toward the middle. The picture gains detail and loses depth, because the darkest tones rise the most and catch up with the tones just above them. A darks mask lets you be more selective about which shadows move and how.
- Choose a narrow mask. Darks 2 or 3 leaves the midtones alone, so the lifted shadows still sit below them.
- Lift with a curve that keeps a black point. Raise the lower quarter of the curve, but leave the very bottom anchored at black. A picture with no true black anywhere looks hazy.
- Add contrast inside the lift. A second Curves layer through the same mask, with a slight S-shape, restores the separation between dark and darker.
- Watch the noise. Shadows hold the most noise, and lifting them reveals it. The same darks mask can restrict noise reduction to the tones that need it, leaving fine detail in the lights untouched.
For sculpting individual areas by hand after the tonal balance is set, see dodging and burning: a brush painting through an active lights or darks selection is confined to those tones automatically.
Blending bracketed exposures with a luminosity mask
When one exposure cannot hold both the sky and the land, a luminosity mask chooses, tone by tone, which frame to show. Exposure blending covers shooting the set and blending by hand with a brush. The luminosity version of the two-frame blend goes like this.
- Stack the two aligned frames with the darker one (exposed for the sky) on top of the brighter one (exposed for the land).
- Make a lights mask from whichever frame separates sky and land best. The darker frame usually has the land close to black, which gives the cleanest split. Brighten the mask with Levels until the sky is close to white.
- Apply the mask to the top layer. The dark frame now appears only in the bright tones.
- Adjust the mask with Levels until the join disappears. If the blend looks grey and flat where the frames meet, the mask is too broad: move its black point to the right.
- Paint out any foreground highlights on the mask with a soft black brush.
Frames two stops apart blend more easily than frames four stops apart, because the brightness jump at the mask boundary is smaller. If the scene needs a wider spread, add a middle exposure and blend in two steps. Bracketing explains how to shoot the set, and HDR photography covers the automatic merge, which is quicker and good enough for many scenes.
Colour and saturation by tone
Any adjustment can go through a luminosity mask, not just brightness. Colour work is where the midtones mask earns its place.
- Saturation in the midtones only. Colour looks richest in the middle of the tonal range. Saturation added through a midtones mask strengthens foliage, rock and sky while leaving near-white highlights and near-black shadows clean, which is where oversaturation first looks artificial.
- Warm highlights, cool shadows. A warming adjustment through a lights mask and a slight cooling one through a darks mask reproduces the colour contrast of low sun, with the transition following the real light in the scene. Color grading in photography covers choosing the colours.
- Removing a cast from one end. Shadows under a blue sky are bluer than the sunlit parts. A small colour balance shift through a darks mask corrects them without warming the whole picture.
Setting the adjustment layer’s blend mode to Color or Luminosity gives one more degree of control, so that a tonal change does not shift colour or a colour change does not shift tone. Photoshop blend modes explains both.
Common mistakes
Using Lights 1 for everything. The basic mask still selects mid grey at 50%, so the adjustment bleeds into the whole picture and it goes flat. Fix: view the masks as greyscale and choose the one where the unwanted areas are nearly black.
Crushing the mask to pure black and white. An over-steep Levels adjustment on the mask creates a hard edge and brings back the halos. Fix: keep a visible grey transition in the mask and check edges at 100%.
Making masks from an 8-bit file. Smooth skies have few distinct levels in 8-bit, and a narrow mask stretches them into visible bands. Fix: work in 16-bit from raw until the final export. Bit depth explains why.
Forgetting that a channel mask is a snapshot. The mask records the brightness at the moment it was made. After large tonal changes underneath, it no longer matches the picture. Fix: build masks after the basic raw adjustments are settled, and rebuild them if the base layers change.
Trusting the selection outline. The moving outline only marks pixels more than 50% selected, so it understates a luminosity selection or shows nothing at all. Fix: judge the mask itself by viewing it as a greyscale image.
Darkening the sky until it is darker than its reflection or the land. No real scene looks like that, and the eye rejects it. Fix: keep the sky lighter than the ground it lights, and reduce the layer opacity until the picture looks believable.
Try this: one sky, three masks
Allow 20 minutes. Open a landscape or skyline with a bright sky and darker ground in a layer-based editor, in 16-bit if you can.
- Make Lights 1, Lights 2 and Lights 3 and save each as a channel. Look at the three as greyscale images side by side and note where the ground turns black in each.
- Add three identical Curves layers that darken the highlights by the same amount, one through each mask. Show them one at a time.
- Compare the results at 100% along the horizon. Note which mask darkened the ground as well, and which left the sky looking patchy because it was too narrow.
- Take the best one and refine its mask with Levels until only the sky responds.
Frequently asked questions
What is a luminosity mask in simple terms?
It is a mask made from the brightness of the photo, so brighter pixels are more selected and darker pixels less (or the reverse for a darks mask). Any adjustment made through it affects one tonal range and fades smoothly into the rest, with no painted edge.
Do you need a plugin to make luminosity masks?
No. Any layer editor with channels or with the ability to copy the image into a layer mask can make them by hand in a few steps. Panels and actions only automate the repetitive part of building and saving the whole family, which is worth having once you use the technique regularly.
What is the difference between a luminosity mask and a luminance range mask?
They are the same idea in two kinds of software. A luminosity mask in a layer editor is a fixed greyscale image that you can paint on and reshape. A luminance range mask in a raw editor is defined by range and falloff sliders and updates automatically as the image changes.
Why does my luminosity mask selection show no marching ants?
The outline is only drawn around pixels that are more than 50% selected. Narrow masks and midtone masks often have no pixels above that level. The selection still exists: add an adjustment layer and the mask will appear on it.
Related guides
- Layers and masks in Photoshop: how masks, groups and adjustment layers work together.
- Lightroom masking and selective adjustments: range masks combined with brushes, gradients and automatic selections.
- Exposure blending: shooting and hand-blending a bracketed set.
- Photoshop blend modes: Luminosity, Color and the other modes to pair with a masked adjustment.
- Dynamic range explained: why some scenes need this treatment and others do not.
- How to edit landscape photos in Lightroom: the raw adjustments to finish before building masks.
- How to read a camera histogram: checking that the highlights and shadows hold detail worth masking.