Old manual lenses fit mirrorless cameras because a mirrorless body has a short flange distance, about 16 to 20mm from mount to sensor, while lenses made for film SLRs expect roughly 40 to 47mm. A simple hollow adapter fills the difference. Mount the lens, enable shooting without a lens in the menu, set the aperture on the lens ring, focus by hand with magnification or peaking, and let the camera meter in aperture priority or manual.
The glossary pages on the lens mount and manual focus define the terms. This page is the working method: why the geometry allows adapting in one direction and not the other, what each kind of adapter does, the camera settings that make an unchipped lens usable, how to focus and expose accurately, what old glass looks like, and how to fix the problems that adapters introduce.
Flange focal distance: why the adapter is only a spacer
Every interchangeable lens is built to sit at one exact distance from the film or sensor. That distance, measured from the metal face of the mount to the image plane, is the flange focal distance. When the lens sits at exactly that distance, its infinity mark gives sharp focus at infinity and the rest of its focus range works as designed.
Film SLRs needed a deep body, because a mirror had to swing up between the lens and the film. Their flange distances fall mostly between 40 and 47mm. A mirrorless camera has no mirror, so its mount sits much closer to the sensor, typically 16 to 20mm.
The adapter makes up the difference. If a lens was designed for a 45mm flange distance and your body has an 18mm one, a hollow tube 27mm thick, with the old lens’s mount on the front and your camera’s mount on the back, puts the lens exactly where it expects to be. There is no glass in it, so the lens behaves optically as it did on its original camera.
Why it does not work in reverse
An adapter can only add distance. It can never subtract it. If the lens expects a shorter flange distance than the body provides, the lens already sits too far from the sensor before any adapter is added. Moving a lens away from the sensor shifts its focus range closer, exactly as an extension tube does, so the lens can focus on near subjects but never reaches infinity.
This is why a lens from a long-flange SLR system adapts easily to almost any mirrorless body, why lenses made for one mirrorless mount generally cannot be used on another, and why SLR bodies accept very few foreign lenses. The only workaround is an adapter containing a diverging glass element that pushes the focus back out. It restores infinity focus, but it acts as a mild teleconverter: the view gets a little narrower, some light is lost, and the extra glass was never part of the lens’s design, so sharpness usually suffers.
Two other dimensions matter. The mount opening must be wide enough not to block light from the rear of the lens, and the lens’s image circle must be big enough to cover your sensor. Lenses made for 35mm film cover a full-frame sensor and anything smaller.
Adapter types and what each one costs you
| Type | What it does | Trade-off |
|---|---|---|
| Plain spacer | Holds the lens at its correct distance. No glass, no electronics. | Fully manual focus and aperture. No lens data recorded. |
| Spacer with aperture control | Adds a ring that moves the aperture lever of lenses that have no aperture ring of their own. | The ring is unmarked or roughly marked, so you set the aperture by eye and by the meter. |
| Close-focus (helicoid) adapter | The adapter itself extends, adding distance on demand so the lens focuses closer than its normal minimum. | Must be wound fully in for infinity. Slightly more play than a fixed adapter. |
| Corrective glass adapter | Uses a diverging element so a lens can reach infinity on a body with a longer flange distance. | Narrower view, some light loss, lower sharpness. |
| Focal reducer | Uses converging elements to shrink a full-frame lens’s image onto a smaller sensor. | Adds glass, so quality depends on the reducer. Only works where a larger-format lens meets a smaller sensor. |
| Electronic adapter | Passes signals between an autofocus lens and a different maker’s body. | Autofocus speed and reliability vary. Not relevant to fully manual lenses. |
For a manual lens with its own aperture ring, the plain spacer is the right choice. What separates a good one from a poor one is precision, not features: the two mount faces must be parallel, the thickness must be correct, the fit must be snug without wobble, and the inside should be matte black. A shiny inner wall reflects stray light onto the sensor and lowers contrast, which is easy to mistake for a hazy lens.
How a focal reducer changes the numbers
A focal reducer is the opposite of a teleconverter. A common strength is 0.71x. It multiplies the focal length by 0.71 and concentrates the same light onto a smaller area, which makes the image about one stop brighter. A 50mm f/2 lens behind a 0.71x reducer behaves like a 35mm f/1.4 lens. On a sensor with a 1.5x crop factor, that returns the framing to roughly what the lens gave on film: 35mm times 1.5 is about 53mm equivalent.
Camera settings before the first shot
A manual lens on a plain adapter sends the camera no information at all. As far as the body knows, nothing is mounted. Four settings deal with that.
- Allow release without a lens. Many cameras refuse to fire when they detect no lens. Find the menu item named something like “release without lens” or “shoot without lens” and enable it.
- Enter the focal length for stabilisation. In-body stabilisation needs the focal length to know how much to move the sensor. With no data from the lens, you enter it by hand in the IBIS settings. Enter the real focal length of the lens, not the crop-equivalent. With a focal reducer, enter the reduced figure. A wrong value makes stabilisation worse, so change it every time you change lenses.
- Put magnification on a button. Assign focus magnification to a control you can reach with the camera at your eye. Turn on focus peaking as well if you like it.
- Choose aperture priority or manual. Shutter priority and program modes cannot work, because the camera cannot move the aperture.
If your camera lets you store lens profiles for non-electronic lenses, save one per lens. It keeps the stabilisation value correct and writes the focal length into the file’s EXIF data. The aperture you used will not be recorded, so make a note if you want it later.
Setting exposure with a manual aperture ring
Turning the aperture ring on an adapted lens physically closes the blades there and then. This is working stopped down. A modern lens, by contrast, stays wide open until the instant of exposure.
Metering is simple, because the sensor measures the light that actually comes through. In aperture priority, you turn the ring, the camera sees the scene get darker or brighter, and it changes the shutter speed to compensate. Auto ISO works too. The viewfinder shows the exposure and the true depth of field at all times. Check the histogram on the first few frames with each lens and use exposure compensation as usual.
Some lenses need one extra step. Many screw-mount and bayonet SLR lenses have an automatic aperture, held open by a spring until a pin or lever is pressed by the camera. On an adapter, either the adapter must press that pin, or the lens’s own auto and manual switch must be set to manual. If turning the aperture ring does nothing when you look into the front of the lens, this is the cause.
Focusing: peaking for speed, magnification for accuracy
A mirrorless viewfinder shows the real image from the sensor, and it gives you two focusing tools that suit different jobs.
- Focus peaking outlines high-contrast edges in colour. It is fast and lets you see the whole frame, which suits moving subjects and street work. It is not precise at wide apertures: the outline appears a little before and stays a little after true focus. Set it to its lowest sensitivity so that only the sharpest edges light up.
- Magnification enlarges a small part of the frame so you can judge focus directly. It is slower, but it is the only way to be sure at f/2 or wider. Move the magnified area onto your subject, not the centre, so you do not have to recompose.
A reliable routine for static subjects:
- Open the aperture fully. Depth of field is thinnest, so the point of sharp focus is easiest to find, and the viewfinder is brightest and cleanest.
- Magnify, and turn the focus ring through the sharp point and back until you settle on it. Old lenses have a long focus throw, which makes this easy.
- Stop down to your shooting aperture, counting the clicks on the ring so you do not have to look.
- For critical work at f/2 to f/4 with a fast lens, check focus again after stopping down. Some lenses shift focus slightly as the aperture closes.
For moving subjects, stop down to f/5.6 or f/8, use peaking, and consider presetting the distance as described in zone focusing. The distance scale on an adapted lens is often slightly off, as the problems table below explains.
Crop factor with adapted lenses
An adapter does not change focal length. A 50mm lens is a 50mm lens on any camera. What changes is how much of its image the sensor records. On a full-frame body, a lens made for 35mm film gives the same angle of view it always did. On a smaller sensor, only the centre of the image is used, so the view is narrower: a 50mm lens frames like a 75mm lens on a 1.5x sensor and like a 100mm lens on a 2x sensor.
This has two practical effects. Wide angles are hard to come by on small sensors, because a 28mm lens becomes a normal lens. And the sensor discards the edges of the image, where old designs are weakest, so sharpness across the frame improves while much of the swirl and corner character is cropped away. Full frame vs crop sensor explains the equivalence in full.
What old lenses look like: flare, glow and swirl
People adapt old lenses for the handling and for a rendering that current lenses are designed to avoid. The differences come from simpler coatings and simpler optical designs.
- Lower contrast and veiling flare. Anti-reflection coatings on many old lenses are single-layer, and on the oldest they are absent. More light bounces between the glass surfaces, which lifts the shadows and softens colour whenever a bright source is in or near the frame. A lens hood restores much of the contrast when you do not want the effect.
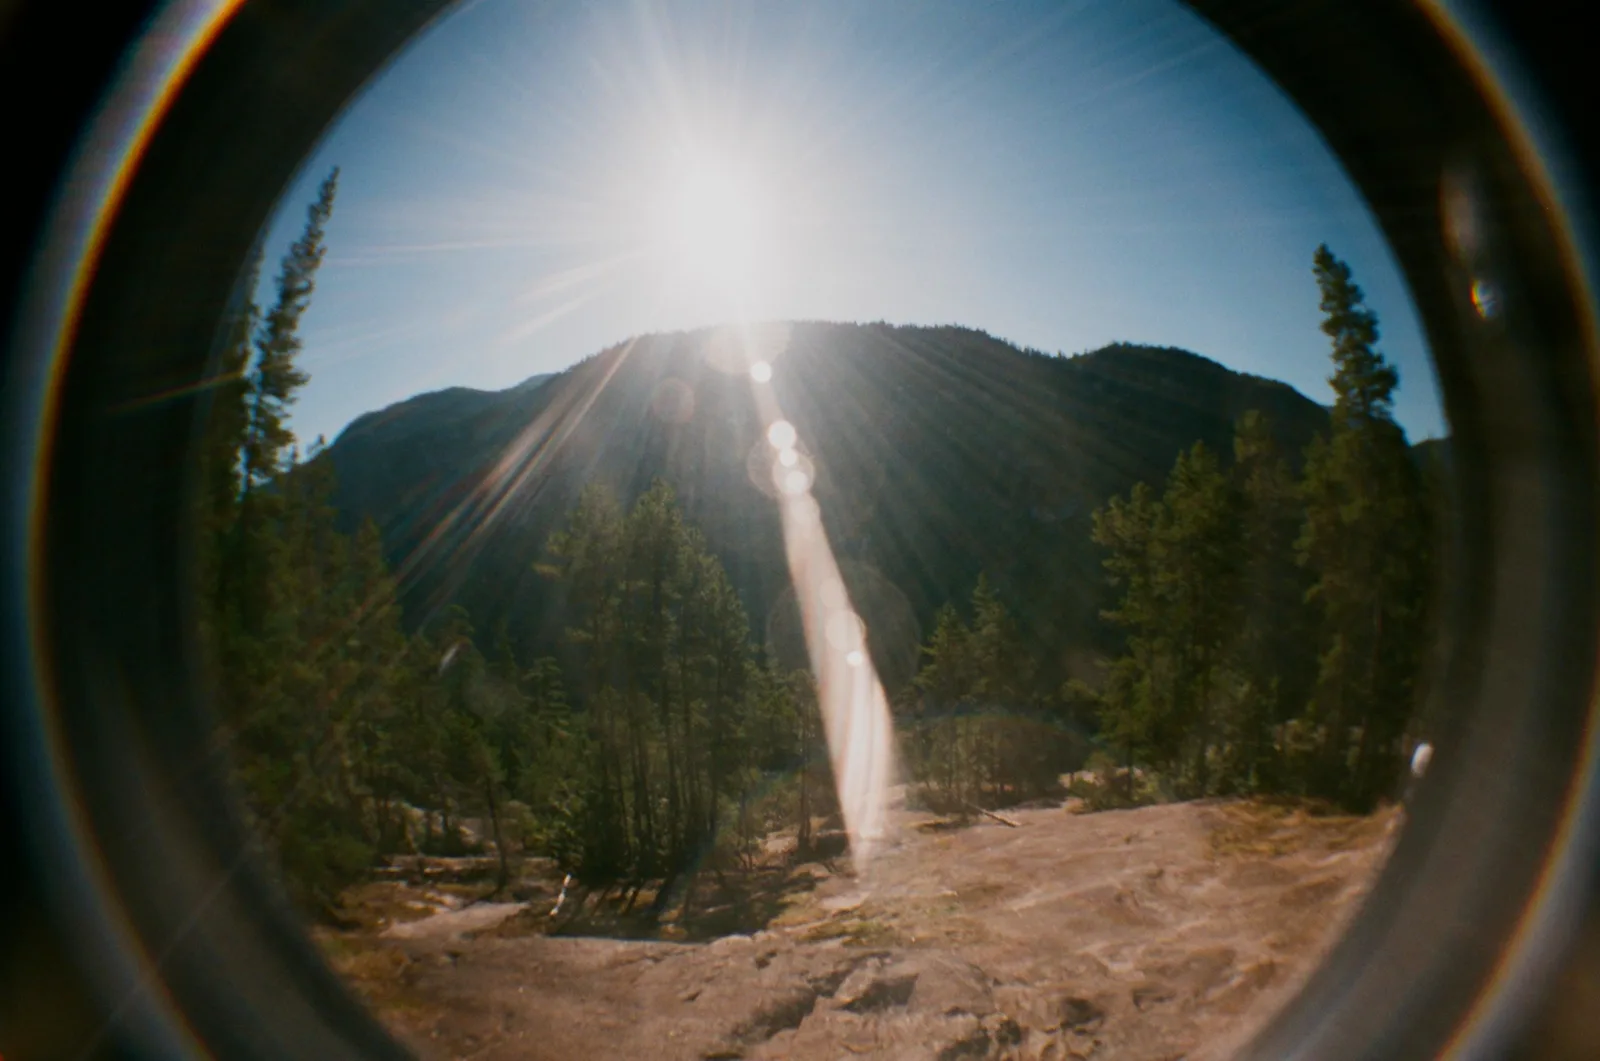
- Ghosts. Shooting into the sun produces bright discs, rings and chains of coloured spots. Their shape and colour differ from lens to lens. The guide to lens flare covers how to place or remove them.
- Glow wide open. Many fast old lenses leave spherical aberration uncorrected at full aperture. Highlights gain a soft halo while fine detail underneath stays visible. It disappears a stop or two down, so one lens gives you two looks.
- Swirl and edged highlights. In some designs, out-of-focus highlights near the frame edges are squeezed into lens shapes that line up around the centre, so the background seems to rotate. Others draw each blur disc with a bright rim. Both effects are strongest wide open with a busy, distant background, and they are described further in bokeh.
- Warm colour. Old coatings and aged glass sometimes give a yellow or warm cast. A custom white balance or a raw adjustment removes it.

To imitate these traits in editing instead, see the vintage photography look.
Checking an old lens before you adapt it
A lens that has sat in a cupboard for decades may be excellent or ruined. Five checks take two minutes.
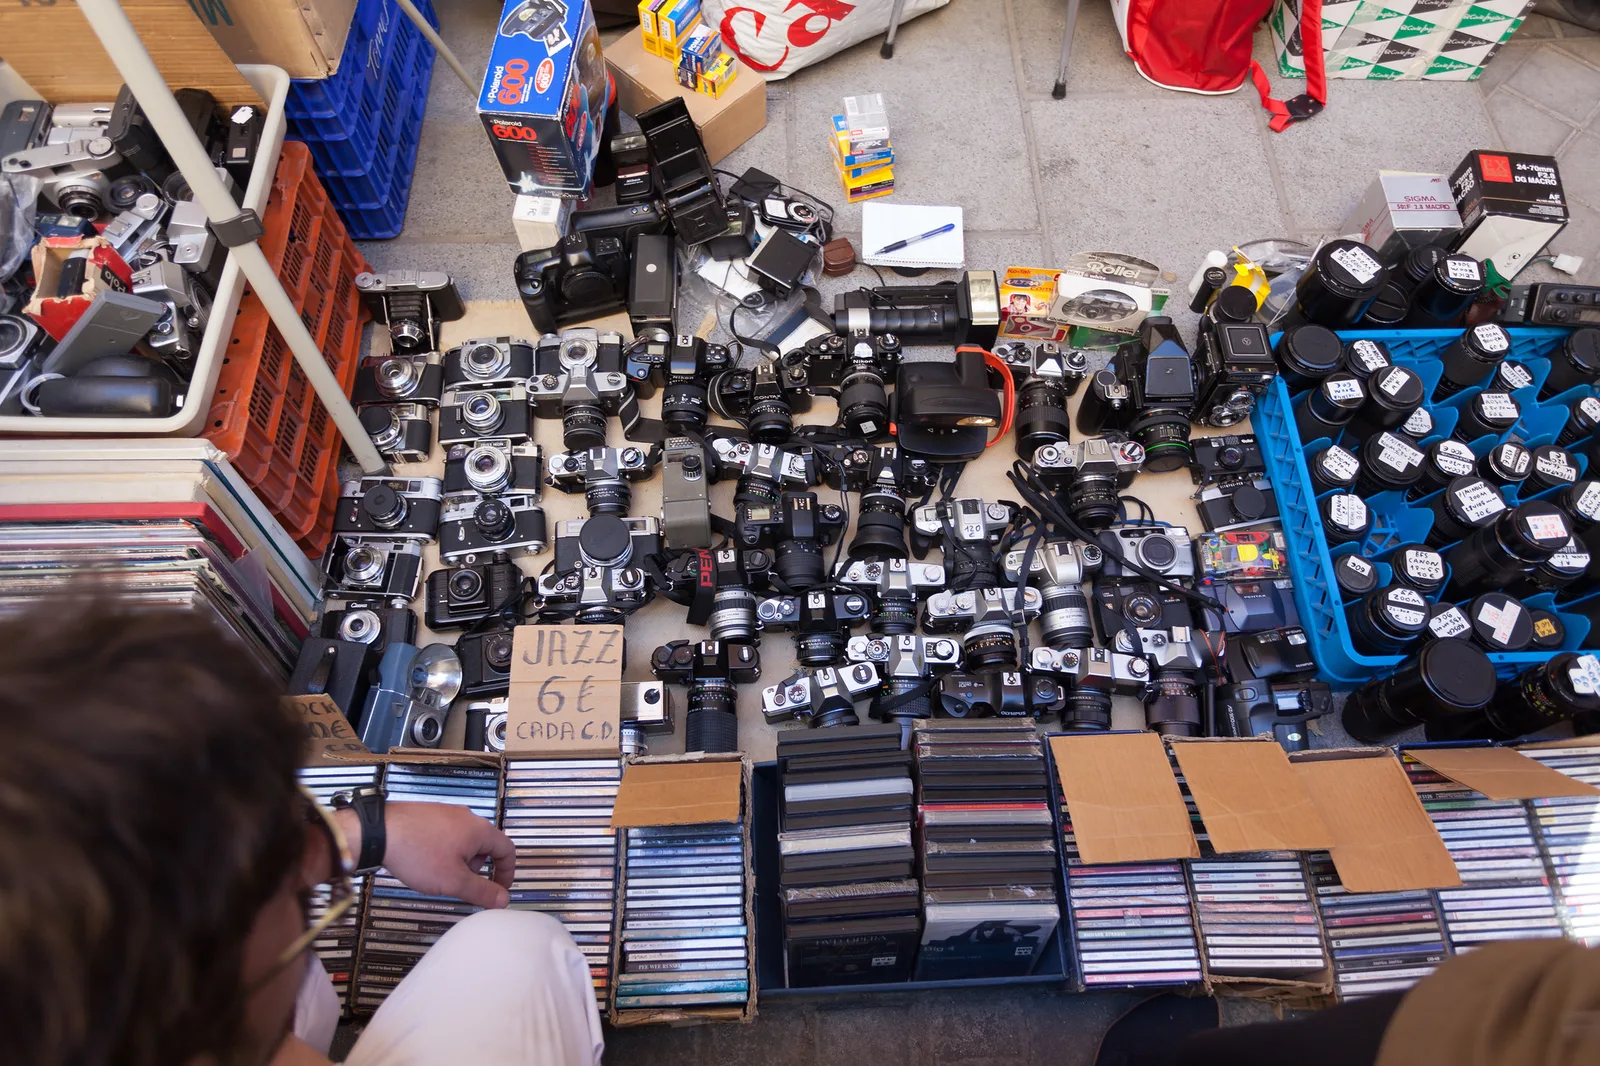
- Shine a light through it. With the aperture open, look for a milky film (haze) or fine branching threads (fungus). A few dust specks are harmless. Haze and fungus lower contrast far more than any coating difference.
- Look at the blades. They should be dry and matte. Shiny, wet-looking blades have oil on them. Because you close them by hand on an adapter, slow blades matter less than on the original camera, but oil can migrate onto the glass.
- Turn the aperture ring. The opening should change smoothly and stay evenly shaped at every setting.
- Turn the focus ring. Old grease stiffens. The ring should move evenly from end to end, without gritty or loose patches.
- Check the rear of the lens. Look for anything that sticks out a long way behind the mount. Deeply protruding rear elements can foul parts inside some bodies, so confirm clearance before mounting.
For a full optical check once the lens is on the camera, follow how to test a lens. The storage advice in the camera care guide keeps fungus from spreading to your other lenses.
Fixing infinity focus, vignetting and colour shift
| Symptom | Cause | Fix |
|---|---|---|
| Distant subjects never quite sharp, even at the infinity stop | Adapter slightly too thick, so the lens sits too far out | Replace the adapter. Stopping down hides small errors with wide lenses. |
| Lens focuses past infinity; distance scale reads wrong | Adapter slightly too thin. Many are made this way on purpose so infinity is always reachable. | Normal. Focus by eye, not by the scale or the hard stop. |
| One side of the frame softer than the other | Adapter faces not parallel, or a loose fit letting the lens sag | Test with a second adapter. Support heavy lenses by hand or by a tripod foot. |
| Dark corners or a dark circular border | Image circle too small for the sensor, or a hood or filter intruding | Use the camera’s crop mode, crop afterwards, or remove the obstruction. |
| Hazy, low-contrast frames in bright light | Reflections from a shiny adapter interior, or haze in the lens | Use a hood. Line the adapter with matte black material, or replace it. |
| Colour cast or smeared detail in the corners with a wide lens | Light striking the sensor at a steep angle from a rear element that sits very close to it | Stop down, correct the cast in editing, or keep that lens for a smaller sensor. |
The infinity question deserves a test on day one, because it decides whether you can trust the lens for landscapes. Focus on something at least several hundred metres away using magnification, wide open. If the image snaps sharp before the ring reaches its stop, the adapter is on the thin side and all is well. If it is still improving when the ring hits the stop, the adapter is too thick. The background to this is on the infinity focus page.
The corner colour problem is specific to certain wide-angle lenses, mostly those designed for rangefinder cameras, whose rear elements sit very close to the image plane. Film tolerated light arriving at a steep angle better than a sensor with cover glass and microlenses does. Longer lenses and SLR lenses are rarely affected.
Common mistakes
Trusting the infinity mark. On most adapters the hard stop is beyond true infinity, so racking the ring to the end gives soft landscapes. Fix: focus distant scenes with magnification every time.
Forgetting to change the stabilisation focal length. The value left over from the last lens makes the sensor move the wrong amount. Fix: save a profile per lens, or make changing the value part of mounting the lens.
Relying on peaking at f/1.4. Peaking lights up before focus is exact, and at wide apertures that margin is larger than the depth of field. Fix: magnify for anything shot wider than about f/2.8.
Blaming the lens for a bad adapter. A soft side, missing infinity or washed-out contrast often comes from the tube, not the glass. Fix: try a second adapter before judging the lens.
Try this
Spend 15 minutes learning one adapted lens. Mount it, enter its focal length for stabilisation, and set aperture priority with auto ISO. First, focus on a distant building or treeline with magnification, wide open, and note whether sharp focus arrives before the ring’s hard stop. Second, photograph a subject about two metres away with a busy background at every marked aperture from wide open to f/8, refocusing with magnification each time. Third, turn toward a bright light source, such as a low sun through leaves or a window, and take one frame wide open and one at f/8. On the computer, compare the series. You will see where the glow disappears, how the background blur changes shape, and how much contrast the lens loses against the light.
Frequently asked questions
Do lens adapters affect image quality?
A plain adapter has no glass, so it adds nothing to the optical path. It can still hurt results if it is the wrong thickness, if its faces are not parallel, or if its interior reflects light. Adapters that contain glass, such as corrective adapters and focal reducers, do change the image, for better or worse depending on their quality.
Can I use old lenses on a DSLR?
Only some. A DSLR has a long flange distance, so it can take only lenses designed for an equal or longer one without corrective glass. Mirrorless bodies, with their short flange distance, accept far more.
Why can’t my adapted lens focus at infinity?
The lens is sitting too far from the sensor. Either the adapter is slightly too thick, or the lens was designed for a shorter flange distance than your camera has. In the first case a more accurate adapter solves it. In the second, only an adapter with corrective glass will.
Is a vintage lens as sharp as a modern one?
Stopped down to f/5.6 or f/8, many old prime lenses are sharp in the centre and good enough for large prints. Wide open, in the corners and against the light, modern designs are usually better. Zoom lenses from the film era tend to lag further behind than primes.
Related guides
- Focus peaking: how the overlay works and how to set its sensitivity.
- How to test a lens: check an old lens for decentering, haze and focus problems.
- Zone focusing: preset the distance and shoot without focusing each frame.
- Lens flare: control or use the ghosts and veiling that old coatings produce.
- Freelensing: another way to use a detached manual lens for selective blur.
- Teleconverters: the opposite of a focal reducer, and the same trade in light.