A teleconverter is a small lens unit that mounts between a camera body and a lens and enlarges the image the lens projects. A 1.4x converter multiplies the focal length by 1.4 and costs one stop of light. A 2x converter doubles the focal length and costs two stops. The f-number multiplies by the same factor, so a 300mm f/4 lens becomes 420mm f/5.6 or 600mm f/8. Closest focusing distance stays the same, so maximum magnification rises too.
This guide explains where the lost light goes, how much sharpness and autofocus performance to expect, when cropping gives the same result for nothing, which lenses can take a converter, and how to shoot with one. It expands on the single paragraph in the telephoto photography guide and separates the converter from the extension tube, a different device that is often mistaken for it.
What a teleconverter does to the image
Every lens projects a circular image onto the sensor. A teleconverter is a group of diverging lens elements placed behind the main lens. It spreads the cone of light so that the centre of that image is enlarged to cover the whole sensor. The outer part of the original image now falls outside the frame. In effect the converter is an optical crop: it takes the middle of the picture and magnifies it before the sensor records it.
Three results follow directly from that enlargement:
- Focal length multiplies. The combination behaves as a lens of 1.4 or 2 times the original focal length, with a correspondingly narrower view.
- The f-number multiplies. The opening at the front of the lens has not grown, but the focal length has. A 300mm f/4 lens has an opening 75mm wide (300 divided by 4). At 600mm that same 75mm opening is f/8.
- Everything in the lens image is magnified, including its faults. Any blur, colour fringing or softness the lens already had is enlarged by the same factor as the subject.
The light loss is the same idea seen another way. A 2x converter spreads the light that used to cover one area over four times that area, so each part of the sensor receives a quarter as much: two stops. A 1.4x converter (strictly 1.414, the square root of 2) doubles the area, which halves the light: one stop.
Converters that carry electrical contacts report the combined values, so the camera displays and records 600mm and f/8, and autofocus, aperture control and stabilisation keep working. The meter reads the light after the converter, so exposure is correct automatically.
1.4x vs 2x: reach gained, light lost
| Effect | 1.4x converter | 2x converter |
|---|---|---|
| Focal length | x 1.4 | x 2 |
| f-number | x 1.4 (one stop slower) | x 2 (two stops slower) |
| Light reaching the sensor | Half | A quarter |
| Width of the view | About 71% of the bare lens | 50% of the bare lens |
| Pixels covering the subject | About 2 times as many | 4 times as many |
| Maximum magnification at closest focus | x 1.4 | x 2 |
| Typical optical cost on a good lens | Small, often hard to see | Visible, especially wide open |
Applied to common lens types, the numbers look like this:
| Bare lens | With 1.4x | With 2x |
|---|---|---|
| 70 to 200mm f/2.8 | 98 to 280mm f/4 | 140 to 400mm f/5.6 |
| 300mm f/2.8 | 420mm f/4 | 600mm f/5.6 |
| 300mm f/4 | 420mm f/5.6 | 600mm f/8 |
| 400mm f/5.6 | 560mm f/8 | 800mm f/11 |
| 100 to 400mm f/4.5 to 5.6 | 140 to 560mm f/6.3 to 8 | 200 to 800mm f/9 to 11 |
| 500mm f/4 | 700mm f/5.6 | 1000mm f/8 |
The table shows why the starting aperture matters so much. An f/2.8 lens with a 2x converter is still f/5.6, bright enough for fast shutter speeds and reliable focusing. An f/5.6 lens with the same converter is f/11, which pushes ISO up by two stops in every situation and leaves no room to stop down. As a working rule, a 1.4x suits lenses of f/4 or faster and is usable on f/5.6 lenses in good light. A 2x is best kept for f/2.8 lenses, and for f/4 lenses when the light is strong.

What the lost stops cost in practice
Suppose a bare 400mm f/5.6 lens gives 1/500 at ISO 400. Adding a 1.4x makes it 560mm f/8. The longer focal length needs a slightly faster shutter speed to hold steady, say 1/640, so the ISO rises to about 1000. With a 2x it is 800mm f/11, the shutter speed wants to be 1/800, and the ISO climbs to about 2500. That is fine on a bright day and costly under cloud, in woodland or at dusk.
How much sharpness you really lose
A converter lowers image quality in three ways, and only one of them is the converter’s fault.
- It magnifies the lens’s own limits. If the bare lens can only just resolve a fine feather pattern, the converter makes that pattern bigger without making it clearer. Only a lens that is very sharp wide open has detail in reserve.
- It adds its own glass. More elements mean slightly lower contrast, a little more chromatic aberration and more surfaces to flare. A 2x has to bend light more strongly than a 1.4x, so its own faults are larger.
- It pushes you towards diffraction. At f/11 and beyond, diffraction softens fine detail on most current sensors, and high-resolution sensors show it sooner. A combination that starts at f/11 has no sharper aperture to stop down to. See diffraction in photography for where the limit falls.
In practice the pattern is consistent. A 1.4x on a sharp prime or a high-grade telephoto zoom gives files that are hard to tell from the bare lens at normal viewing sizes. A 2x on the same lens is visibly softer at full aperture and improves when stopped down one stop. Either converter on a modest zoom at its long end often shows no more real detail than a crop from the bare lens.
Much of the softness people blame on converters has other causes: more magnified camera movement, more air between camera and subject, and focus errors that the extra magnification makes obvious. Rule those out before judging the glass. The procedure in how to test a lens works for a lens and converter pair as well.
What happens to autofocus
Autofocus depends on the light the lens passes at its widest aperture, so the maximum aperture of the combination decides how well it works. Less light and a narrower cone of light give the system less to measure.
- Cameras with an optical viewfinder use a separate focus sensor that is typically designed for lenses of f/5.6 or faster. Many bodies keep only the central points working at f/8, and some stop focusing altogether. An f/4 lens with a 2x, or an f/5.6 lens with a 1.4x, sits right at that limit. The viewfinder also gets one or two stops darker.
- Mirrorless cameras focus using the imaging sensor and usually keep working at f/8, f/11 and sometimes smaller. Acquisition slows, tracking of fast subjects becomes less sure, and hunting increases in dim or low-contrast scenes.
- Focus drive speed often drops. Some lenses deliberately slow their focusing with a converter attached to keep accuracy, and the effect is larger with a 2x.
If focus is consistently in front of or behind the subject with a converter on a body that has a separate focus sensor, the pair may need its own fine-tune value, as described in fixing common autofocus problems. The mechanics behind the aperture limit are in how autofocus works.
Teleconverter vs cropping vs a crop-sensor body
All three give a tighter view from the same lens, and they are more alike than they first appear.
| Teleconverter | Cropping in editing | Crop-sensor body | |
|---|---|---|---|
| Exposure settings | One or two stops slower | Unchanged | Unchanged |
| Pixels in the final picture | All of them | Half for a 1.4x crop, a quarter for a 2x crop | All of that sensor’s pixels |
| Extra glass in the path | Yes | No | No |
| Autofocus | Slower, sometimes limited | Unchanged | Unchanged |
| Framing while shooting | Final framing in the viewfinder | Subject small in the viewfinder | Final framing in the viewfinder |
Two points are easy to miss. First, the converter does not really lose light from the subject. With the bare lens, the subject’s light lands on a small patch of the sensor, and you throw the rest away when you crop. With the converter, the same light is spread over the whole sensor at a higher ISO. Viewed at the same final size, noise is roughly the same either way. The same holds for depth of field and background blur: a 2x converter at full aperture and a 2x crop from the bare lens at full aperture look alike.
Second, what the converter adds is sampling. A 2x crop of a 24 megapixel file leaves 6 megapixels. The converter records the same view with all 24. That only helps if the lens is delivering detail finer than the sensor could record without it. A lens that out-resolves the sensor rewards a converter. A lens that does not gives you a larger, softer version of what a crop would have shown.
A smaller-sensor body is a crop made in the camera, as explained under crop factor. If its pixels are packed more densely than those of your larger-sensor camera, it puts more pixels on the subject with no light loss in exposure terms and no added glass. The longer comparison between formats is in full frame vs crop sensor, and the general case for and against cropping is in optical zoom vs digital zoom.
Which lenses accept a teleconverter
Most lenses do not. A manufacturer’s converter usually has a front element that protrudes from its mount and slides into the back of the lens. Only lenses designed with empty space behind their rear element can take it. On anything else the glass surfaces collide, and forcing the fit will damage both.
- Usually compatible: long telephoto primes, and higher-grade telephoto zooms, from the same maker and for the same mount as the converter.
- Usually not compatible: wide-angle and standard lenses, most general-purpose and budget telephoto zooms, and many macro lenses.
- Partly compatible: some zooms accept a converter only over part of their zoom range, and some combinations mount but lose autofocus.
Always check the maker’s compatibility list for the exact lens and converter before mounting them. Converters from independent makers sometimes have a flush front and fit more lenses, with more variable optical and autofocus results. A few very long lenses have a converter built in, switched in and out with a lever, which avoids opening the mount in the field.
Stacking two converters is sometimes physically possible. A 1.4x and a 2x together give 2.8x and cost three stops, and the losses in sharpness and focusing multiply.
Wildlife, the moon and close-ups
Wildlife and birds
A converter earns its place when you cannot get closer and the subject is still too small after a moderate crop. A 1.4x on a fast telephoto is the standard combination for bird photography in good light. Take it off when the light drops, when the subject comes close, or when you need the fastest possible focus for flight. Getting nearer is always better than adding glass: halving the distance does the same job as a 2x with no losses, and it shortens the path through haze and shimmer. Fieldcraft for that is in the wildlife photography guide.
The moon and the sun
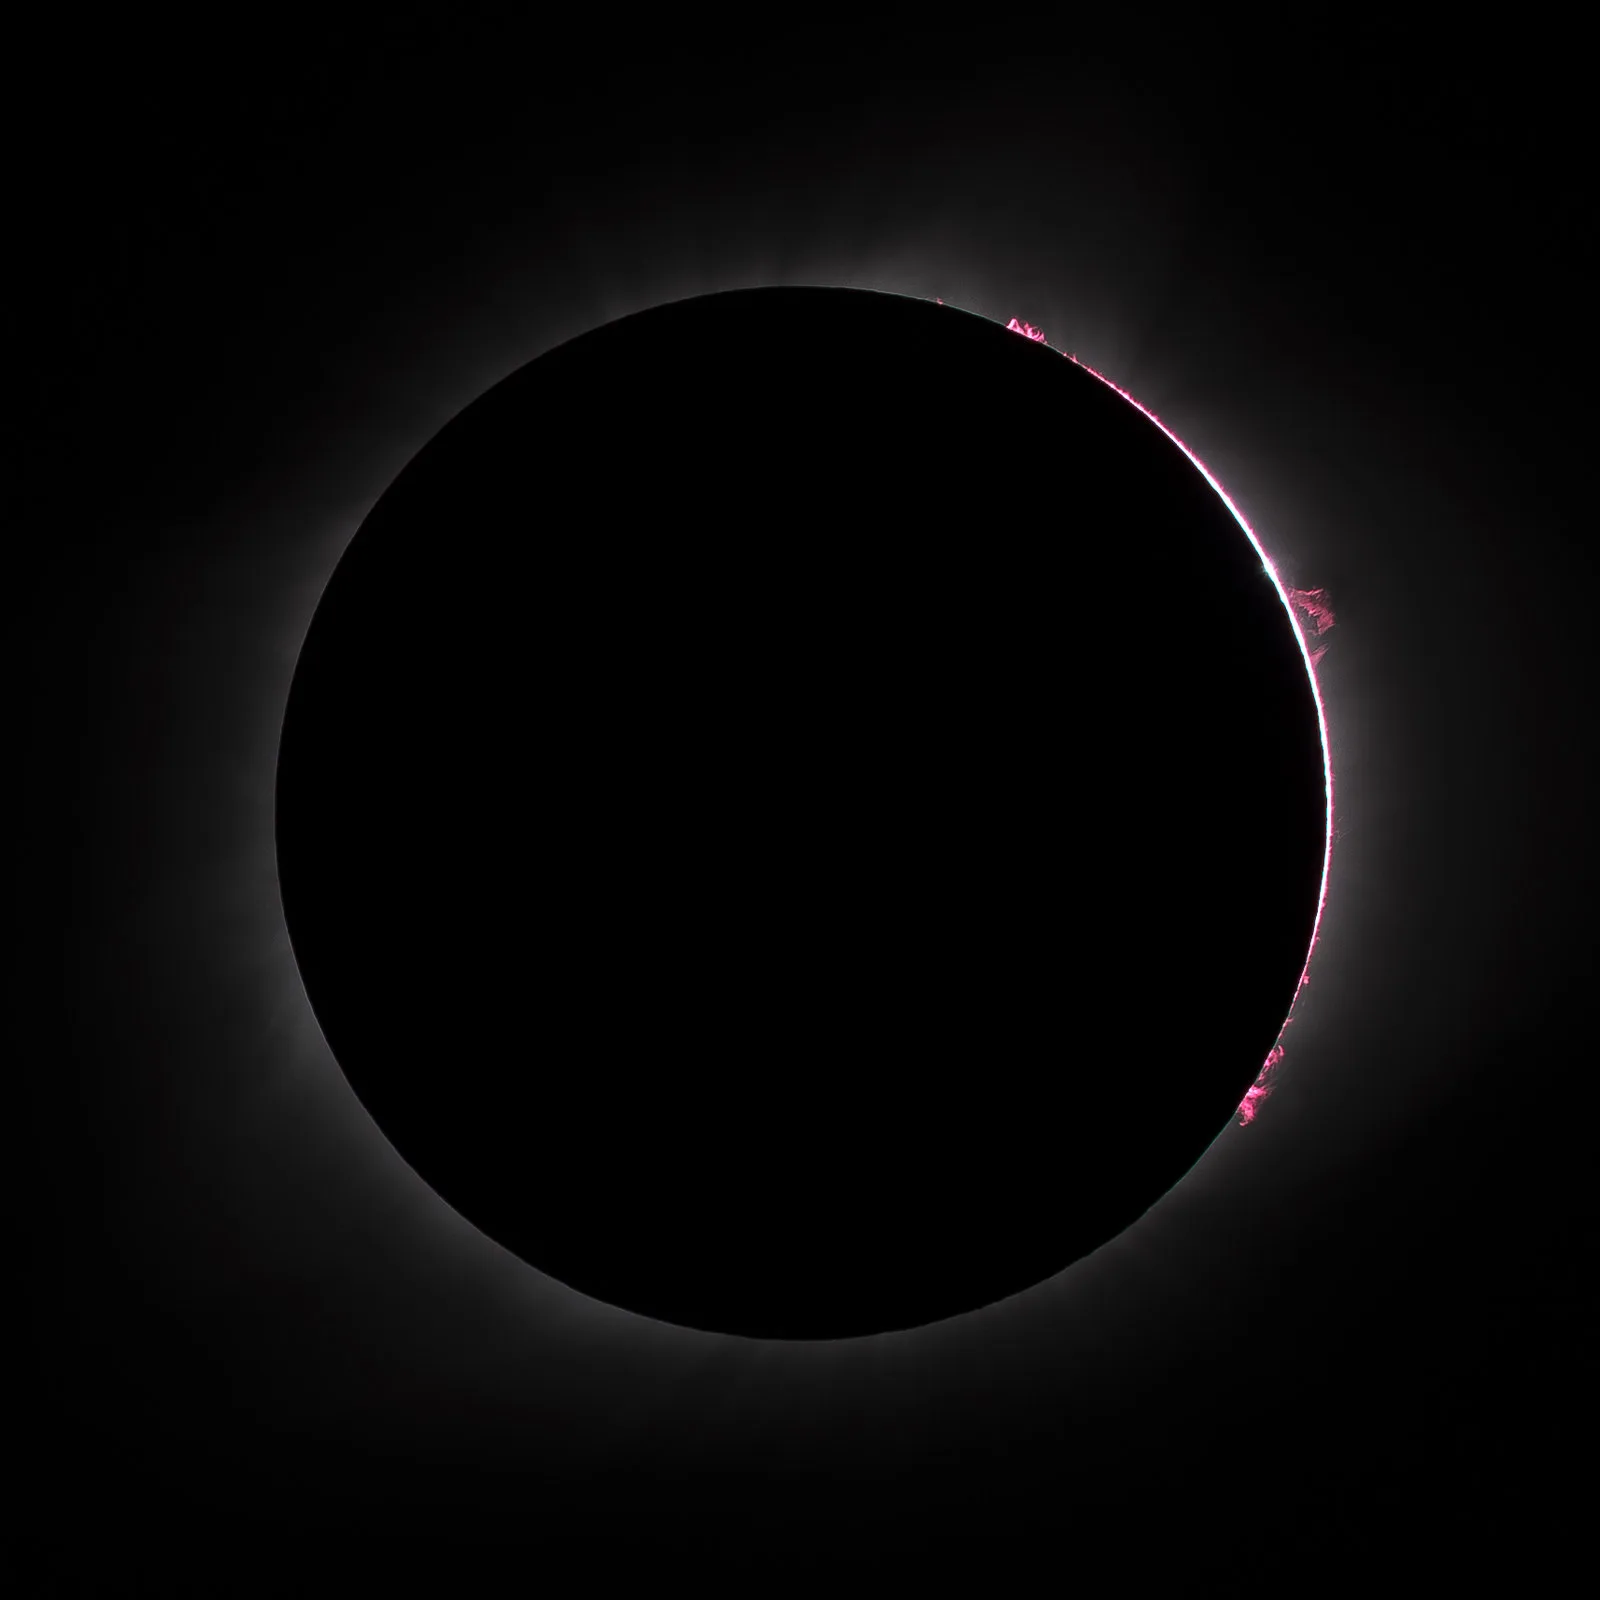
The moon is the easiest subject for a converter: bright, slow-moving and at infinity. Its disc on the sensor is about the focal length divided by 110, so 3.6mm at 400mm, 5.1mm at 560mm and 7.3mm at 800mm. A full moon is lit by direct sunlight, so even at f/11 it allows roughly 1/200 at ISO 200. Use a tripod and focus carefully in magnified live view. See how to photograph the moon for the full method. The same arithmetic applies to the sun, which must only be photographed through a certified solar filter outside the brief total phase of an eclipse, as set out in how to photograph a solar eclipse.
Close-ups
A converter does not change how close the lens can focus. Since the image is enlarged, the maximum magnification ratio rises by the converter’s factor. A telephoto that reaches 0.25x at its closest focus reaches 0.35x with a 1.4x and 0.5x with a 2x, from the same distance. That suits butterflies, dragonflies and other subjects that leave if you approach. Where a macro lens accepts a converter, life-size becomes 1.4 or 2 times life-size without losing working distance. Depth of field shrinks as magnification rises, so expect to stop down. Other ways of getting closer are compared in macro without a macro lens.

Shooting technique: shutter speed, support and stopping down
- Set shutter speed for the new focal length. The handheld guide of 1 over the focal length uses the combined figure: 1/800 for 800mm, faster on a smaller sensor, and faster again for moving subjects. Stabilisation helps with your movement and does nothing for the subject’s.
- Stop down one stop with a 2x when light allows. An f/2.8 lens with a 2x is usually clearly better at f/8 than at f/5.6. With a 1.4x on a sharp lens, full aperture is normally fine.
- Do not stop down past f/11 without a reason. Beyond that, diffraction takes away more than the lens gains.
- Support the lens, not the camera. Use the lens’s tripod collar so the mounts do not carry the weight, and see camera shake for long-lens support technique.
- Use the centre of the frame for focus. On bodies with a separate focus sensor, the central points cope best with a slow maximum aperture.
- Change converters in shelter. Fitting one opens two mounts to dust and damp. Keep both caps on the converter in the bag.
- Watch the air. Over warm ground, long distances shimmer. No converter can resolve through that, so shoot early or get closer.
Teleconverter vs extension tube: not the same thing
Both fit between the body and the lens, which is where the similarity ends.
| Teleconverter | Extension tube | |
|---|---|---|
| Contains glass | Yes | No, it is a hollow spacer |
| Focal length | Multiplied | Unchanged |
| Focus at infinity | Kept | Lost while the tube is fitted |
| Closest focus distance | Unchanged | Shorter |
| Light loss | Fixed: one or two stops | Varies with the extension and focal length |
| Main use | Distant subjects, and more magnification from the same distance | Focusing closer than the lens normally allows |
Use a converter to make something far away larger. Use a tube to get nearer to something small.
Common mistakes
Putting a 2x on a slow zoom. An f/5.6 or f/6.3 lens becomes f/11 or f/13, with slow focus and soft, noisy files. Fix: crop instead, or use a 1.4x in bright light only.
Keeping the old shutter speed. The focal length has grown, so the same speed now shows blur. Fix: reset the minimum speed to match the combined focal length.
Leaving the converter on all day. When the subject comes closer or the light fades, you are paying a stop or two for nothing. Fix: take it off whenever the bare lens can frame the shot.
Forcing a converter onto an incompatible lens. The protruding element can strike the rear glass. Fix: check the compatibility list first, and never push if the mounts do not meet easily.
Try this
This 15 minute test tells you whether a converter adds real detail on your lens. If you do not have one, steps 1, 2 and 5 alone show how much detail the lens holds in reserve.
- Put the camera on a tripod about 20 to 30 metres from a flat, detailed target in good light: a brick wall, a sign with small lettering or a noticeboard. Shoot early in the day so the air is steady.
- With the bare lens at its longest focal length, focus carefully in magnified live view. Take one frame wide open and one a stop down, using a two second timer.
- Fit the converter without moving the tripod. Refocus, and again take one frame wide open and one a stop down.
- Note the shutter speed and ISO the camera needed in each case.
- On the computer, enlarge the bare-lens frames so the target is the same size as in the converter frames (140% or 200%). Compare the smallest lettering or the mortar lines. If the converter frame shows detail the enlarged frame lacks, the converter is doing useful work on that lens. If they look the same, cropping is the better choice.
Frequently asked questions
Do teleconverters reduce image quality?
Yes, to a degree that depends on the lens. A 1.4x on a very sharp lens costs little that you can see. A 2x costs more, and any converter on a lens that is already soft will magnify that softness.
Is a 1.4x or a 2x teleconverter better?
The 1.4x is the safer choice: one stop of light, small optical loss and little effect on autofocus. The 2x gives twice the focal length and makes sense mainly on f/2.8 lenses, or on f/4 lenses in bright light with slow subjects.
Is it better to use a teleconverter or to crop?
Crop when you only need a little more reach, when light is low, or when the lens is not especially sharp. Use a converter when the lens is sharp, the light is good and the subject would otherwise occupy a small part of the frame.
Does a teleconverter change the minimum focus distance?
No. The lens focuses as close as before, and because the image is enlarged, maximum magnification rises by 1.4 or 2 times.
Can I use a teleconverter on any lens?
No. Most converters fit only specific telephoto lenses that have room behind the rear element. Check the maker’s compatibility list for your exact lens.
Related guides
- Telephoto photography: handholding, tripods and technique for long focal lengths.
- Lens compression: what long focal lengths do, and do not do, to perspective.
- Extension tube: the hollow spacer for closer focusing.
- How autofocus works: why maximum aperture limits focusing.
- Image stabilization: what it can and cannot steady at long focal lengths.
- Finding a lens’s sweet spot: locating the sharpest aperture of a lens or a lens and converter pair.
- Camera settings for wildlife: shutter speed, aperture and ISO starting points.