Aperture priority mode is the most popular shooting mode among experienced photographers, and for good reason. It gives you direct control over depth of field while letting the camera handle shutter speed automatically. This balance of creative control and convenience makes it the ideal mode for a wide range of situations, from portraits to landscapes to street photography.
If you are ready to move beyond full Auto mode but find Manual mode overwhelming, aperture priority is the perfect next step. This guide explains how it works, when to use it, and how to get the most from this versatile shooting mode.
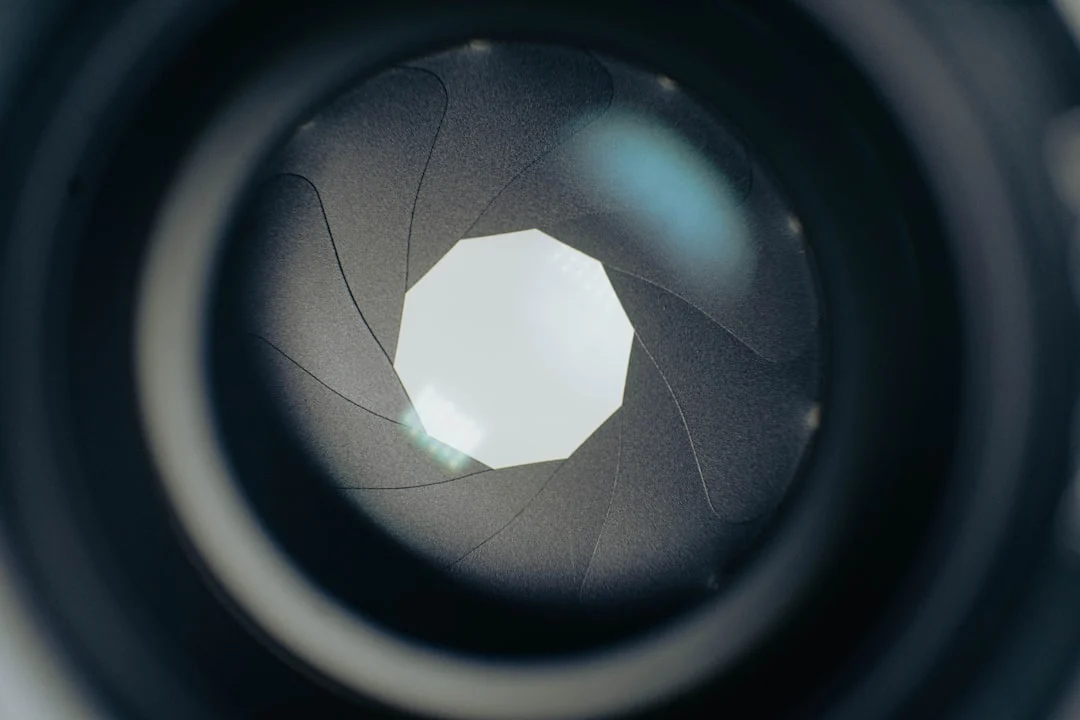
How Aperture Priority Mode Works
In aperture priority mode (labeled “Av” on Canon cameras and “A” on Nikon, Sony, and most other brands), you set the aperture (f-stop), and the camera automatically selects the shutter speed to achieve a correct exposure. You control how much of the scene is in focus, while the camera handles the brightness.
When you choose a wide aperture like f/2.8, the camera selects a faster shutter speed because more light is entering through the larger opening. When you choose a narrow aperture like f/16, the camera selects a slower shutter speed to compensate for the reduced light. The relationship between aperture and shutter speed follows the exposure triangle principles.
This means you can focus entirely on controlling depth of field, the most visually impactful creative decision in most photographs, while trusting the camera to keep the overall brightness correct.
When to Use Aperture Priority
Aperture priority excels in any situation where depth of field is your primary creative concern and the light is changing. Here are the most common scenarios.
Portrait photography. Set a wide aperture (f/1.8 to f/4) to separate your subject from the background with a shallow depth of field. As you and your subject move between sun and shade, the camera adjusts the shutter speed automatically. You never have to take your attention away from your subject to fiddle with settings.
Landscape photography. Set a narrow aperture (f/8 to f/16) to keep everything sharp from foreground to horizon. As clouds pass overhead and the light changes, the camera adapts the shutter speed accordingly. Pair this with a tripod when the resulting shutter speeds drop below handheld limits.
Street photography. Set an aperture that gives you enough depth of field for quick, unplanned shots (f/5.6 to f/8). The camera handles the constantly changing light as you walk between sun, shade, and interiors. This lets you react quickly to fleeting moments without stopping to adjust settings.
Travel and general shooting. When you are exploring and photographing a variety of subjects in changing conditions, aperture priority provides the best balance of control and speed. You can quickly shift from a wide-aperture detail shot to a stopped-down scene with just a turn of the dial.
Exposure Compensation in Aperture Priority
The camera’s automatic exposure is based on its metering system, which assumes the scene is a middle-toned gray. This assumption works well for most scenes, but it fails in high-contrast situations or when the frame is dominated by very bright or very dark tones.
Exposure compensation is your override dial. It tells the camera to make the image brighter (positive compensation) or darker (negative compensation) than what the meter suggests. In aperture priority mode, the camera applies this adjustment by changing the shutter speed.
Use positive exposure compensation (+0.7 to +1.0) when photographing snow, white walls, or bright scenes that the meter tends to underexpose. Use negative compensation (-0.7 to -1.0) for dark scenes like concert halls or nighttime streets that the meter tends to overexpose. Learning to anticipate when your camera’s meter will be fooled is one of the most valuable skills you can develop.
Auto ISO vs. Manual ISO in Aperture Priority
Modern cameras offer an Auto ISO feature that adds a third layer of automation. With Auto ISO enabled in aperture priority mode, you set the aperture, the camera sets the shutter speed, and it also adjusts the ISO to ensure the shutter speed stays fast enough for sharp handheld shooting.
Auto ISO is excellent for situations where light levels vary quickly, such as walking between indoor and outdoor environments or photographing at an event with mixed lighting. Most cameras let you set a maximum ISO and a minimum shutter speed, which prevents the camera from using unacceptably high ISO values or dangerously slow shutter speeds.
Set your minimum shutter speed based on your focal length. A good starting point is 1/(focal length), so 1/50s for a 50mm lens or 1/200s for a 200mm lens. Set your maximum ISO to the highest value you find acceptable. For most modern cameras, ISO 6400 is a reasonable upper limit.
If you prefer maximum image quality and have time to adjust settings, set ISO manually. This gives you full control over the trade-off between noise (from high ISO) and motion blur (from slow shutter speeds). In stable lighting conditions, manual ISO with aperture priority is the cleanest approach.
When to Switch to Manual Mode
Aperture priority is versatile, but there are situations where manual mode is the better choice.
Consistent exposure across a series. When you are photographing a panorama sequence, a product set, or portraits against a consistent background, you need every frame exposed identically. In aperture priority, the camera may shift the shutter speed slightly between frames as the meter reads different tones. Manual mode locks everything in place.
Studio photography. When using studio strobes, you control the light output, and it stays constant between shots. There is no need for the camera to meter and adjust. Manual mode with a fixed aperture, shutter speed, and ISO gives you completely predictable results.
Tricky lighting that fools the meter. Backlit subjects, stages with spotlights, and high-contrast scenes can cause the meter to vary wildly from frame to frame. Switching to manual and setting the exposure for your subject eliminates this inconsistency.
Long exposures. When you specifically need a certain shutter speed (for light trails, smooth water, or motion blur), set it directly in manual mode rather than trying to coax aperture priority into choosing it for you.
Aperture Priority vs. Other Shooting Modes
Understanding how aperture priority compares to other camera modes helps you choose the right one for each situation.
Aperture priority vs. shutter priority. Use aperture priority when depth of field matters most (portraits, landscapes, macro). Use shutter priority when motion control matters most (sports, waterfalls, panning shots). In practice, most photographers spend far more time in aperture priority because depth of field affects a wider range of subjects.
Aperture priority vs. program mode. Program mode lets the camera choose both aperture and shutter speed. It is essentially full auto with the ability to shift the combination. Aperture priority gives you direct, deliberate control over your depth of field, which is a more meaningful creative decision in most situations.
Aperture priority vs. manual. Manual gives you full control but requires constant attention to changing light. Aperture priority gives you the creative control that matters most (depth of field) while automating the part that changes frequently (shutter speed for correct exposure). For most working photographers, aperture priority is faster without sacrificing creative intent.
Practical Exercises
Exercise 1: Aperture walk. Set your camera to aperture priority and go for a walk. Photograph the same subject at f/2.8, f/5.6, f/8, and f/16. Compare the depth of field and the shutter speeds the camera selected for each. This builds an intuitive understanding of the aperture/shutter speed relationship.
Exercise 2: Exposure compensation practice. Photograph a white object (a white wall, a snow scene, a white plate) at 0 compensation, then at +1 compensation. Compare the results. Then do the same with a dark subject and negative compensation. This teaches you when and how much to override the meter.
Exercise 3: One aperture challenge. Spend an entire day shooting at one fixed aperture (try f/5.6). This forces you to focus on composition, subject selection, and timing rather than constantly adjusting settings. You will learn what that aperture can and cannot do, building real-world knowledge of depth of field.
Common Mistakes with Aperture Priority
Not watching the shutter speed. Aperture priority can select a very slow shutter speed in dim conditions. If you set f/16 in a dark room, the camera might choose 1/4 second, which guarantees motion blur for handheld shots. Always glance at the shutter speed readout and increase ISO or widen the aperture if it drops too low.
Always shooting wide open. It is tempting to keep the lens at its widest aperture for blurry backgrounds, but most lenses are slightly soft at their maximum aperture. Stopping down by one or two stops (from f/1.8 to f/2.8, for example) often produces noticeably sharper results while still providing pleasing background blur.
Ignoring exposure compensation. The camera’s meter is a suggestion, not a command. Scenes with unusual tonal distributions (very bright or very dark) need exposure compensation. If your images are consistently too bright or too dark, the solution is exposure compensation, not a different mode.
Not setting Auto ISO limits. If you use Auto ISO without setting a maximum, the camera may push to extremely high ISO values that produce unacceptable noise. Always configure your Auto ISO ceiling and minimum shutter speed.
Frequently Asked Questions
Is aperture priority mode good for beginners?
Yes. Aperture priority is the recommended first step beyond full Auto mode. It introduces you to the most impactful creative control (depth of field) while keeping the technical complexity manageable. Most professional photographers also use aperture priority as their default mode.
Can I use aperture priority for action and sports?
You can, though shutter priority may be a better choice when freezing motion is the primary concern. If you do use aperture priority for action, pair it with Auto ISO set to a fast minimum shutter speed (1/500s or higher) so the camera always maintains a speed fast enough to freeze movement.
Do professional photographers use aperture priority?
Many do. Wedding photographers, photojournalists, street photographers, and travel photographers frequently use aperture priority because it lets them react quickly to changing conditions without sacrificing creative control over depth of field. Studio photographers and those requiring perfectly consistent exposures tend to prefer manual mode.
What is the difference between Av and A on my camera dial?
They are the same mode. Canon labels it “Av” (aperture value) while Nikon, Sony, Fujifilm, and most other manufacturers label it “A” (aperture). The function is identical regardless of the label.