Zone focusing means setting the focus distance and aperture in advance so that a known band of distances is sharp, then shooting anything inside that band without focusing again. A typical street setup is a 35mm lens at f/8 focused at 3 metres, which keeps everything from about 1.9 to 7 metres acceptably sharp on a full-frame camera. With focus already done, the only delay left is your finger.
This guide is the full how-to: reading the scales on a lens, a table of worked zones for three focal lengths, what to do when the lens has no scale, how to judge distance by eye, and the shutter speed and ISO that keep a zone usable. It goes further than the short section in street photography, and it covers the close-range case that hyperfocal distance, which is aimed at landscapes, leaves out.
What zone focusing is and why it is faster than autofocus
A lens focuses on one distance only. Things in front of and behind that distance get gradually softer, and the range that still looks sharp is the depth of field. Zone focusing turns that range into a tool. You choose the band of distances where your subjects are likely to be, set the lens so the depth of field covers it, switch off autofocus, and stop thinking about focus.
Three things make this quicker and more reliable than autofocus at close range:
- No acquisition time. Even quick autofocus needs a moment to find a subject and move the lens. A preset lens fires the instant you press the button.
- No wrong target. In a crowd, autofocus may pick a lamp post, a passer-by in front, or the background between two people. A zone does not choose anything, so it cannot choose wrongly.
- No need to look. Because the camera does not have to see the subject through a focus point, you can shoot from the chest or hip, or raise the camera for a fraction of a second.
The cost is that sharpness inside the zone is “acceptable”, not perfect, except at the exact distance you set. That trade is worth it when timing matters more than fine detail, which describes most candid photography of people in public.
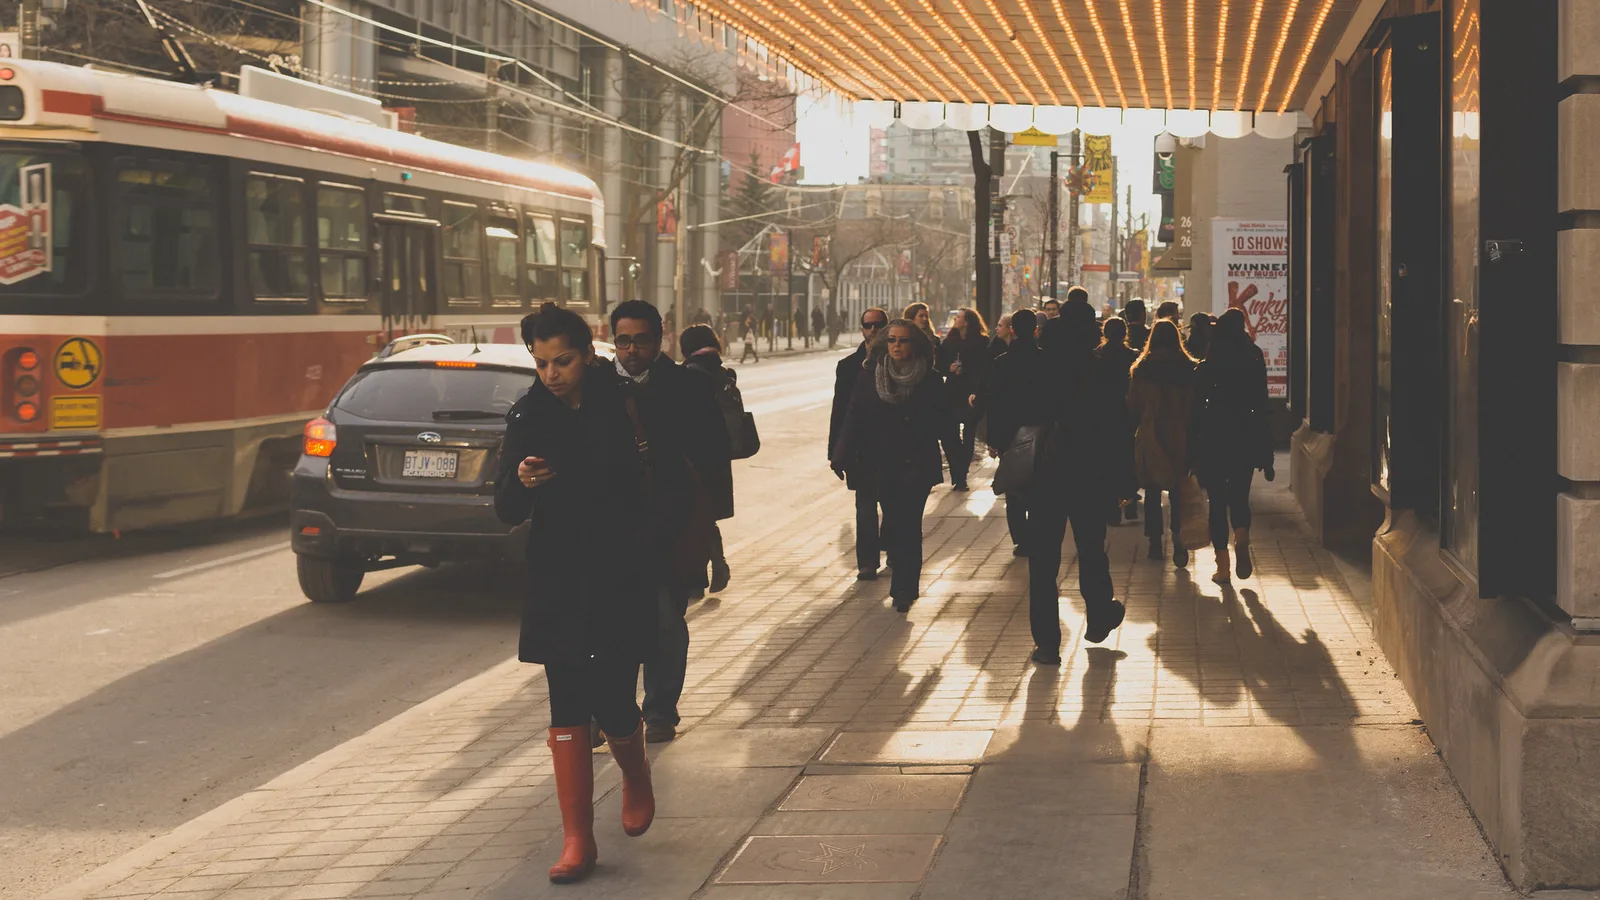
How it differs from hyperfocal focusing
Hyperfocal focusing is one particular zone: the one whose far limit is infinity. It is the right choice for a landscape, where the distant hills must be sharp. On the street it is often the wrong one. With a 35mm lens at f/8 the hyperfocal distance is about 5.1 metres, and focusing there gives a zone from about 2.6 metres to infinity. A person 2 metres away, which is where many of the strongest street pictures happen, is outside it. Zone focusing puts the band where the subjects are and lets distant buildings go slightly soft, which nobody notices.
Remember too that the sharpest plane is always the distance you focused on. Set the focus where you expect the main subject, not merely at a distance whose zone happens to include it.
Reading the distance scale and depth of field marks
Many manual lenses, and some autofocus lenses, carry two scales on the barrel. Together they are a depth of field calculator that needs no batteries.
- The distance scale turns with the focus ring. It is marked in metres and feet, from the closest focus distance up to the infinity symbol.
- The focus index is a fixed line on the barrel. Whatever distance sits opposite it is the distance the lens is focused on.
- The depth of field marks are fixed pairs of lines either side of the index, each pair labelled with an f-number: a narrow pair for f/4, a wider pair for f/8, wider again for f/16.
To read a zone, find the pair of marks for the aperture you are using. The distance opposite one mark is the near limit, and the distance opposite the other is the far limit. To set a zone, work the other way round:
- Decide the near and far distances you want sharp, for example 2 metres and 5 metres.
- Turn the focus ring until both distances sit between a matching pair of marks.
- Read which f-number that pair belongs to, and set that aperture or a smaller one.
- Leave the focus ring alone. A small piece of tape across the ring stops it drifting in a bag or against your hand.
Two cautions. Distance scales are cramped: the gap between 3 metres and infinity may be a few millimetres of ring travel, so treat readings as estimates. A lens with a long focus throw has a more spread-out, more trustworthy scale. And the engraved marks assume a fairly relaxed standard of sharpness, so for a safety margin read the marks one stop wider than the aperture you set. Shooting at f/11, use the f/8 marks.
Example zones for 28mm, 35mm and 50mm
If your lens has no marks, or you want to memorise a few zones before leaving the house, use the table. Each cell shows the near and far limits of acceptable sharpness in metres for a full-frame camera. For feet, 2 metres is about 6.5 feet, 3 metres about 10 feet and 5 metres about 16 feet.
| Lens and aperture | Hyperfocal distance | Focused at 2 m | Focused at 3 m | Focused at 5 m |
|---|---|---|---|---|
| 28mm at f/8 | 3.3 m | 1.3 to 5.0 m | 1.6 to 31 m | 2.0 m to infinity |
| 28mm at f/11 | 2.4 m | 1.1 to 11 m | 1.3 m to infinity | 1.6 m to infinity |
| 35mm at f/8 | 5.1 m | 1.4 to 3.2 m | 1.9 to 7.1 m | 2.5 to about 150 m |
| 35mm at f/11 | 3.7 m | 1.3 to 4.2 m | 1.7 to 14 m | 2.2 m to infinity |
| 50mm at f/8 | 10.5 m | 1.7 to 2.5 m | 2.3 to 4.2 m | 3.4 to 9.5 m |
| 50mm at f/11 | 7.6 m | 1.6 to 2.7 m | 2.2 to 4.9 m | 3.0 to 14 m |
Assumptions. The figures come from the standard depth of field formulas. Hyperfocal distance H = f² / (N × c) + f, where f is the focal length, N the f-number and c the circle of confusion, taken here as 0.03 mm, the usual value for a full-frame sensor. For a focus distance s, the near limit is H × s / (H + s − f) and the far limit is H × s / (H − s + f); when s is equal to or greater than H, the far limit is infinity. Distances are measured from the lens, values are rounded to the nearest 0.1 metre (whole metres above 10), and f/11 is taken as exactly 11. A 0.03 mm circle corresponds to a moderate print viewed at a normal distance. At 100 percent on a high-resolution screen the truly crisp band is narrower than the table says.
Three patterns in the table are worth remembering, because they let you predict zones the table does not list:
- The zone is lopsided. It always extends farther behind the focus distance than in front. At 35mm and f/8 focused at 3 metres, you get 1.1 metres in front and 4.1 metres behind.
- Distance changes the zone enormously. A 50mm lens at f/8 has a zone only 0.8 metres deep at 2 metres, but more than 6 metres deep at 5 metres.
- Fractions of the hyperfocal distance give tidy zones. Focus at H and the zone runs from half of H to infinity. Focus at half of H and it runs from roughly a third of H to H. Focus at a third of H and it runs from roughly a quarter of H to half of H. For a 35mm lens at f/8 (H about 5.1 metres), focusing near 2.5 metres gives roughly 1.7 to 5 metres.
Choosing focal length, aperture and distance
Focal length: wider is far more forgiving
Depth of field at a given distance and aperture shrinks roughly with the square of the focal length. That is why zone focusing is associated with 28mm and 35mm lenses. At 28mm and f/11, one setting (focus at 3 metres) covers everything from 1.3 metres to the horizon. At 50mm the same aperture and distance cover only 2.2 to 4.9 metres, so you must judge distance to within about a metre. Zone focusing at 50mm is possible and many photographers do it, but it rewards practice and punishes guesswork. Beyond about 50mm the zones become too thin to be practical at close range. The lens choices themselves are compared in lenses for street photography.
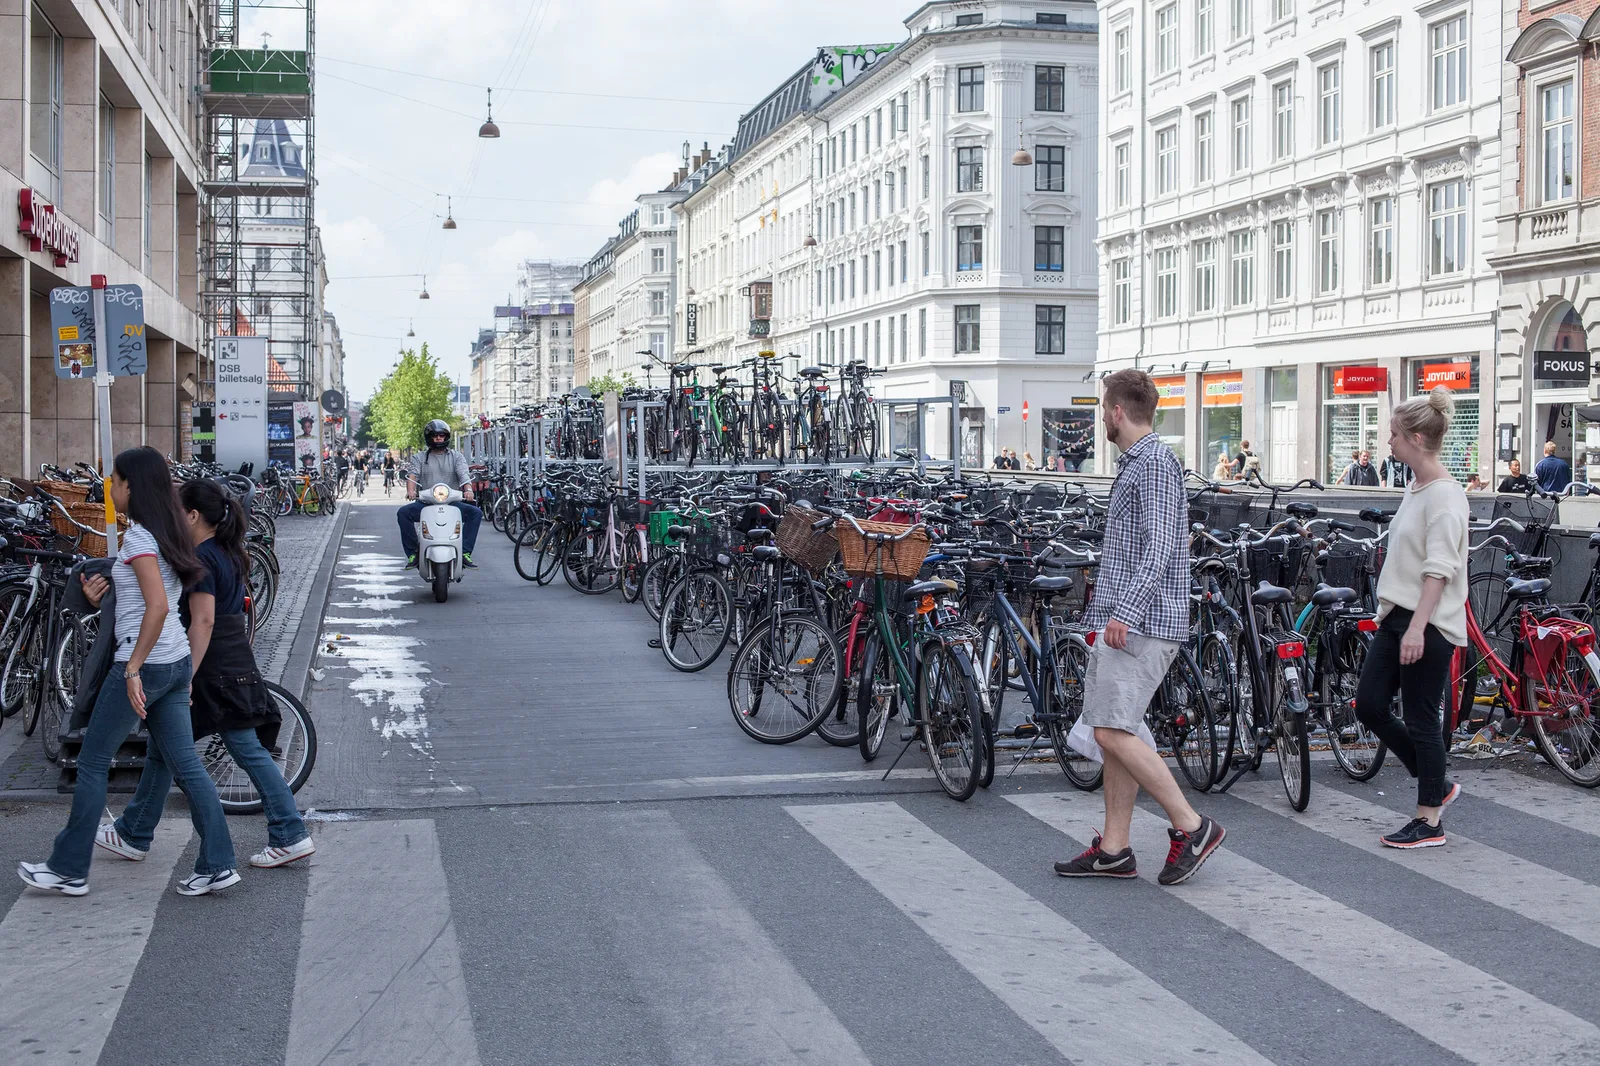
Aperture: f/8 to f/11 is the working range
Each stop you close the aperture deepens the zone, and each stop costs you light. At 35mm focused at 3 metres, f/4 gives about 2.3 to 4.2 metres, f/5.6 gives 2.1 to 5.0 metres, f/8 gives 1.9 to 7.1 metres and f/11 gives 1.7 to 14 metres. Past f/11, diffraction begins to soften the whole frame slightly. On a full-frame camera f/16 is still usable when you need the depth, but f/8 and f/11 give the best balance of depth, sharpness and shutter speed.
Distance: set it for the picture you want
Decide how large you want people in the frame, then set the distance that framing implies. With the camera held horizontally on a full-frame body, a standing adult about 1.7 metres tall fills the height of the frame at roughly 2 metres with a 28mm lens, 2.5 metres with a 35mm lens and 3.5 metres with a 50mm lens. So for full-length figures with a little room around them, 3 metres suits a 35mm lens and 4 to 5 metres suits a 50mm lens. For half-length figures in a crowd, set 1.5 to 2 metres and accept a shallower zone.
Smaller sensors get deeper zones
The table is for full frame. On a smaller sensor you use a shorter lens for the same view, and shorter lenses have more depth of field. A 23mm lens on an APS-C camera frames like a 35mm lens on full frame, and at f/8 its hyperfocal distance is about 3.3 metres (using a 0.02 mm circle of confusion) against about 5.1 metres for the full-frame 35mm. That is a little more than one stop of extra depth for the same picture, so an APS-C zone at f/5.6 roughly matches a full-frame zone at f/8.
Zone focusing on a lens with no distance scale
Many autofocus lenses have a smooth focus ring, no markings and no hard stops. You can still zone focus with them. The method changes from reading a scale to placing the focus on a real object.
- Autofocus on something at your chosen distance. Stand 3 metres from a wall, a lamp post or a parked car and let the camera focus on it.
- Lock it. Switch the lens or body to manual focus so a half-press of the shutter button no longer refocuses. With back button focus set up you do not even need the switch: focus once with the rear button, then leave that button alone.
- Set the aperture from the table and take a test frame of something at the near limit and something at the far limit.
- Re-check regularly. Rings get knocked. Repeat step 1 whenever you have put the camera away, changed lenses or bumped the lens.
Other aids worth looking for in the camera’s menus and displays:
- An electronic distance scale. Many mirrorless cameras show a distance bar in the viewfinder or on the rear screen while in manual focus, and some add a depth of field bar that widens as you stop down.
- Focus memory. Some cameras return a focus-by-wire lens to a default position when they sleep or power off. If yours does, look for a setting that remembers the focus position, or refocus on your reference object each time the camera wakes.
- Focus peaking. With the aperture stopped down, peaking gives a rough preview of which distances are inside the zone. Treat it as a guide, not a measurement.
- Zoom lenses. A zone belongs to one focal length. Pick one, and hold the zoom ring there with tape or a rubber band, because a nudge from 28mm to 40mm quietly halves your depth.
Learning to judge distance by eye
A zone is only useful if you can tell when a subject is inside it. Estimating distance is a skill, and it responds quickly to practice.
- Calibrate your own body. Measure your normal walking pace once; for many adults it is around 0.7 to 0.8 metres, so four paces is about 3 metres. Your outstretched arm span is close to your height.
- Use the built environment. A standard interior door is about 2 metres tall, so a door’s height laid flat on the pavement is your 2 metre mark. A typical family car is 4 to 5 metres long. Paving slabs and kerb stones repeat at regular intervals; pace out one set and count slabs afterwards.
- Use the frame itself. From the framing distances above, a person who fills the height of a horizontal frame is at about 2 metres (28mm), 2.5 metres (35mm) or 3.5 metres (50mm). If you know how big you want the figure, you know the distance.
- Guess, then check. Pick an object, say the distance aloud, then autofocus on it and read the distance display, or pace it out. Ten checked guesses a day for a week trains the eye better than any chart.
Because the zone is lopsided, errors are not equal. If you are unsure, let the subject come slightly closer to the focus distance than you think necessary, or set the focus a little nearer than your estimate. There is always more room behind the focus point than in front of it.
Shutter speed, ISO and working inside the zone
Zone focusing fixes two of the three exposure controls at once: the aperture is set by the depth you need, and the shutter speed has to freeze walking people and a moving camera. That leaves ISO to absorb changes in the light.
| Situation | Shutter speed | Why |
|---|---|---|
| You are standing still, subjects strolling | 1/250 | Freezes ordinary walking at 3 metres or more |
| You are walking too, or subjects pass close | 1/500 | Near subjects cross the frame faster, and your own movement adds blur |
| Cyclists, runners, shooting from the hip | 1/500 to 1/1000 | Fast subjects and an unsteady camera |
The simplest setup is manual mode with the aperture and shutter speed fixed and Auto ISO left to float. In full sun at f/8 and 1/500, ISO stays near its base value. In open shade the light is roughly four stops dimmer, so the same settings need ISO 1600 to 3200. That is a fair price: a little noise is far less damaging than blur from camera shake or a zone that is too shallow.
Waiting for the subject to reach the zone
The most reliable way to use a zone is to choose a spot, not a person. Find a doorway, a patch of light, a crossing or a bend in a path, set your zone on it, and wait for someone to walk into it. Focus, exposure and composition are already settled, so all that is left is timing.
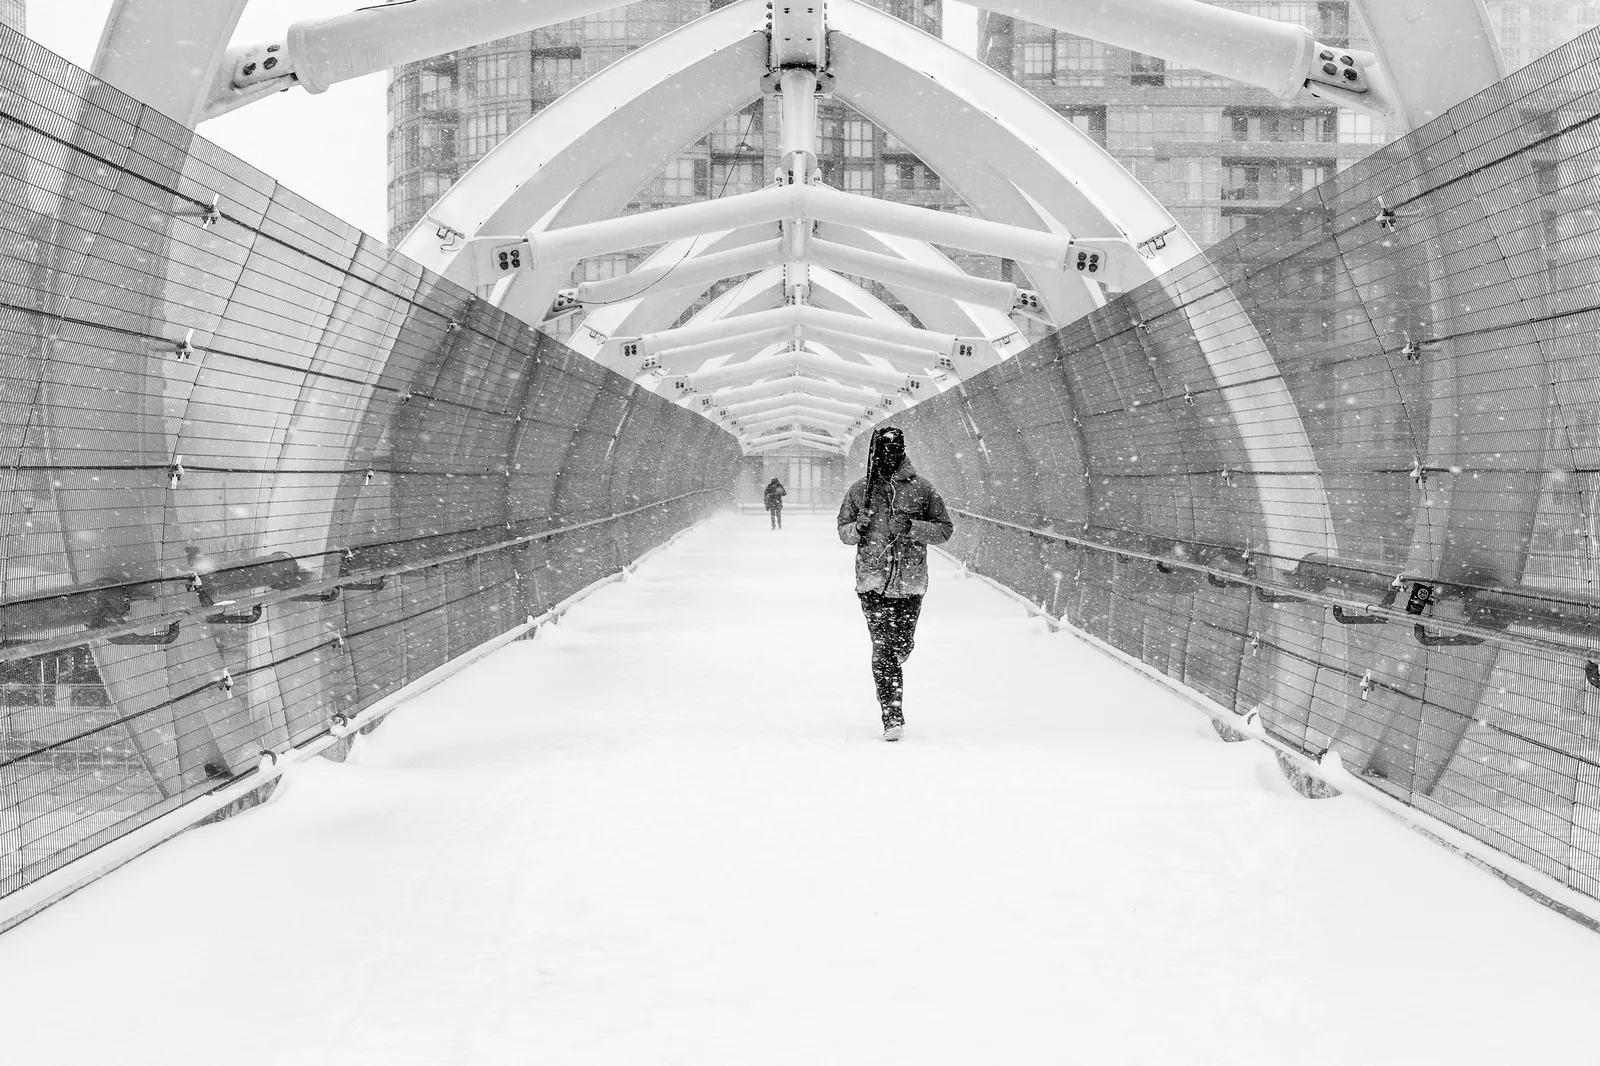
Shooting without raising the camera
With focus preset you can shoot from the chest or hip. Use the widest lens you have, because a wide view forgives poor aim and has the deepest zone. Hold the camera level against your body, keep the shutter speed at 1/500 or faster, and expect to crop and straighten afterwards.
After dark
At night f/8 is rarely possible, and the zone shrinks as you open up. A 28mm lens at f/2.8 focused at 3 metres covers roughly 2.3 to 4.4 metres; a 35mm lens at f/4 covers 2.3 to 4.2 metres. Those are still workable if you pick one distance and wait for subjects to reach it, especially under a street lamp or a shop window where the light is. Accept a higher ISO to keep 1/125 or faster. Night street photography covers exposure after dark in detail.
When autofocus is the better tool
Zone focusing is not a rule. Switch back to autofocus when you are using a lens longer than about 50mm, when you want a shallow depth of field at f/2 or wider, when subjects are closer than about 1.5 metres, or when distances change too quickly and widely to predict, as at many sports and event photography jobs.
Common mistakes
- The focus ring moved. Every frame is soft and you did not notice until later. Fix: tape the ring, and glance at the scale or re-set focus on a reference object every few minutes.
- Autofocus was still on. The camera refocused on the background at the half-press. Fix: switch to manual focus, or move focus to a rear button and stop touching it.
- Using the hyperfocal distance for close subjects. The background is sharp and the person at 2 metres is not. Fix: set the focus where the subject will be, and let the far distance go.
- Standing too close for the zone. Near limits are closer to the focus distance than people expect. Fix: memorise the near limit, not just the focus distance, and step back half a pace when in doubt.
- Blaming focus for motion blur. At 1/60 a walking person blurs even inside a perfect zone. Fix: hold 1/250 or faster and raise ISO to pay for it.
- Trusting the zone at full magnification. Subjects near the limits look soft at 100 percent. Fix: stop down one more stop than the table suggests if you plan large prints or heavy crops.
Try this
Give yourself fifteen minutes on a pavement or in a park. Set the lens to its widest focal length up to 35mm, the aperture to f/8, the shutter to 1/500 and ISO to automatic. Pace out 3 metres from a post or bin, autofocus on it, then switch to manual focus. Now place three objects in your mind: one at the near limit from the table, the post at 3 metres and something at the far limit. Photograph each one without refocusing. Then spend ten minutes photographing passers-by or cyclists only when they cross your 3 metre mark, without touching the focus ring. At home, enlarge the frames and note how sharpness changes between the near limit, the focus distance and the far limit.
Frequently asked questions
What are the best settings for zone focusing?
A reliable start on a full-frame camera is a 28mm or 35mm lens at f/8, focused at 3 metres, with a shutter speed of 1/250 to 1/500 and Auto ISO. At 35mm that covers about 1.9 to 7 metres; at 28mm it covers about 1.6 metres to well beyond 30 metres.
Can you zone focus with an autofocus lens?
Yes. Autofocus on an object at your chosen distance, then switch to manual focus or use a rear focus button so the shutter button no longer refocuses. Check the setting again whenever the camera has been asleep or the ring may have been touched.
Does zone focusing work with a 50mm lens?
It works, but the zones are thin. At f/11 focused at 3 metres a 50mm lens covers about 2.2 to 4.9 metres, so you must judge distance accurately. Setting the focus at 5 metres gives a more forgiving 3 to 14 metres.
Why are my zone focused photos still soft?
The usual causes, in order, are a shutter speed too slow for moving people, a subject closer than the near limit, and a focus ring that has shifted. Check the shutter speed first, because motion blur and missed focus look similar on a small screen.
Related guides
- Hyperfocal distance: the landscape version of the same idea, with the far limit at infinity.
- Hyperfocal distance calculator: work out H for any lens, aperture and sensor.
- Depth of field: what controls the size of the sharp band.
- Street photography: approach, composition and conduct in public places.
- Manual focus: focusing aids and when focusing by hand beats the camera.
- Rangefinder cameras: the camera type most closely tied to this way of working.
- Back button focus: the easiest way to lock a preset distance on an autofocus lens.