Construction sites are full of drama. Tower cranes swing against the sky, steel frames rise floor by floor, concrete trucks pour, sparks fly from welders and workers in bright vests move with purpose. For a few months or years, a construction site is one of the most dynamic places in a city, and then it is gone, replaced by a finished building. Photographing construction captures that fleeting transformation and teaches valuable lessons about line, scale, silhouette and storytelling.
This beginner guide covers why construction makes a rewarding subject, photographing from public places, cranes and silhouettes, lines and patterns, scale, workers and machines, light and weather, construction at night, progress series, historic cranes and industrial heritage, settings, phones, editing, safety and permission, common mistakes and a short practice exercise. It pairs well with the guides to architecture photography and industrial photography.
Why construction makes a rewarding subject
- Strong lines. Cranes, beams, scaffolding and rebar create bold geometry.
- Change. Sites transform week by week, giving endless fresh views.
- Scale. Huge machines and tiny figures show the size of human ambition.
- Color. Yellow machines, orange cones and safety vests pop against gray concrete.
- Story. Building sites tell stories of work, growth and cities changing.
Construction pictures can be graphic and abstract, documentary and human, or simply beautiful in evening light. Many famous photographers have recorded great building projects, from skyscrapers to bridges and dams.
Thinking about what to show
Before you start, decide what interests you most about a site. It might be the shapes of cranes against the sky, the people who build, the machines that move earth, the way a building grows over time or how a neighborhood changes around it. Each focus leads to different pictures. A graphic approach suits silhouettes and black and white, a human approach suits close views of hands and tools from public places, and a documentary approach suits a long series made from the same spot.
Stages of a build
Each stage of construction offers different pictures. Demolition brings broken walls, dust and exposed rooms. Excavation creates deep pits with tiny machines at the bottom. Foundations reveal grids of rebar and forms waiting for concrete. The frame rises next, with steel or concrete floors stacking upward and cranes at their busiest. Then cladding and windows close the building in, reflections appear and scaffolding begins to come down. Finally, the finished building stands clean beside the memory of the site. Knowing which stage a site is in helps you choose what to look for, and following one building through every stage makes a satisfying long project.
Photographing from public places
Construction sites are private, fenced and often dangerous. You can make excellent pictures without ever stepping inside.
- Fence gaps and viewing windows. Many sites have holes or windows in hoardings for the public.
- Across the street. A wider view shows the whole site and its surroundings.
- Higher viewpoints. Nearby parking garages, bridges and public terraces look down on sites.
- Through the fence. Place the lens close to wire mesh so it disappears.
- Long lenses. Telephoto lenses reach workers and details from the sidewalk.
Never climb fences, cranes or scaffolding. Some famous city pictures were made by trespassing on cranes and rooftops, but the danger is real and the risk is never worth it. The guide to cityscape photography covers safe high viewpoints.
Signs, hoardings and the street
The edges of a construction site have their own character. Hoardings are often covered in artist renderings of the finished building, painted murals, safety notices and posters. A picture of the rendering beside the real, half built structure can be witty and revealing. Hard hats hanging on a fence, a row of portable toilets, a tea break on an upturned bucket and a stop sign held by a flagger all say something about life on site. Street photographers can find rich moments where passersby meet construction, such as people peering through viewing windows or walking under covered sidewalks. The guide to street photography has more ideas for these everyday scenes.
Cranes and silhouettes
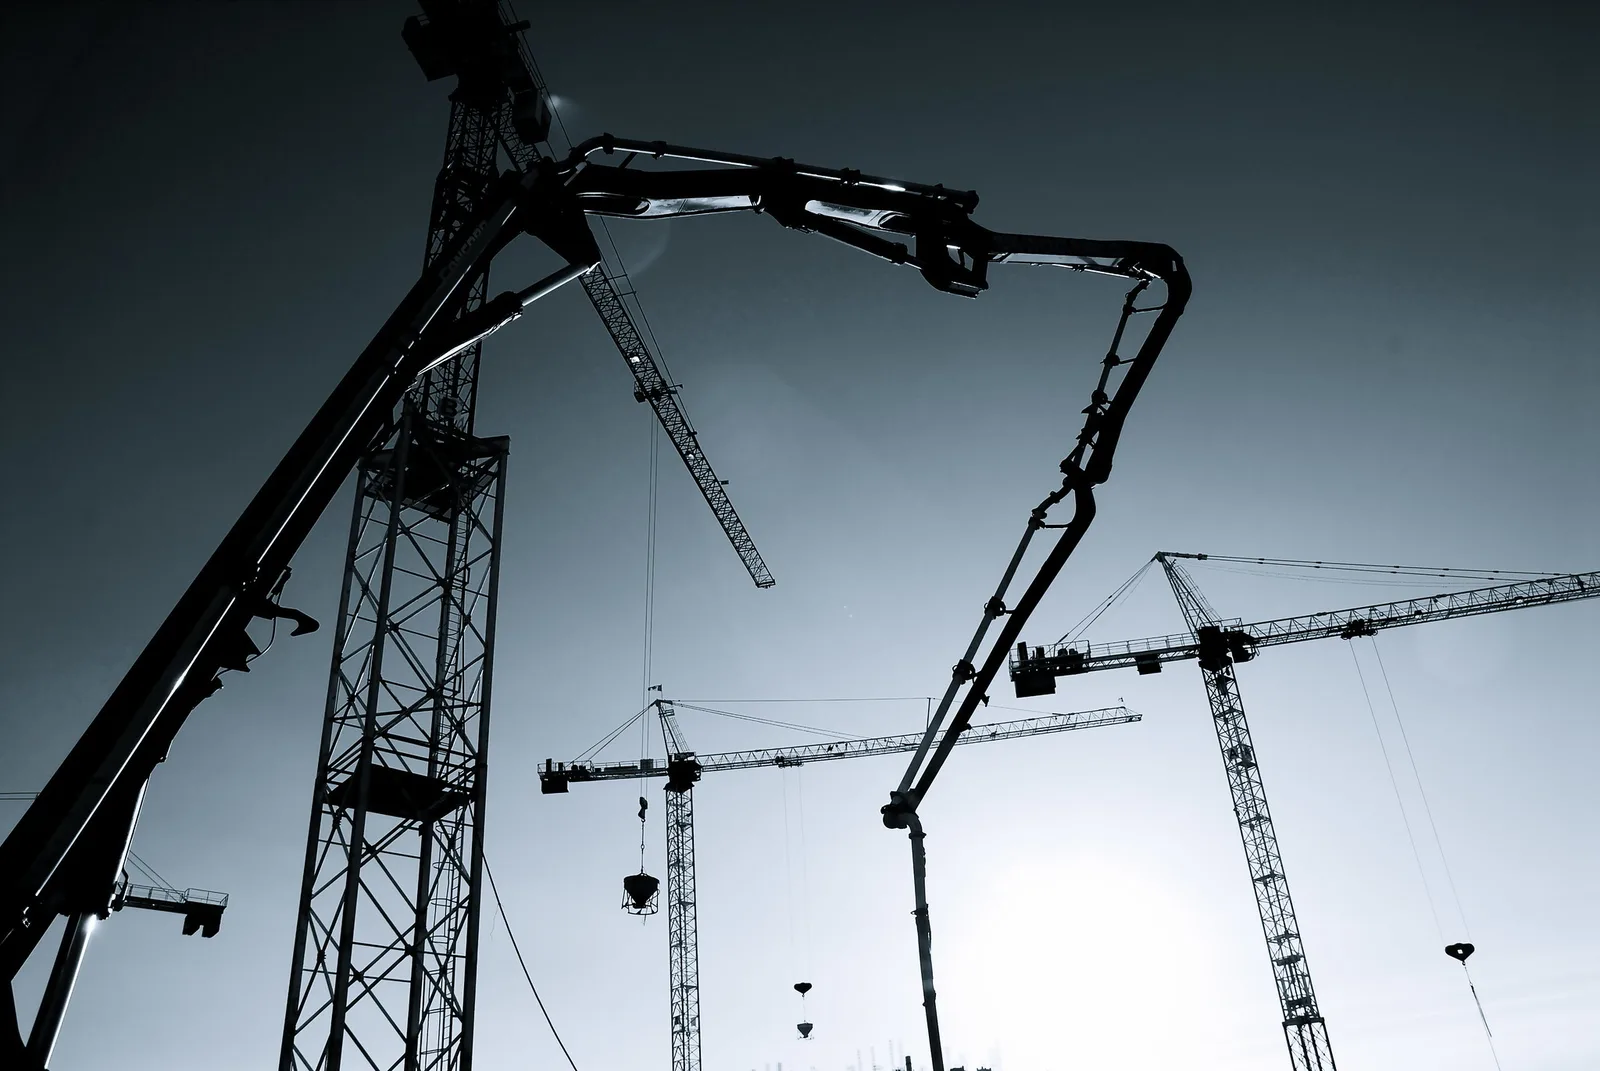
Tower cranes are the icons of construction.
- Silhouettes. Shoot cranes against a bright sky or sunset so they turn dark and graphic. See the guide to silhouette photography.
- Lattice patterns. Long lenses reveal the triangles in crane masts and jibs.
- Groups. Several cranes at different angles create rhythm and energy.
- Looking up. A wide lens from the base makes cranes tower over the viewer.
- Moon and sun. Line up a crane with the moon or setting sun using a long lens.
Cranes move slowly, so watch how the jib swings and wait for a strong position, such as a diagonal across the frame.
Lens choices on site
A wide lens close to the fence exaggerates height and makes cranes and frames loom dramatically, especially looking straight up. A standard lens gives honest views from across the street. A telephoto lens is perhaps the most useful tool of all, picking out workers on high floors, the hook and load of a crane, a pattern in scaffolding or a single bright machine against concrete. From a distance, a long lens also compresses several cranes into a dense, graphic cluster. Try all three on a single visit and compare which you prefer.
Lines, patterns and shapes
- Steel frames. Grids of beams and columns make strong repeating patterns.
- Scaffolding. Poles and planks create rhythm and frames within frames.
- Rebar. Rows of steel bars make abstract textures.
- Stacks. Piles of pipes, bricks and timber show repetition.
- Shadows. Low sun throws scaffold shadows across walls and ground.
Look for close, abstract compositions that leave out the whole site. The guides to line and patterns and repetition have more ideas.
Showing scale
- Workers. A small figure on a high beam shows the height of a structure.
- Machines. Excavators and trucks show the size of a pit or foundation.
- Surroundings. Older neighboring buildings show how the rising structure changes the street.
- Distance. A long lens from far away stacks cranes against the city.
The guide to scale explains how familiar objects help viewers judge size.
Color on the building site
Construction sites are often gray and brown, which makes the bright colors of machines and safety gear stand out boldly. Yellow excavators, orange vests, red hard hats, blue tarps and green netting give natural points of interest. Look for a single bright element against a plain concrete wall, or a pattern of orange cones on gray asphalt. On overcast days these colors look rich and saturated. In contrast, some sites look best in black and white, where color distracts from shape and texture. Decide which approach suits each scene.
Workers and machines
- Action. Welding sparks, pouring concrete and lifting loads make dynamic pictures.
- Hands and tools. Gloved hands, levels and hammers show craft.
- Machines. Diggers, cement mixers and pump trucks have bold shapes and colors.
- Respect. Workers are busy and focused, so keep a respectful distance and ask before close portraits.
Pictures that leave faces out, or that show workers small and anonymous, avoid privacy concerns and keep the focus on the work itself.
Infrastructure projects
Not all construction is buildings. Bridges, roads, tunnels, railways and dams are built in stages too, often over many years. Bridge construction is especially photogenic, with arches and decks reaching toward each other across water before they meet. Road projects bring long lines of barriers, lights and machines at night. Many large public projects publish viewing points or open days for the community, which can be wonderful chances to see work up close safely. The guide to bridge photography covers finished bridges.
Light and weather
- Golden hour. Warm light makes steel and concrete glow.
- Backlight. Low sun behind cranes creates silhouettes and rim light.
- Overcast. Flat light suits black and white and close details.
- Fog. Mist swallows the tops of cranes and adds mystery.
- Rain. Wet surfaces shine and reflect lights.
Dust on busy sites can catch light beautifully, especially when backlit in late afternoon.
Reflections and glass
As a building is clad in glass, it begins to reflect the sky, clouds and neighboring buildings. Cranes reflected in fresh windows, or a half glazed tower showing sky in some panels and bare steel in others, make striking pictures about transformation. After rain, puddles on site roads and sidewalks mirror cranes and lights. Look for reflections that combine the historic and the unfinished, such as a historic building reflected in a rising glass tower.
Construction at night
- Crane lights. Red warning lights on top of cranes add points of color.
- Floodlit sites. Night work under floodlights looks dramatic.
- Blue hour. The sky balances with site lights soon after sunset. See the guide to blue hour photography.
- Tripod. Long exposures keep detail sharp and blur moving machines.
Drawn to big structures and machines? The guide to industrial photography covers factories, refineries and heavy industry.
Progress series
One of the most rewarding construction projects is a progress series.
- Same spot. Return to exactly the same position each time.
- Same framing. Use the same focal length and note landmarks at the frame edges.
- Regular visits. Weekly or monthly visits show steady change.
- Time lapse. A camera on a long term mount can record the whole build. See the guide to time lapse photography.
A progress series of a neighborhood building becomes a valuable local record, and many communities love seeing these sequences.
Historic cranes and industrial heritage
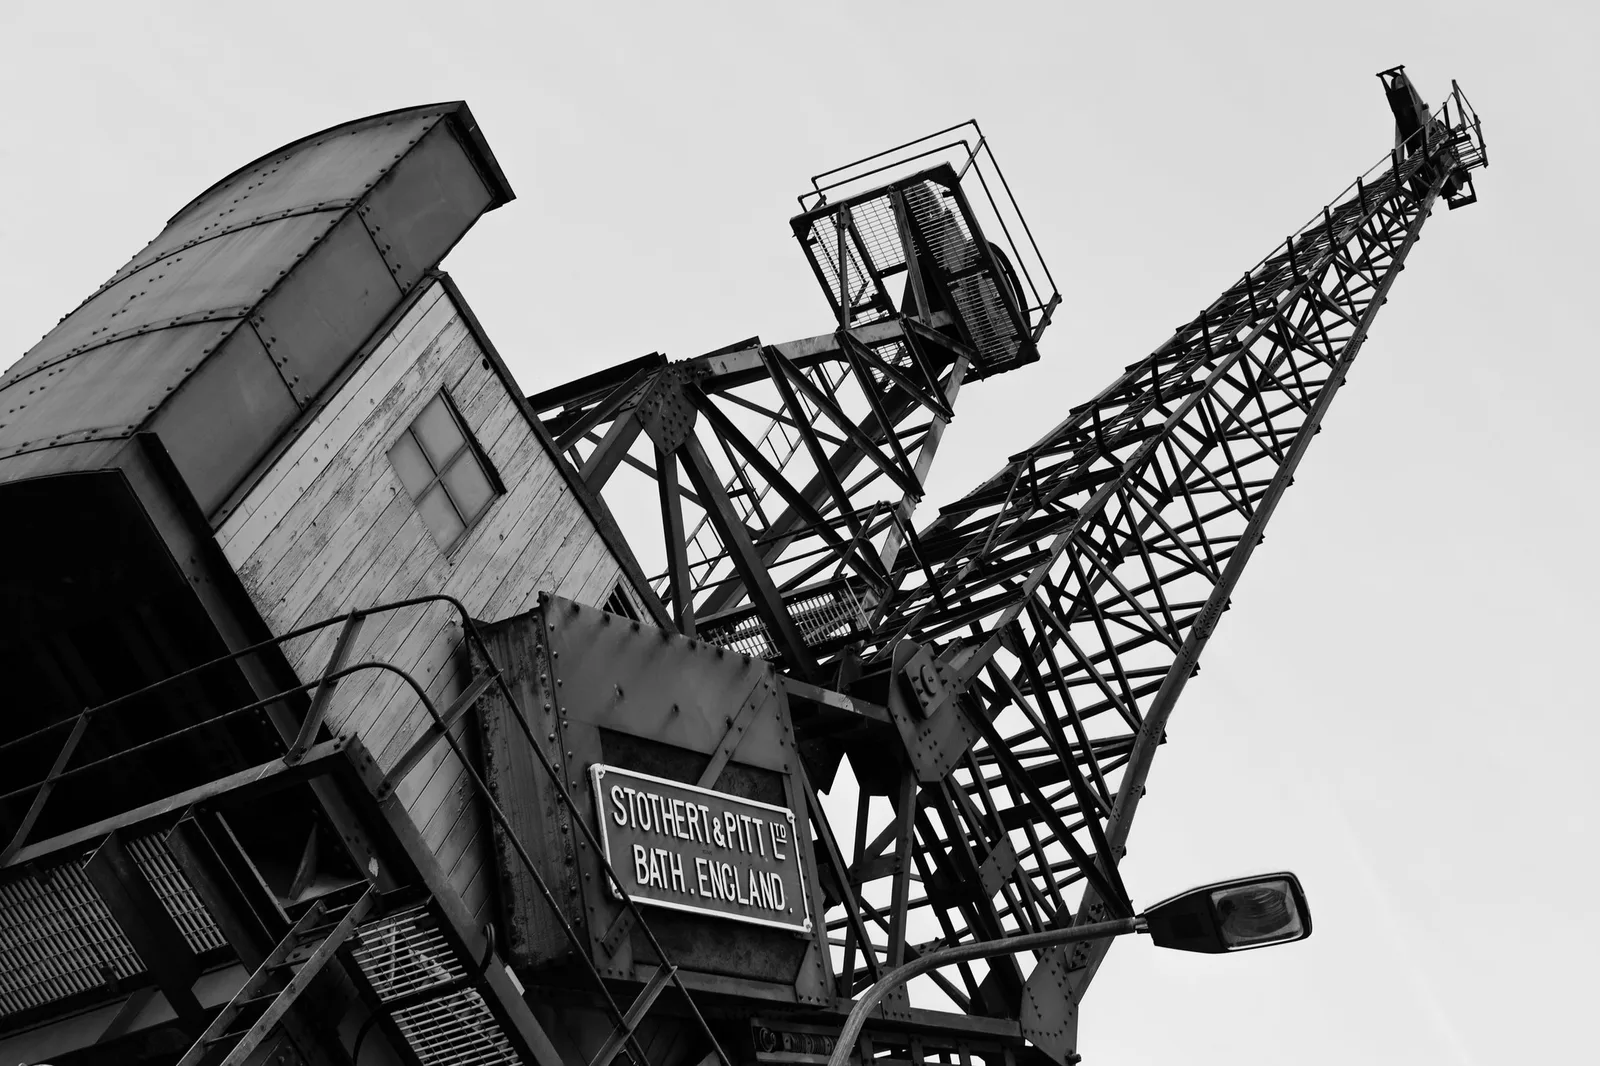
Old dockside cranes, rusted gantries and preserved machines are reminders of past industry. Many port cities keep historic cranes as monuments. Their riveted steel, maker’s plates and worn paint make wonderful subjects for black and white and close detail pictures. The guide to rust photography has ideas for weathered metal.
Demolition
Demolition is the other side of construction, and it can be just as compelling. Half torn walls reveal wallpaper, stairs and paint colors from rooms that no longer exist. Excavators with long reach arms bite into upper floors, and piles of rubble catch evening light. Photograph from a safe public distance, since falling debris and dust travel far. A pair of pictures, one of the demolition and one of the finished replacement from the same spot, tells a powerful story of change.
Settings, phones and editing
- Aperture. f/8 to f/11 for sharp structures.
- Shutter. 1/250 second or faster for moving workers and machines.
- Lenses. A wide lens for looking up, a telephoto for details from the street.
- Exposure. For silhouettes, expose for the bright sky.
Using a phone
Phones are discreet and easy to hold up to fence gaps. Use the telephoto lens for cranes and details, tap on the sky and lower exposure for silhouettes, and try the ultra wide lens looking straight up at cranes.
Editing construction photos
Straighten verticals for structures. Add contrast and clarity for steel and concrete textures. Black and white suits cranes and frames, while bold color suits machines and safety gear. For silhouettes, deepen blacks and keep a clean sky. See the guide to black and white photography.
Working for builders
Construction photography can also be a paid specialty. Builders, architects and developers often need regular progress pictures, marketing images and records for clients and investors. These jobs usually require site safety training, protective gear and careful planning with the site manager. Even as a beginner, photographing a friend’s home renovation or a community project is good practice for the skills involved: consistency, clear documentation and safe working habits.
Safety and permission
- Stay outside the fence. Never enter a site without permission and safety gear.
- Watch traffic. Trucks enter and leave sites often.
- Ask for access. Some builders offer tours or hire photographers for progress records.
- Respect security. Explain what you are doing if asked.
- Protect gear. Dust is hard on cameras, so change lenses away from wind.
Telling the story of a neighborhood
A building site changes the whole street around it. Photograph the old buildings that came down, the empty lot, the noise and barriers and the tower rising above older homes. Over time, this becomes a record of how a city grows and changes. Local historical societies and libraries often welcome such records, and the pictures become more valuable with every passing year.
Common mistakes
- Trespassing. Stay in public places.
- Cluttered frames. Simplify to cranes, lines or a single machine.
- Midday only. Return in golden hour or at night.
- Visible fence wire. Put the lens close to the mesh.
- One visit. Return to record change.
- Close faces without asking. Respect workers’ privacy.
Sound and atmosphere
Construction sites are loud, busy places, and good pictures can suggest that energy. Motion blur on a swinging load, dust hanging in a sunbeam, steam from a coffee cup at dawn or sparks streaking from a grinder all help viewers feel the noise and activity. Slow the shutter slightly for movement, or freeze a spray of sparks at a fast speed.
Try this: a 10-minute construction study
Find a construction site you can see from a public place and make five pictures in ten minutes.
- A wide view showing the site and its surroundings.
- A crane in silhouette against the sky.
- A close pattern of scaffolding, beams or rebar.
- A machine or worker in action, small in the frame.
- A note of your position so you can return for a progress picture.
Frequently asked questions
Can I photograph construction sites?
Yes, from public places. Ask permission before entering a site.
How do I photograph cranes in silhouette?
Shoot against a bright sky or sunset and expose for the sky.
How do I photograph through a construction fence?
Place the lens close to the mesh and use a wide aperture.
What is a construction progress series?
A set of pictures from the same spot over time, showing a building grow.
What lens is best for cranes?
A telephoto for details and silhouettes from the street, and a wide lens for dramatic views looking up.
Is black and white good for construction photos?
Yes. It emphasizes line, shape and texture in steel, concrete and cranes.
Want to photograph finished buildings? The guide to architecture photography covers facades, interiors and light.
For terms such as silhouette, time lapse and leading lines, see the photography glossary.