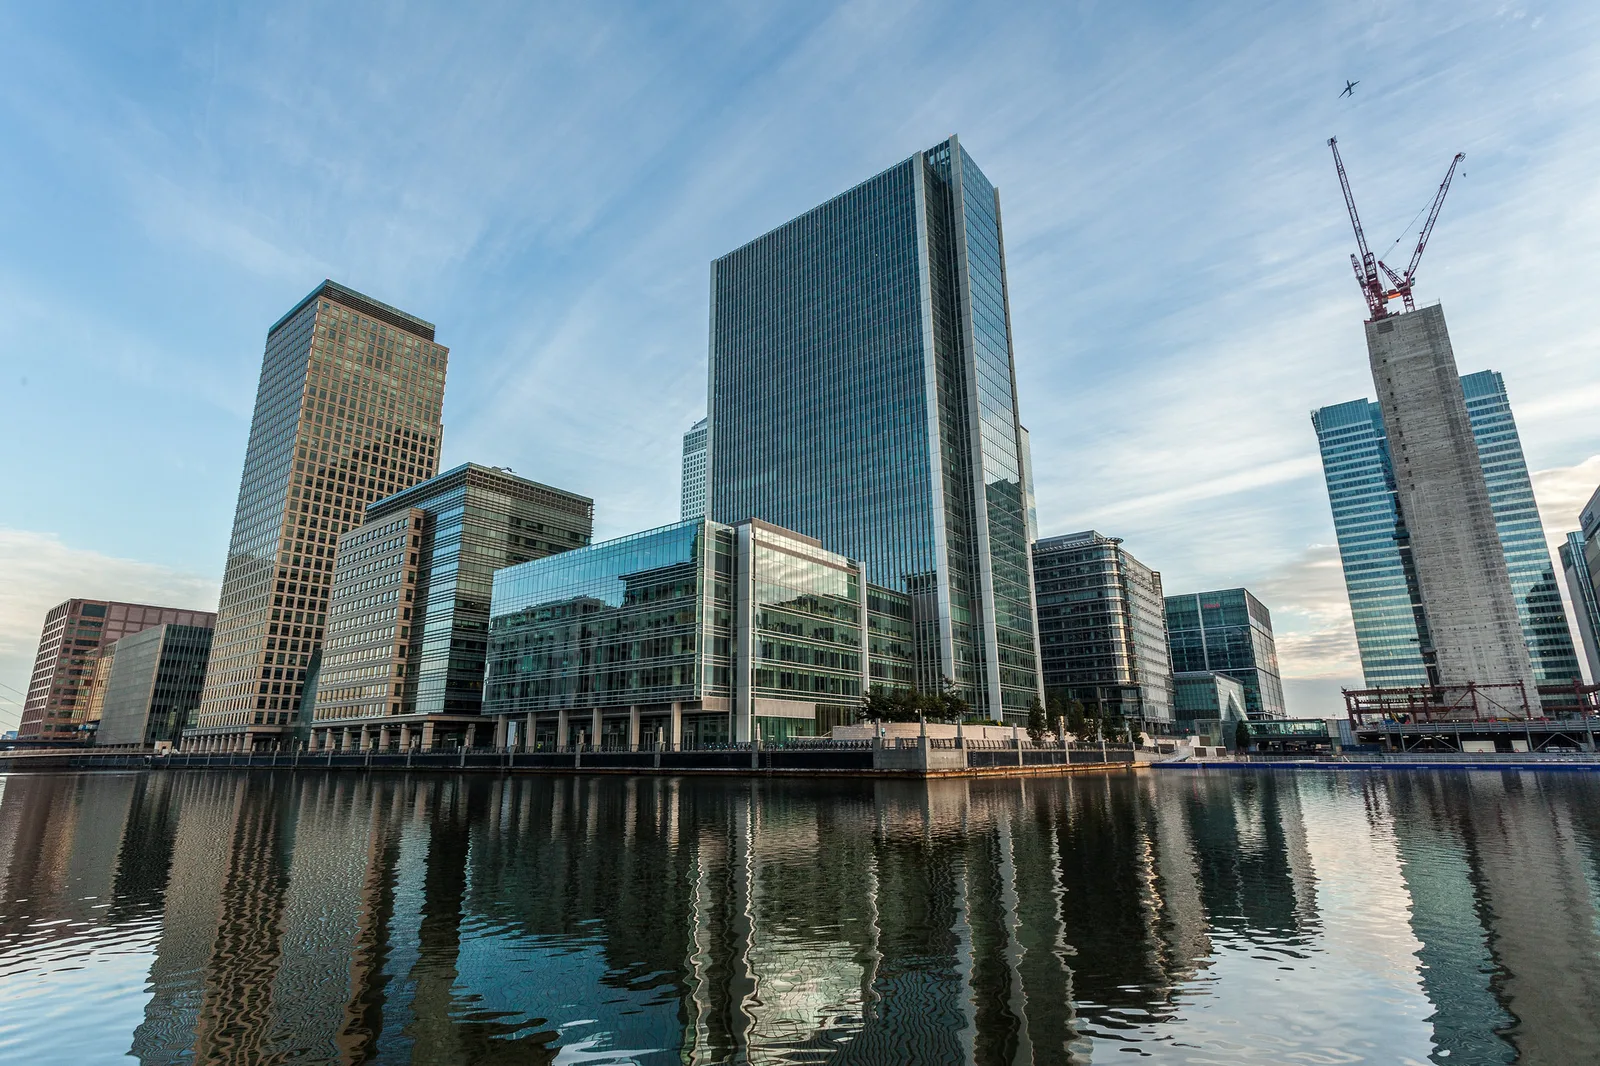
Buildings are everywhere, and every one of them was designed by someone who cared about shape, light and space. A glass tower reflecting the clouds, a stone church glowing at sunset, a colorful row of houses on a quiet street and a sweeping staircase inside a library all reward a careful eye. Architecture photography is the art of showing those designs clearly and beautifully, and it is one of the most rewarding subjects a beginner can choose, because buildings stand still and wait for you.
This beginner guide covers how to see buildings, keeping lines straight, choosing the right time of day, photographing facades, the building in its setting, interiors, details, patterns and abstracts, cities and small towns, people and scale, lenses and settings, phones and editing. For deeper technique on lenses, perspective control and working as a professional, see the full guide to architecture photography techniques and careers.
Learning to see buildings
Good architecture pictures start with looking before shooting. Walk around a building, and ask a few simple questions.
- What is its big idea? Is it tall and soaring, low and wide, curved and playful, heavy and solid?
- What shapes repeat? Windows, arches, columns, balconies and panels often create rhythm.
- What is it made of? Glass, brick, stone, wood, concrete and steel each catch light differently.
- Where is the best side? Most buildings have a front that was designed to be seen, but side and back views can surprise.
- What surrounds it? Trees, streets, water, mountains or other buildings change how it feels.
Once you understand what makes a building special, you can choose an angle, light and lens that show it off. A picture that captures the idea of the building is always stronger than one that simply records it.
A simple routine for any building
When you arrive at a building, try working in the same order every time. First, take one wide picture that shows the whole building and its setting, so you remember the scene. Next, walk all the way around it and note where the light falls best. Then make your careful main picture, level and well framed. After that, move closer for details, patterns and textures, and finally step inside if you are allowed. This calm routine keeps you from rushing and makes sure you leave with a complete set of pictures rather than many versions of the same view.
Keeping lines straight
Straight lines are the foundation of architecture photography. When you tilt the camera up to fit a tall building, its sides lean inward as if the building is falling backward. This is called converging verticals.
- Hold the camera level. Keep it pointing straight ahead rather than up, and use the grid display and level.
- Step back. Moving farther away lets you fit the building in without tilting.
- Find a higher spot. A bridge, a hill or an upper floor across the street puts you level with the middle of the building.
- Crop later. Shoot wide with the camera level, then crop away the extra foreground.
- Correct in editing. Most editing apps can straighten verticals in a few seconds.
Sometimes leaning lines are the point. Looking straight up a skyscraper from its base makes a dramatic, dizzying picture. The rule is simple: make leaning lines strong and deliberate, or keep them perfectly straight. Slightly tilted lines just look like a mistake.
Curious about lenses built to keep buildings straight? The guide to tilt shift photography explains how perspective control lenses work.
Light through the day
Light shapes buildings as much as it shapes landscapes.
- Golden hour. Low, warm light rakes across facades, revealing texture and making stone and brick glow.
- Midday. Hard overhead light creates bold, graphic shadows that suit clean, geometric buildings and strong shapes.
- Overcast days. Soft, even light shows color and detail and works well for interiors and busy facades.
- Blue hour. Just after sunset, interior lights glow against a deep blue sky, balancing beautifully with the building.
- Night. Floodlit landmarks and lit windows make dramatic scenes on a tripod.
Notice which way a building faces. An east facing front catches morning sun, and a west facing front glows in the evening. Plan your visit around the light, and return if the first visit falls at the wrong time. The guides to golden hour and blue hour explain these times in more detail.
Buildings at night
After dark, buildings take on a second personality. Floodlights pick out columns and carvings, office towers become grids of glowing windows and bridges trace lines of light across rivers. Set the camera on a tripod or a wall, use a low ISO and let the shutter stay open for several seconds. Start shooting during blue hour, while there is still color in the sky, and keep going as the sky turns dark. Watch for bright lamps in the frame, since they can flare. A small change of position usually hides them behind a column or tree.
Photographing facades
The facade, or front face, of a building is often its most designed and recognizable side.
- Straight on. Stand directly in front and center the camera for a formal, symmetrical view.
- Three quarter view. Step to one side to show the front and one side together, which adds depth.
- Fill the frame. Crop out the sky and street so the facade becomes a pattern of windows and walls.
- Look for color. Painted houses, tiled walls and colorful doors make cheerful, graphic pictures.
Many buildings are designed with symmetry, so centering the camera often looks right. Take care to stand exactly in the middle, since being slightly off center is more noticeable than being clearly to one side.
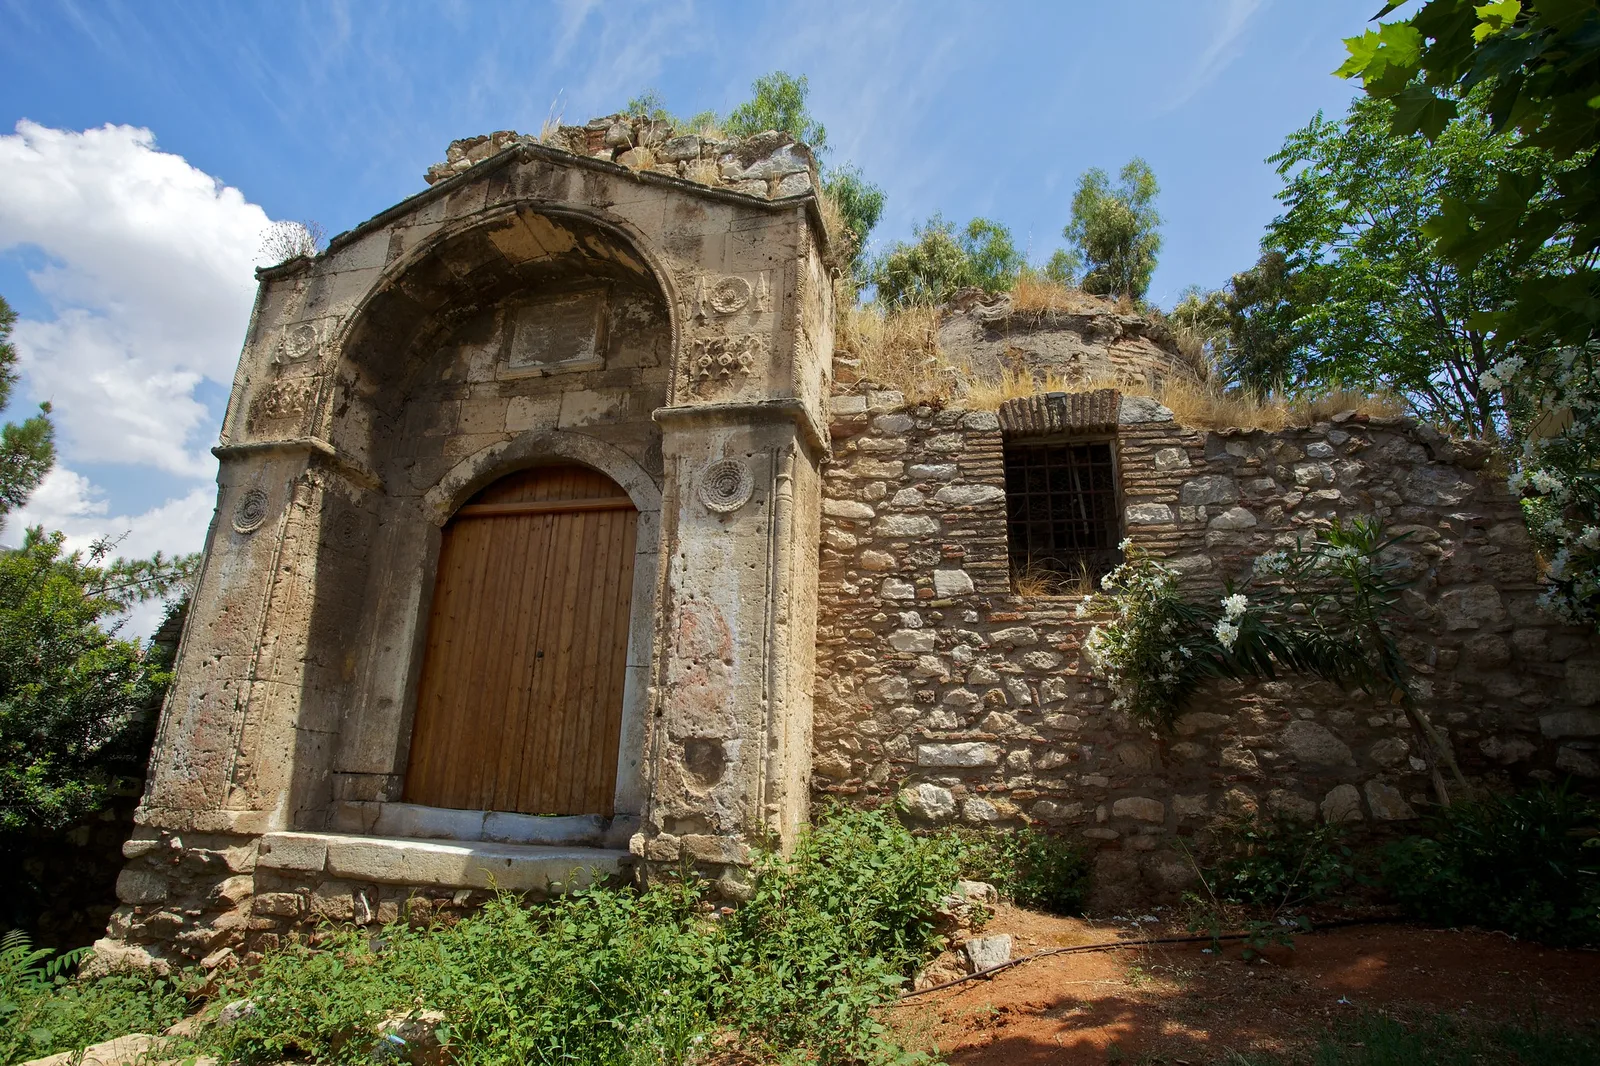
The building in its setting
A building never exists alone. Showing its surroundings tells the viewer where it is and how it fits into the world.
- Use the landscape. A chapel on a hill, a farmhouse in a field or a cabin by a lake shows how people live in the land.
- Use reflections. Water, wet streets and glass walls double a building and add depth.
- Use foreground. Trees, fences, railings or a winding path lead the eye toward the building.
- Use the sky. Dramatic clouds or a plain blue sky give a clean backdrop for strong shapes.
A longer lens from far away can compress a building against mountains or a skyline, while a wide lens close up emphasizes the building and its immediate surroundings. The guide to reflection photography has more ideas for mirrored scenes.
Interiors
Inside, architecture becomes about space, light and flow.
- Find the corners. Shooting from a corner or doorway shows the most of a room.
- Keep the camera level and at chest height. This gives a natural, balanced view with straight walls.
- Look up. Domes, vaults, skylights and spiral stairs often look best from directly below.
- Use window light. Natural light from windows makes rooms feel calm and real.
- Watch bright windows. Windows can blow out. Expose for the room, or take several exposures and blend them.
Always ask permission and follow rules in churches, museums and private buildings. The guides to interior photography and museum and church photography cover these spaces in depth.
Respect and permission
Most buildings can be photographed freely from public streets, but interiors, courtyards and private homes belong to someone. Ask before entering, follow any signs about photography, avoid tripods where they block paths and never photograph through the windows of private homes. Being polite and patient often opens doors, quite literally, to beautiful spaces that most visitors never see.
Stairs, doors and windows
Some features deserve pictures of their own. Staircases make strong leading lines and spirals, doors and doorways make natural frames and windows show both the building and the light it lets in. Each of these small features can tell the story of a building as well as a wide view. See the guides to staircase photography and door photography for more ideas.
Details and materials
Get closer, and buildings reveal the craft that went into them.
- Ornament. Carved stone, ironwork, mosaics and painted tiles reward close views.
- Materials. The grain of wood, the pattern of brick and the shine of steel show how a building is made.
- Joints and edges. Where glass meets steel or stone meets wood, interesting lines appear.
- Weathering. Rust, moss and peeling paint show age and history.
Side light brings out texture, and a longer lens helps you reach details high on a wall. A few detail pictures alongside a wide view make a complete portrait of a building.
Patterns and abstracts
Architecture is full of repetition, and filling the frame with it creates striking abstract pictures.
- Windows and balconies. Rows of identical windows make grids that look like graphic designs.
- Curves and angles. Curved roofs, spiral ramps and sharp corners make bold shapes against the sky.
- Light and shadow. Shadows of beams, louvers and railings create stripes and patterns.
- Break the pattern. One open window, a plant or a person in a grid of sameness gives the eye a place to rest.
The guide to pattern and repetition has more ideas for spotting rhythm in walls, roofs and windows.
Want shapes and tones to take center stage? The black and white photography guide shows how to see and edit in monochrome.
Cities and small towns
Architecture photography is not only about famous landmarks. Ordinary streets are full of beautiful buildings.
- City skylines. Groups of towers against the sky show the character of a city.
- Old town centers. Historic streets have charming facades, arches and courtyards.
- Small towns. Main streets, churches, grain elevators and old storefronts tell local stories.
- Everyday buildings. Gas stations, diners, barns and houses can be just as photogenic as cathedrals.
Walk slowly, look up and wander down side streets, since many of the best buildings are not on the main road.
Buildings to practice on
You do not need a famous landmark to learn. Start with the buildings you pass every week.
- Places of worship. Churches, temples and mosques often have strong symmetry, towers and beautiful details.
- Libraries and town halls. Public buildings usually have grand entrances, columns and welcoming interiors.
- Train stations. Large roofs, arches and long platforms make dramatic lines.
- Bridges and towers. Engineering structures are architecture too. See the guide to bridge photography.
- Houses and storefronts. Colorful doors, porches and shop signs show local character, as the guide to small town photography explains.
Photographing the same familiar building again and again, in different seasons and light, teaches more than a single visit to somewhere grand.
Ready to photograph whole cities? The guide to cityscape photography covers skylines, viewpoints and city light.
People and scale
People give buildings life and show their size.
- Show scale. A small figure at the base of a tower or in a grand hall shows how huge it is.
- Wait for the moment. Frame the building and wait for someone to walk through a pool of light or a doorway.
- Use motion blur. A slow shutter speed turns crowds into soft streaks while the building stays sharp.
- Keep strangers general. Small, distant figures add life without intruding on anyone’s privacy.
For a clean, empty look, visit early in the morning, when streets and plazas are quiet.
Lenses and settings
- Wide lenses. Useful for interiors and tight streets, but keep the camera level to avoid leaning lines. See the guide to wide angle lenses.
- Standard lenses. Natural views of facades and street scenes.
- Telephoto lenses. Details high on walls and compressed views of buildings against their setting.
- Aperture. Use f/8 to f/11 for sharpness from front to back.
- ISO. Keep it low outdoors, and use a tripod or steady surface indoors and at night.
Using a phone
A phone is a wonderful tool for architecture. Turn on grid lines and the level, hold the phone straight rather than tilted up and use the ultra wide lens for interiors. Many phones correct leaning lines automatically or in their editing tools. Night mode works well for lit buildings after dark.
Editing architecture photos
Start by straightening the horizon and correcting verticals. Fix lens distortion if walls bow outward, using the guide to lens corrections. Lower highlights to bring back detail in bright skies and windows, and lift shadows gently. Add a touch of clarity for texture, but avoid overdoing it, which makes buildings look harsh. Keep colors true to the materials.
Common mistakes
- Slightly leaning verticals. Keep lines straight or make them strongly dramatic.
- Cutting off parts awkwardly. Show the whole building or crop boldly to a detail.
- Wrong light. A front in deep shade looks flat. Return when the light falls on it.
- Cluttered foregrounds. Cars, bins and signs distract. Change angle or time.
- Blown out skies and windows. Expose carefully and recover highlights in editing.
- Ignoring rules. Ask before photographing inside, and respect private property.
Try this: a 10-minute building study
Choose one building near you, and take five pictures in ten minutes.
- A straight on view of the front, perfectly level and centered.
- A three quarter view showing two sides.
- A view that includes its setting.
- A close detail of a material or ornament.
- An abstract pattern of windows, lines or shadows.
Compare the five, and notice how each angle tells a different story about the same building. Return at another time of day to see how the light changes it.
Frequently asked questions
How do I stop buildings from leaning in my photos?
Keep the camera level rather than tilted up, step back or find a higher viewpoint, and correct verticals in editing.
What is the best lens for architecture photography?
A wide or standard lens for most buildings, with a telephoto for details. Keep the camera level with wide lenses.
When is the best time to photograph buildings?
Golden hour for warm texture, blue hour for glowing lights and overcast days for even detail.
Can I photograph buildings with a phone?
Yes. Use grid lines and the level, hold the phone straight and correct lines in editing.
For terms such as converging verticals, perspective, tilt shift and blue hour, see the photography glossary.