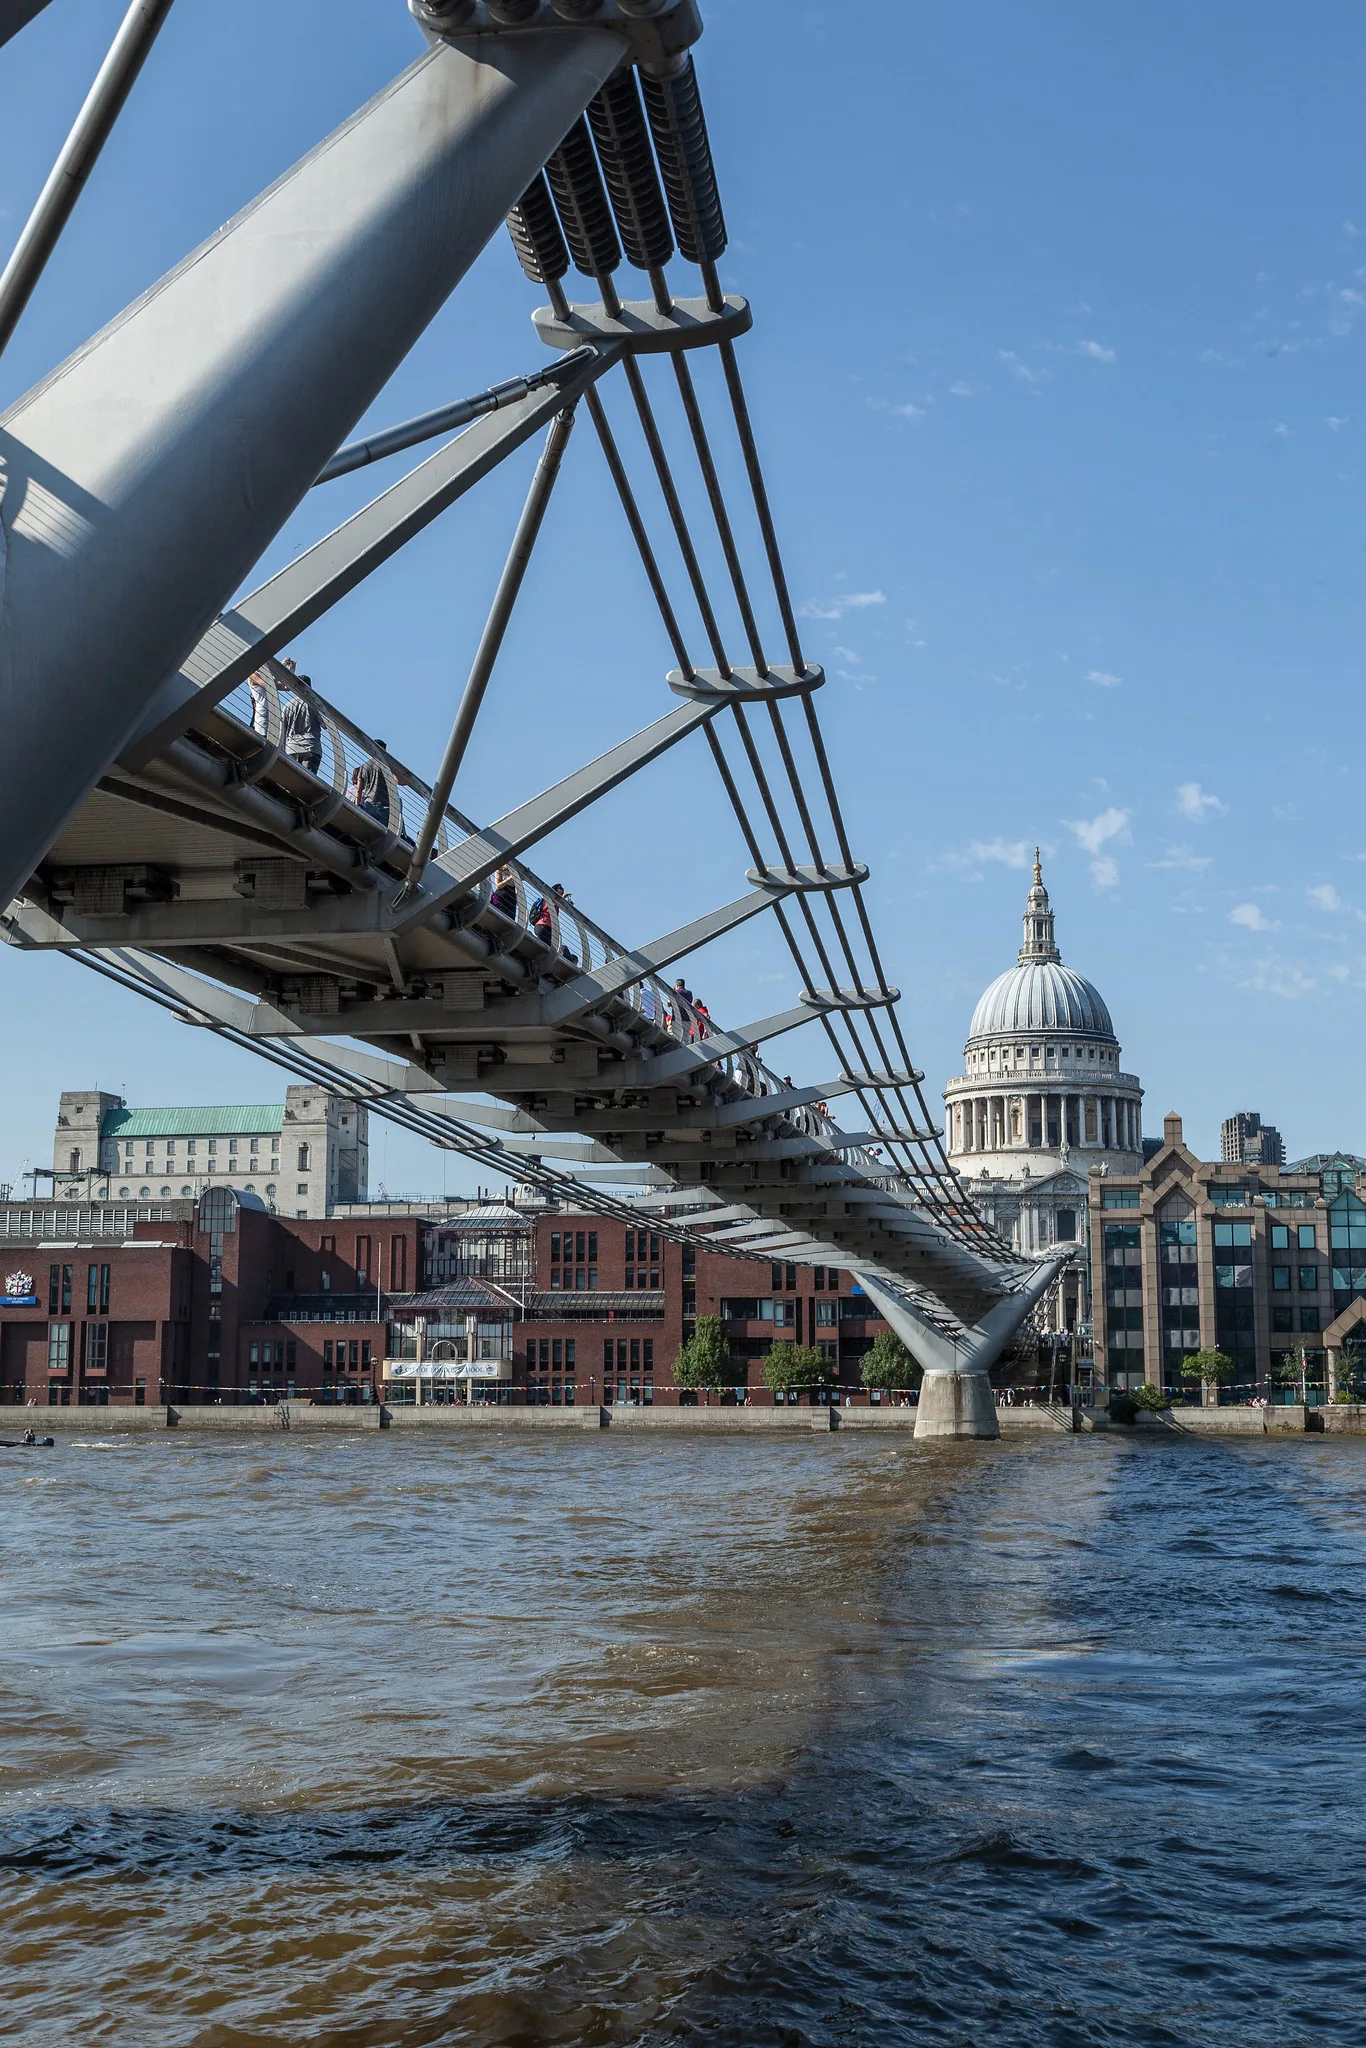
Bridges are among the most photogenic structures people have ever built. They combine engineering and grace, span rivers, valleys and roads, and connect places in a way that feels symbolic as well as practical. A suspension bridge glowing at dusk, a stone arch reflected in a quiet river, a steel trestle striding across a valley: each one rewards a thoughtful photographer.
This guide covers the different kinds of bridges and what makes each one interesting, how to find the best viewpoints, the classic angles, how to use water and reflections, the best light, night photography, details and patterns and how to show a bridge as part of its landscape. Bridges are also a great way to practice the ideas in the guide to composition, because their lines, curves and repetition are so clear.
Why bridges make good pictures
A bridge gives a photographer a lot to work with in one subject.
- Strong lines. Decks, cables, railings and arches all create lines that lead the eye across or into a picture.
- Repetition. Towers, piers, cables and trusses repeat along a bridge, creating rhythm and pattern.
- Symmetry. Many bridges are designed to be symmetrical, which makes them ideal for balanced, centered pictures.
- Setting. Bridges cross water, valleys and cities, so they come with interesting surroundings.
- Story. A bridge connects two places. Even a simple picture of one can suggest a journey or a meeting.
Bridges are also accessible. Most cities and many towns and parks have at least one worth photographing, and many can be enjoyed from public paths, riverbanks and parks.
Kinds of bridges and what to show
Knowing a little about how a bridge is built helps you see what to emphasize.
| Type | What makes it distinctive | What to look for |
|---|---|---|
| Suspension | Tall towers and long curving cables | The sweep of the main cables, the towers against the sky |
| Cable-stayed | Straight cables fanning from towers | Fan patterns and strong diagonal lines |
| Arch | A curved arch carrying the deck | The curve itself and its reflection in water |
| Truss and trestle | Steel or wood frameworks of triangles and towers | Repeating shapes, shadows and texture |
| Beam and footbridge | Simple decks on piers | Clean lines, people crossing, the view along the deck |
| Old stone and covered bridges | Handmade materials and age | Texture, setting and seasons |
Before you photograph a bridge, take a moment to ask what makes it special. Is it the height of its towers, the curve of its arch, the rhythm of its supports or its setting? Building the picture around that one quality makes it far stronger than a general view.
Finding the best viewpoint
The viewpoint you choose shapes the picture more than anything else. The obvious spot is rarely the best, so give yourself time to explore.
- Walk both banks. A bridge often looks completely different from each side, and the light may suit one side better.
- Look from a distance. A view from further along the river or from a hill shows the full span and the bridge’s setting.
- Go underneath. Where a public path passes below, the view up into the structure can be dramatic.
- Walk across. Footbridges and bridges with walkways offer views along the deck and out over the water.
- Look from another bridge. In cities with several bridges, one bridge is often the best viewpoint for the next.
- Check maps and other pictures. Maps show paths, parks and high points near a bridge. The guide to location scouting explains how to plan a visit.
Always choose public, safe places. Never climb structures, enter closed areas or stand in traffic lanes for a better view.
The classic views
Several angles work for almost any bridge. Try a few on each visit.
The side view
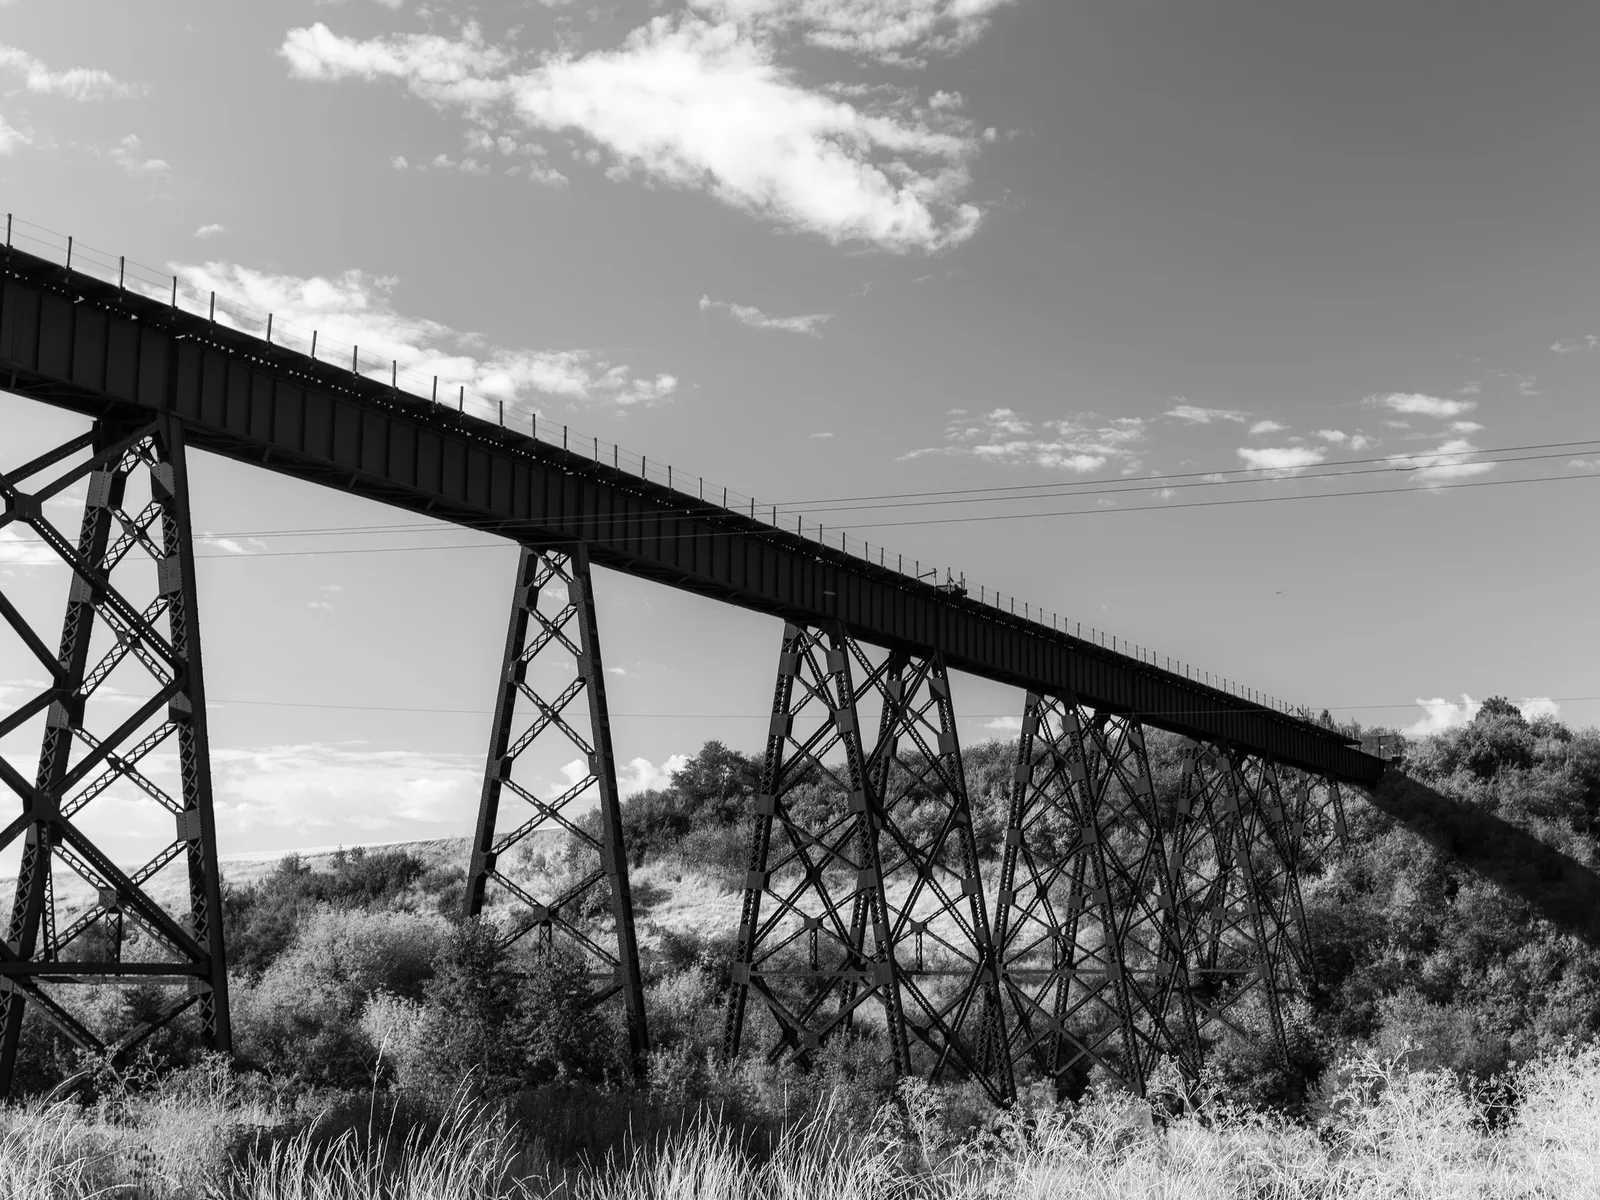
Standing square to the bridge from a riverbank or park shows the whole span and its shape. This suits arches, suspension bridges and long trestles, like the steel trestle on this page. Keep the camera level and place the bridge across the frame, with water or land below and sky above.
The angled view
Moving to one side and looking along the length of a bridge shows its depth as it recedes. Towers and piers get smaller toward the far end, which creates a strong sense of distance. This is often the most dynamic way to photograph a bridge.
The view along the deck
Standing at one end of a footbridge or on a walkway and looking straight along it creates a powerful symmetrical picture, with railings and cables converging toward the far side. The photo at the top of this page uses this view to lead the eye toward a landmark beyond.
The view from below
Looking up from beneath a bridge shows its structure: beams, trusses and the underside of the deck. Wide lenses make the structure soar above you.
The view from above
From a hill, a tall building or an aerial viewpoint, a bridge becomes a line drawn across the landscape. Look for curves of road and river meeting at the bridge.
Want to make the most of the lines a bridge creates? The guide to leading lines explains how to guide the viewer’s eye.
Water and reflections
Most bridges cross water, and water is a gift for photographers.
- Look for still water. Calm conditions, often early in the morning, turn a river into a mirror. An arch and its reflection together make a complete circle or oval.
- Get low. The closer your camera is to the water, the larger the reflection appears.
- Use a polarizing filter carefully. It can cut glare on water to show what lies below, but it can also remove the reflection you want. Turn it while watching the effect. See the guide to the polarizing filter.
- Use moving water. A long exposure smooths a rippled river into a soft surface, which makes the bridge stand out. The guide to long exposure photography covers the technique.
- Watch the tide. Bridges over tidal rivers and estuaries look very different at high and low water.
The guide to reflection photography has more ideas for using water as a mirror.
Light and time of day
Light changes the mood of a bridge completely.
- Golden hour. Warm, low light makes steel and stone glow and adds long shadows. Check which side of the bridge the sun will light.
- Blue hour. The short time after sunset, when the sky is deep blue and the bridge lights come on, is often the best time of all. The guide to blue hour photography explains why.
- Overcast and fog. Soft light suits old stone bridges and quiet river scenes. Fog can hide the far end of a bridge, making it vanish into the mist. See the guide to fog photography.
- Hard midday light. Strong sun creates bold shadows of trusses and cables, which can suit black and white.
- Backlight. A bridge silhouetted against a sunrise or sunset makes a simple, graphic picture.
Bridges at night
Many bridges are lit at night, turning them into glowing shapes against the dark. City bridges with traffic add streaks of light.
- Use a tripod on a public path, well away from traffic.
- Start with f/8, ISO 100 and a shutter speed of several seconds. Adjust until the lights are bright but not blown out.
- Shoot in blue hour rather than full darkness, so the sky has color.
- Capture light trails from cars or boats crossing or passing below. The guide to light trails covers timing.
- Use a two-second timer or remote release to avoid shaking the camera.
Remember that many bridges vibrate with traffic. If you are standing on the bridge itself, long exposures may blur. Photograph from the bank for the sharpest results.
Details, patterns and abstracts
Close-up pictures of a bridge can be as interesting as the whole span.
- Repeating supports. Cables, railings and trusses make rhythmic patterns. Fill the frame with them. The guide to patterns and repetition explains how.
- Rivets and textures. Old steel bridges are covered in rivets, rust and peeling paint.
- Shadows. Railings and trusses cast striking shadows on decks and paths in low sun.
- Abstract geometry. A tight crop of crossing beams can become a pure study of line and shape.
- Black and white. Removing color emphasizes the structure. See the guide to black and white photography.
People, scale and the bridge in its place
A bridge is built to be used, and including people, boats and vehicles gives a picture life and scale.
- Wait for a walker or cyclist to cross a footbridge. A single figure at the right point can complete the picture.
- Include boats passing beneath for a sense of how large the bridge is.
- Show the setting. Step back to show the bridge with the city, the valley or the river around it. The page on scale covers how size comparisons work.
- Use foreground. Riverside plants, rocks or railings in the foreground add depth to wide views. See the guide to foreground interest.
Interested in railroad trestles and the trains that cross them? The guide to train photography covers safe viewpoints and timing.
Bridges through the seasons
A bridge stays the same, but everything around it changes through the year. Returning to one bridge in different seasons is one of the simplest and most satisfying projects a beginner can take on.
- Spring brings fresh green to riverbanks and blossom to trees beside city bridges. High water after rain or snowmelt can make a river look powerful.
- Summer offers long evenings, so blue hour comes late and the light lingers. Boats, swimmers and people walking add life. Heat haze can soften distant views, so try early mornings.
- Autumn surrounds old stone and covered bridges with warm color. Overcast days make the color glow without harsh shadows. The guide to fall photography has more ideas.
- Winter strips trees bare, which often reveals bridges hidden in summer. Snow outlines railings and arches, ice forms on rivers and early dusk makes night pictures easier. See the guide to winter photography.
Stand in the same spot each time, with the same framing, and the set becomes a quiet record of time passing. Note the position on a map or in your phone so you can find it again.
Editing bridge photos
A little care in editing keeps bridge pictures clean and convincing.
- Straighten first. Level the horizon or the waterline, and correct leaning towers if you tilted the camera. Bridges are full of straight lines, so small tilts are easy to see.
- Balance the sky and the structure. A bright sky and a dark bridge can be hard to expose together. Gently lower highlights and lift shadows, or use a graduated adjustment over the sky.
- Keep night color natural. Mixed lights on bridges can turn orange or green. Adjust white balance until the sky looks a clean blue.
- Remove distractions. Small litter, a stray sign or a bright spot at the edge can be cropped or removed.
- Do not overdo clarity. Too much makes steel look gritty and adds halos around towers against the sky.
New to editing? The guide to photo editing for beginners walks through the basic adjustments in a sensible order.
Common mistakes
- Only the obvious view. The same picture everyone takes from the main viewpoint. Fix: walk both banks, go underneath and look from a distance.
- A tilted bridge. A sloping horizon or deck looks wrong. Fix: use the grid and keep the camera level.
- Blur on the bridge. Traffic vibration spoils long exposures. Fix: shoot from solid ground.
- Blown-out lights. Night lights burn to white. Fix: shorten the exposure and check the histogram.
- No sense of scale. Fix: include people, boats, cars or the surrounding landscape.
- Unsafe positions. Fix: stay on public paths and never stand in traffic or climb structures.
Try this: a 10-minute bridge study
Choose any bridge near you, even a small footbridge in a park.
- Minutes 1 to 2: Make a side view that shows the whole span.
- Minutes 3 to 4: Move to one end and photograph along the length of the bridge.
- Minutes 5 to 6: Find a detail: a rivet, a railing pattern or a shadow.
- Minutes 7 to 8: Look for a reflection or get low to the water if you can safely.
- Minutes 9 to 10: Wait for a person, bicycle or boat to add scale, and make one more frame.
Compare the five pictures. You will often find the best one is not from the first spot you tried.
Frequently asked questions
What is the best time of day to photograph a bridge?
Blue hour, just after sunset, is often the best time for lit bridges. Golden hour suits steel and stone, and still mornings give the best reflections.
What lens is best for bridges?
A wide lens suits views along the deck and from below. A telephoto lens is useful from a distance, especially for stacking towers or isolating details.
How do I photograph a bridge at night without blur?
Use a tripod on solid ground away from the bridge, a low ISO and a timer or remote release.
How do I make a bridge picture look different?
Try unusual viewpoints, such as from below, from another bridge or from a distance with the landscape. Wait for fog, a reflection or a single person crossing.
Can I photograph bridges with a phone?
Yes. Use the wide lens for views along the deck, the grid to keep lines straight and a night mode for lit bridges. Brace the phone on a railing for the sharpest results.
Do I need a permit to photograph a bridge?
Photographing a bridge from public places for personal use rarely needs a permit. Some places have rules about tripods on walkways or about commercial shoots, so check local signs and ask if you are unsure.
How do I photograph a very long bridge?
Step back to a distant viewpoint and use a longer lens, or photograph it in several overlapping frames and join them into a panorama. An angled view along the length also shows a long bridge well in a single frame.
For terms such as symmetry, leading lines, long exposure and polarizing filter, see the photography glossary.