DxO PhotoLab is a raw editor that works straight from your folders, with no import step. Open a folder in the PhotoLibrary tab, switch to the Customize tab, and let the program apply its lens and camera corrections first. Then work in this order: white balance, exposure and selective tone, contrast, colour, local adjustments, and finally export, which is where the heaviest noise reduction is actually calculated.
This guide teaches the working model of the program: where your files and edits live, what the optical corrections do, the order of the raw pipeline, local adjustments, copying settings and export. It goes further than the short comparison in photo editing software options and the theory in AI noise reduction by showing the steps inside the tool. Palettes and buttons move between versions, so the names below are the long-standing ones; if a palette is not where you expect, search for it by name.
How PhotoLab is organised: folders, projects, sidecars and the database
PhotoLab has two tabs. PhotoLibrary is the browser: a folder tree on the left, thumbnails of the selected folder, and tools for star ratings, pick and reject tags, keywords and search. Cull there first, then filter the filmstrip to picks only so the editor is not cluttered with rejects. Customize is the editor: the image in the middle, palettes of corrections around it, and a filmstrip of the same folder along the bottom.
There is no import. You point the folder tree at a folder on any drive and the pictures appear. Nothing is copied or moved. That one fact shapes the whole workflow:
- Your folder structure is the library. Whatever order you keep on disk is what you browse. If you have no system yet, set one up first using photo file management and backup.
- Projects are virtual groups. A project holds references to pictures from any number of folders, such as “portfolio candidates” or “print order”. Adding a picture to a project does not duplicate the file.
- Edits are instructions, not pixels. The raw file is never changed. This is standard non-destructive editing: the program stores a list of settings and redraws the picture from the raw data each time.
Where the edits are stored
Settings are kept in two places. The first is the program’s own database, a single file on your computer that also holds projects, keywords and search data. The second is an optional sidecar: a small text file saved next to each picture, with the picture’s full name followed by the extension .dop. A setting in the preferences controls whether sidecars are written and read automatically.
| Storage | What it holds | What happens if you lose it |
|---|---|---|
| Raw file | The untouched sensor data | The photograph is gone. Back this up first. |
| .dop sidecar beside the file | The correction settings for that picture, including virtual copies | If the database still has the settings, nothing. If not, the picture returns to the default preset. |
| Database | Settings, projects, keywords, search index | Projects are lost. Edits survive only if sidecars were being written. |
Leave sidecars switched on. They make each folder self-contained: copy it to another computer, open it in PhotoLab there, and the edits appear. An ordinary file backup then protects your editing work too. If you rename or move a raw file outside the program, move its .dop file with it and keep the names matched.
Optics modules: the corrections that happen before you touch a slider
The feature that defines PhotoLab is its optics modules. The first time you open a picture from a particular camera and lens pairing, the program offers to download a module for that exact combination. A module is a measured profile of how that lens behaves on that camera, at each focal length and aperture. With it installed, four corrections are applied automatically:
- Distortion. Barrel and pincushion bending of straight lines is straightened. See lens distortion for what each type looks like.
- Vignetting. Dark corners are brightened to match the centre. The amount is adjustable, and you can reduce it if you liked the natural vignetting.
- Chromatic aberration. Coloured fringes along high-contrast edges are realigned. The causes are covered in chromatic aberration and purple fringing.
- Lens sharpness. Instead of one sharpening amount across the frame, the module knows where the lens is soft (usually the corners and at wide apertures) and sharpens more there and less in the centre.
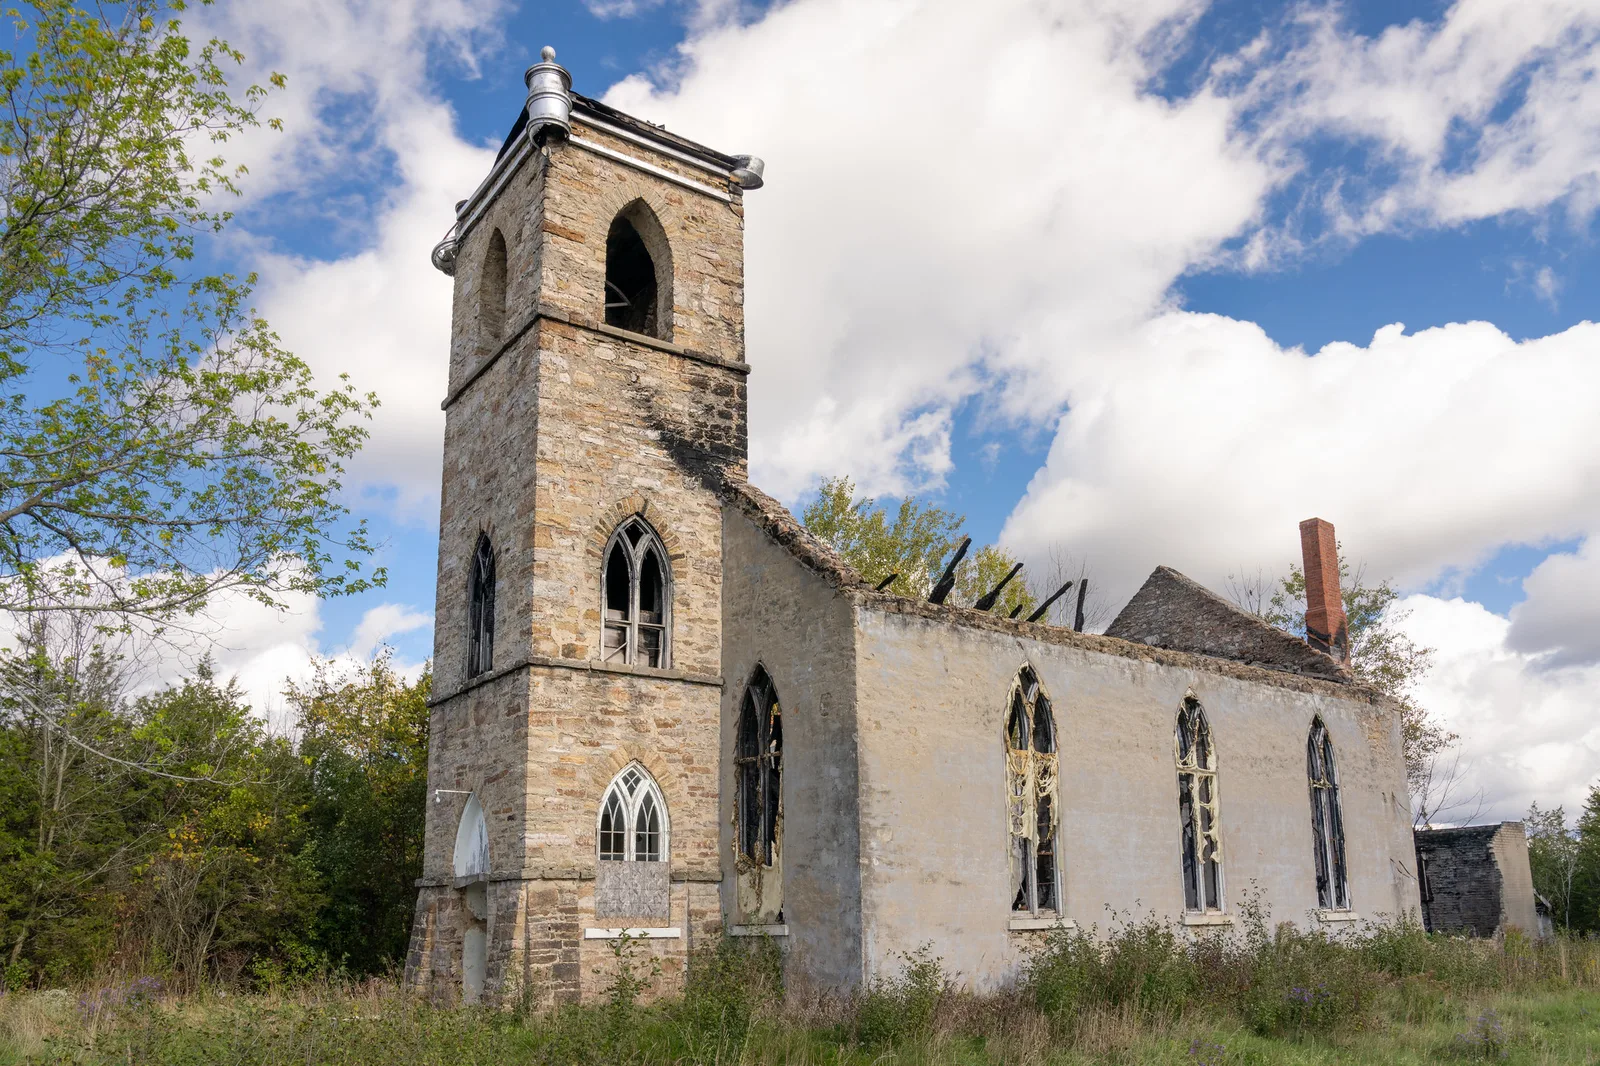
Two different things bend a building, and only one of them is a lens fault. Curved lines are distortion, and the module removes them. Walls that lean inward because the camera was tilted up are perspective distortion, which is geometry, not optics. The horizon tool levels a tilted frame; keystone tools for leaning verticals may or may not be present depending on which of the maker’s companion products are installed. Correct the lens first, level second, then crop last, because each geometric step trims the edges of the frame.
If a lens is unsupported or has no electronic contacts, set distortion and vignetting with their manual sliders and use the unsharp mask palette for sharpening. Leave unsharp mask off when a module is active, since running both sharpens twice.
The raw pipeline: demosaicing and denoising happen together
A raw file holds one colour value per pixel. Turning that into a full-colour picture is demosaicing, and it is the earliest point at which noise can be dealt with. PhotoLab’s strongest denoising modes do both jobs in one step on the raw data, before any tone or colour change. That is why they only work on raw files and are greyed out for JPEG and TIFF.
The noise reduction palette offers a ladder of modes. The names have changed over the years, but the structure is stable:
- A fast, standard mode that works on any file type and is shown live in the main preview.
- One or more heavy, raw-only modes that give a much cleaner result at high ISO but take seconds or minutes per picture. Traditionally these are previewed only in a small loupe window inside the palette, which you can drag to any part of the frame. The full picture is processed when you export.
The consequence confuses almost every new user: with a heavy mode selected, the main preview may look noisier than the export will. Judge noise in the loupe window, placed over a shadow area with some fine detail, and judge everything else in the main view.
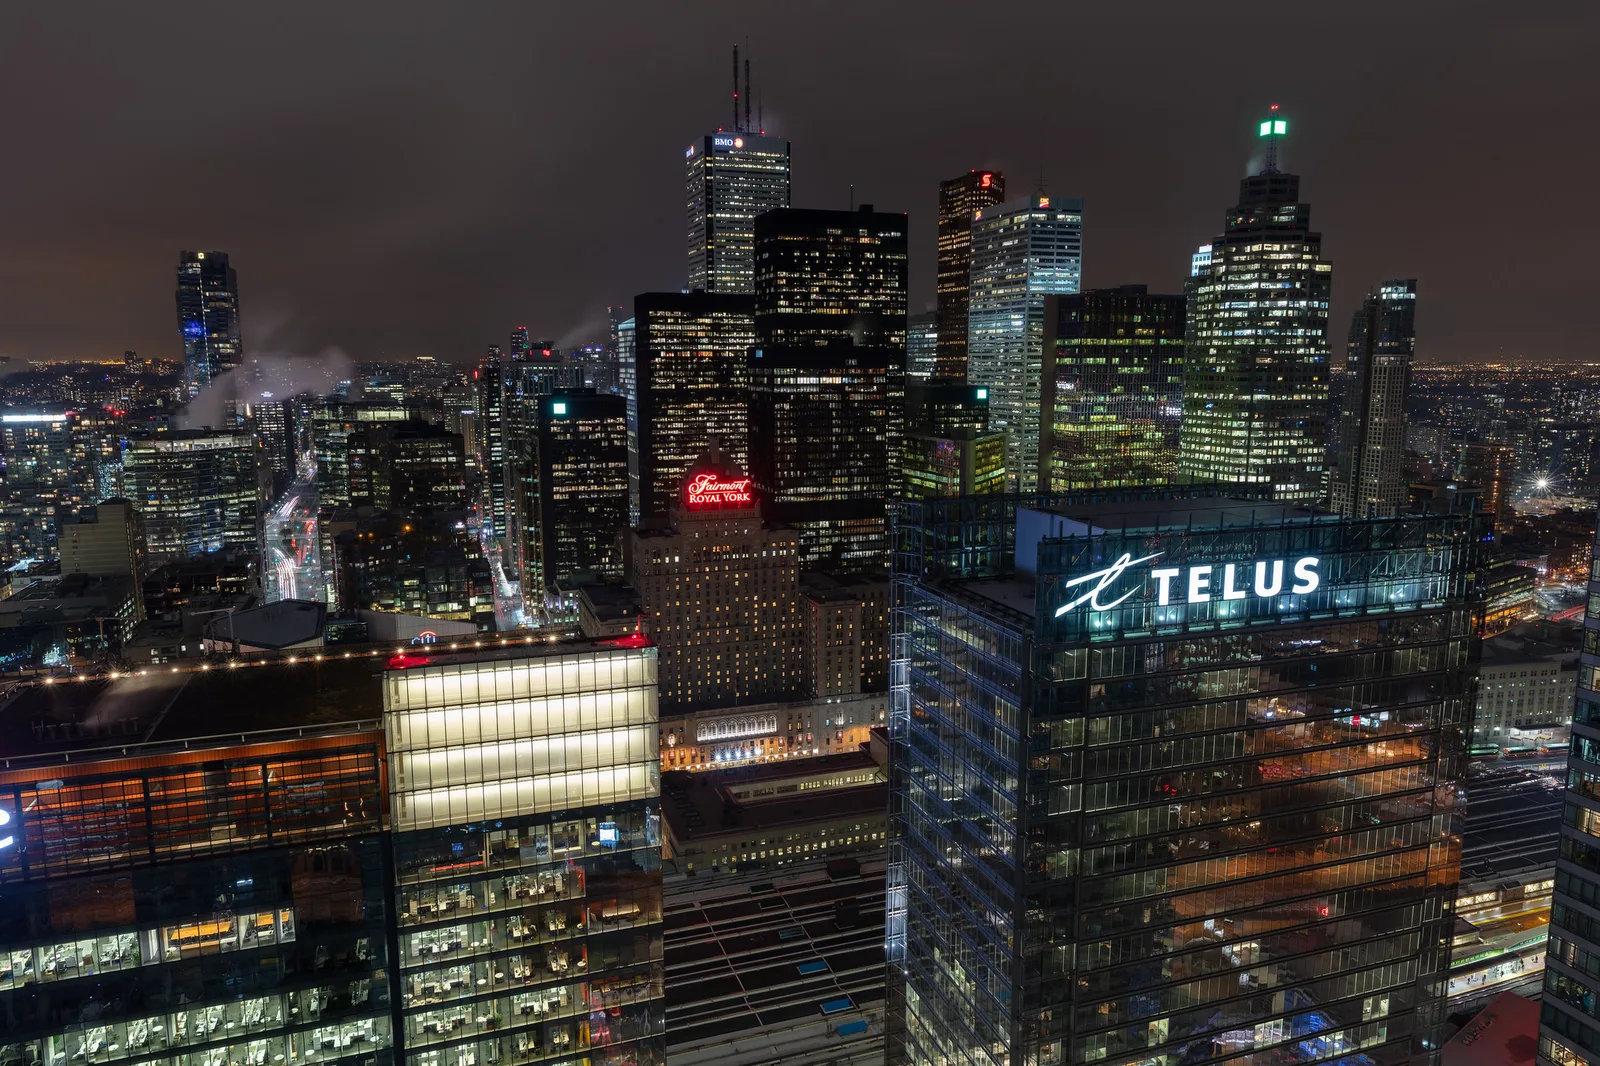
The frame above was made on a tripod at base ISO, so its noise is low and the lens sharpness correction does most of the work on the window detail. Hand-hold the same view at a high ISO and the balance flips: the dark sky fills with grain and the heavy denoising mode becomes the main correction.
Leave the luminance amount at its automatic value first, since it is set from the camera and ISO. Lower it a little if brick or foliage starts to look waxy: a trace of fine grain looks more natural than plastic. Keep the heavy mode for poor light and for shadows you will lift strongly; clean daylight frames export far faster in the standard mode.
Exposure, Smart Lighting and Selective Tone
Three palettes control overall brightness, and they do different jobs.
Exposure compensation moves everything up or down in stops, exactly like changing exposure in the camera. Use it first, and use it only to place the midtones where you want them. Watch the histogram and turn on the highlight and shadow clipping warnings so you can see what is being pushed off either end.
Smart Lighting is an automatic tone-balancing tool. It analyses the picture and lifts dark areas while holding bright ones, with a strength setting from slight to strong. It is quick and often good, but it is automatic: if the result looks flat, lower its strength before reaching for anything else.
Selective Tone gives four manual sliders: highlights, midtones, shadows and blacks. Each moves one band of brightness and leaves the rest largely alone. This is the tool for a scene with a wide brightness range.
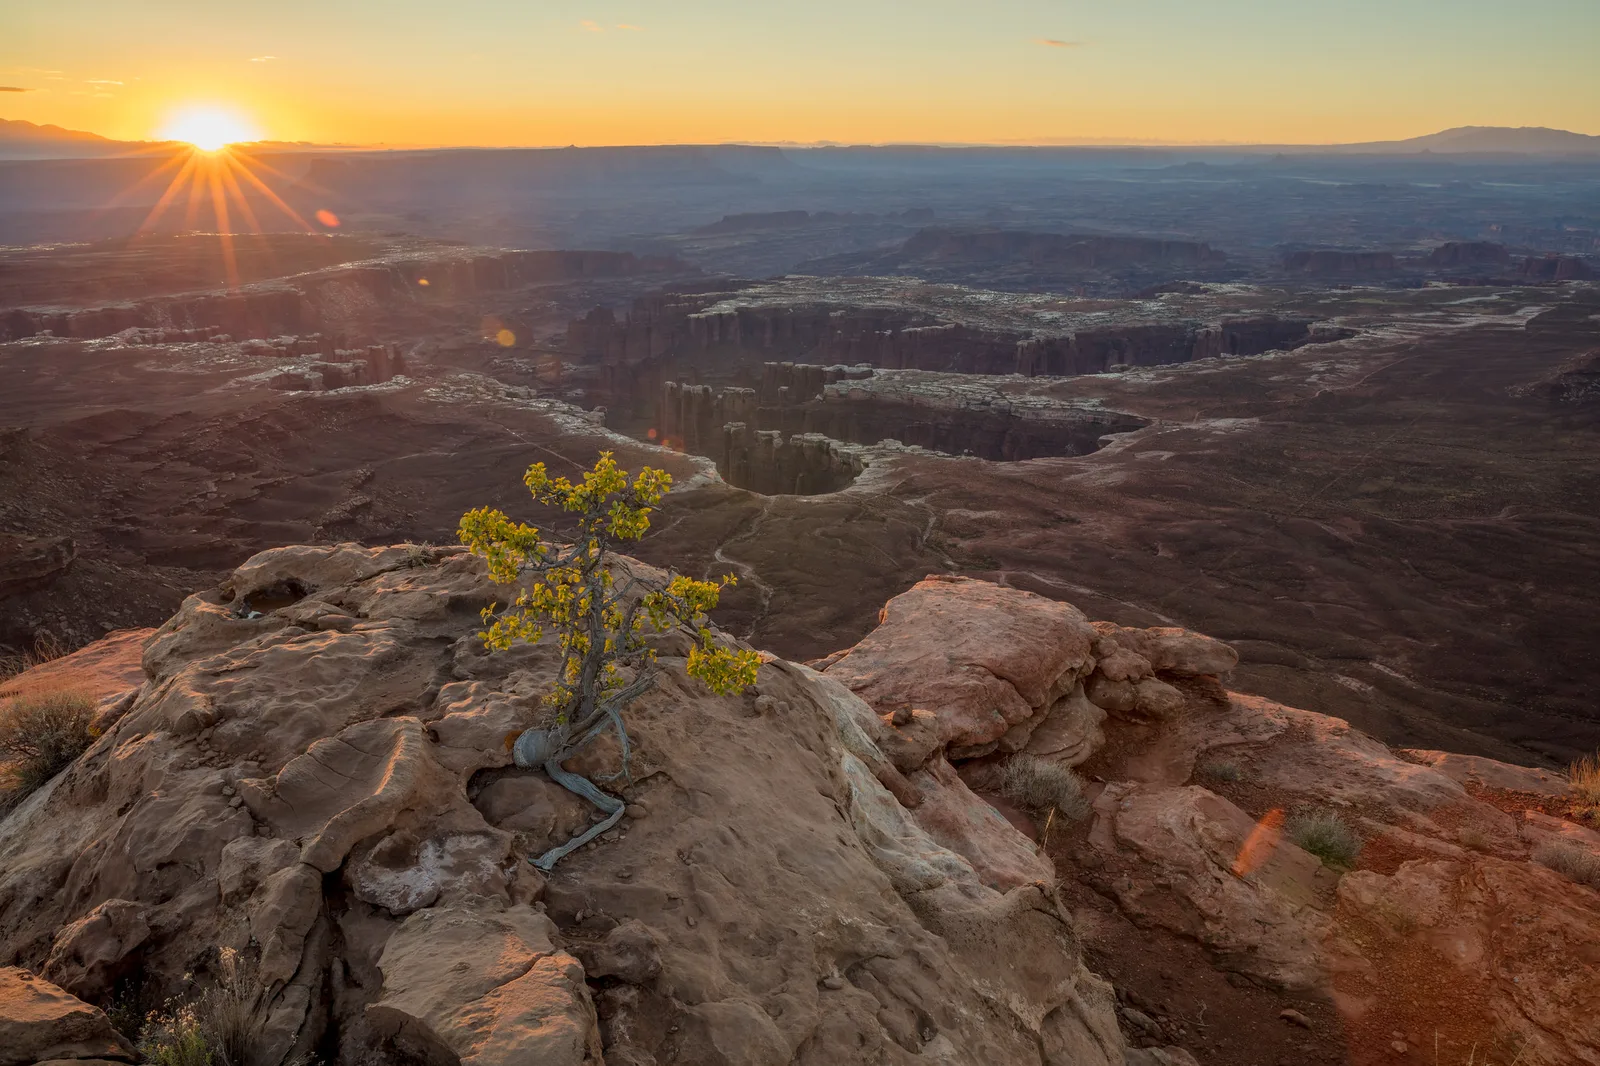
A workable sequence for a frame like this one:
- Set exposure compensation so the lit rock looks right, ignoring the sky for now.
- Pull the highlights slider down until colour returns to the sky around the sun. The disc of the sun itself will stay white; that is correct.
- Raise shadows until the foreground reads clearly, then stop. Shaded rock at sunrise should still look shaded.
- Lower blacks slightly to put back the depth that lifting the shadows removed.
The contrast palette adds a microcontrast slider, which increases contrast between neighbouring fine details so that stone, bark and fabric stand out. Keep it low on faces and smooth skies, where it exaggerates pores and noise.
Colour: white balance, rendering and the HSL wheel
Set white balance before any other colour work, because every later colour decision depends on it. On a raw file you get temperature and tint sliders plus a picker: click it on something that should be neutral grey, such as a white wall in shade or a concrete path. On a JPEG the same palette offers only a limited warm or cool shift, since the camera has already baked its white balance in.
The colour rendering palette decides the starting look: how saturated and contrasty the camera’s colours are before you adjust anything. You can choose a neutral rendering, a rendering that imitates your own camera’s default, or the rendering of a different camera body altogether. If your pictures look duller or punchier than the camera’s own preview, this palette is the reason, as explained in why raw photos look different from the camera preview. Pick one rendering and keep it for a whole shoot so the set matches.
For targeted colour changes, the HSL palette is built around a colour wheel with eight preset channels (reds, oranges, yellows, greens, cyans, blues, purples and magentas). Select a channel and you get:
- Hue, to shift that colour around the wheel (a cyan sky toward a deeper blue, for instance).
- Saturation and luminance, to make that colour stronger or weaker, lighter or darker.
- Uniformity, which pulls slightly different shades of the colour toward one hue. It is useful for patchy grass or uneven skin tone.
- Handles on the wheel that widen or narrow the range of hues affected, and feather the transition into neighbouring colours.
Narrow the range before you make a strong change. A wide blue range that also catches blue-grey shadows on buildings is the usual cause of odd colour edges.
Local adjustments: control points, control lines, gradients and brushes
Local adjustments is a mode you switch on from the toolbar above the image. Inside it, you add masks and each mask carries its own set of sliders (exposure, contrast, microcontrast, highlights, shadows, vibrance, saturation, temperature, sharpness, blur and more), shown either floating on the image next to the mask or in a palette. There are four mask types worth learning.
Control points
Click on the picture to drop a point, then drag its circle to set the radius. The mask is not the whole circle. It selects pixels inside the circle that are similar in colour and brightness to the pixel under the point. Put a point on blue sky and the mask takes the sky and skips the clouds and the roofline, with no painting at all. Add several points to the same mask to cover an irregular area, and add “negative” points on things you want protected. Always check the mask view, which shows the selection in white on black, before trusting it.
Control lines
A control line combines a gradient with the same similarity selection. You draw a line with a soft falloff, then move its sampling picker onto the tone you want (the sky, a wall, water). The result is a graduated adjustment that respects edges: a sky darkened down to a horizon without also darkening the tower that crosses it.
Graduated filter and brush
The graduated filter is a plain gradient with no selectivity, the digital version of a graduated neutral density filter. It suits flat horizons such as sea and open desert. The brush paints a mask by hand with adjustable size, feather and opacity; the auto mask brush adds edge detection so strokes stay inside an object. An eraser removes parts of any mask. Where and how much to adjust locally is covered in masking and selective adjustments; the ideas transfer even though the tools differ.
Presets, virtual copies and copying corrections across a shoot
Every picture you open for the first time receives a default preset. Out of the box, that preset turns on the optical corrections, a standard colour rendering and automatic tone and noise settings. You can choose a different default in the preferences, separately for raw files and for JPEG and TIFF. If every new picture looks more processed than you like, change the default preset instead of undoing the same things by hand each time.
Presets come in two kinds. A full preset sets every correction, so it replaces whatever was there. A partial preset sets only the corrections you chose and leaves the rest alone, which makes it safe to stack on existing work. Save your own from any edited picture.
For a run of similar frames, edit one, then copy its correction settings and paste them onto the others selected in the filmstrip. Crop and local adjustments are copied too unless you exclude them, and a mask drawn for one composition rarely fits the next, so reset those and nudge exposure where the light changed.
A virtual copy is a second set of settings for the same raw file. Use one to try a black and white version or a different crop without losing the first. Virtual copies cost almost no disk space and are recorded in the sidecar.
Exporting, and round-tripping to another editor
Nothing you see in Customize exists as a finished file until you export. The export command (labelled export to disk) lets you tick several output options at once and run them in one pass: for example a full-size 16-bit TIFF for printing and a smaller JPEG for sharing, each with its own folder, size, quality and colour profile. The choices of format, size and output sharpening are covered in exporting photos.
Using PhotoLab as a pre-processor
Many photographers keep their library in another program and use PhotoLab only for its optical corrections and denoising. The export format for that is DNG. A DNG exported with only optical corrections and denoising applied is still a raw-like file: white balance, exposure and colour remain fully adjustable in the next editor. The round trip looks like this:
- In the other program, select the raw files and send them to PhotoLab. A plug-in is installed for the most common catalog-based editor; otherwise simply open the same folder.
- In PhotoLab, confirm the optics module is loaded and choose the noise reduction mode. Do not do tone or colour work here.
- Export as DNG with the option that applies denoising and optical corrections only.
- In the other program, turn off its own lens profile corrections and set its noise reduction to zero for the returned DNG, then edit as usual.
Common mistakes
Judging noise in the main preview. With a heavy denoising mode selected, the main view may not show it. Fix: check the loupe window in the noise reduction palette, or export one test file.
Switching sidecars off, then moving folders. The edits stay behind in the database on the old computer. Fix: keep automatic sidecar writing on, and move .dop files together with their pictures.
Correcting the lens twice. A DNG that already has distortion and vignetting corrected gets a second lens profile applied in the next editor, which bends lines the other way and brightens corners too much. Fix: disable profile corrections there for files that came from PhotoLab.
Try this
Allow 15 minutes. Choose one raw file with a bright sky and a darker foreground, ideally shot at a high ISO.
- Open its folder in PhotoLibrary and confirm that a .dop file appears beside the raw file after your first change. If it does not, find the sidecar setting in the preferences and switch it on.
- In Customize, switch the whole set of optical corrections off and on a few times while watching a straight line near the frame edge and one corner. Note what each correction changed.
- Reset Smart Lighting to off. Balance the picture with exposure compensation and the four Selective Tone sliders only.
- Add one control line sampled on the sky and darken it slightly. Turn on the mask view and check that the foreground is black.
- Select the heaviest noise reduction mode, inspect a shadow area in the loupe window, then export a full-size JPEG and compare the exported shadows with the main preview at 100%.
Frequently asked questions
Does DxO PhotoLab have a catalog?
Not in the import-first sense. It browses the folders already on your drives and keeps a database in the background for projects, keywords and settings. With sidecar files switched on, each picture’s edits also travel with the file, so a folder can be moved to another computer and opened there.
Why does my exported photo look cleaner than the preview?
The strongest noise reduction modes are too slow to redraw live, so the main preview may show the picture without them. They are applied in full when the file is exported. Use the small preview window in the noise reduction palette to see the real result before exporting.
Can I use DxO PhotoLab together with Lightroom?
Yes. The usual method is to send raw files from the catalog to PhotoLab, apply only optical corrections and denoising, and export a DNG back. The DNG remains adjustable for white balance, tone and colour. Turn off lens profile corrections and noise reduction in the catalog program for those returned files.
What is a .dop file and can I delete it?
It is the sidecar that records the corrections for the picture of the same name. Deleting it does not harm the raw file, but if the database has no record either, the picture returns to the default preset. Keep it with the image and include it in your backups.
Related guides
- AI noise reduction: how learned denoising works and when it damages detail.
- Sharpening: capture, creative and output stages, and how lens-based sharpening fits in.
- Capture One workflow: another raw editor, built around sessions and layers.
- Luminar workflow: a catalog, tool-stack and plug-in approach.
- Darktable guide: a free raw editor with its own module pipeline.
- Colour spaces explained: which profile to choose in each export option.