To use Luminar, add a folder of photos to its catalog, open one in the edit view, and work down the tool list: the raw development tool first for exposure, white balance and lens corrections, then creative tools, each of which can be limited to part of the frame with its own mask. Every tool you use is recorded in an edits list and stays adjustable. Finish by exporting a copy, because the edits live in the catalog, not in your file.
This guide covers the parts of Luminar that stay the same from one release to the next: the catalog, the stack of tools, masks, layers, saved looks, plug-in use and export. It is the practical companion to AI photo editing, which explains how automated tools work and where they go wrong, and it picks up where replacing a sky in Photoshop leaves off by showing the same job in a slider-based editor. Skylum renames and rearranges tools often, so tools are described here by what they do; expect labels and positions to differ in your copy.
The catalog: folders, albums and where your edits are stored
Luminar keeps a catalog, a database that remembers which pictures you have added and what you have done to each. There are two ways to get pictures in:
- Add a folder. The folder stays where it is on your drive and appears in the catalog’s folder list, with its subfolders. Nothing is copied. New files placed in that folder later show up automatically.
- Open single images. One or more files are opened for a quick edit without adding their whole folder. They are collected in their own section of the catalog.
Three consequences follow, and each catches people out.
The folder list is your real disk. A folder shown in the catalog is the actual folder, not a virtual one. Moving a picture between folders inside the program moves the file on the drive, and deleting it sends the file to the system trash. Albums are the virtual groups: a picture can sit in several albums without being duplicated, and removing it from an album changes nothing on disk.
The edits are in the catalog, not beside the file. Luminar does not write a sidecar file next to each picture. The original is never altered (this is ordinary non-destructive editing), but the list of adjustments exists only in the catalog database. Lose the catalog and the pictures revert to unedited originals. Copy a folder of raw files to another computer and the edits do not come with it.
Renaming outside the program breaks the link. If you move or rename files in the operating system, the catalog still looks for them at the old path and marks them as missing until you point it to the new location.
| You want to | Do this | What it changes on disk |
|---|---|---|
| Group pictures from several shoots | Make an album | Nothing |
| Reorganise files into new folders | Move them inside the catalog’s folder list | Files really move |
| Protect your editing work | Back up the catalog folder together with the originals | Nothing; you are copying the database |
| Keep a finished version that needs no catalog | Export a TIFF or JPEG | A new file is written |
Find where the catalog is saved (the program shows its location in the catalog menu) and include that folder in your backups. The wider plan for originals, catalogs and exports is in photo file management and backup.
How the edit stack works
The edit view shows the picture with a column of tools beside it, usually grouped under headings for essential, creative, portrait and professional tools. Click a tool and it opens into a set of sliders. There is no fixed number of steps: you use the tools the picture needs and ignore the rest.
Each tool you change is added to an edits list (shown as a separate tab or as markers on the used tools, depending on the version). The list is the history of the picture, and it stays live:
- Reopen any entry and change its sliders at any time, even after closing and reopening the program.
- Hide an entry with its eye icon to see the picture without that step. This is the quickest way to check whether a tool is helping.
- Reset or delete a single entry without disturbing the others.
A before and after control compares the result with the original. Use it after every two or three tools: the commonest fault in Luminar pictures is not a wrong setting but too many settings.
The development tool: light, colour and detail
Start every picture in the basic development tool. On a raw file it works on the sensor data and offers the full range; on a JPEG the same tool appears with a narrower range because the camera has already processed the file.
Work through its sections in this order:
- Camera profile. Choose the starting rendering for a raw file. Leave it on the standard profile unless colours look wrong from the outset.
- White balance. Set temperature and tint, or click the picker on something that should be neutral grey. Do this before any other colour change; the reasoning is in what white balance is.
- Exposure. Place the midtones. Keep an eye on the histogram, which you can show from the view menu.
- Highlights and shadows. Pull highlights down to recover bright areas and raise shadows to open dark ones.
- Whites and blacks. Set the two ends of the tonal range so the picture has a true bright point and a true dark point.
- Contrast. The contrast control in this tool is tuned to protect highlights and shadows, so it can be pushed further than a plain contrast slider before detail is lost.
- Curves. For exact shaping of tone, and per-channel colour changes if you need them.
- Saturation and vibrance. Prefer vibrance, which moves muted colours more than strong ones.
- Sharpness and noise reduction. View at 100% before touching either. Guidance on amounts is in capture, creative and output sharpening.
- Optics. Tick the automatic lens distortion, chromatic aberration and defringe corrections, and correct corner darkening if you want it gone.
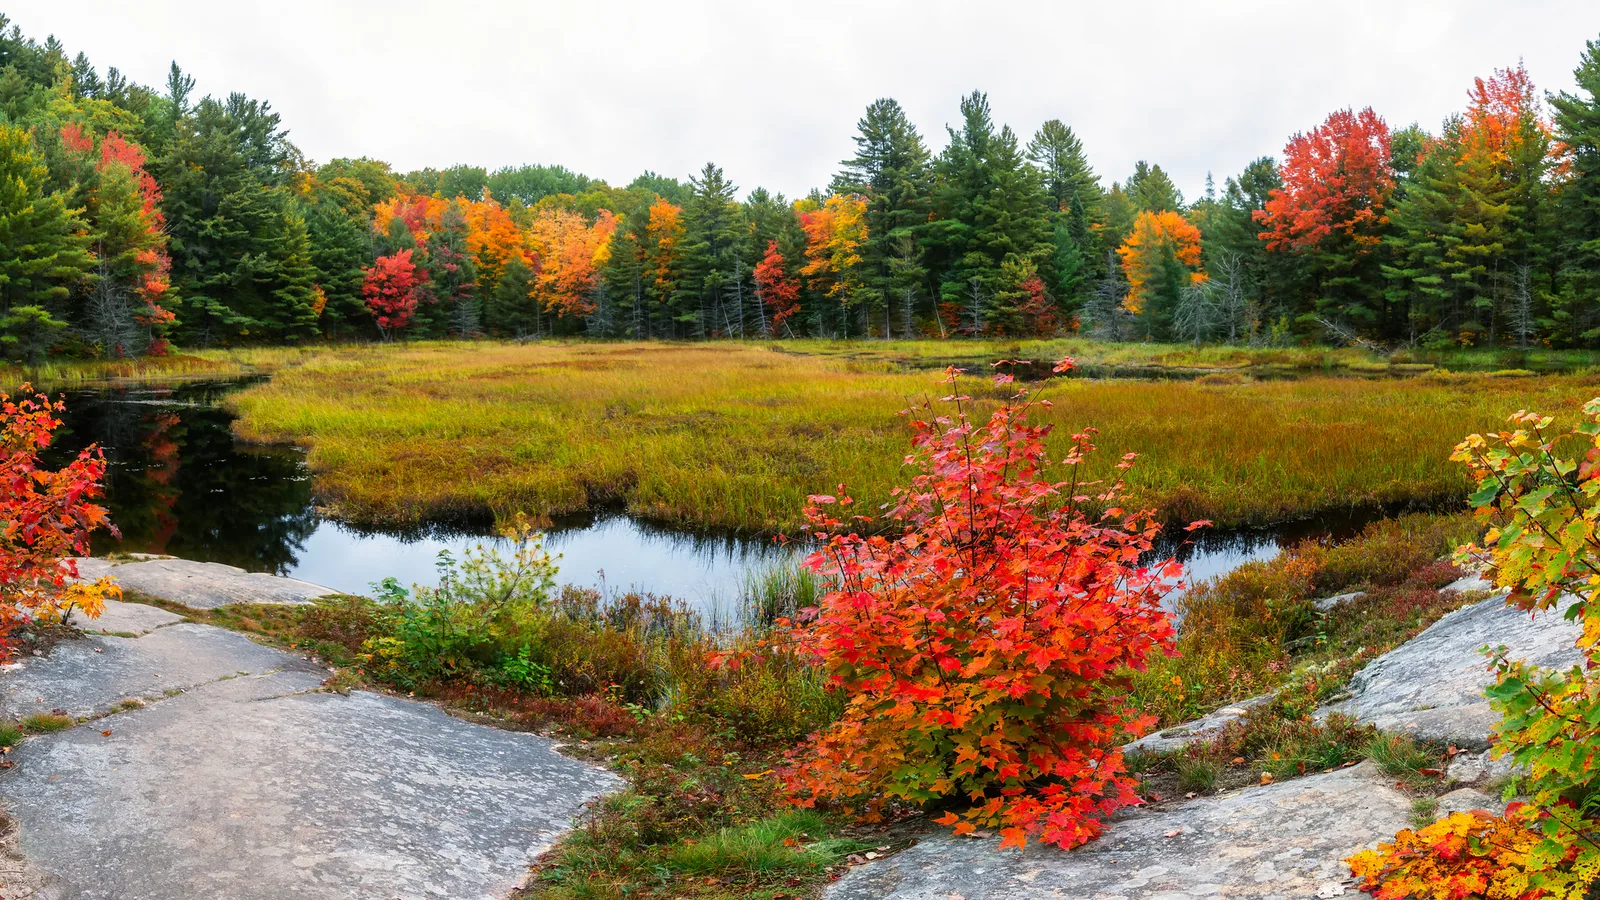
For a frame like this one, the development tool gets you most of the way: highlights down to hold the white sky and the pale rock, a small shadow lift for the pines. The colour then needs a separate tool. Luminar’s colour tool has a hue, saturation and luminance section with one row per colour. Lower the red saturation slightly and raise red luminance a touch so the leaves keep their texture, then deepen the greens with luminance, not saturation. A global saturation increase would do the opposite: the reds, already near the limit, would turn into flat patches.
Masking: limiting any tool to part of the frame
Almost every tool has a masking control at the top or bottom of its panel. Open it and the tool’s effect can be restricted to an area. A mask belongs to that one tool, so the sky can have one mask on a tone tool and the foreground a different mask on a colour tool. Background on the concept is in masking for selective editing. The mask types are:
- Brush. Paint the effect in or out by hand. Set size, softness and strength. A low strength, built up in several strokes, hides the edges of your work.
- Linear gradient. A straight transition across the frame. Drag to place it, pull the outer lines apart for a softer fade, and rotate it to match a sloping horizon.
- Radial gradient. An oval, feathered at the edge, which can be inverted to affect either the inside or the outside. Use it to brighten a subject or darken the surroundings.
- Automatic selections. The program analyses the picture and offers detected regions, typically the sky, people, buildings, plants, water and similar. Click a region to make it the mask.
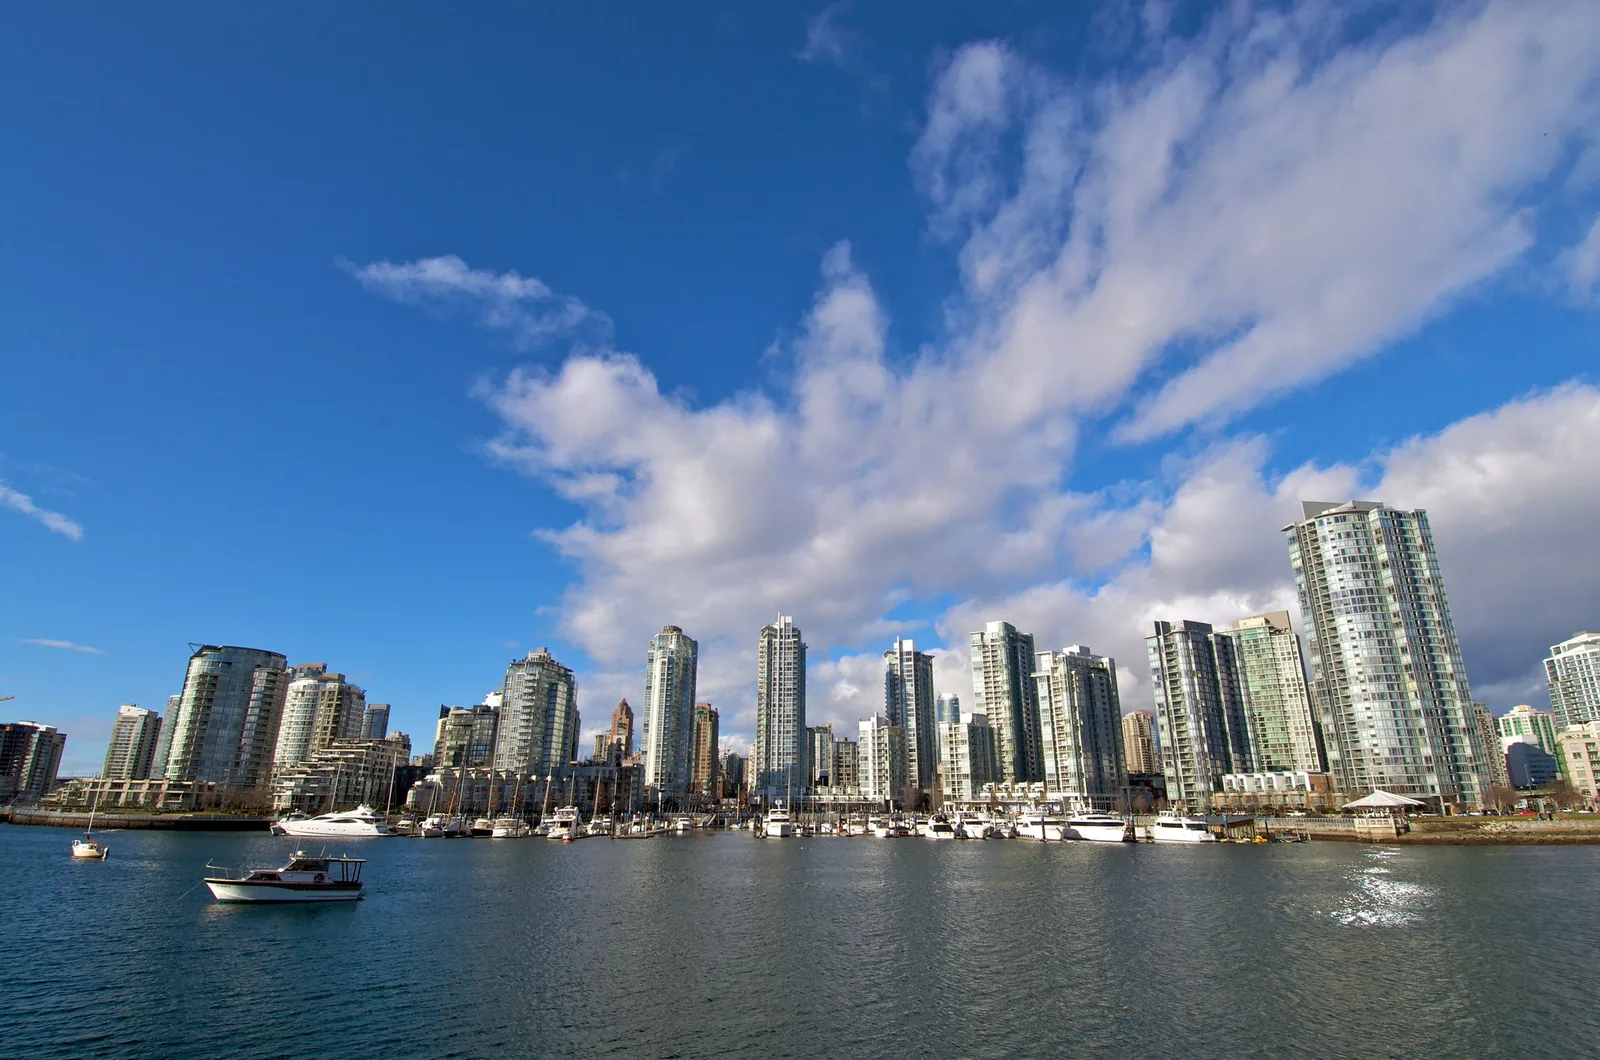
An automatic sky selection handles a scene like this in one click, and it is where you learn to distrust one-click masks. Always switch on the mask overlay, which tints the selected area, and zoom to the boundary. Look at three places: the tops of the towers, the gaps between them, and reflective glass that is the same colour as the sky. If the mask spills onto the buildings, switch to the brush in erase mode and paint the spill away. If it leaves a bright fringe along the roofline once the sky is darkened, the adjustment is too strong for that edge. Halve it before you start repainting the mask.
Masks can be combined: start with a linear gradient, then use the brush to subtract a mountain or building that pokes into it. Selection by brightness, which works in any editor, is explained in luminosity masks.
Layers: adding and blending a second image
In versions that have a layers panel, the photo you opened is the bottom layer and you can add more images above it. Each added layer has its own controls:
- Opacity, from invisible to fully covering.
- Blend mode, which sets how the layer’s pixels combine with those below. Screen keeps the light parts of the layer and suits light leaks, sparks and falling snow shot on black. Multiply keeps the dark parts and suits scanned paper textures. Soft light and overlay add contrast and suit subtle texture. The arithmetic behind each mode is in blend modes explained, and it is the same in every editor.
- A mask, with the same brush and gradient types as the tools.
- Position and size, so the layer can be moved, scaled, rotated or flipped.
The tools you apply are attached to whichever layer is selected. Check which layer is active before you adjust, or you will sharpen a texture overlay while meaning to sharpen the photograph.
Sky and atmosphere tools without the fake look
Luminar is known for tools that replace a sky, add haze or mist, add rays of sunlight, or relight a scene by estimated depth. The names and exact controls change, but the checks that make the result believable do not.
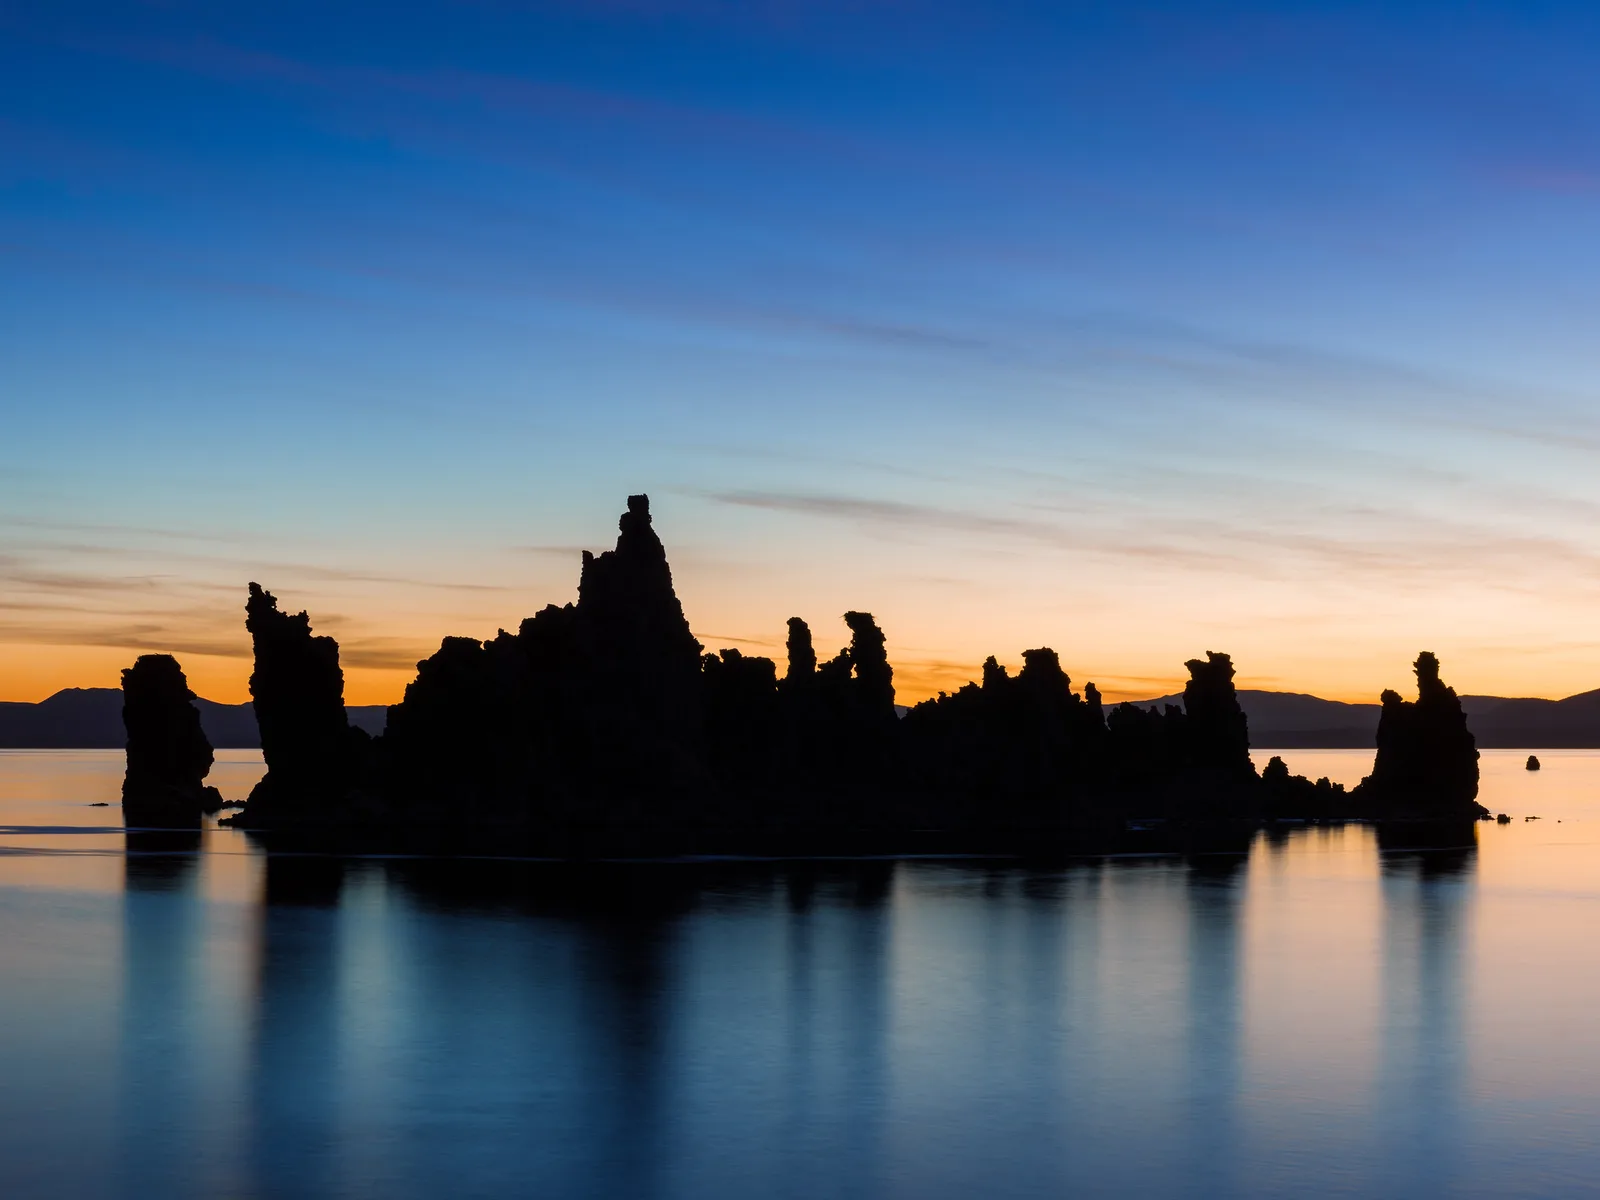
The picture above already has the sky it needs, and it shows the rules a replacement must obey. The light comes from the horizon, so the rocks are dark on the side facing the camera. The water repeats the sky’s colours. The gradient from orange to blue is smooth. Any sky you add to a photograph has to agree with the scene in the same four ways:
- Light direction. Find the shadows in the original. If they fall to the left, the brightest part of the new sky must be on the right. Most sky tools let you flip the sky horizontally.
- Light quality. Hard shadows on the ground mean a clear or broken sky, not solid overcast. Soft, shadowless ground under a sky with a visible sun looks wrong at once.
- Colour. A warm sunset sky above a foreground lit by cool midday light does not match. Use the tool’s scene relighting control, which tints the foreground toward the sky, in small amounts.
- Reflections. Water, wet streets and glass must show the new sky. Use the reflection control if there is one. If there is none, pick a different picture for the job.
Then check the horizon blend at 100%, especially through tree branches and along distant hills, where a mismatched edge shows as a pale outline. For haze, mist and sun rays, set the amount, then halve it. If you publish or enter the picture anywhere with rules about manipulation, say that the sky was replaced; the reasoning is in photo retouching ethics.
Presets and copying edits across a shoot
A preset is a saved set of tool settings applied in one click. The program has called them looks, templates and presets at different times; they are the same thing. Applying one fills the edits list with its tools, and each entry stays adjustable. An amount slider fades the whole preset toward the original, and most presets look better between 40 and 70 percent than at full strength.
Save your own from any finished picture, leaving out masks, crop and erase work: a preset that includes a brushed mask puts that stroke in the same place on every picture.
For a series shot in the same light, edit one frame, then copy its adjustments and paste them onto the rest of the selection, or use the sync command with the edited frame as the source. Afterwards, step through the set and correct exposure where the light shifted. Automatic masks are recalculated for each picture on most versions, but hand-brushed masks are copied literally, so check any frame where the composition differs. The same discipline applies in any editor; see creating and using presets.
Using Luminar as a plug-in beside another library
If your library already lives in another program, you do not need to move it. The installer can add Luminar as a plug-in to the common catalog-based editor and to Photoshop, and on a Mac as an extension to the system Photos app. The catalog inside Luminar is then irrelevant; the host program manages the files.
The round trip from a catalog-based editor works like this:
- Do the raw work (white balance, exposure, lens corrections, noise) in the host program first.
- Choose the edit-in or plug-in command and pick Luminar. The host creates a copy, normally a 16-bit TIFF, with your raw adjustments applied.
- Use only the tools the host lacks. Skip the development tool; that work is done.
- Apply. The result returns to the host as a new file beside the original.
That returned file is baked. Reopen it in Luminar and the edits list is empty, so finish the look in one sitting or keep a note of the preset used. From Photoshop there is a way to stay flexible: convert the layer to a smart object before running Luminar from the filter menu. It then becomes a smart filter that you can reopen and change, with its own mask.
Export settings that match the destination
Export writes a new file and leaves the catalog entry as it was. The dialog asks for the same five things in every version:
- Format. JPEG for sharing and most labs, 16-bit TIFF for further editing or fine printing, PNG where transparency or lossless web graphics are needed.
- Quality (JPEG only). Between 80 and 90 percent gives files that are visually indistinguishable from maximum at a fraction of the size.
- Colour space. sRGB for screens and consumer labs. A wider space only if the next step in the chain is colour managed; see colour spaces explained.
- Resize. Original size for print masters, or a long-edge dimension in pixels for the web.
- Sharpening. A low output sharpening setting for resized web files; none for a TIFF you will sharpen later.
Destination-specific sizes and formats are set out in exporting photos.
Common mistakes
Treating the catalog as disposable. Reinstalling or starting a fresh catalog discards every edit, because nothing is stored beside the files. Fix: back up the catalog folder, and export a 16-bit TIFF of any picture that matters.
Deleting from the folder list to tidy up. That removes the real file. Fix: use albums to organise and reject flags to hide, and delete only what you truly want gone.
Stacking every automated tool. Enhancement, structure, sky, glow and a preset on top give crunchy halos and neon colour. Fix: hide each entry in the edits list in turn; delete any that you cannot see helping.
Trusting an automatic mask unseen. Sky selections leak onto pale buildings and miss sky seen through branches. Fix: view the overlay at 100% along the boundary and repair with the brush.
A replacement sky lit from the wrong side. Shadows point one way and the bright part of the sky is on the same side. Fix: flip the sky, or choose one that matches the direction and hardness of the original light.
Try this
Allow 15 minutes. Pick one landscape or city photograph with a clear sky line.
- Add its folder to the catalog and create an album containing just that picture. Confirm in your file manager that no file was copied.
- In the development tool, set white balance, exposure, highlights and shadows only.
- Open a tone or colour tool, darken the picture by about half a stop, and mask it to the sky with the automatic selection. Turn on the overlay and inspect the skyline at 100%. Repair any spill with the brush.
- On a second tool, add a radial gradient over the main subject and brighten it very slightly.
- Open the edits list and hide each entry in turn. Delete any step that makes no visible improvement.
- Export a JPEG in sRGB at 2,000 pixels on the long edge and compare it with the original side by side.
Frequently asked questions
Does Luminar change my original photos?
No. Edits are stored as instructions in the catalog and the original file is left untouched. The one exception is file management: moving or deleting a picture in the catalog’s folder list does move or delete the real file on your drive.
Where does Luminar save my edits?
In its catalog database, not in a sidecar beside each picture. To keep your edits safe, back up the catalog folder. To keep a finished version that does not depend on the catalog, export it as a TIFF or JPEG.
Can I use Luminar with Lightroom or Photoshop?
Yes. It installs as a plug-in for both. From a catalog-based editor, a TIFF copy is sent across and returned with the changes baked in. From Photoshop, running it on a smart object keeps the adjustment editable as a smart filter.
How do I undo one adjustment without losing the rest?
Open the edits list, find the tool you want to remove, and reset or delete that entry. The other entries are unaffected. To judge whether it should go, hide it first with its eye icon and compare.
Related guides
- AI photo editing: what automated tools do well, and how to keep results believable.
- Replacing a sky in Photoshop: the manual version of the same job, with full control of the edge.
- DxO PhotoLab workflow: a folder-based raw editor centred on optical corrections.
- Capture One workflow: sessions, catalogs and layer-based local adjustments.
- Photo file management and backup: folder structure and backups for originals and catalogs.
- Exporting photos: format, size, colour space and sharpening for each destination.