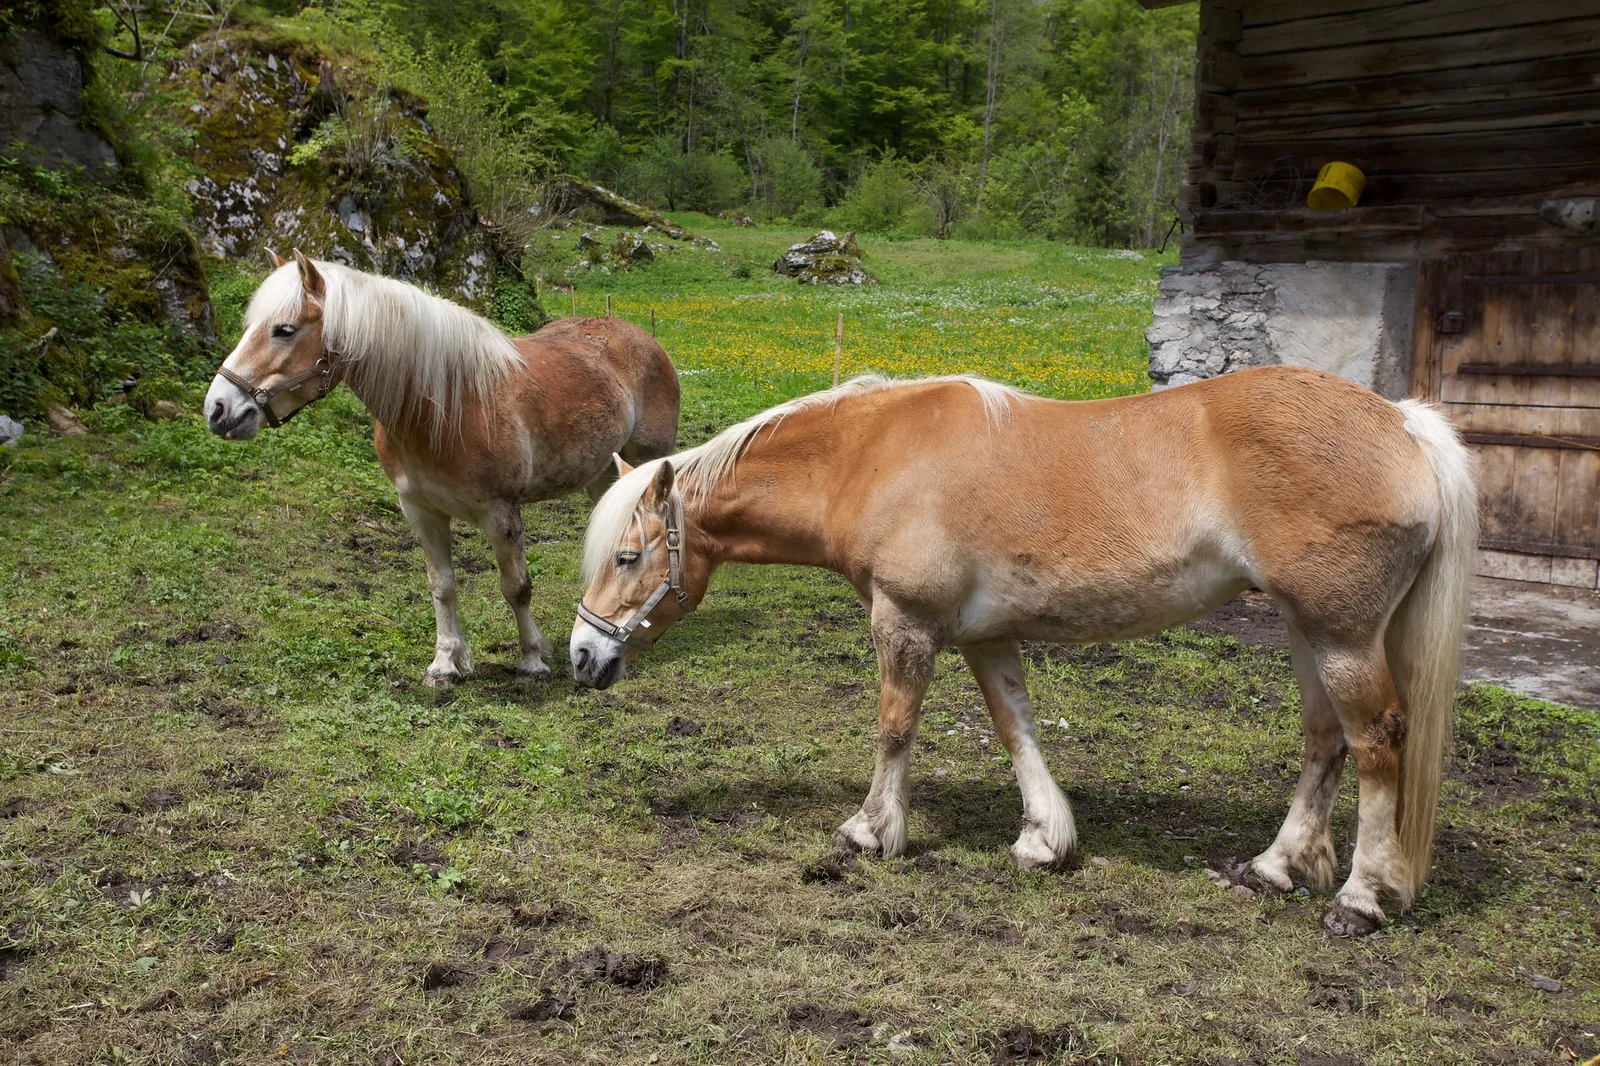
Horses are among the most beautiful animals anyone can photograph. They are expressive, graceful, strong and gentle all at once, and they live in lovely places: green pastures, old barns, wide fields and open trails. Whether you are photographing a friend’s horse, horses grazing along a country road or riders crossing a field, the same simple skills make a big difference.
This guide covers how to approach horses calmly and safely, where to stand, how to catch ears forward and a bright eye, how to use light and backgrounds, how to photograph horses in motion and riders in the landscape, settings and editing. For general animal skills, see the guide to wildlife photography, and for photographing animals people love, see the guide to pet photography.
Why horses make great subjects
Horses reward beginners because they combine beauty with plenty of time to practice. A horse in a pasture will often graze in one spot for long stretches, giving you time to think about light, angle and background.
- They are expressive. Ears, eyes and nostrils show mood clearly, so a good horse portrait has real personality.
- They have beautiful shapes. The curve of the neck, the long legs and the flowing mane and tail make graceful lines in any frame.
- They live in photogenic places. Barns, fences, fields, hills and trails give natural settings for portraits and wider scenes.
- They move wonderfully. Trotting, galloping, rolling and playing give endless chances to practice action photography.
Horses also teach you to read an animal. Within a few visits you will start to notice when a horse is relaxed, curious or uneasy, and that awareness makes you a better photographer of every animal.
Safety and permission first
Horses are large, strong animals that can startle easily. Most are gentle, but even a friendly horse can step on a foot, swing its head or kick when surprised. A few simple habits keep everyone safe.
- Ask first. Horses in fields belong to someone. Photograph from public roads and paths, and ask the owner before entering a pasture or barn.
- Never feed horses you do not know. Many have special diets, and feeding can cause bites, crowding or health problems.
- Approach from the side. Horses see poorly directly in front of and behind them. Walk toward the shoulder, speak softly and let the horse see you.
- Stay out of kicking range. Never stand directly behind a horse, and keep a safe distance from horses that are playing or running.
- Keep the camera quiet. Turn off the flash and fake shutter sounds, and avoid sudden movements with a big lens or bag.
If a horse pins its ears back, swings its rear toward you or stamps, give it more space. A calm horse makes a better picture anyway.
Where to find horses
Many people first photograph horses through a fence along a country road. Rural areas with farms and ranches are full of horses in pastures, and a long lens lets you photograph them from public ground without disturbing anyone. The guide to rural photography has more ideas for photographing farms and countryside.
Other good places include riding stables, trail riding centers, horse shows, local fairs and parks with mounted rangers. Some regions also have wild or free-roaming horses, which call for the same distance and patience as any wildlife. If you know someone with a horse, ask whether you can spend an afternoon photographing it. A horse you can visit again and again is the best way to learn.
At horse shows and events, stay behind barriers, follow the organizer rules on photography and never use flash near the arena. Sit near a jump or a corner where horses slow, turn or gather themselves, since these spots give the most expressive moments. Arriving early often gives quiet chances to photograph horses being groomed and warmed up.
Getting ears forward and a bright eye
The single biggest difference between an ordinary horse picture and a lovely one is attention. A horse with its ears pricked forward and a bright, alert eye looks interested and alive. A horse with its ears back or sideways looks bored or grumpy, even when it is perfectly content.
Catching attention
Have someone help by standing behind you and making a gentle sound: crinkling a plastic bag, shaking a little grain in a bucket, rustling leaves or calling softly. The horse lifts its head, looks toward the sound and pricks its ears. Take the picture at that moment, because the attention lasts only a second or two before the horse loses interest. Vary the sound so it stays novel.
Focusing on the eye
Place your focus point on the nearest eye. A sharp eye with a catchlight draws viewers in, while a soft eye makes the whole picture feel slightly off. If the horse is turned at an angle, the nearer eye should be sharp even if the far side of the face softens a little.
Angles that flatter horses
Horses can look strange in pictures when the angle is wrong. A wide lens close to the head makes the nose look huge and the body tiny. A high angle makes legs look short. A few guidelines help:
- Use a longer focal length. Stepping back and zooming in, around 70mm to 200mm, keeps proportions natural.
- Shoot from around shoulder height or a little lower. This shows the horse as strong and balanced.
- Try a three-quarter view. Standing slightly in front of the shoulder shows the head, neck and body together in a flattering shape.
- Watch the legs. In a full-body portrait, all four legs should be visible and separate, with the nearer legs slightly apart.
For fun, a close wide-angle picture of a curious nose can be a charming exception, as long as it is clearly intended.
Light and backgrounds
Early morning and the last hours before sunset give the most flattering light. Low sun brings out the shine on a coat and turns a flowing mane into a glowing outline. Soft overcast light is excellent for portraits too, since it shows detail in both dark and pale coats without harsh shadows.
Backlight, with the sun behind the horse, creates a bright rim around the mane and ears. Expose for the bright areas, shade the lens and watch for flare. Side light shows muscle and texture beautifully. Midday sun is the hardest, so look for shade or concentrate on wider scenes at that time.
Clean backgrounds matter as much as light. Move until the horse stands against open grass, a soft line of trees, a hillside or sky, rather than parked cars or tangled fences. A wide aperture blurs the background further. The guide to bokeh shows how to soften distracting backgrounds.
Want to make the most of soft early and late light? The guide to golden hour photography explains how to plan around the most flattering light.
Coat colors and exposure
Horse coats range from nearly white to deep black, and both extremes challenge the camera meter. A gray or white horse in sun can lose detail in the coat, so use a little negative exposure compensation and check the highlight warning. A black or dark bay horse can turn into a shapeless dark mass, so add a little exposure or look for light that falls across the coat. Chestnut and palomino horses glow in warm light, so avoid making them too orange in editing. The guide to exposure compensation explains how to correct the meter.
Horses in motion
Horses running, trotting, bucking or rolling in a field give some of the most exciting pictures. Use continuous autofocus and a burst, and decide whether you want to freeze or show movement.
Freezing action
A shutter speed of 1/1000 second or faster freezes a galloping horse, including flying mane and kicked-up dirt. Time the frame for when the legs are gathered under the body or fully stretched, which look more graceful than awkward midway positions. The guide to freezing motion covers the basics.
Showing movement
For a sense of speed, try panning. Use a slower shutter speed, around 1/60 second, and follow the horse smoothly as it runs past. The horse stays fairly sharp while the background streaks into lines. Expect many misses and a few lovely keepers. The guide to panning photography explains the technique step by step.
Riders in the landscape
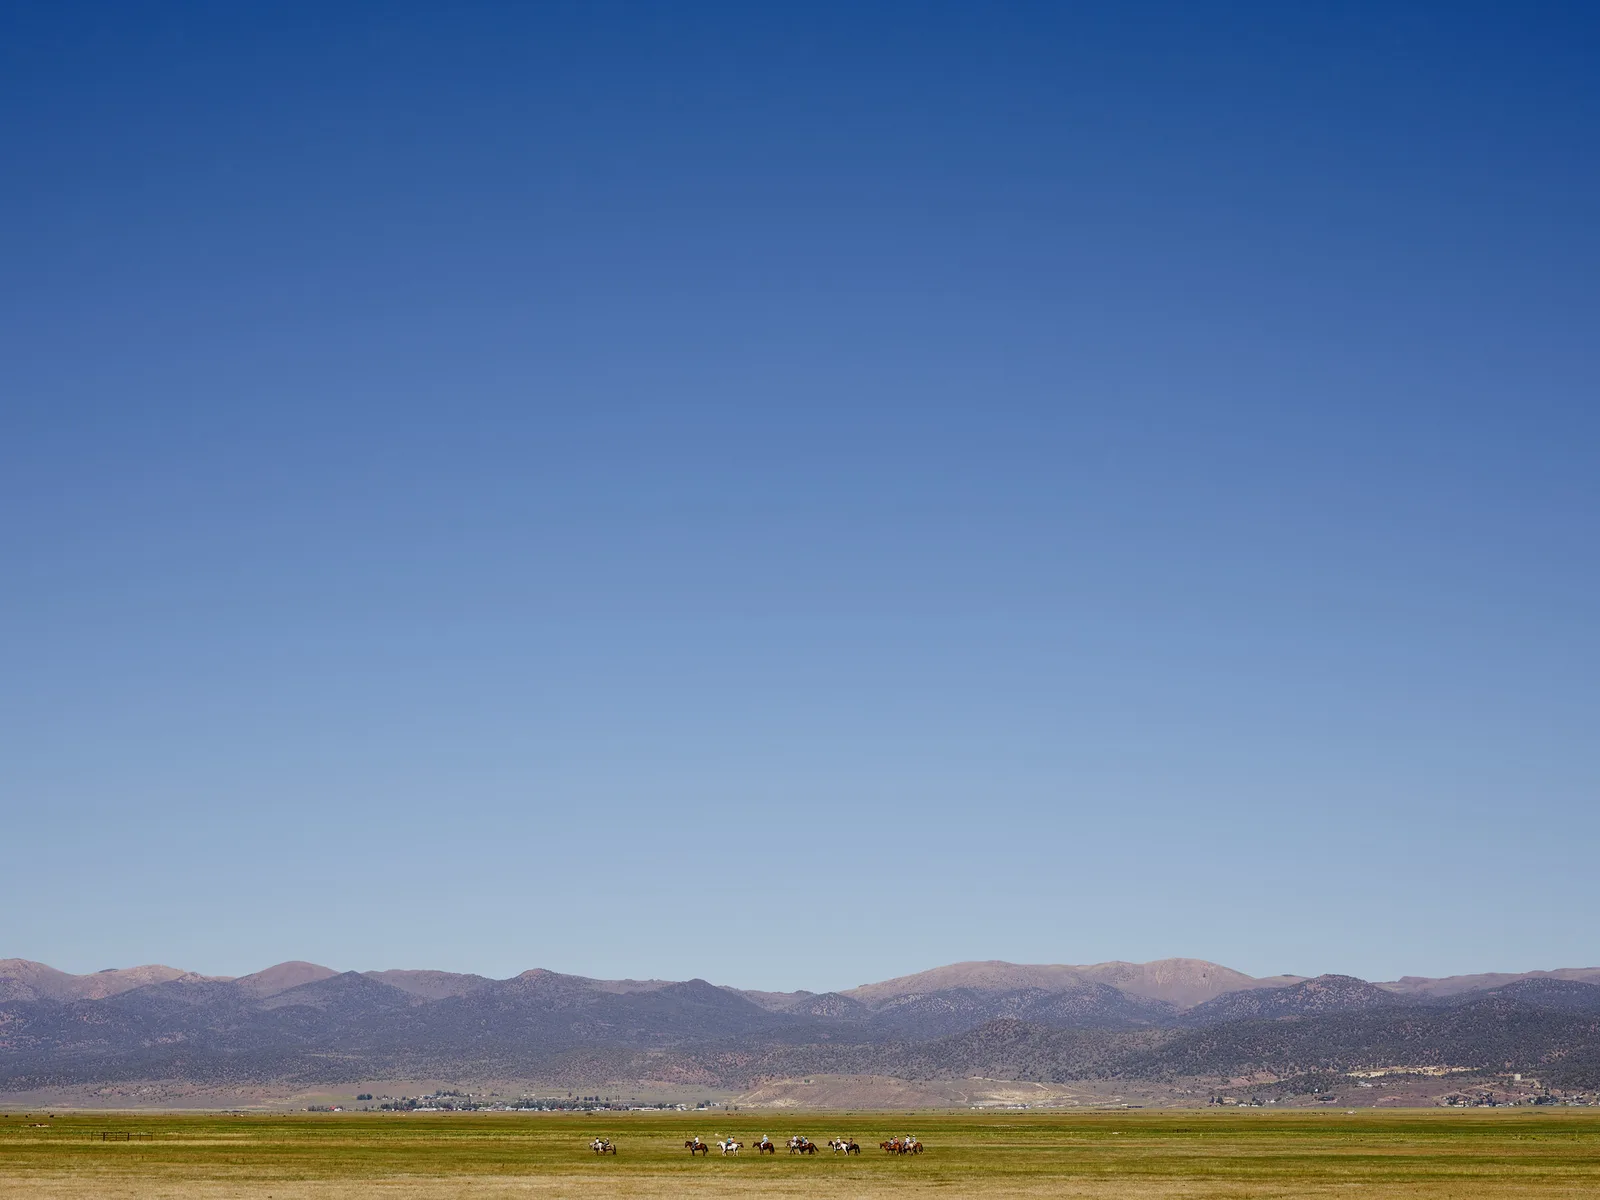
Horses with riders open a different kind of picture: the horse as a partner in a journey across open country. A line of riders crossing a field, a single rider on a ridge at sunset or a trail ride along a river all tell stories about place and freedom.
Make the riders small and let the land and sky fill the frame. Find a slightly higher viewpoint so the riders separate against grass rather than merging with the horizon. Leave space ahead of them in the direction they travel. If the riders are friends, ask them to ride past twice so you can try both close and wide versions. If they are strangers, keep them small and unidentifiable, and ask permission if you plan to share close pictures. The guide to landscape photography helps with wide compositions.
Details and close-ups
Some of the most memorable horse pictures show only part of the animal. A soft muzzle with whiskers, a large dark eye framed by lashes, a braided mane, a hoof in straw or a hand resting on a neck all say something about what horses are like up close. These details also work well on gray days when wide scenes look flat.
Use a longer focal length so you can stay a safe distance away, and fill the frame with one detail. Soft window light in a barn doorway is lovely for close-ups, with the dark interior behind falling into shadow. Tack, saddles, boots and old wooden stalls make good supporting pictures, too, and a small set of details with one portrait and one wide scene tells a fuller story than any single frame.
Interested in telling a fuller story with a small set of pictures? The guide to building a photo essay explains how to combine wide, close and detail shots.
Settings for horses
These settings work well as a starting point:
- Portraits: aperture priority at f/2.8 to f/5.6 for a soft background, with focus on the near eye.
- Grazing and walking: 1/500 second is usually enough.
- Running and jumping: 1/1000 second or faster, with continuous autofocus and burst mode.
- Panning: shutter priority around 1/60 second.
- ISO: auto ISO with a sensible upper limit for changing light.
- Lens: a 70mm to 200mm zoom covers portraits and action from a fence, and a wider lens works for horses in the landscape.
Shoot in raw if you can. Coats with bright highlights and deep shadows benefit from the extra editing room.
Editing horse photos
Keep editing natural. Brighten the eye a little, lift shadows on dark coats and gently recover highlights on pale ones. Remove small distractions such as a stray fly or a bright tag on a halter only if it can be done cleanly. Crop so the horse has room in front of its face, and keep the horizon level. Resist strong color, so a chestnut stays a warm brown and a gray stays a soft silver.
Looking for a simple editing workflow? The guide to photo editing for beginners walks through the basic steps in order.
Common mistakes
- Ears back. Wait for the horse to look alert, or ask a helper to catch its attention.
- Distorted proportions. A wide lens close to the head makes the nose huge. Step back and zoom in.
- Cluttered backgrounds. Cars, buildings and wire fences pull attention. Move until the background is clean.
- Cut-off legs and hooves. In full-body pictures, leave space below the hooves.
- Awkward stride moments. Use a burst and pick frames where the legs look graceful.
- Entering pastures without permission. Always ask the owner, and stay on public ground otherwise.
- Using flash near horses. Sudden light can startle them. Use natural light instead.
Try this: a 10-minute horse portrait
Find a horse you can photograph safely, from a fence or with the owner’s permission, and give yourself ten minutes:
- Minutes one to three: watch quietly. Notice where the light falls, which background is cleanest and how the horse moves.
- Minutes four to seven: make a three-quarter portrait at shoulder height with a longer focal length. Have a helper make a soft sound to bring the ears forward.
- Minutes eight to ten: step back and make one wide picture that shows the horse in its setting, such as a pasture, barn or hillside.
Compare the portrait and the wide picture at home. Both tell something different about the same horse.
Frequently asked questions
What lens is best for horse photography?
A 70mm to 200mm zoom is ideal for portraits and action because it keeps proportions natural and lets you work from a fence. A wider lens is useful for horses in the landscape.
How do I get a horse to put its ears forward?
Ask a helper behind you to make a gentle, unusual sound, such as crinkling a bag or shaking grain in a bucket, and take the picture as the horse looks up.
What shutter speed freezes a galloping horse?
Around 1/1000 second or faster. Use continuous autofocus and burst mode, and pick frames where the legs look graceful.
Can I photograph horses in a field by the road?
Yes, from public ground, as long as you do not enter the field, feed the horses or disturb them. Ask the owner if you want to get closer.
How do I photograph a black horse?
Look for soft or side light that shows the coat, and add a little exposure so the horse does not become a dark shape. Focus carefully on the eye.
Is flash safe for horses?
It is best avoided, especially with horses you do not know. Natural light is gentler and usually more flattering.
For terms such as focal length, exposure compensation, panning and burst mode, see the photography glossary.