Most film photography problems can be diagnosed from the negatives themselves, not the scans. Look at the strip against a plain light: clear frames with crisp edge markings mean the film was developed properly but never exposed, clear film with no edge markings means development failed, thin frames mean underexposure, and marks that spill past the frame into the sprocket area mean light reached the film without going through the lens.
This page is a diagnose-by-symptom reference. The guides to shooting on film and developing film at home teach the process when it goes right; this one starts from a roll that went wrong and works backwards to the camera, the exposure, the chemistry or the scanner, with a fix for each cause.
Read the negative before you blame the scan
A scan is an interpretation. Scanning software sets brightness, contrast and colour for every frame automatically, so a badly underexposed frame does not come back dark. It comes back grey, grainy and oddly coloured. The negative is the evidence. Ask the lab to return it, even if you only wanted files.
Hold the strip by its edges in front of a window, a white wall or a phone screen showing a blank white page. You are checking two things:
- The edge markings. Most films carry the film name and frame numbers along the rebate (the strip outside the picture area, around the sprocket holes on 35mm). These are exposed onto the film at the factory and only become visible when the film is developed. They are a built-in test of development that has nothing to do with your camera.
- Where any fault sits. Inside the frame only, or running across the gaps and the sprocket holes? The same place on every frame, or wandering?
Remember that a negative is reversed. Dense (dark) areas on the film received a lot of light and print bright. Clear areas received little or none and print black. Slide film is the opposite: an unexposed slide is black and a massively overexposed one is clear. Everything below describes negatives unless it says otherwise.
Film problems at a glance: symptom, cause and fix
Find the row that matches what you see on the film, then read the section that covers it.
| What you see | Most likely cause | Fix |
|---|---|---|
| Whole roll clear, edge markings present and crisp | Film was developed but never exposed: it did not advance, the shutter did not open, or the lens cap stayed on | Watch the rewind knob turn as you wind on; test the shutter with the back open before loading |
| Whole roll clear, no edge markings at all | Development failure: no developer, dead developer, or fixer poured in first | Label bottles, follow a written sequence, test developer on the film leader |
| Frames faint and edge markings faint too | Underdevelopment: weak, cold or exhausted developer, or too short a time | Check temperature, dilution, time and how many rolls the developer has done |
| Frames faint but edge markings normal | Underexposure in the camera | Meter for the shadows, check the ISO setting and the meter battery |
| Whole roll black, including the edges | Film fogged by light before development | Never open the back before rewinding; load reels in complete darkness |
| Streaks or patches that cross into the sprocket area | Light leak from the back door or its seals | Replace light seals; keep the camera out of direct sun; unload in shade |
| Frames overlap or spacing is uneven | Worn or slipping film advance, or film loaded loosely | Take up slack when loading; have the advance repaired |
| One very dense frame, then nothing | Torn sprocket holes: film stopped moving and every shot landed on the same frame | Never force the advance lever; check loading |
| Dark band along one side of the picture | Shutter curtain fault, or flash used above the sync speed | Stay at or below sync speed with flash; shutter service |
Clear film: blank roll with edge markings, or blank without
A completely clear roll is the most upsetting result and the easiest to diagnose, because the edge markings split the possible causes cleanly in two.
Edge markings are there: the film never saw light
The frame numbers and film name developed normally, so the chemistry worked. No image formed because no light from the lens reached the film. There are three usual reasons.
- The film did not advance. The leader slipped off the take-up spool and the whole roll stayed in the cassette while you pressed the shutter 36 times. On a manual 35mm camera, the rewind knob should turn every time you wind on. If it sits still, the film is not moving.
- The shutter did not open. A dead battery in a camera with an electronic shutter or a jammed mechanism can sound nearly right with no exposure. With the camera empty, open the back, point the lens at a bright window, set 1 second and fire. You should see a clear circle of light for the full second.
- The lens cap was on. On a rangefinder or a viewfinder compact you do not look through the taking lens, so the view stays clear with the cap in place.
No edge markings: the film was not developed
If the film is clear from end to end with no numbers and no lettering, the developer did nothing. Either the fixer went in first (fixer removes all the undeveloped silver, image and markings together), the developer was exhausted or wrongly mixed, or a step was missed. This is a processing fault, not a camera fault. If a lab processed the roll, show them the strip. A few films have very faint markings or none, so compare with another roll of the same film before deciding.
The opposite: film that is black all over
Film that is dense black across its full width, edges and sprocket area included, was fogged by light and then developed. The back was opened before rewinding, the cassette was pulled apart, or the reel was loaded in a room or changing bag that was not dark. If only part of the roll is black, the back was probably opened mid-roll: the frames on the take-up spool fogged, while the unshot film still inside the cassette survived.
Thin negatives and dark, grainy, muddy scans
“Why are my film photos dark and grainy?” almost always has one answer: underexposure. A thin negative is one with very little density. The shadows are clear film, the mid-tones are faint and only the brightest parts of the scene left a mark. When a scanner tries to lift that into a normal picture, it amplifies grain and the film’s base colour along with the image. The result is grey or milky blacks, heavy grain, and green or magenta shadows on colour film.
Negative film handles too much light far better than too little. A stop or two of extra exposure usually scans well. A stop or two less loses shadow detail that no scan can recover, because it was never recorded. Check these causes in order:
- The ISO dial did not match the film. ISO 400 film shot with the camera set to 1600 is two stops under on every frame.
- The meter was fooled. A bright sky, a window behind the subject or snow pushes a simple centre-weighted meter toward underexposure. Point the camera down at the ground or at the shaded side of the subject, take the reading there, then recompose. How metering works explains why.
- The meter or its battery is failing. Old meter cells drift and some cameras were built for a battery voltage that is no longer made. Compare readings with a phone meter app or the Sunny 16 rule: in full sun, f/16 at a shutter speed close to the film speed (1/500 for ISO 400).
- Indoor light was dimmer than it looked. A lit room in the evening is often eight or more stops darker than daylight. A fixed-exposure point-and-shoot or disposable camera needs its flash indoors, and the flash only reaches three or four metres.
- The film is old or was stored hot. Aged film loses sensitivity and gains base fog, so it behaves like a slower film. Travelling with film covers storage and expired rolls.
If every frame is thin and the edge markings are faint, the exposure may have been fine and the development weak. Underdeveloped film has low contrast overall but often still shows some shadow detail, while underexposed film has normal-looking highlights and empty shadows. If you rated the film at a higher speed on purpose, the lab needs to be told to push the development to match.
Light leaks: streaks, fog and how to trace them
A light leak is stray light reaching the film from somewhere other than the lens. On the negative it appears as extra density: dark streaks, wedges or patches. In the print or scan it is bright, and on colour film it is usually orange, red or yellow, sometimes white at the centre where it has burned through completely.
The test that separates a leak from everything else is simple: does the mark cross the frame edge? The frame is shaped by a rectangular opening just in front of the film, and light from the lens cannot land outside it. A mark that continues into the gap between frames or across the sprocket holes arrived by another route.
- A streak or wedge from one edge, in a similar place on several frames: worn foam seals around the back door, most often at the hinge. It gets worse on frames that sat in the camera in bright sun and may be absent on frames shot quickly or indoors.
- Fog over the first two or three frames only: normal. That length of film was pulled out in the light during loading.
- Fogged edges along roll film (120): the roll was wound loosely and light crept in from the sides after it left the camera. Keep tension on the paper when loading, seal the roll tightly and unload in shade.

Bright streaks that stay inside the frame and line up with the sun or a lamp are lens flare, and an overall washed-out look in backlit frames is veiling flare, often from haze or fungus inside an old lens. Neither is cured by replacing seals.
Overlapping frames, uneven spacing and torn sprocket holes
Frames on a healthy roll are separated by even clear gaps. When pictures overlap, touch, or sit at irregular distances, the fault is in the film transport.
- Every frame slightly overlapping, or spacing that drifts: a worn or slipping advance mechanism. It is common on older cameras and on medium format backs, and it needs a repairer.
- One or two random overlaps: slack film. After loading 35mm, turn the rewind knob gently in the rewind direction until you feel resistance, so the film is taut before the first frame.
Torn sprocket holes come from force: pushing the advance lever hard at the end of the roll, or winding against a film that has jammed. Once the holes tear, the sprocket wheel turns without moving the film. You get a single frame that is almost black on the negative, because every later picture was stacked onto it, followed by clear film. If the lever stops, do not push. Rewind, and if the film will not rewind, open the camera in a changing bag or hand it to a lab closed.
Blurry film photos: shutter, focus or scanner
First decide whether the blur is on the film. Look at the scan at full size, or at the negative through a loupe or a reversed 50mm lens. If the grain is crisp but the picture is soft, the blur happened in the camera. If the grain itself is mushy, the scan is out of focus.
Motion blur from slow shutter speeds
Film speed is fixed for the whole roll, so the camera cannot raise ISO when the light drops. In auto modes it lengthens the shutter speed instead, and with ISO 200 film indoors that easily means 1/15 or slower. The whole frame is smeared in one direction, with no sharp plane anywhere. Keep to 1/60 or faster with a standard lens when hand-holding, use faster film, or brace the camera. Camera shake explains how to recognise and prevent it.
Focus errors
If something in the frame is sharp, but not the subject, it is a focus problem. Common causes on film cameras:
- A rangefinder out of alignment. Check it at infinity: a distant pylon or rooftop should merge into one image when the lens is at its infinity stop.
- Too close for a compact. Many compacts cannot focus nearer than about a metre, and the viewfinder gives no warning.
- Scale focus guessed wrong. On cameras with only a distance scale, use a smaller aperture and learn zone focusing.
Faults that look like blur or bad exposure
A focal plane shutter with a tired curtain can “cap”: the second curtain catches the first, leaving a dark, unexposed band down one side of the picture, mostly at the fastest speeds. A band with a hard edge on flash pictures only means the shutter speed was above the flash sync speed.
Development faults: streaks, spots and uneven density
- Denser streaks spreading in from each sprocket hole (surge marks): developer was forced through the holes by agitation that was too hard or too frequent.
- Small, sharp-edged clear circles: air bells, bubbles that kept developer off the emulsion. They scan as dark spots.
- Irregular blotches with undeveloped, often pinkish or opaque patches: two layers of film touched on the reel, so no chemistry reached that area. The image there cannot be recovered.
- Milky, cloudy or purple-grey film: under-fixing. This one is repairable. Refix in fresh fixer and wash again.
- A fine cracked pattern across the image: reticulation, caused by a sudden temperature change between baths.
Scanning faults that look like film faults
If the negative looks clean and well exposed but the files do not, the scan is the problem and the picture can be rescued by scanning again. Scanning film negatives covers the methods; these are the faults worth recognising.
- White specks and hairs: dust on the negative during scanning. It blocks light, and after inversion it is white. Black specks are the reverse case: dust that sat on the film inside the camera and shadowed it during exposure.
- Colour that changes from frame to frame: automatic correction judging each picture separately. Colour negative has an orange mask and no single “correct” inversion, so a cast in a scan says little about the film.
Checks to run before the next roll
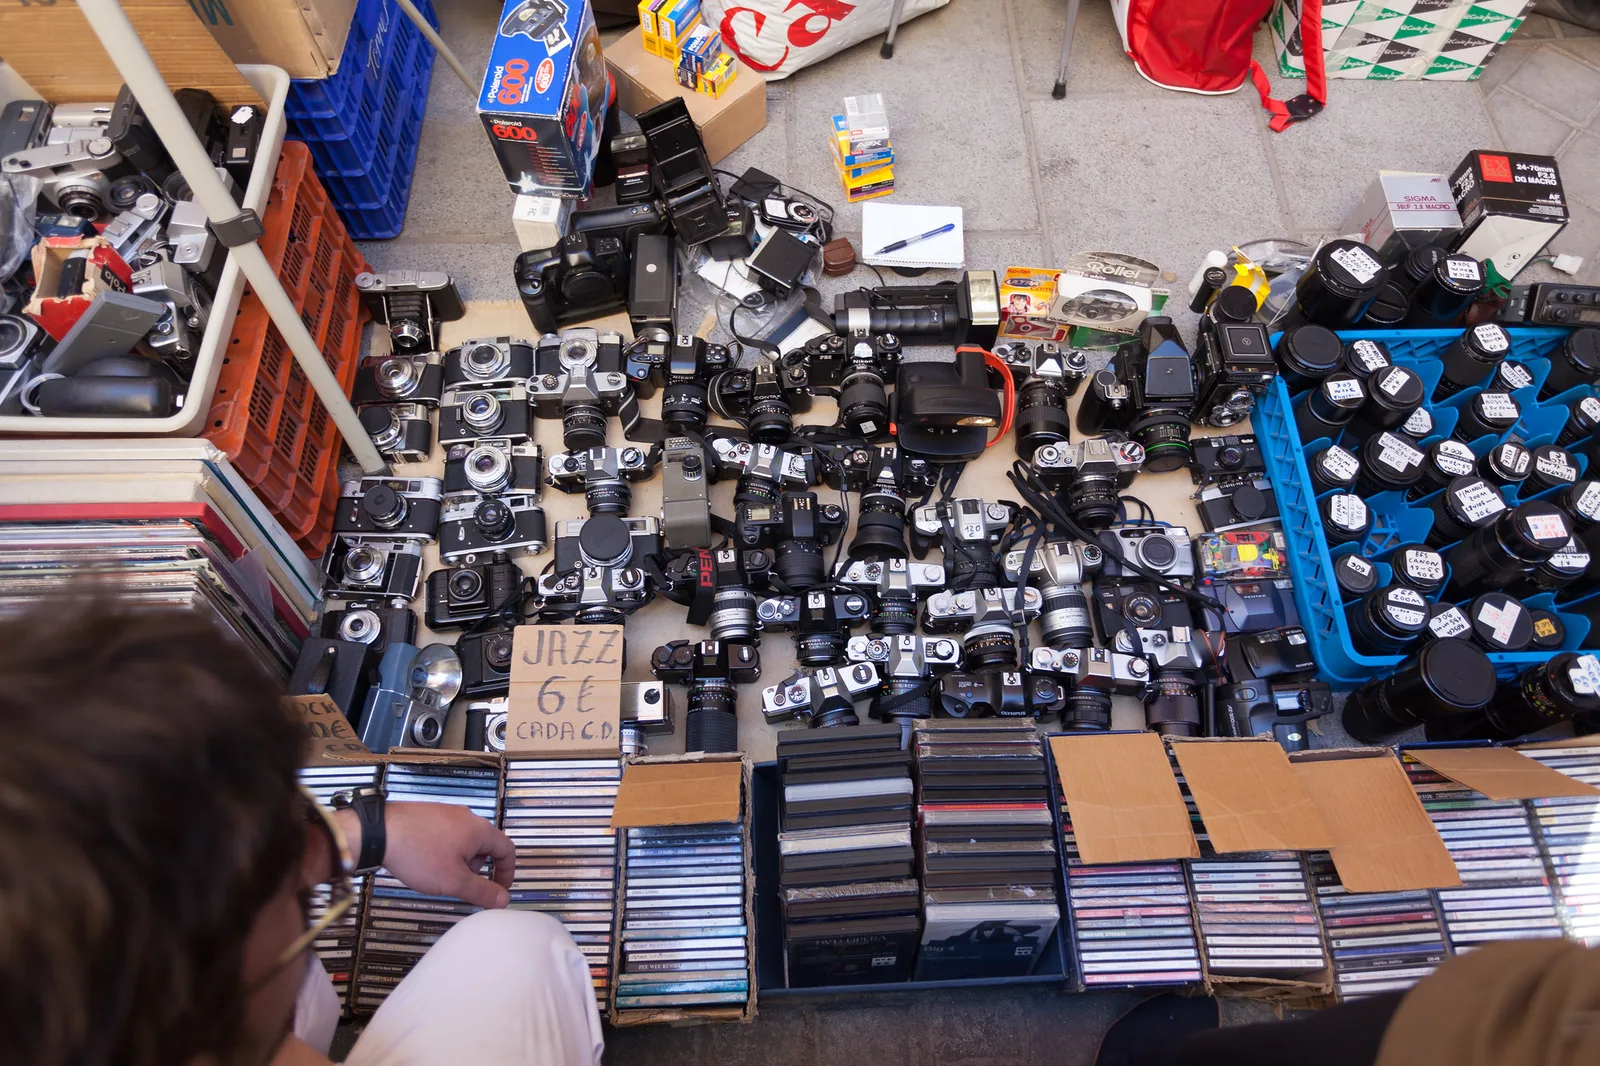
Most ruined rolls trace back to something that could have been checked in two minutes with the camera empty. Choosing your first film camera lists what to inspect when buying; this is the routine before each roll.
- Open the back and fire the shutter at 1 second, 1/60 and the fastest speed while looking through the lens at a bright surface. One second should sound like one second. The fastest speed should show the full frame, not a sliver.
- Press a fingertip on the door seals. If the foam is sticky, crumbling or missing, replace it.
- Load carefully. Make sure the sprocket teeth engage both rows of holes, wind one frame with the back open to see the film travel, close the back, take up the slack and watch the rewind knob turn as you advance.
- Rewind fully before opening. You should feel the tension release when the leader comes off the take-up spool.
Common mistakes
- Judging the roll from the scans alone. Fix: get the negatives back and check density and edge markings first. Many “bad film” results are scans that can be redone.
- Blaming the lab for a blank roll with clear edge markings. Fix: markings prove the development worked. Test the camera’s advance and shutter.
- Trusting the frame counter as proof the film is moving. Fix: on many cameras the counter advances with the lever whether or not film is attached. Watch the rewind knob.
- Underexposing to “protect the highlights” as you would with digital. Fix: with negative film, expose for the shadows. Highlights have room to spare.
- Throwing away a milky roll. Fix: refix and rewash. Under-fixed film is one of the few faults that can be fully reversed.
Try this
Take 15 minutes with your most recent strip of negatives and a plain white light. For each of six frames, write down three things without looking at the scans: are the edge markings crisp, is there detail in the shadows, and does any mark cross the frame edge? Then open the scans and compare. Note which problems you could see on the film and which exist only in the files. Those second ones are scanning faults, and they are fixable.
Frequently asked questions
Why did my film come back completely blank?
Look for frame numbers and the film name along the edge. If they are there, the film was developed correctly but never exposed, usually because it did not catch on the take-up spool or the shutter did not open. If the edges are blank too, the film was not developed and the fault lies with the processing.
Why are my film photos so grainy?
The usual cause is underexposure: the scanner brightens a thin negative and magnifies its grain. Fast film, pushed development, old film and oversharpened scans add to it. Give negative film more light, up to a stop over the meter reading, and grain drops noticeably.
Can a light leak be fixed after the film is developed?
Not on the film. The extra exposure is permanent. Mild leaks can be reduced in editing by cropping or by darkening and desaturating the affected area, but the practical fix is replacing the camera’s seals before the next roll.
Does opening the back of the camera ruin the whole roll?
No. Film still inside the cassette is protected, and frames wound deep on the take-up spool are often only fogged along the edges. Close the back at once, wind on two frames and keep shooting. The last few frames you took before opening are the ones most likely to be lost.
Related guides
- Film photography: formats, loading, metering and the whole workflow when it goes right.
- How to develop film at home: the step-by-step process behind every development fault listed here.
- Scanning film negatives: how to rescan a good negative that came back as a bad file.
- Travelling with film: airport scanners, heat and storage, the causes of fog that happen outside the camera.
- Choosing your first film camera: what to check on a used body before paying for it.
- Why does my photo look like this?: the same symptom-first approach for digital pictures.